… or it is seriously hard to write about a project that was finished two years ago
<intro>

</intro>
Long story short, this is a post about another custom-ordered machine that I worked on … in July of 2019 …
Yeah, I know … a bit old story but like I’ve written before, machines and pics are piling up while I move on to other projects and these are waiting in a queue.
Anyway, I’ve realized that I need to catch up with all the older jobs that I did simply because I will soon forget what it was all about lol!
The A3020
Before this particular Acorn Archimedes A3020, I’ve played a bit with the A3000 that Bachoo/SaveTheFloppy (old cert warning) brought for fixing. It is a nice machine but I barely had an opportunity to play with it as a fix was very easy. That particular A3000 didn’t want to co-operate with the monitor and Bachoo didn’t know how to sort it out. Moreover, he’d give it to another guy who had no clue how to use interwebz search engines like duckduckgo.com either 😉
If I remember correctly the fix was about holding down either the ‘Delete’ key to reset CMOS or ‘T’ as described on startdot.org.uk forums
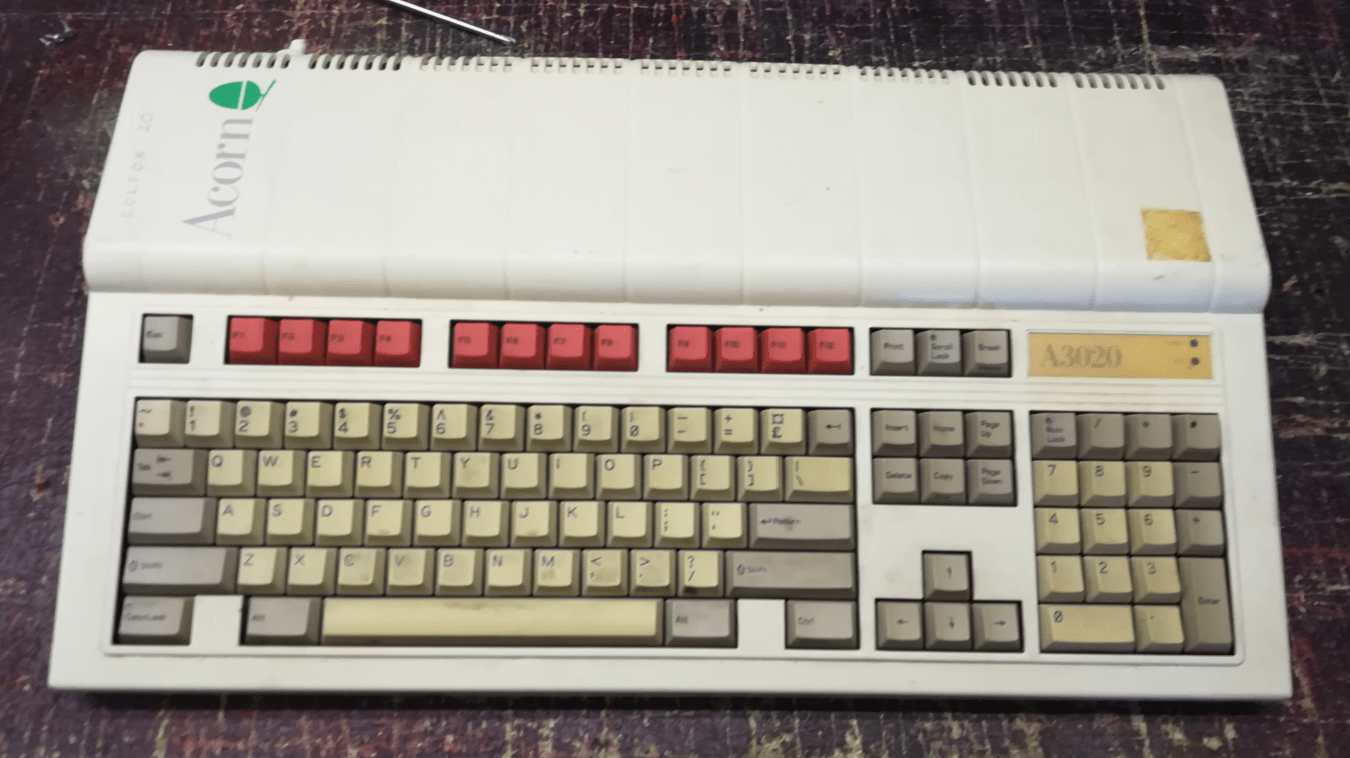
Anyway, this is what A3020 looked like right after arrival.
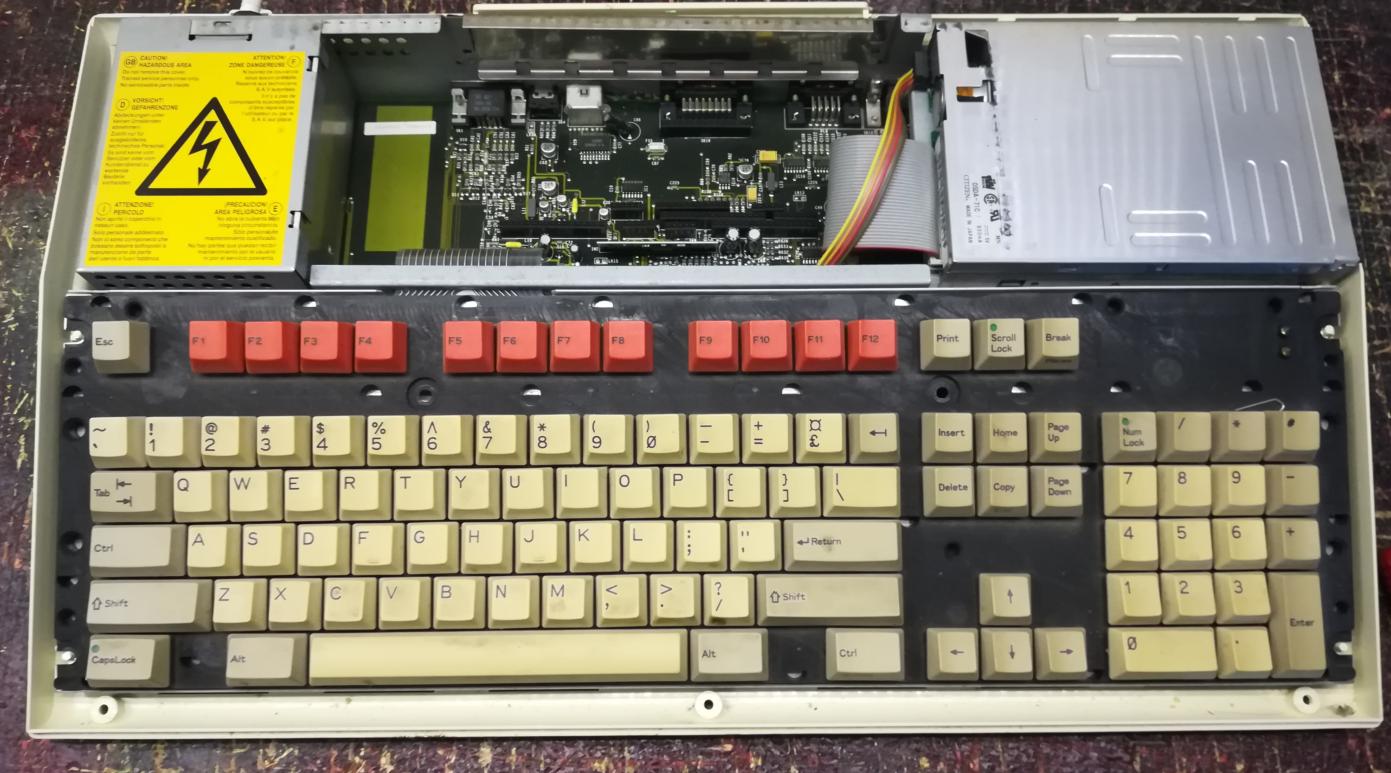
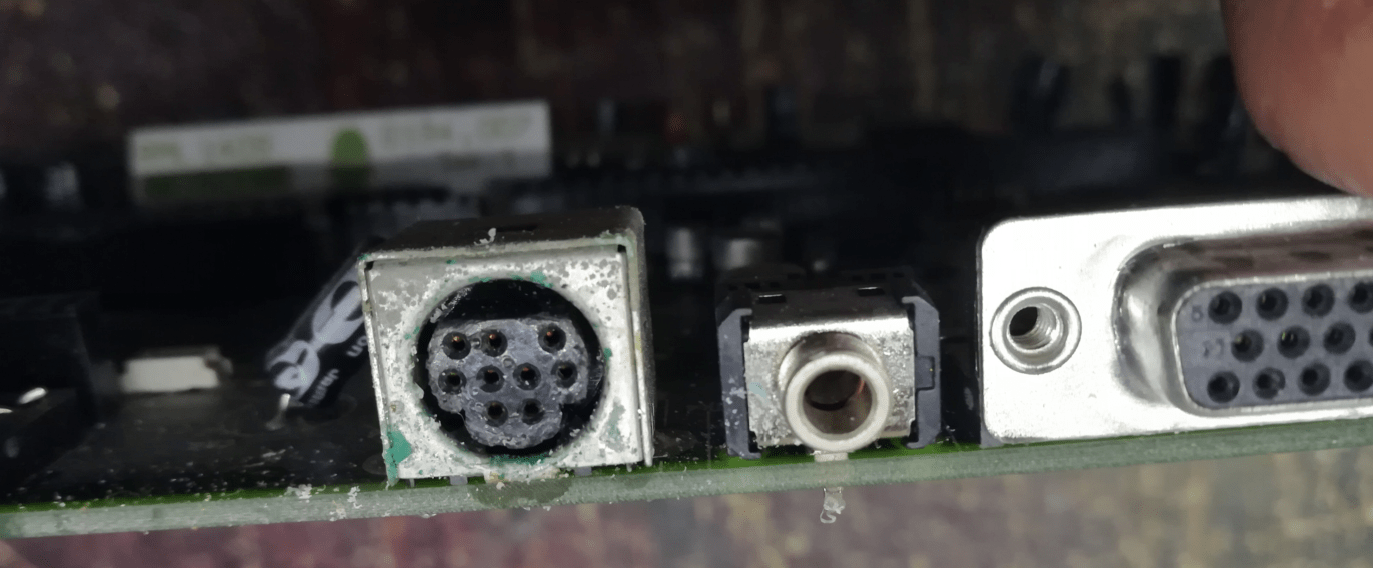

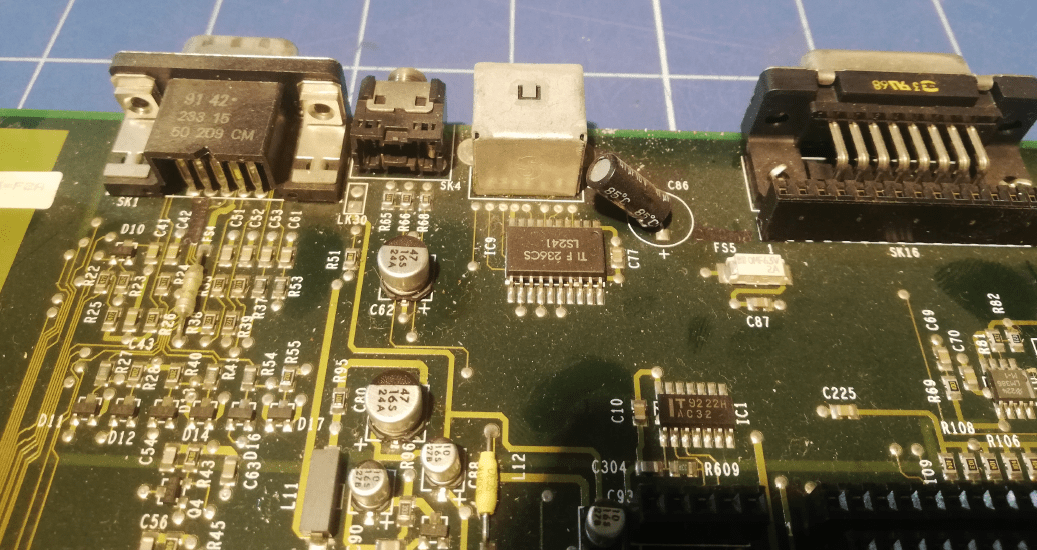
There were minor problems to fix or so I thought …
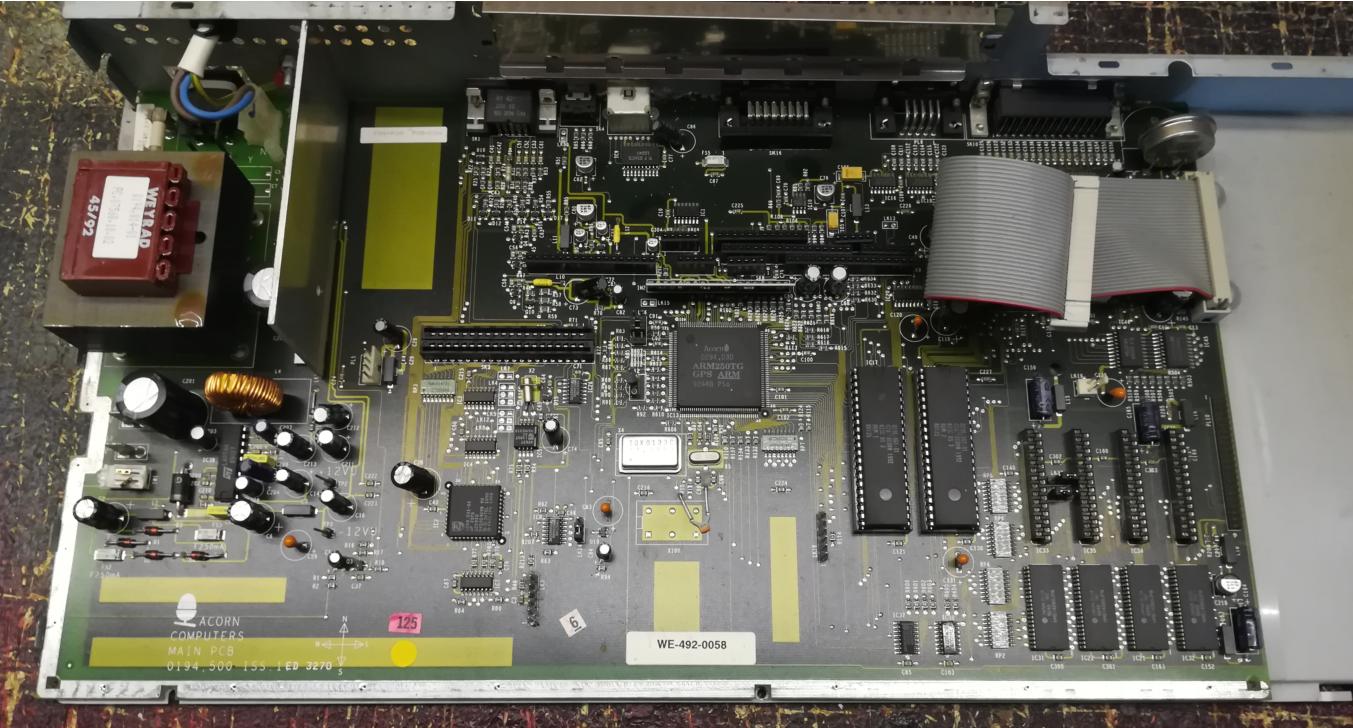
The fixes
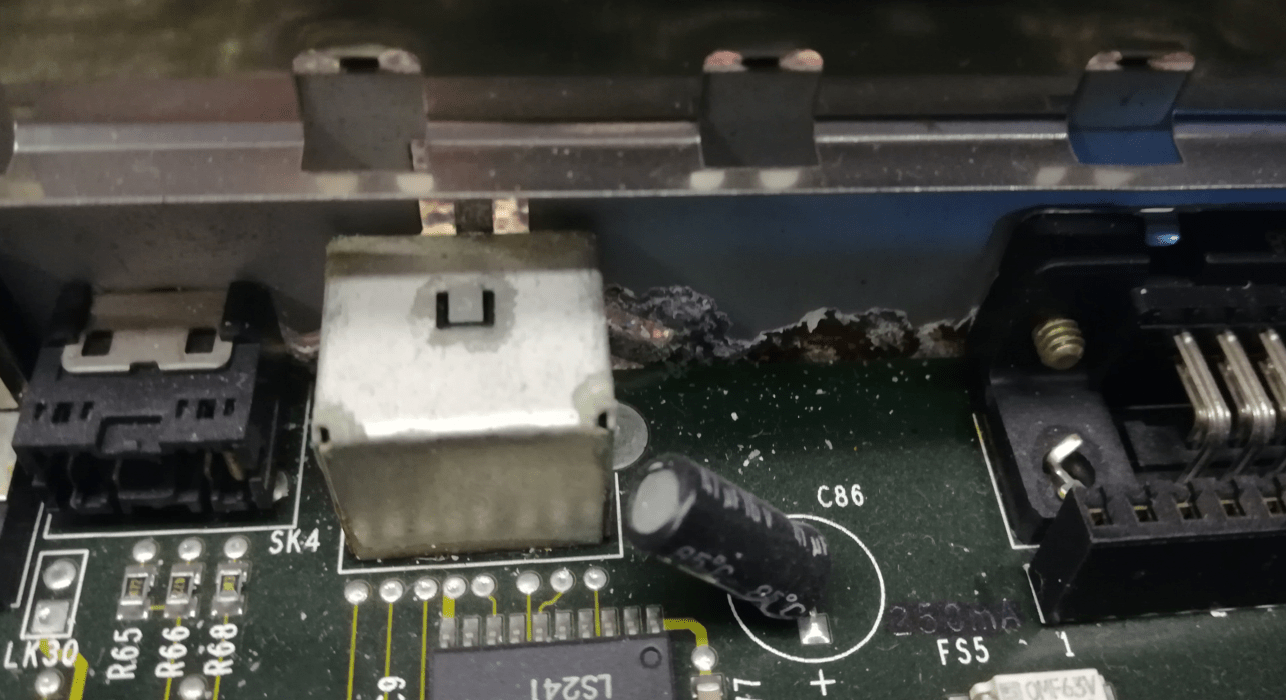
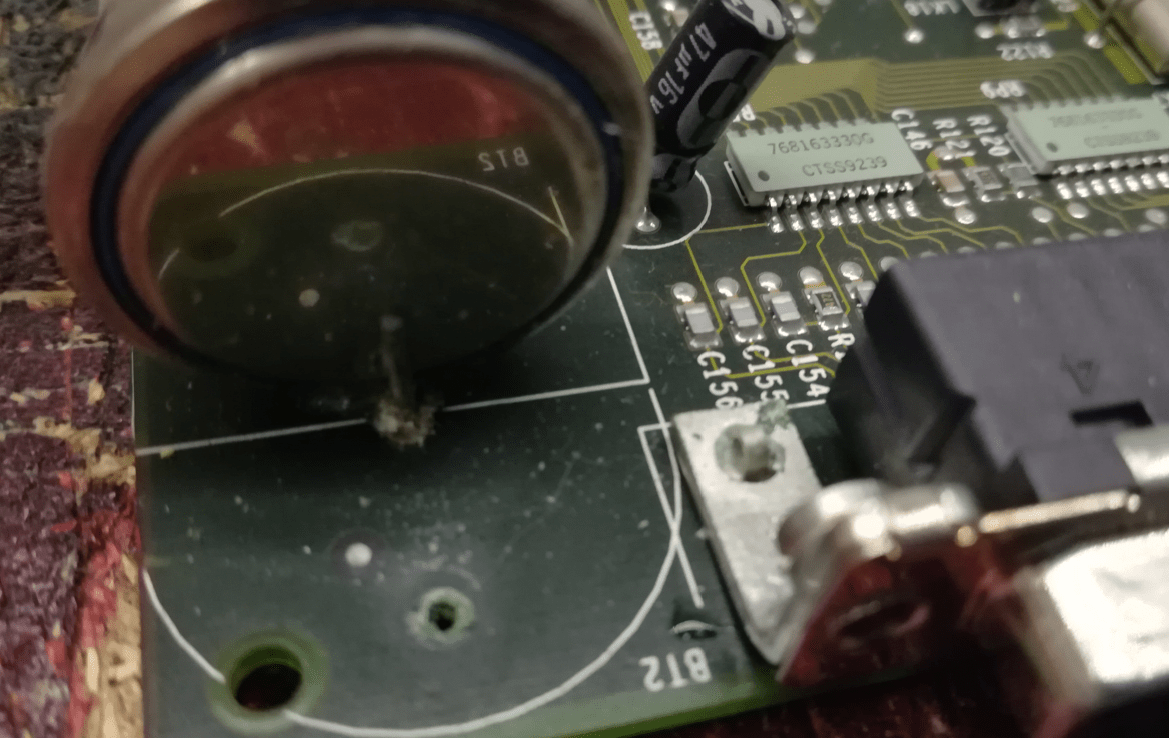
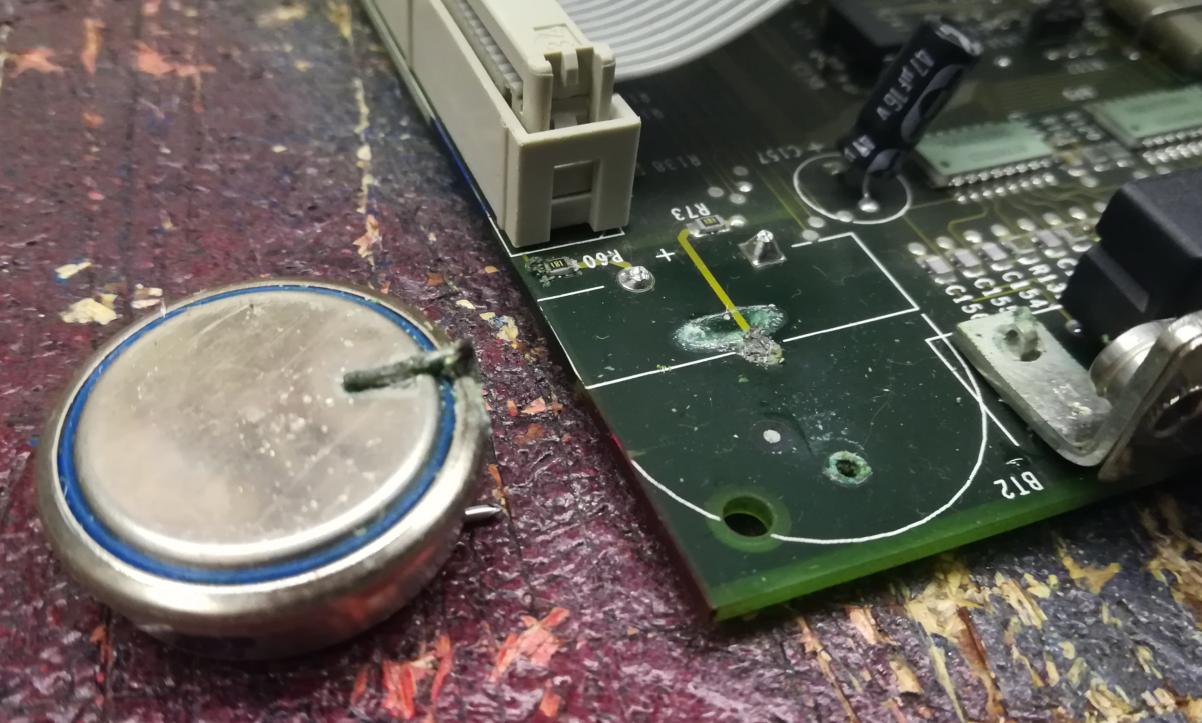
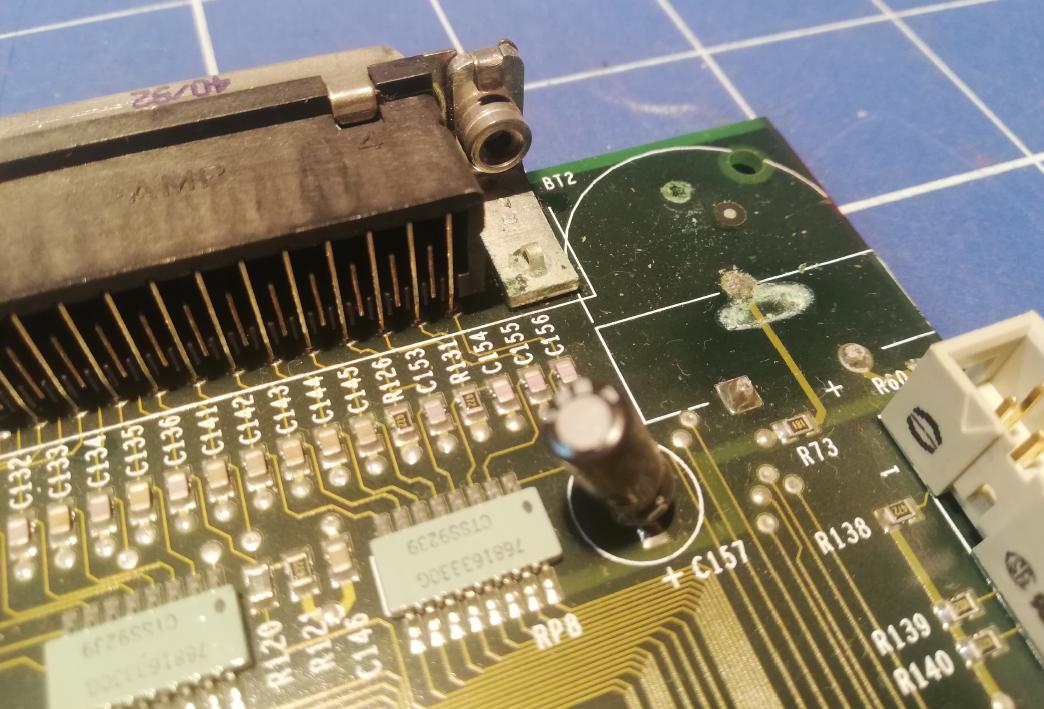
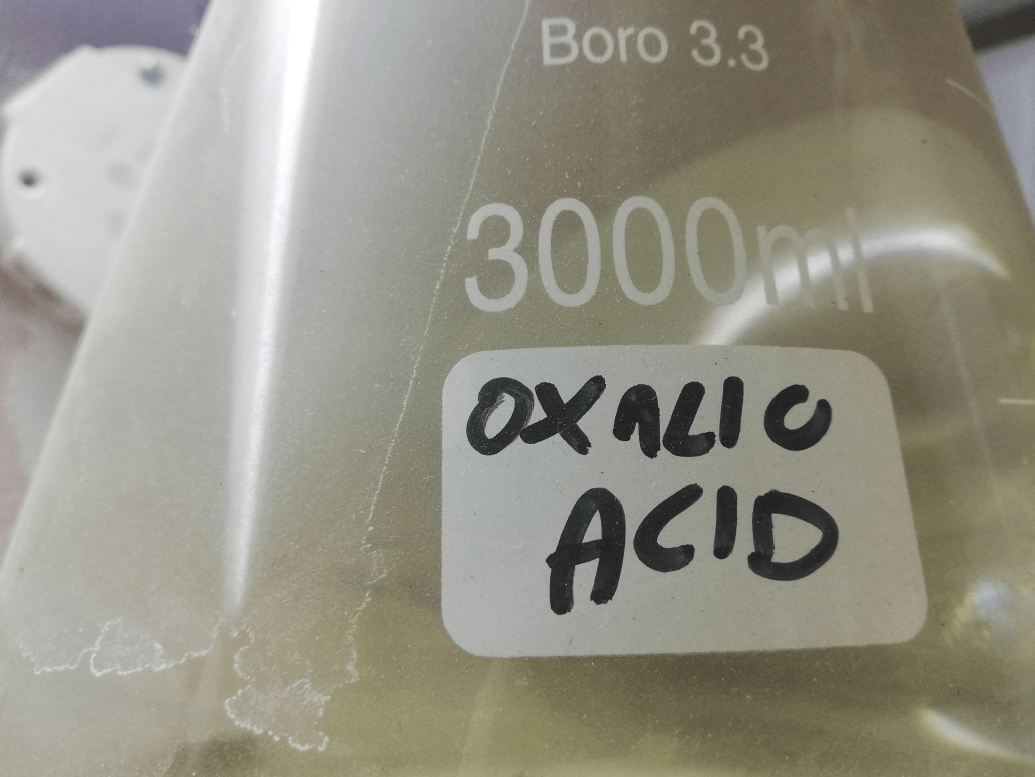
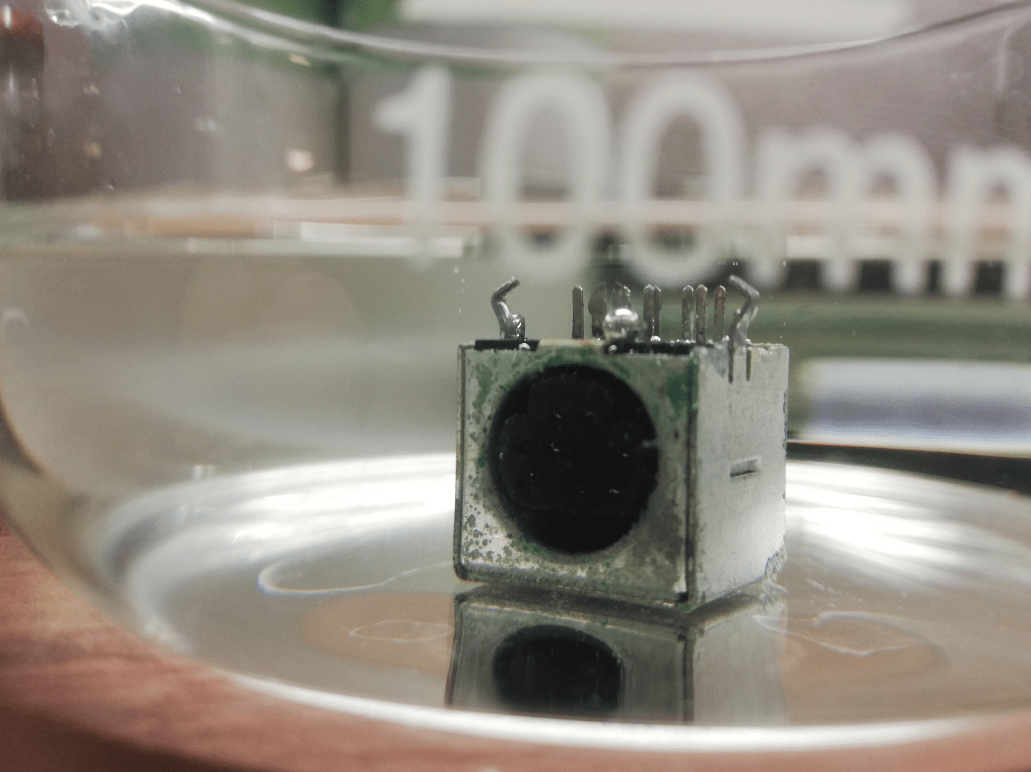
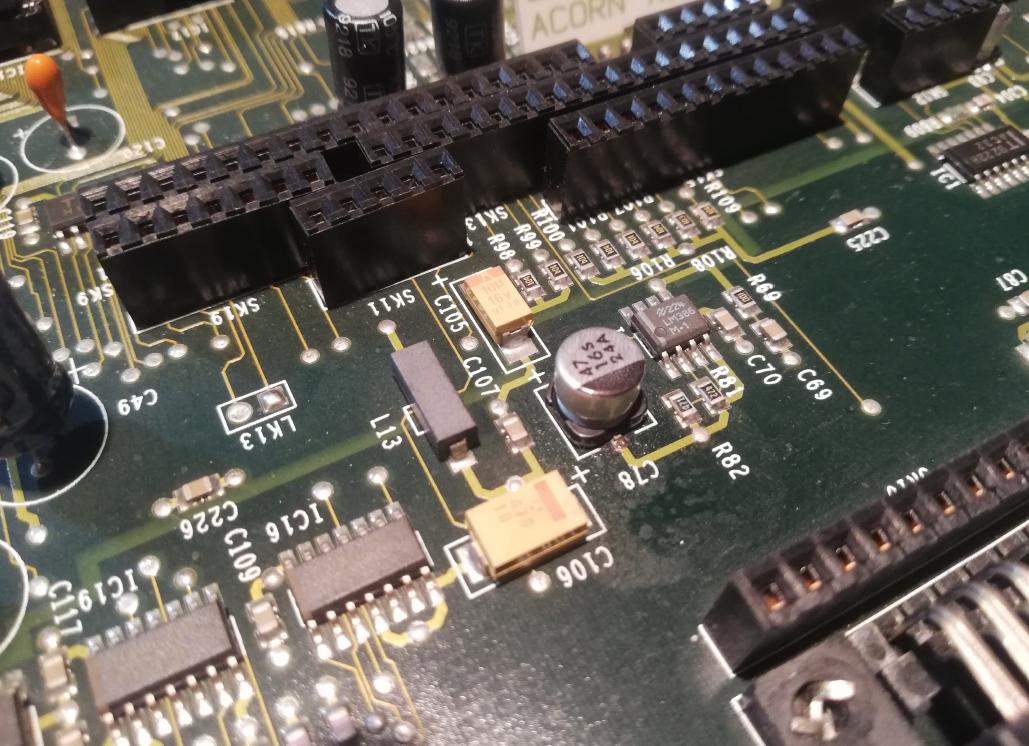
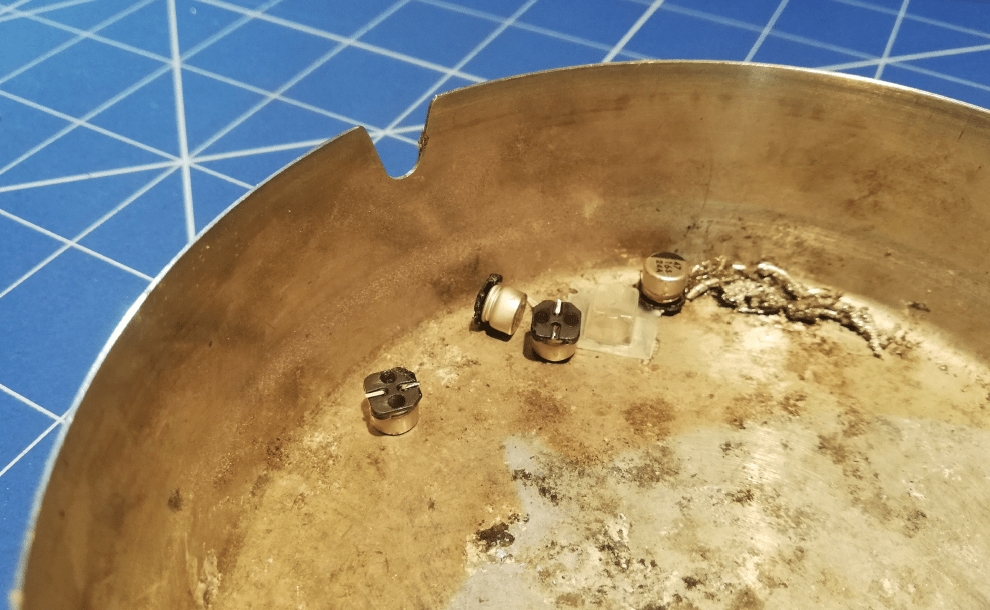
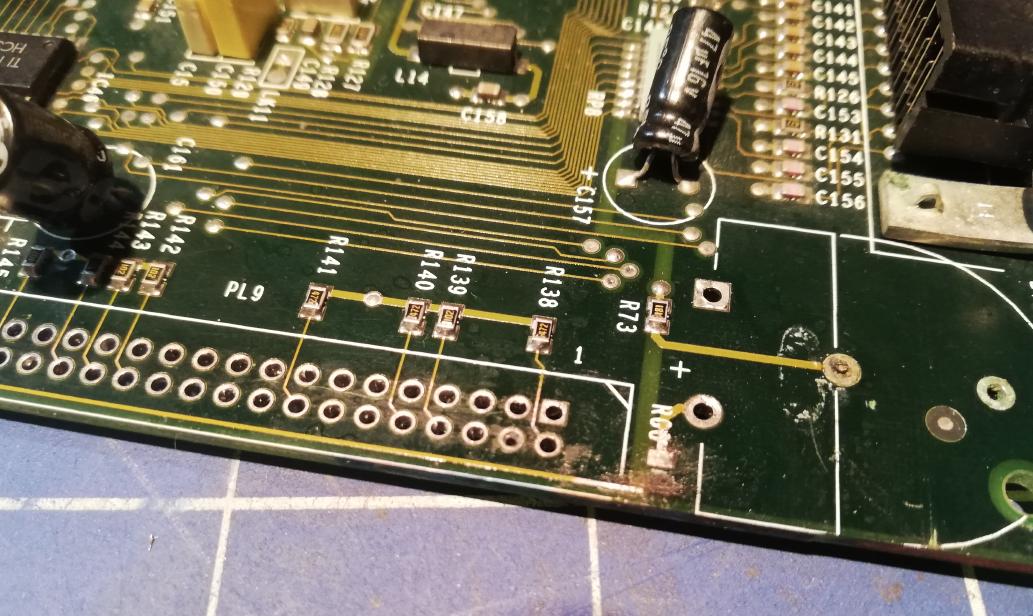
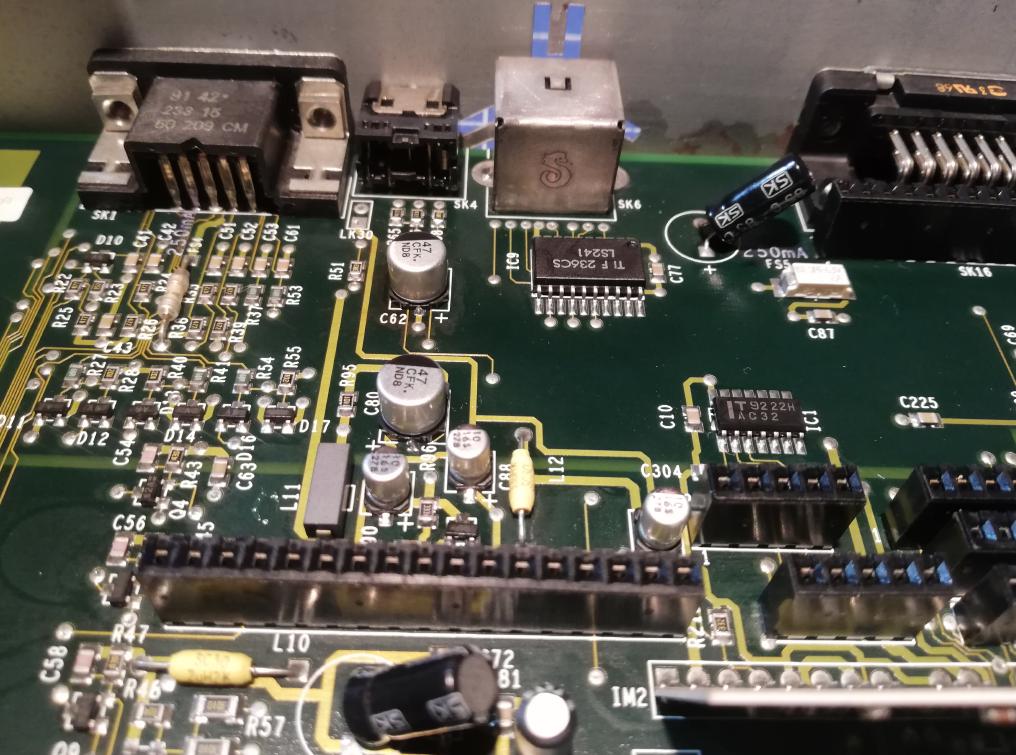
As I said, there were obvious things that had to be done, like cleaning up the corrosion around the sockets and the RTC battery area. This time I’ve tried Oxalic acid as it is water-soluble, cheap, and mild. It turned out moderately OK since it does not create complex copper compounds like other acids, however, I will be looking for other, better solutions in the future. Here is how it was done.


Some corroded traces had to be fixed and obviously, a mandatory recap of those leaking and worn-out electrolytic caps.
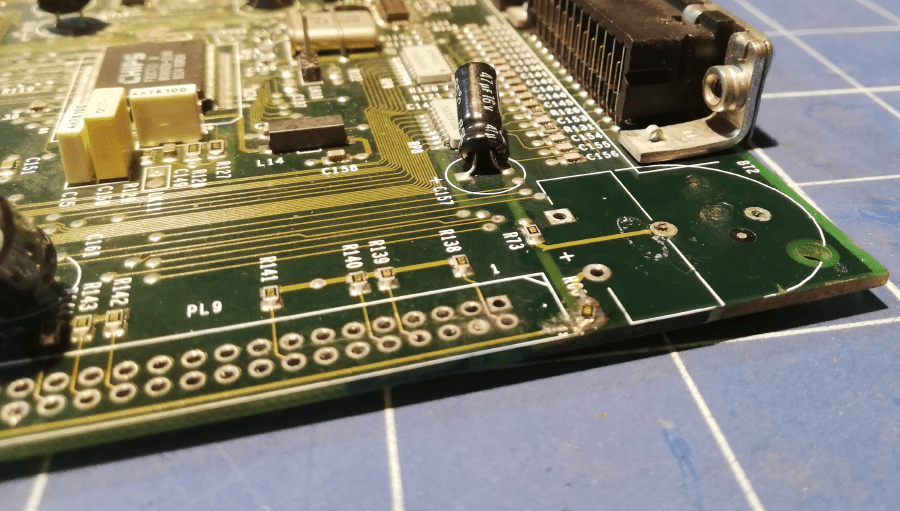

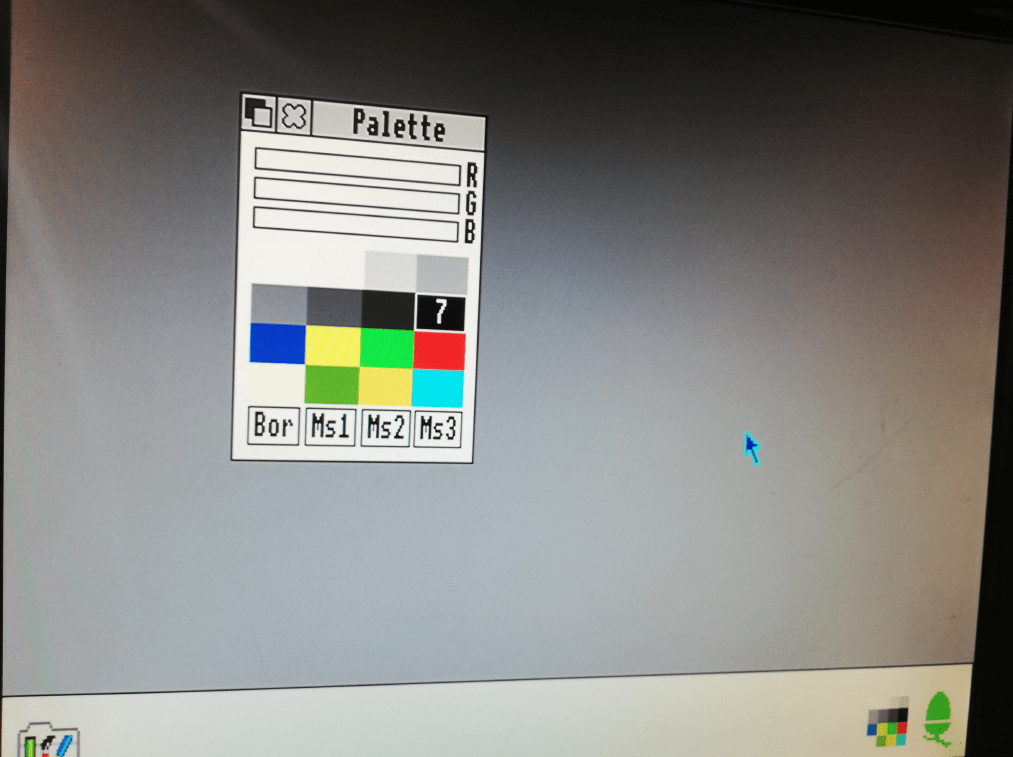
After all the above fixes, this Acorn finally booted without a problem! Yay!
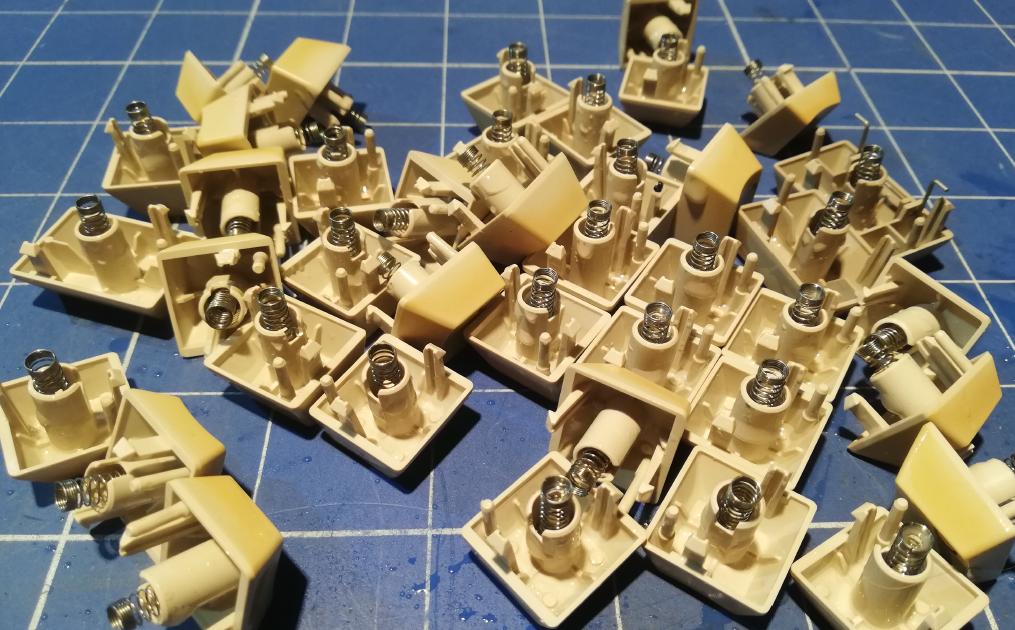
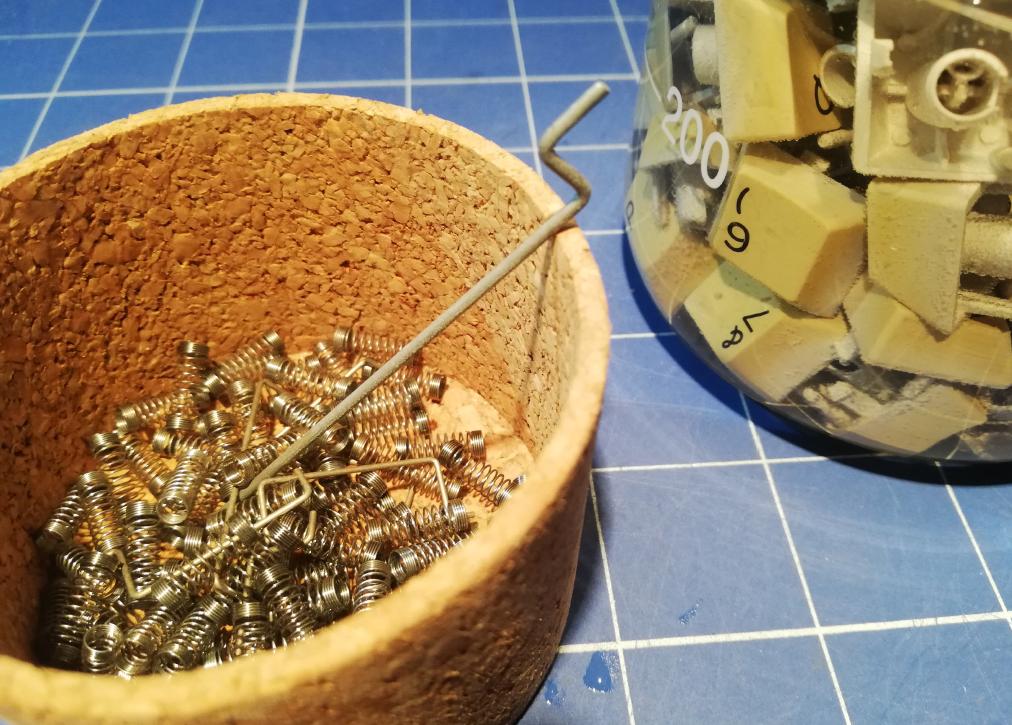
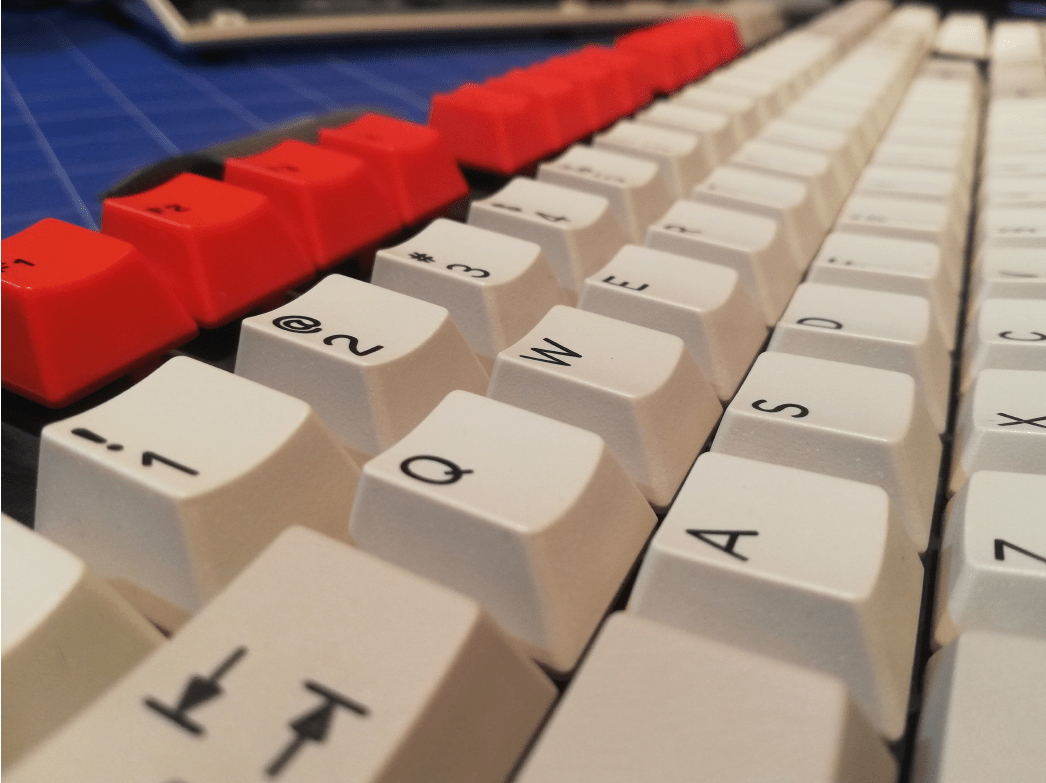
The keyboard
The keyboard was next in line to be fixed. It only needed de-yellowing as it was electronically OK. Anyway, here is how it looked.
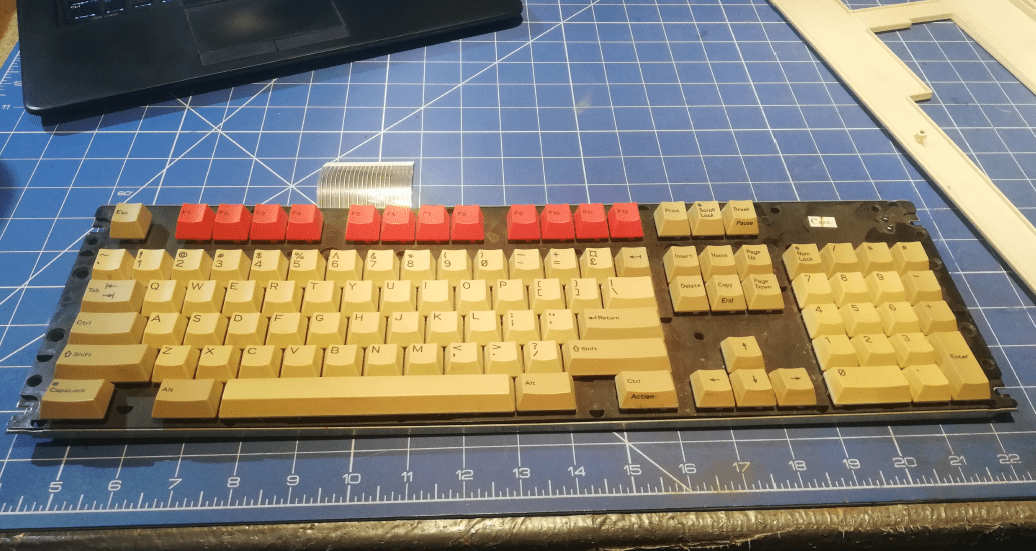
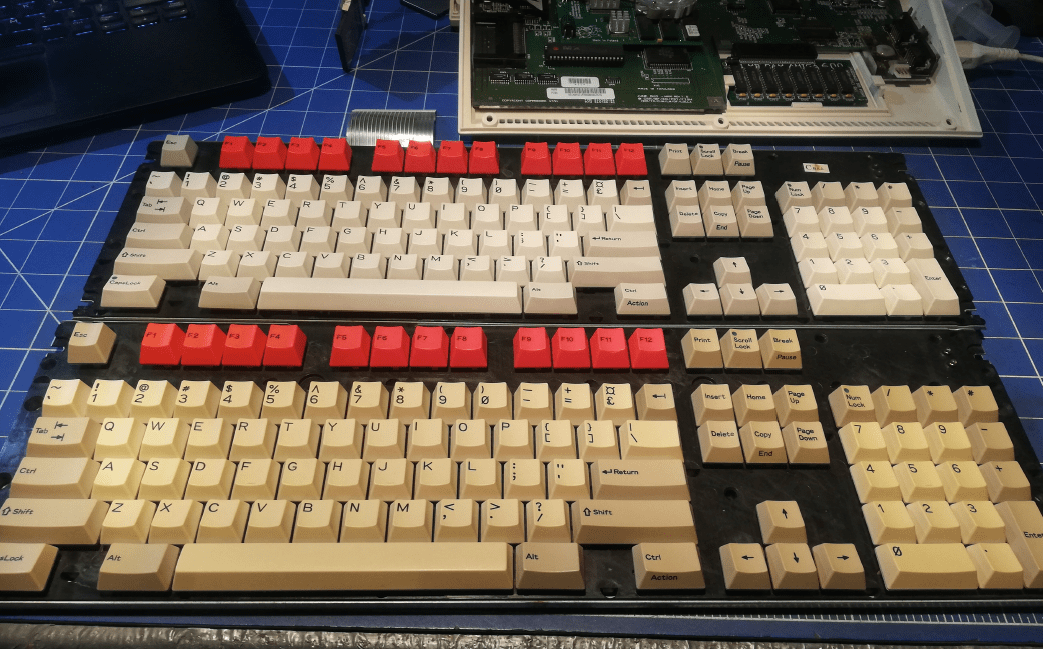
After a loner while in a magical retr0brighting solution …
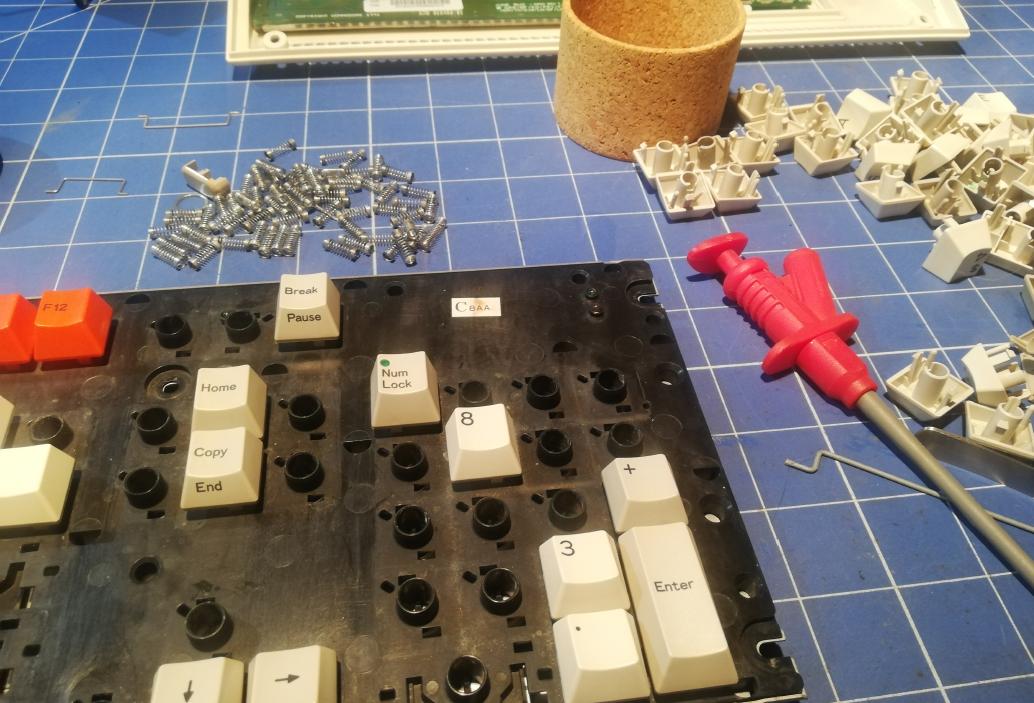
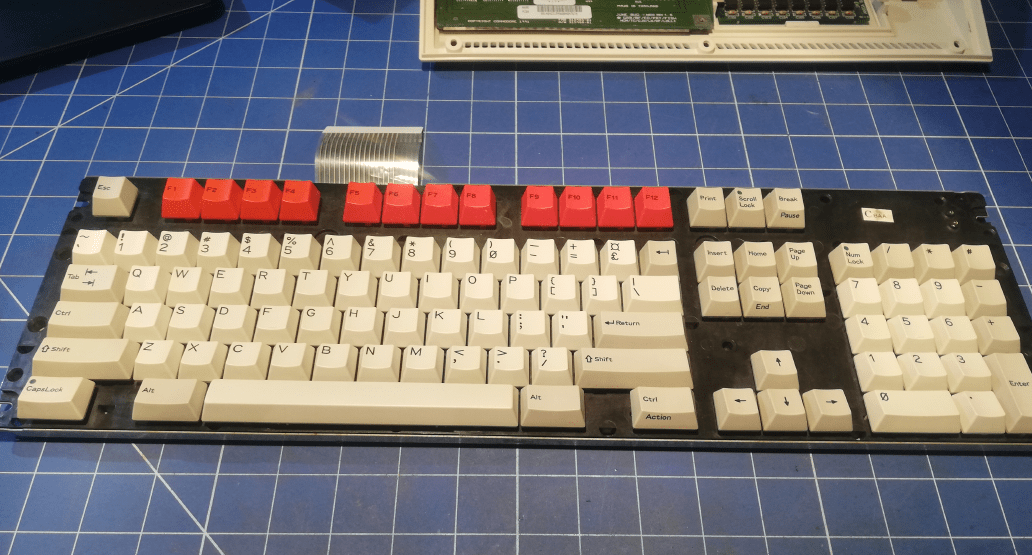
Below is a comparison with a keyboard that I didn’t work on yet.
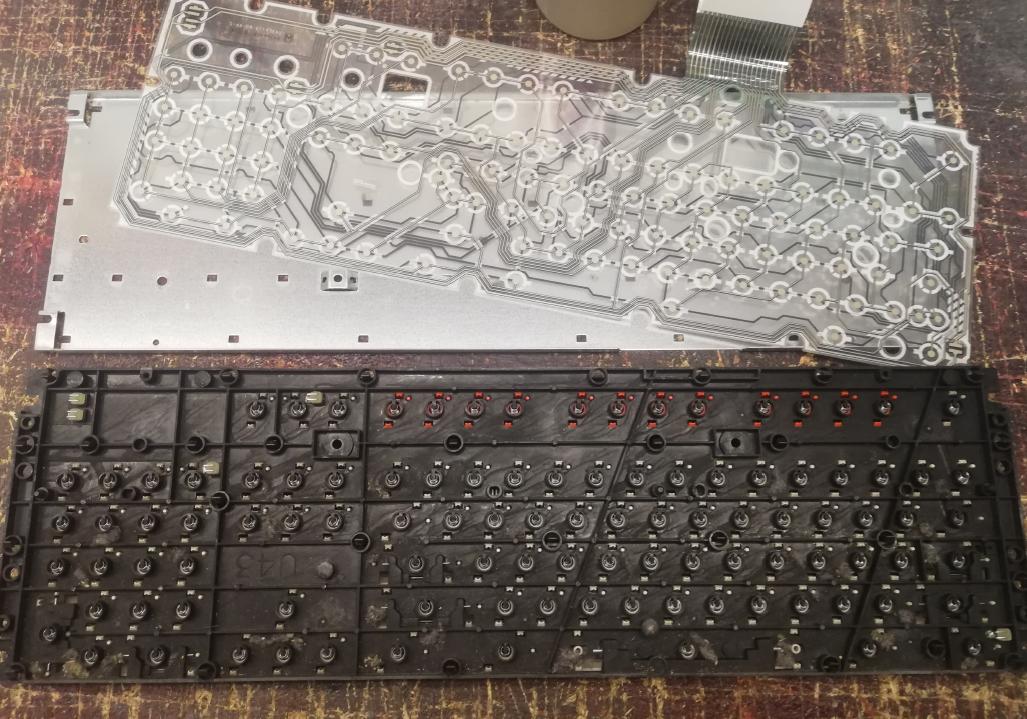
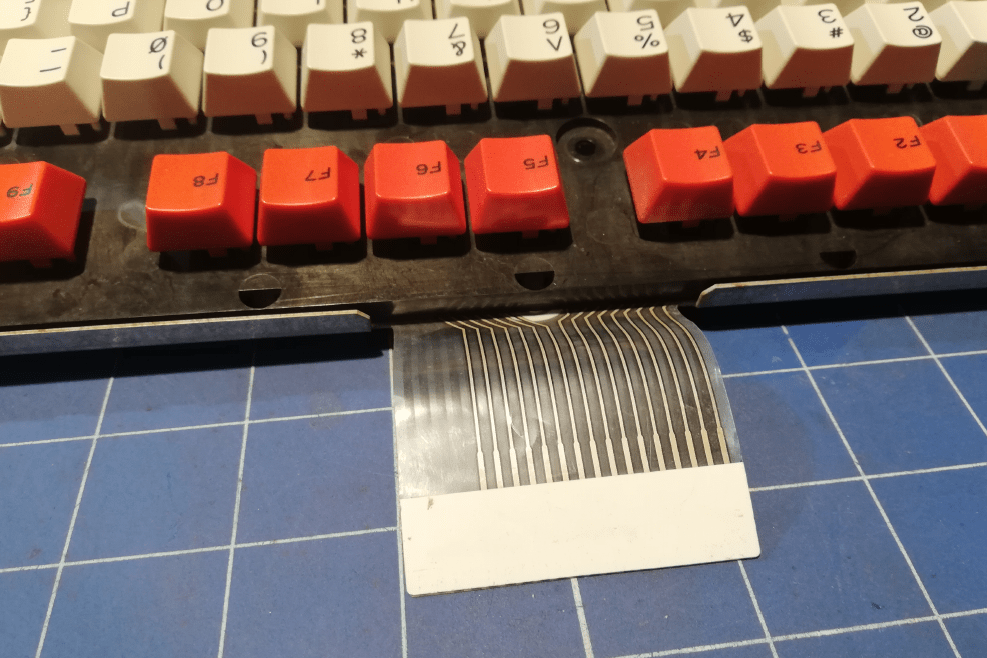
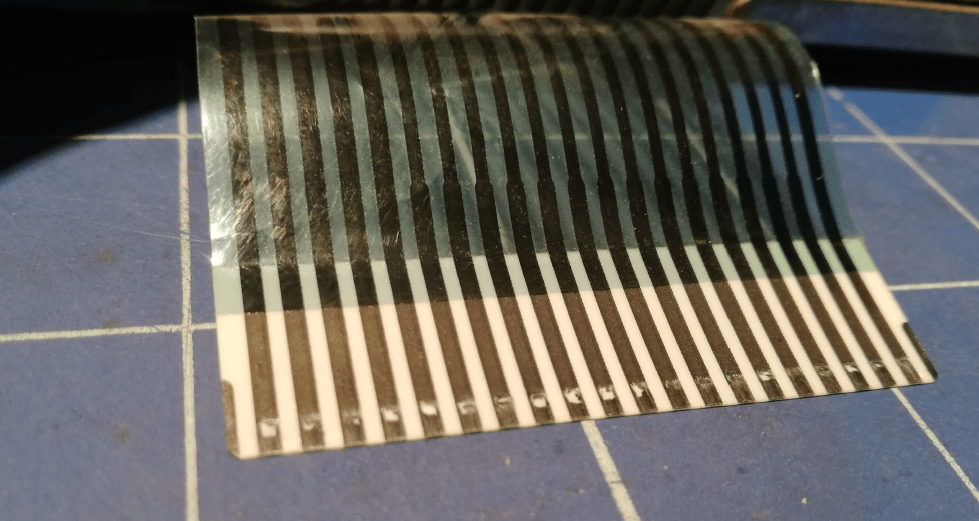
I had to fix the connector as it was a bit worn out and didn’t serve its purpose. That was easily achieved by cutting off a tiny bit of an original membrane connector and the keyboard was working.

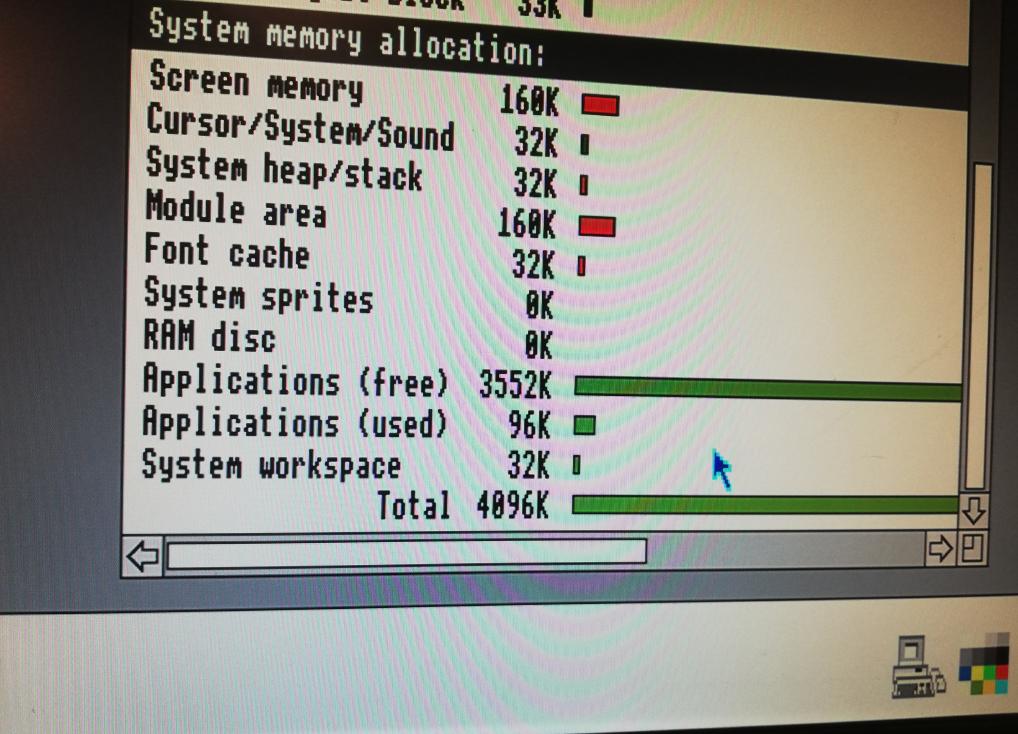
RAM upgrade and RTC battery mod
For this particular unit, I’ve ordered a RAM upgrade KIT and RTC battery mod from Mark of retroclinic. As usual, Marks’s KITs and products are awesome with detailed installation manuals, etc.
The package came in shortly (pre-BREXIT times ha!) and I started installing both upgrades.
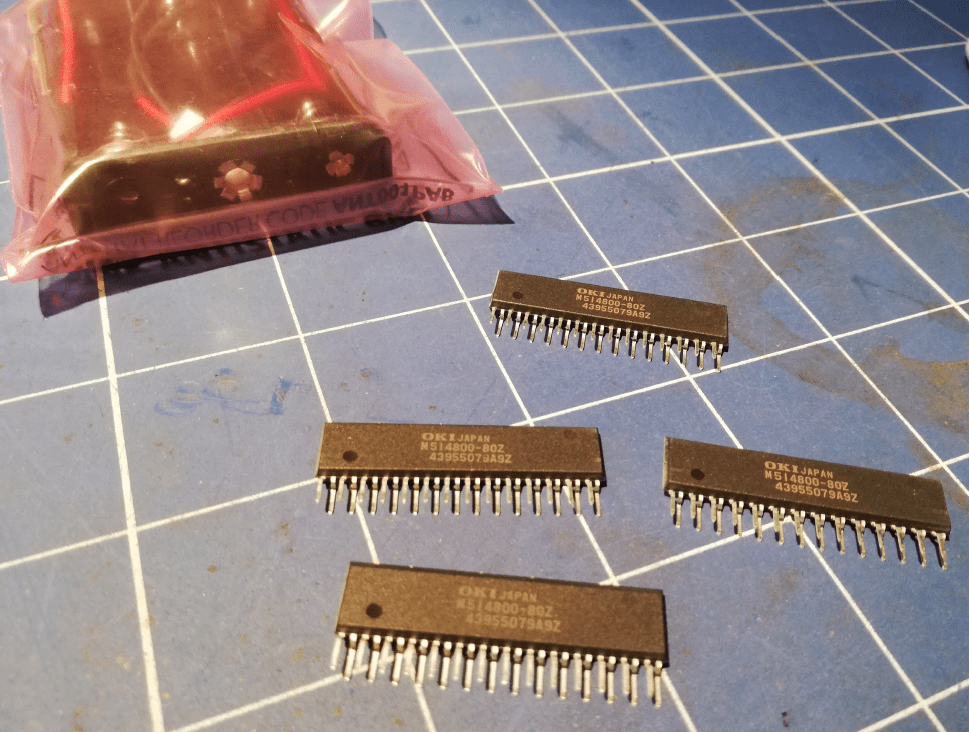
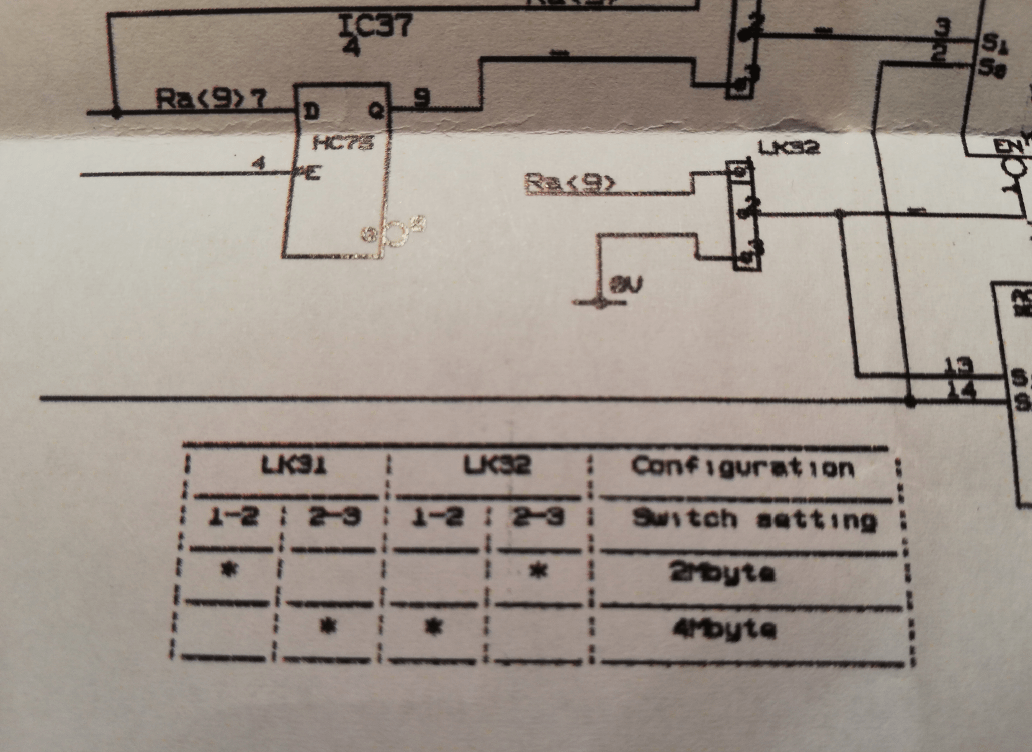
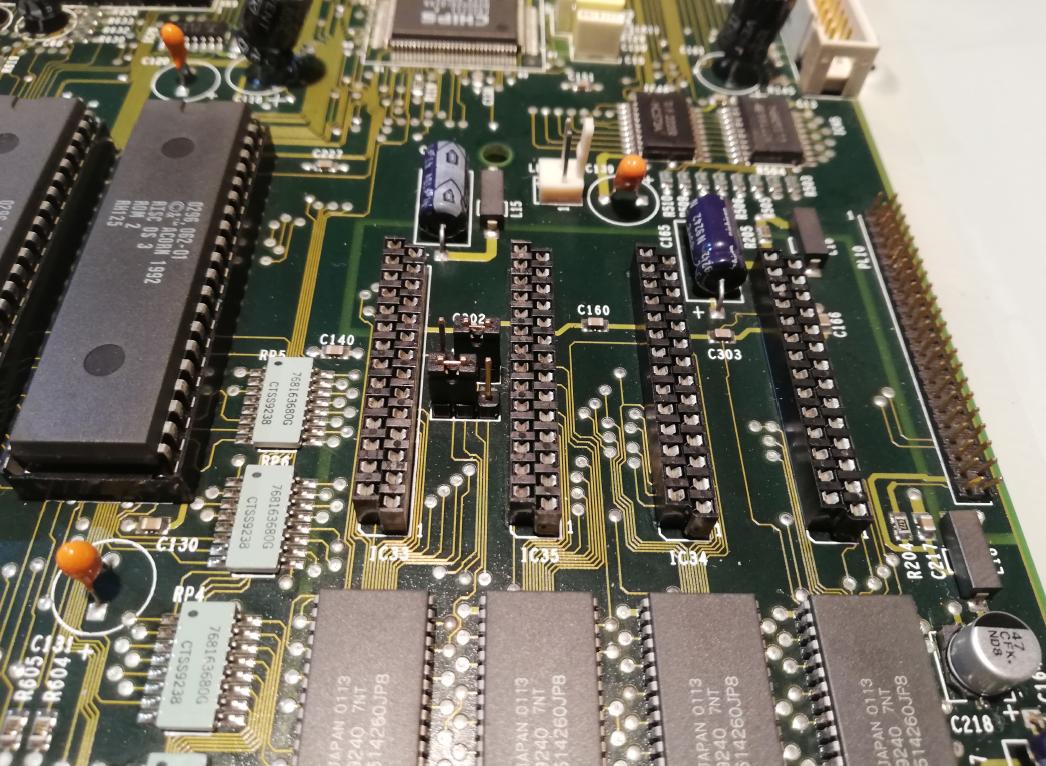
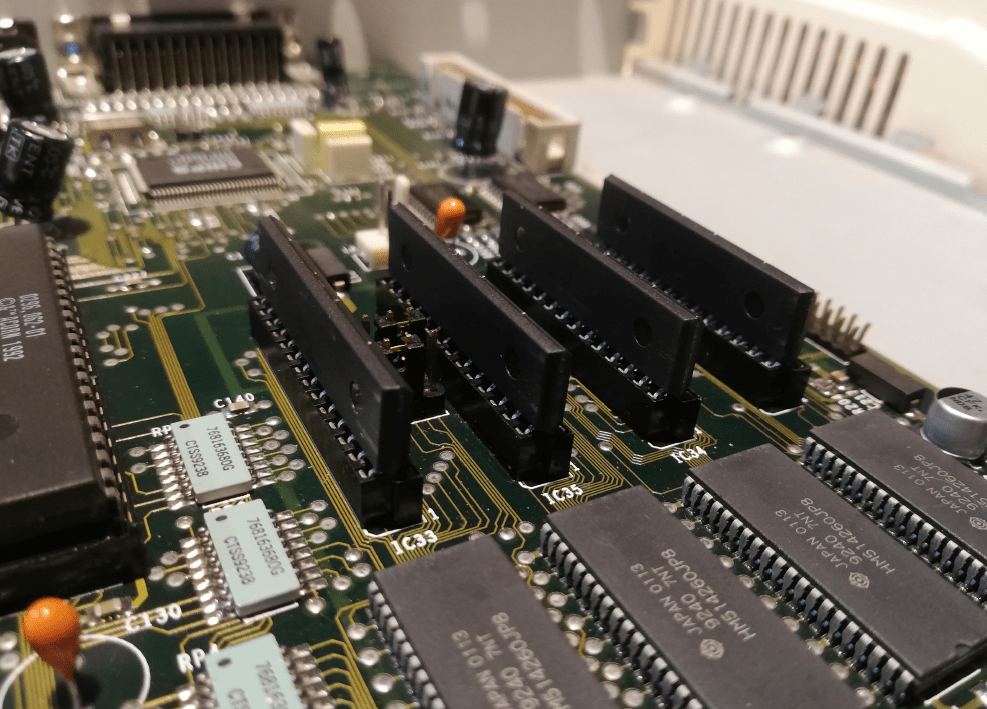
All I had to do is to put RAM chips into sockets and set up jumpers according to the manual – easy

… and the RTC 3xAA battery basket was installed as well.

Yay! it worked!
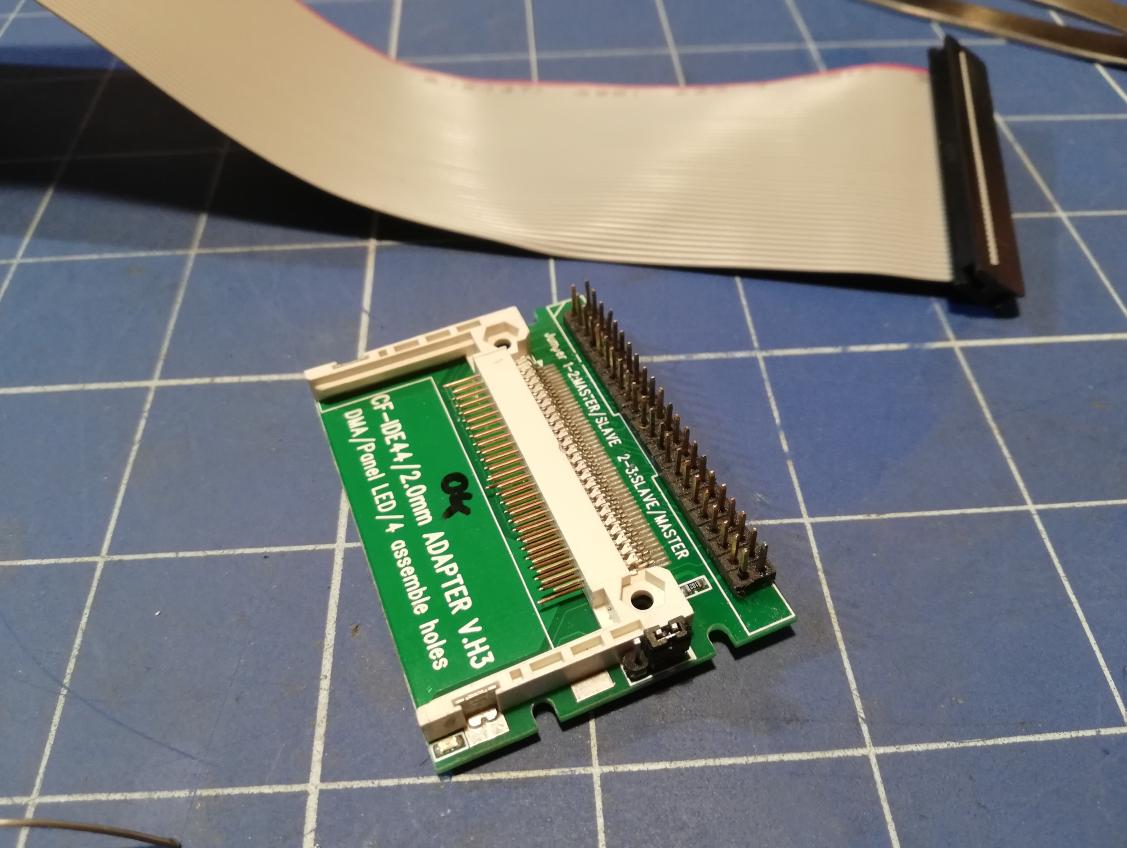
CF2IDE adapter
I wanted to use a standard CF2IDE adapter along with a CF card as a hard drive substitute.
That part was a bit tricky as I am not an expert in Acorns. After failing miserably to set it all up, I’ve started looking for some help. Startdot forums to the rescue! YaY!
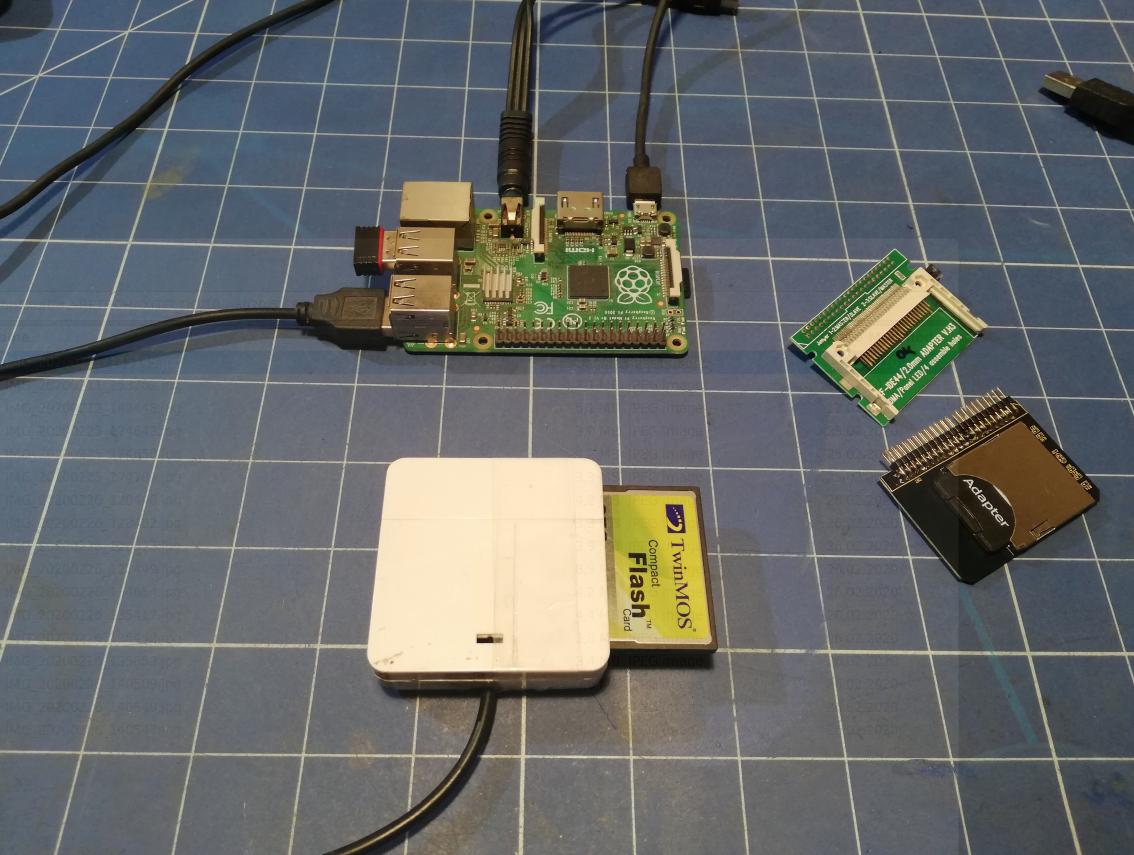
There were two main issues with this mod. First, I had to figure out a way to properly set up a CF card so it could work under RISC OS 3.1. At first, I thought that I can do it easily under Linux (which is doable) but it turned out that there is another way – Raspberry PI running RISC OS 5! I’ve never had an opportunity to play with this OS so I was like…

There is a great tutorial on how to do it in detail on awesome startdot forums. Guys on forums pointed me to an image that I can burn to test my setup out.
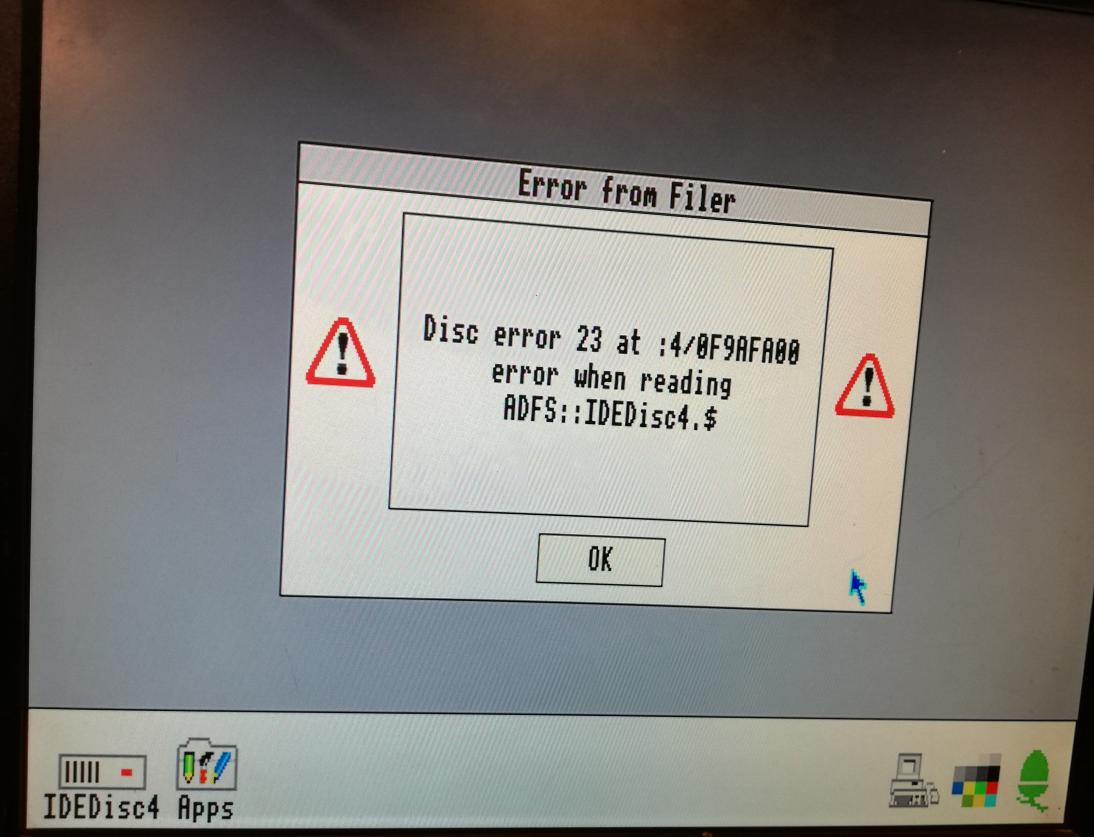
It kinda worked but regardless of my efforts, all I was getting was this annoying error pop-up.
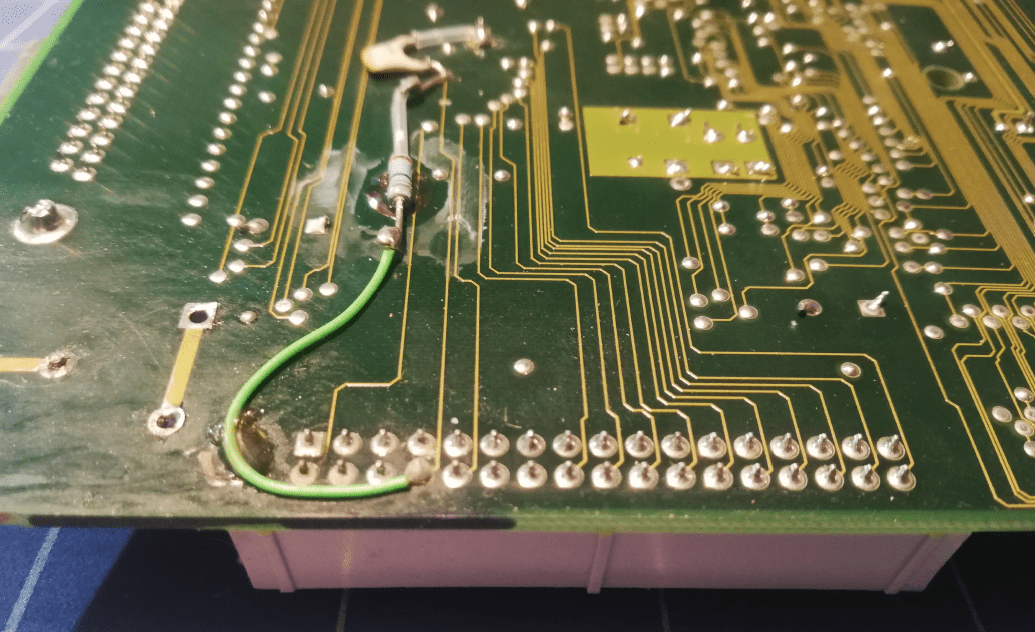
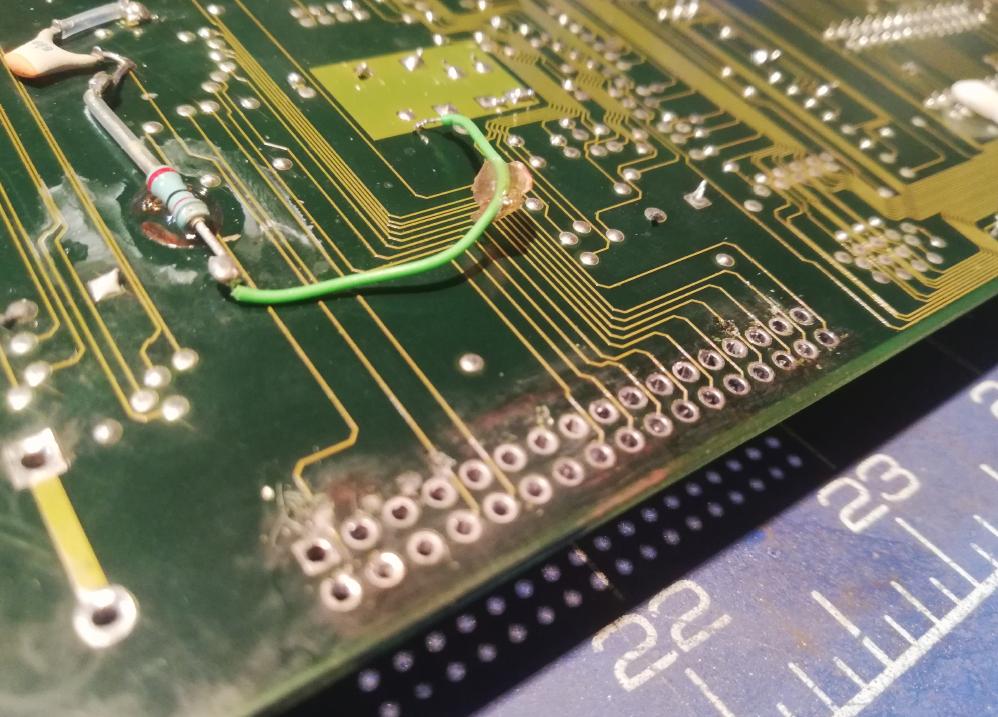
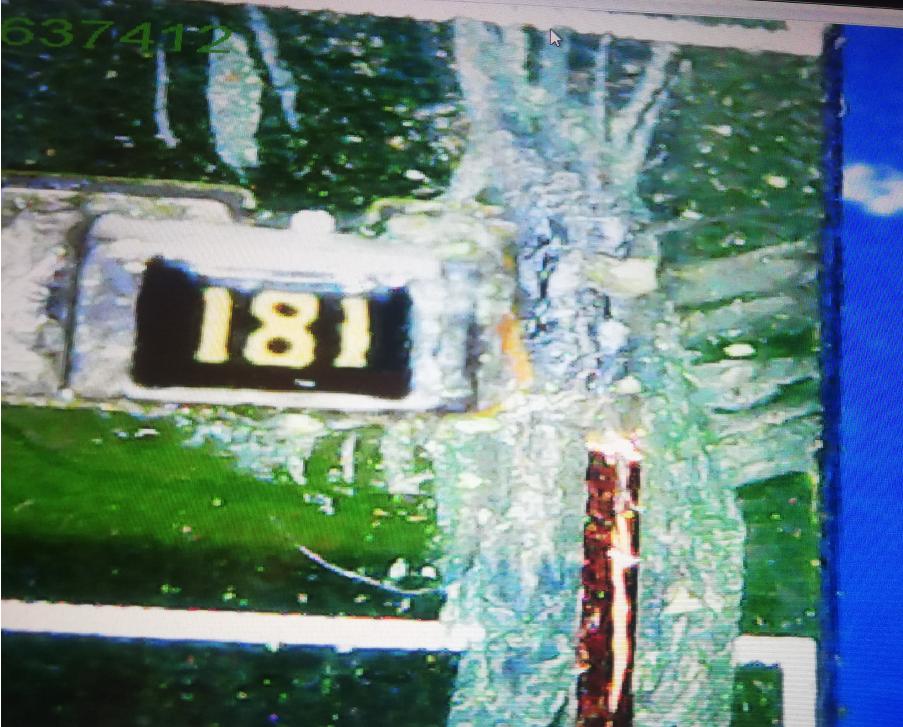
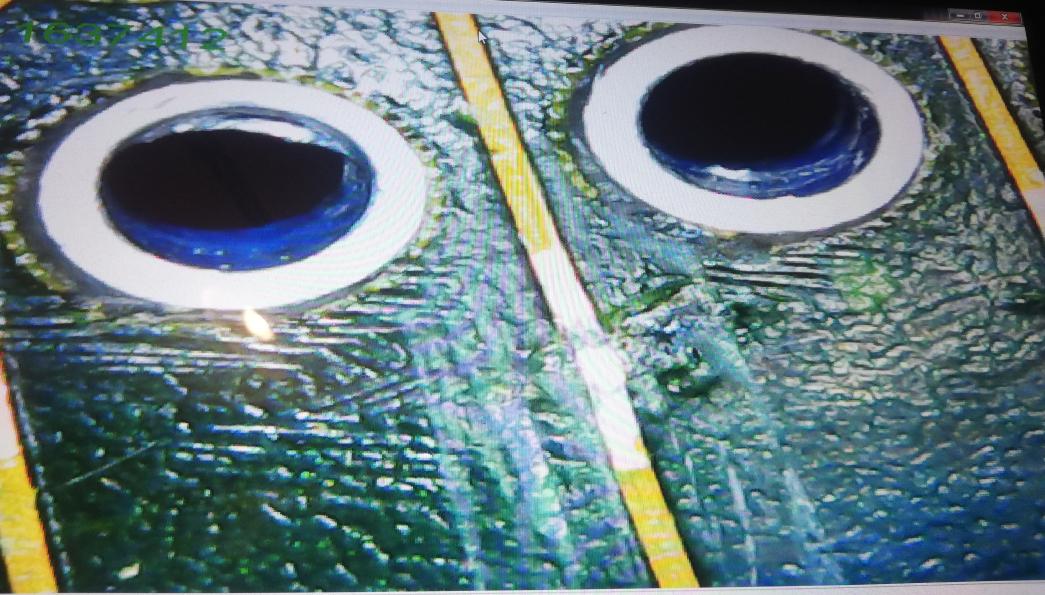
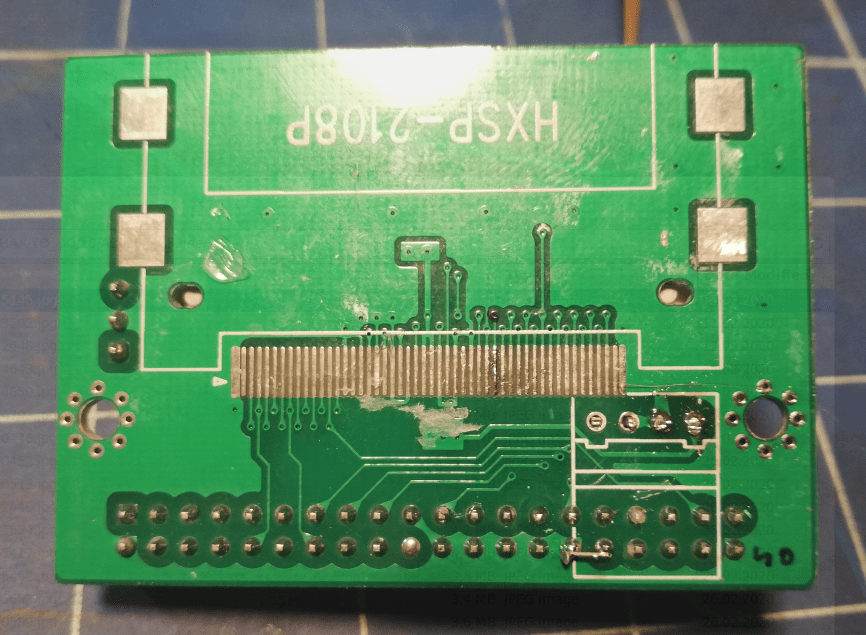
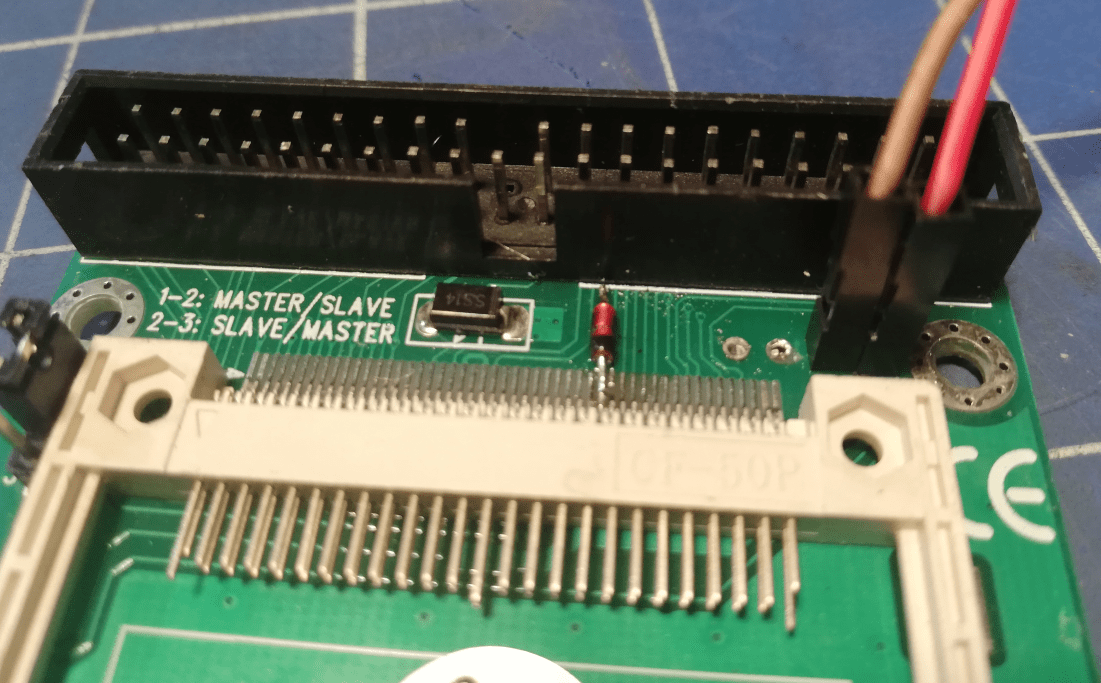
This is where another thread on stardot forums helped me a lot. First, I had to modify my adapter a bit. That was done by adding a diode to it and connecting pins 30 and 32 on a CF2IDE adapter.
Dirty hack pics 😀
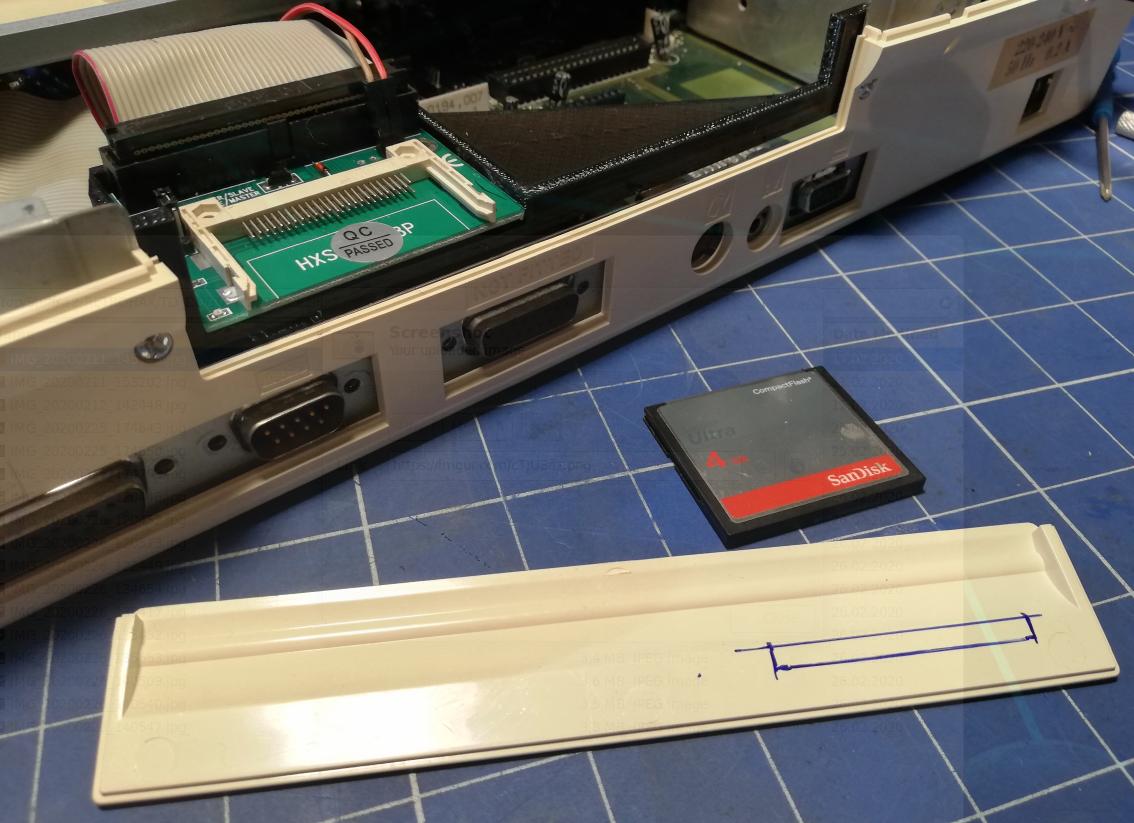
I’ve managed to test four different CF cards but the error was still there so I’ve decided to test it one more, last time and used a 4GB SANDISK Ultra CF card this time – lesson learned from Speccy devices 😉
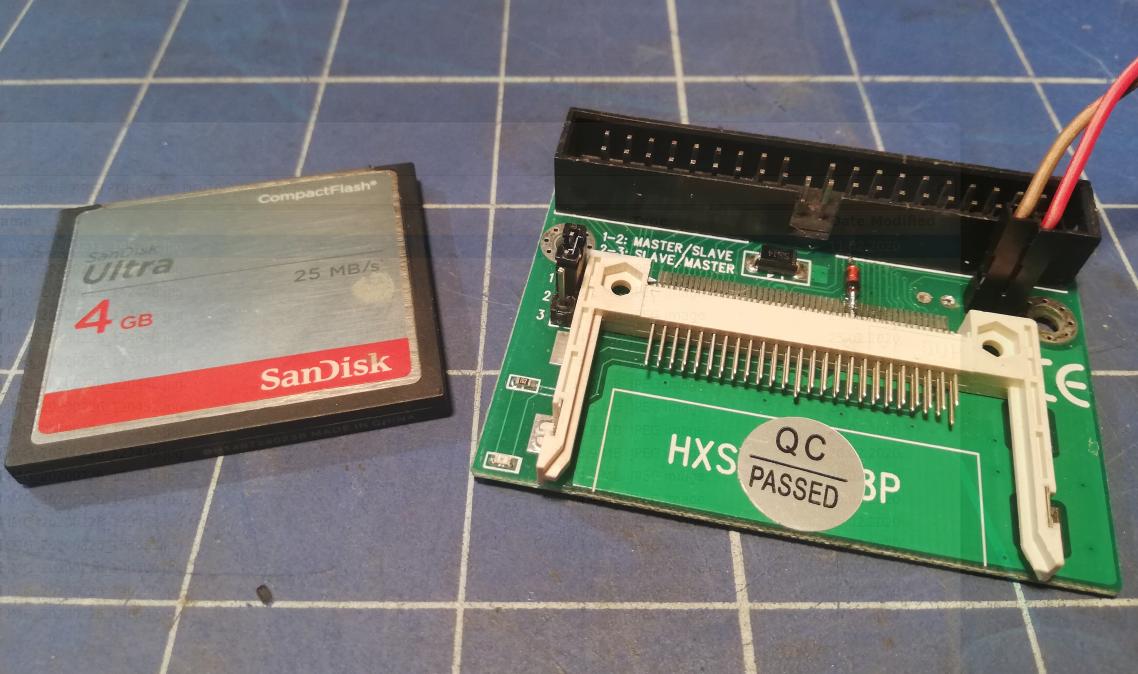
Guess what …
It freaking worked!!! Wooohooo!!!
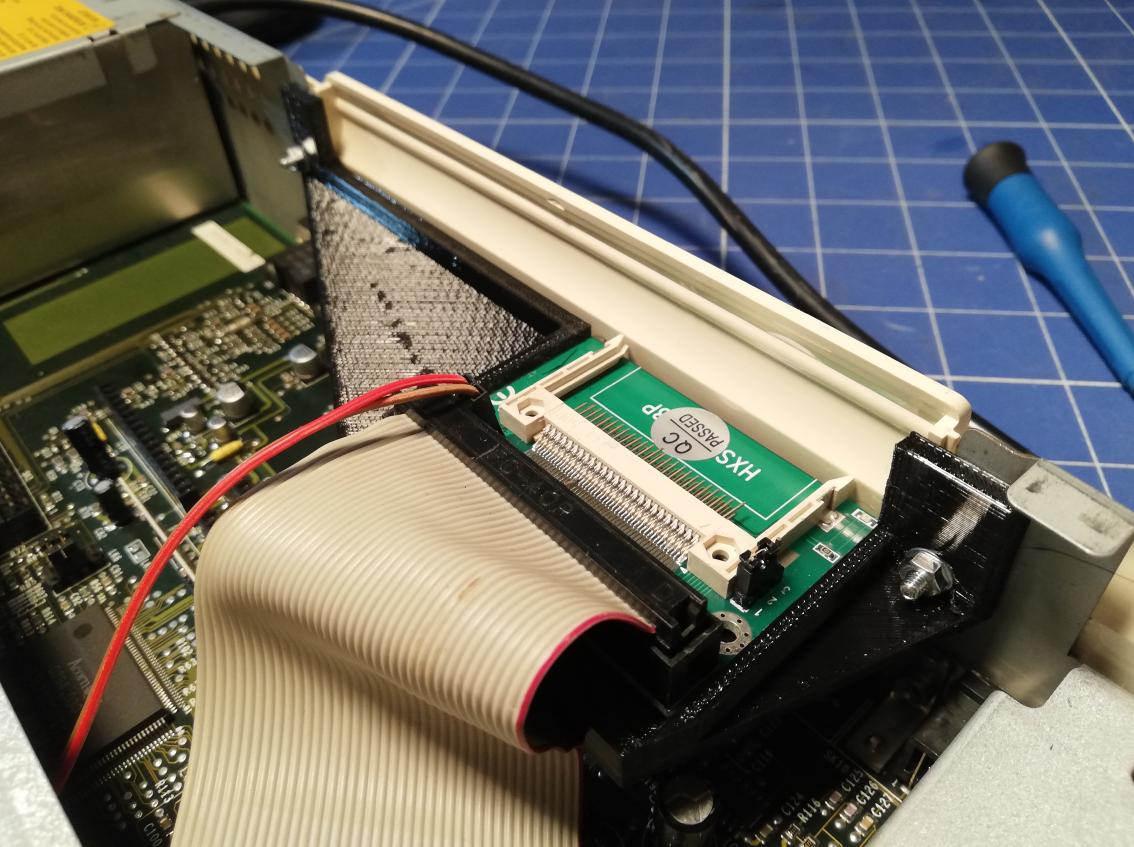
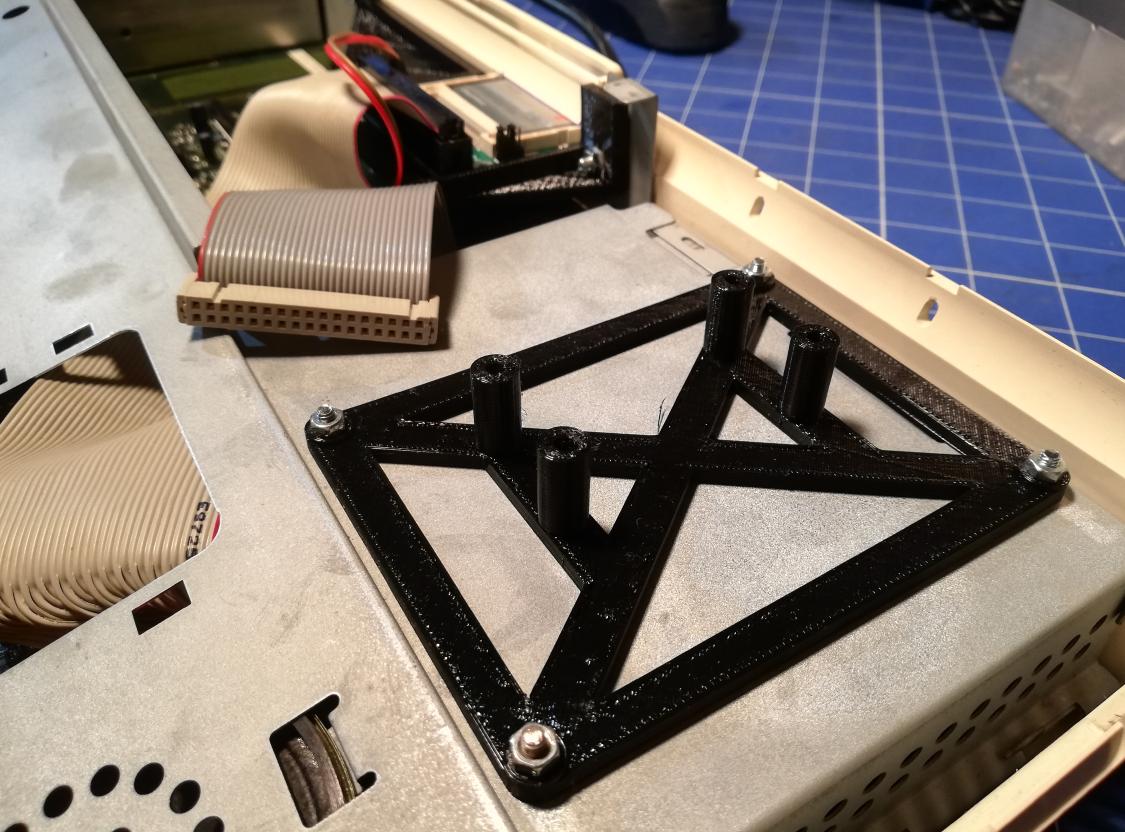
Once that was sorted out, I started looking for a way to nicely install an adapter and a card inside Archie.
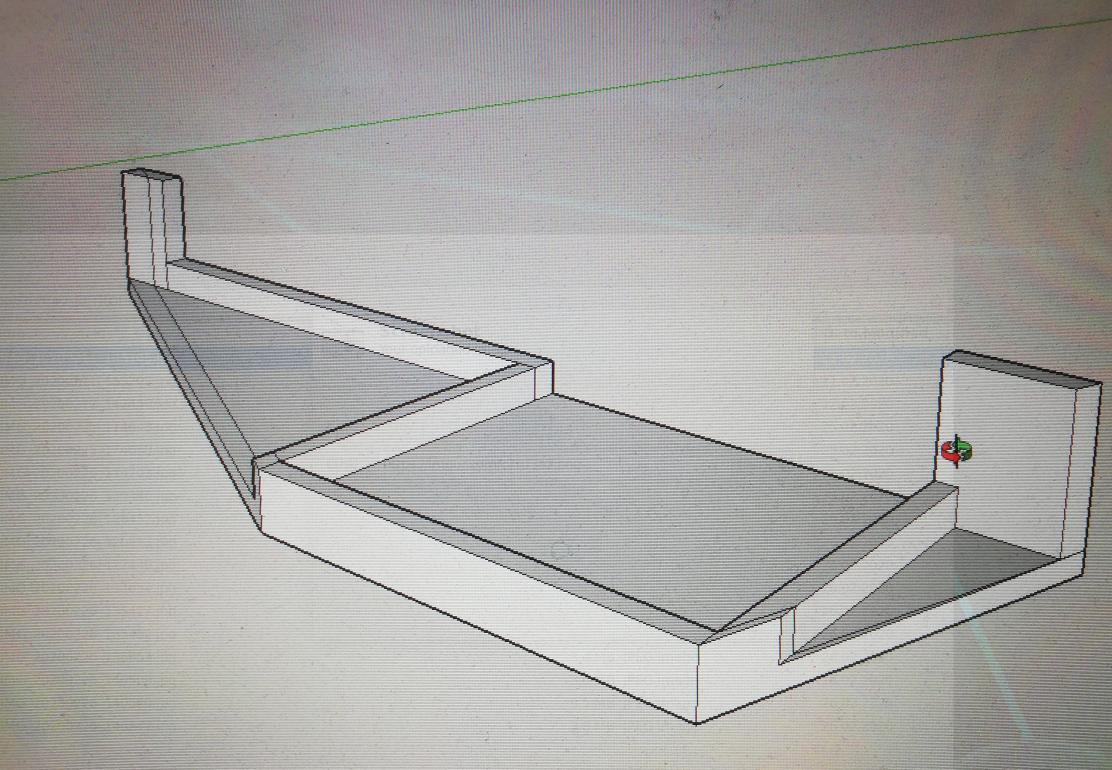
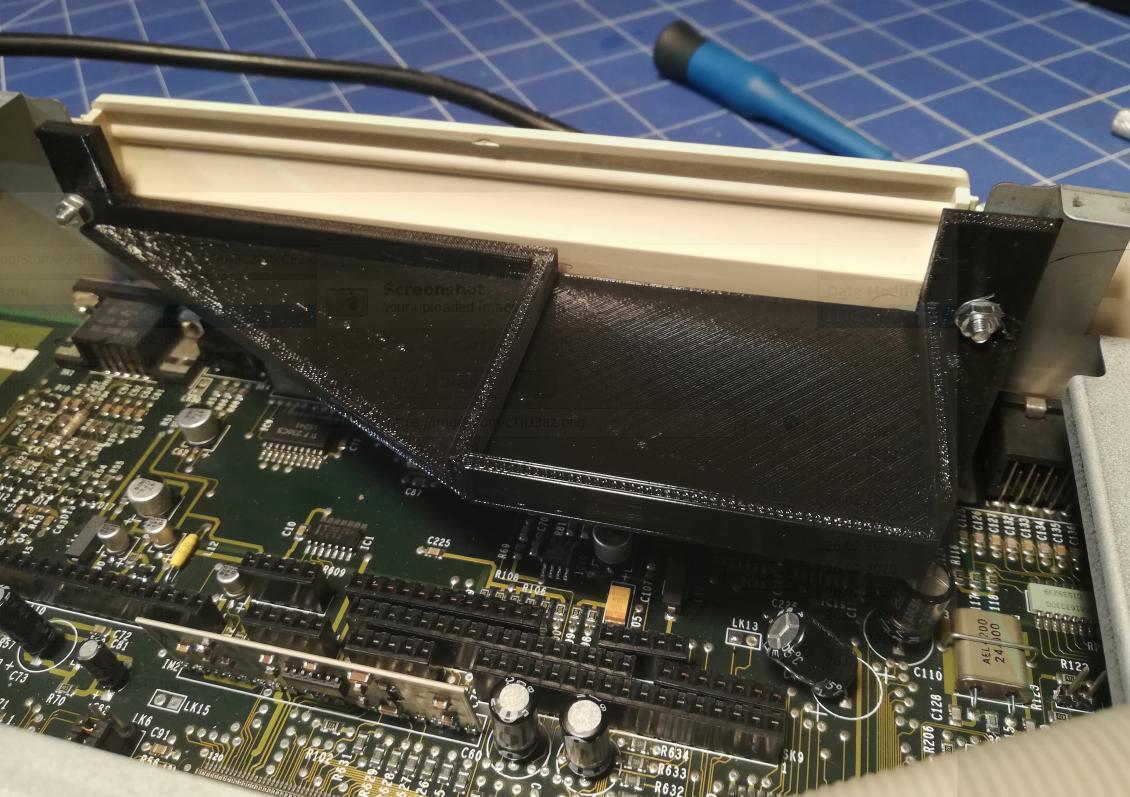
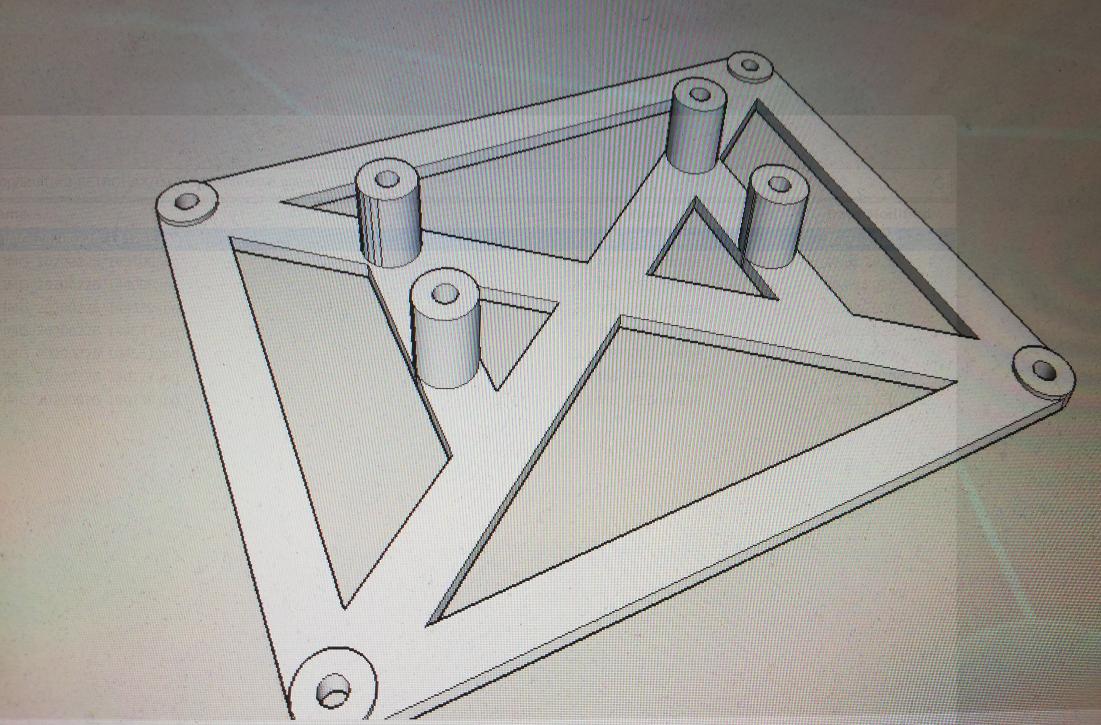
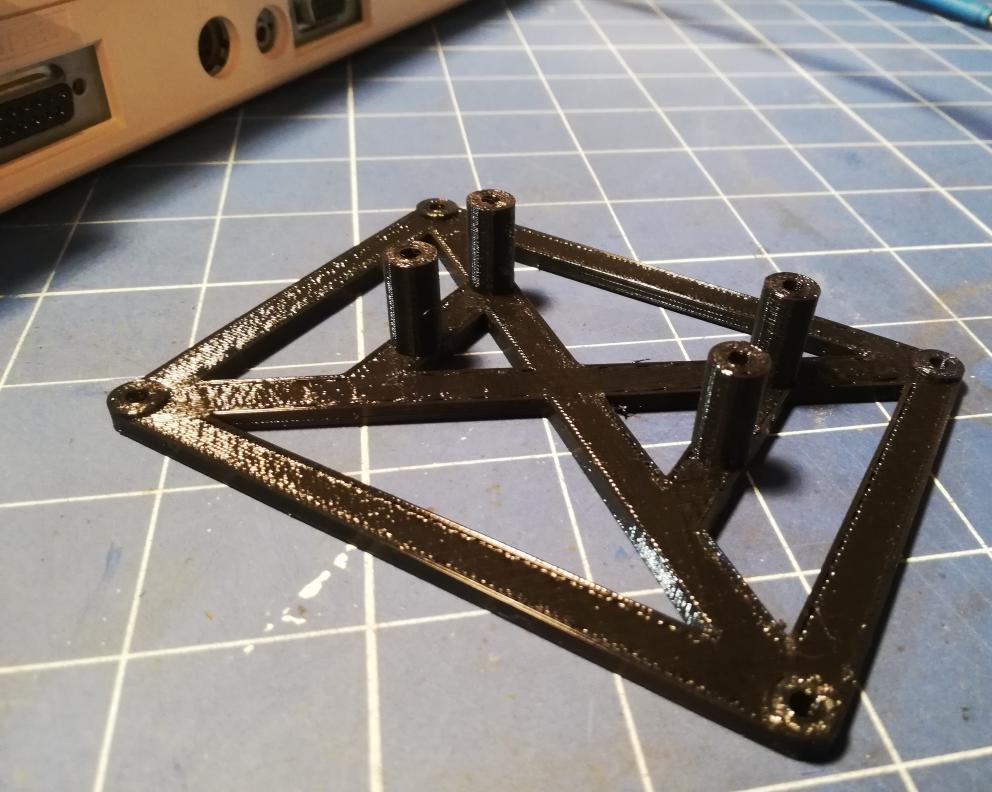
I’ve figured that I can 3D print a simple holder for it and screw it inside. Quick designing and 3D printing session followed. (STL file is available at the bottom of the post)
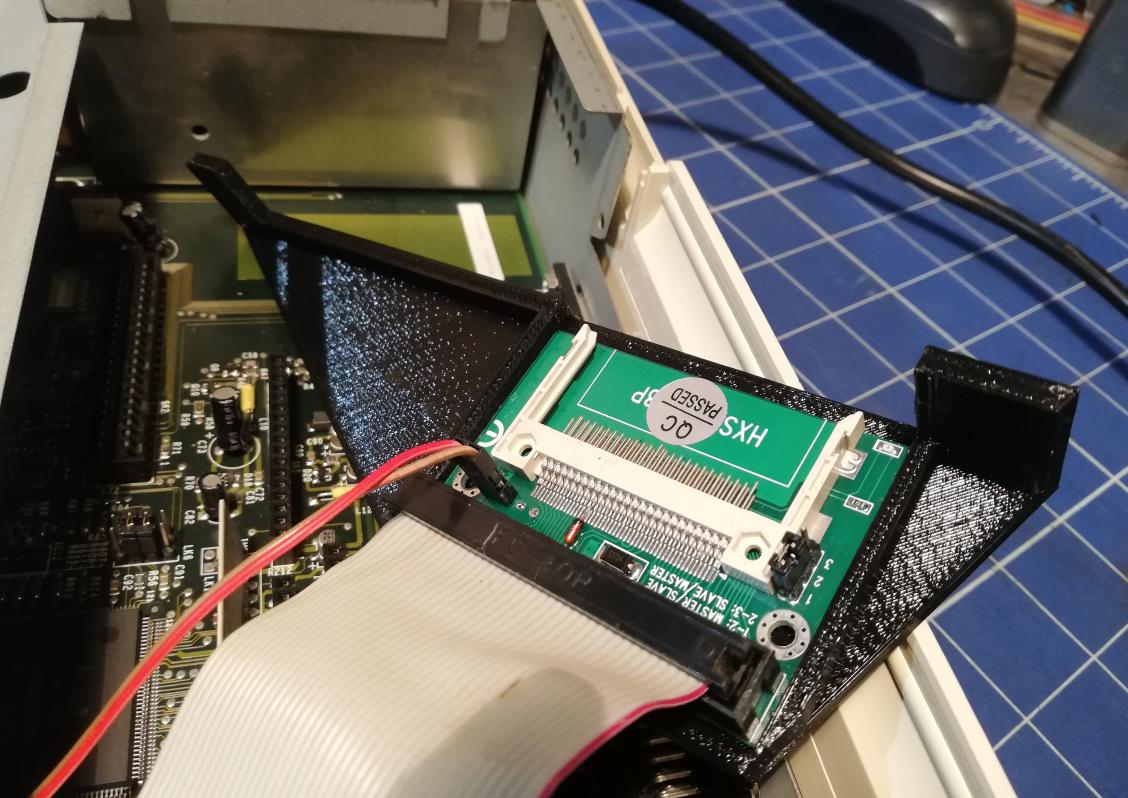
All I had to do to finish it, was to make a hole in a dummy cover for a CF card.
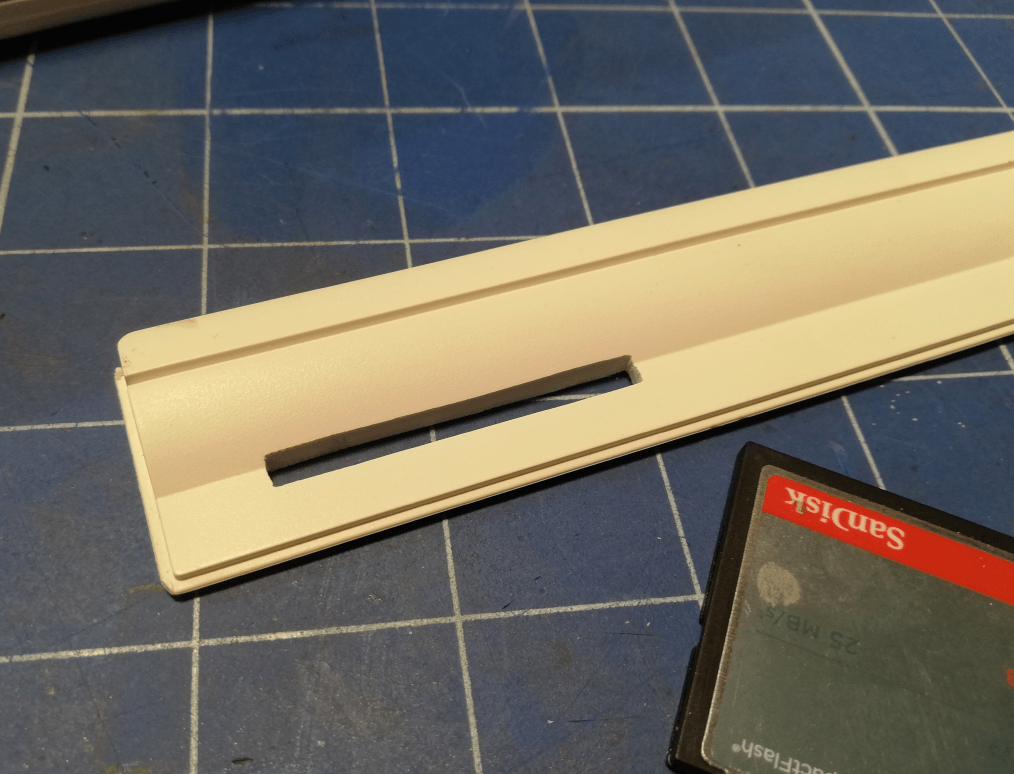
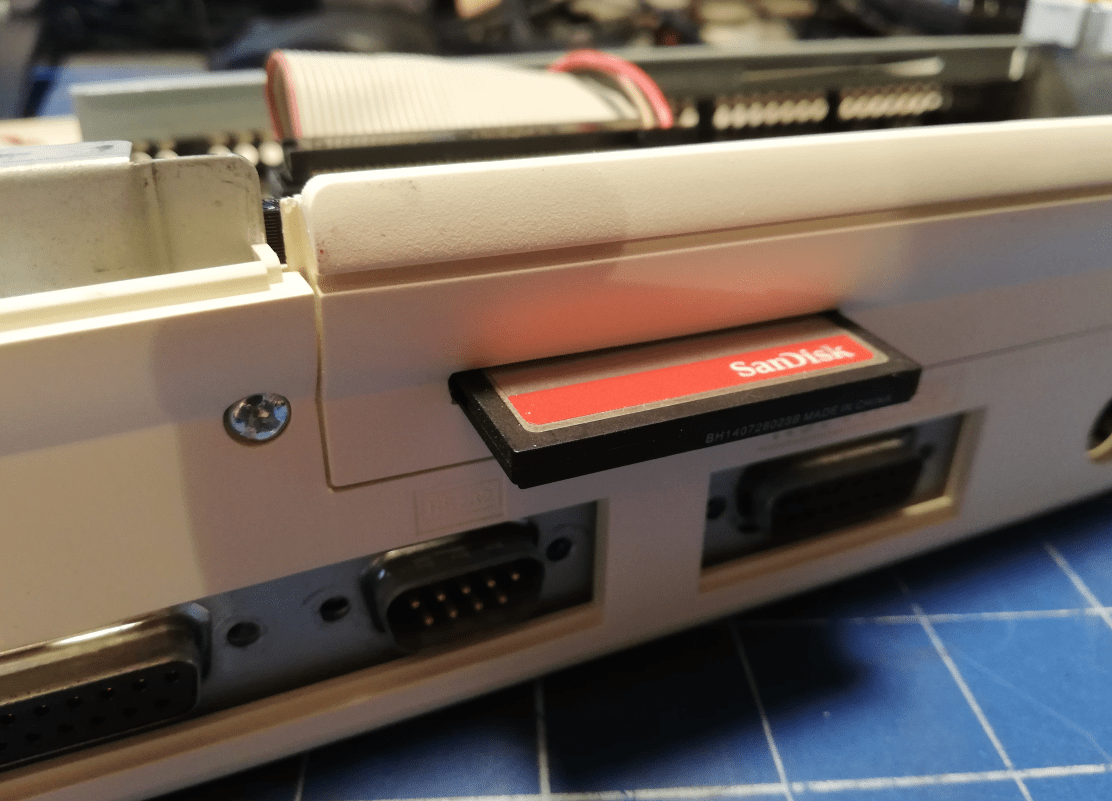
Results:

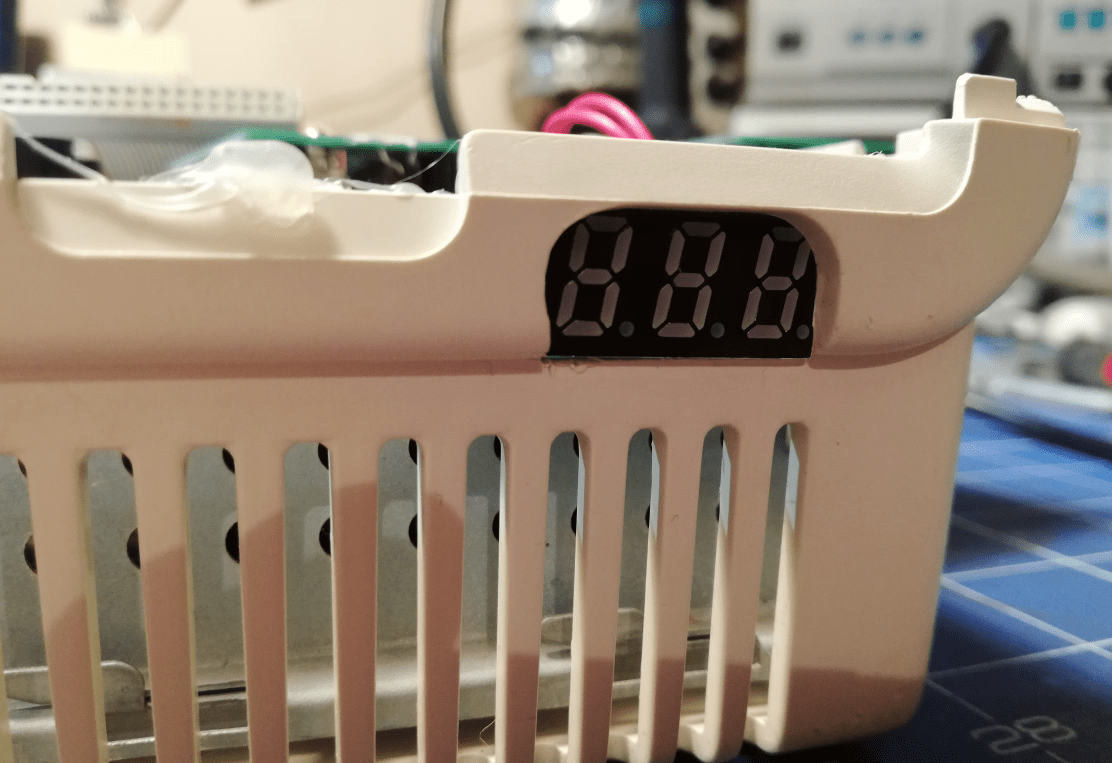
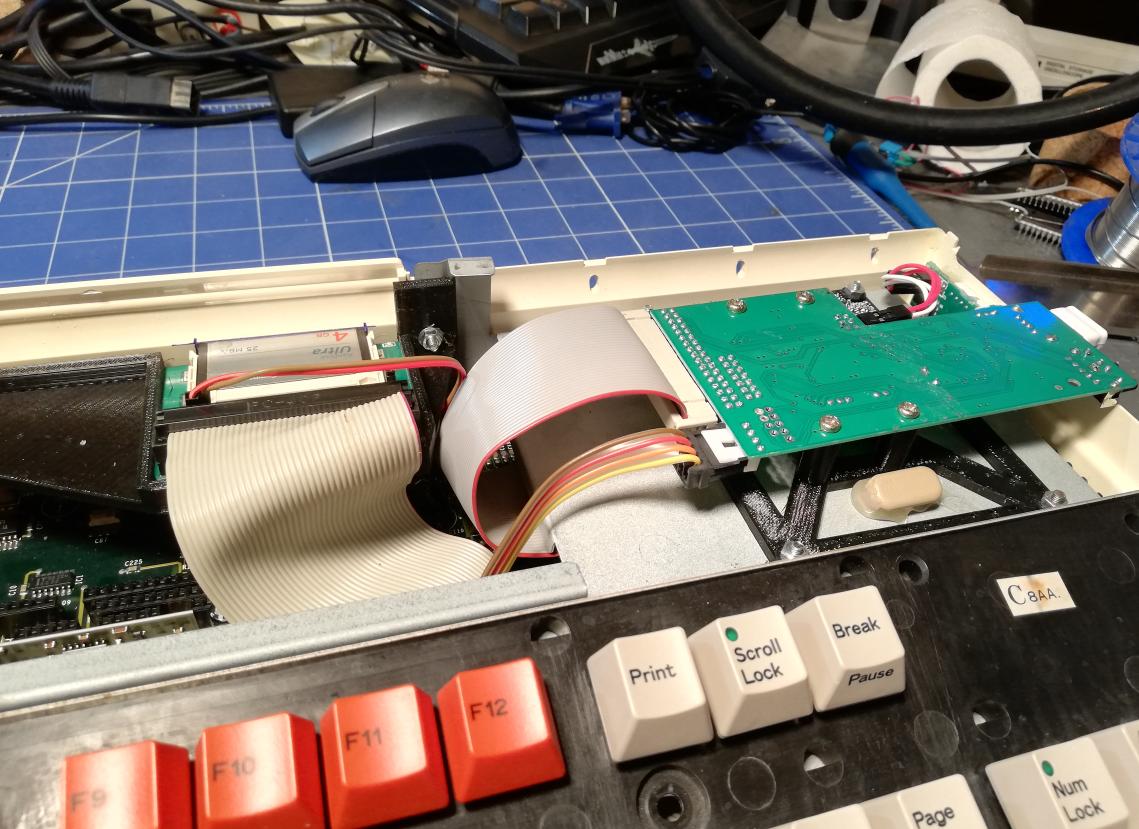
GOTEK installation
GOTEK drive replacement was another thing on the to-do list.
That part was easily achieved by designing and 3D printing a simple adapter. (STL file is available at the bottom of the post)
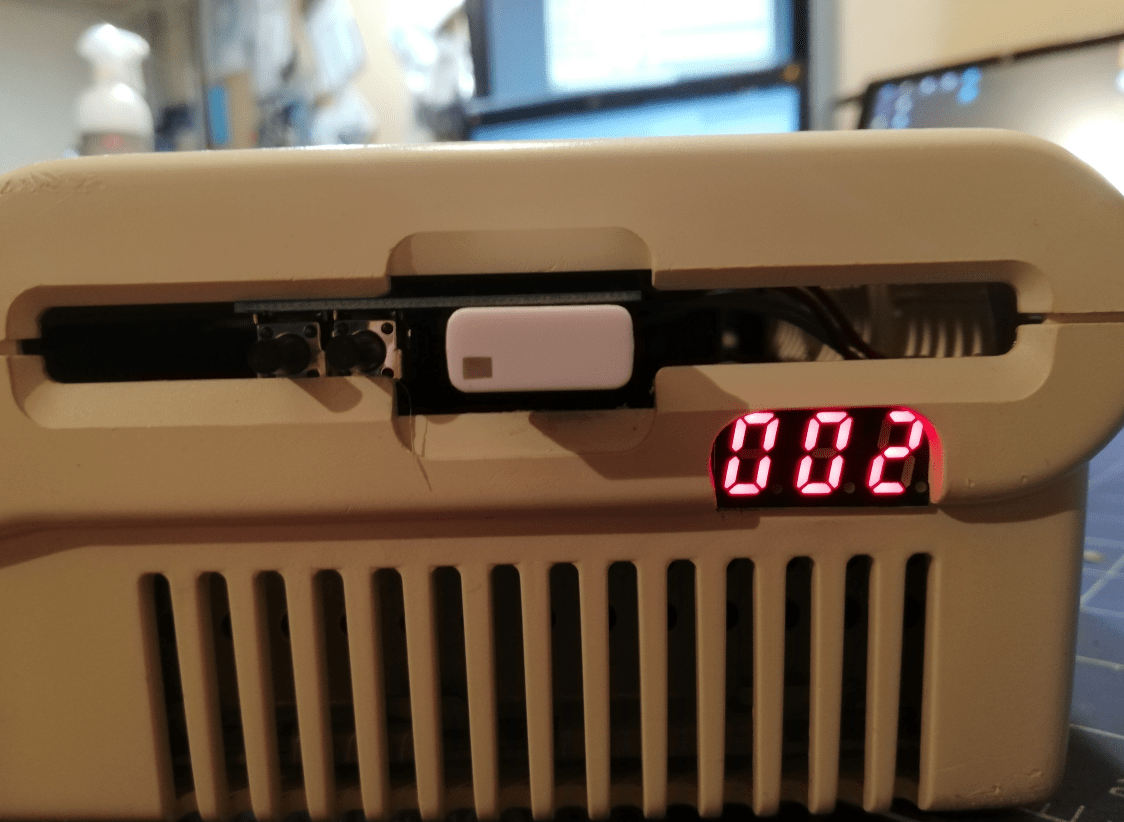
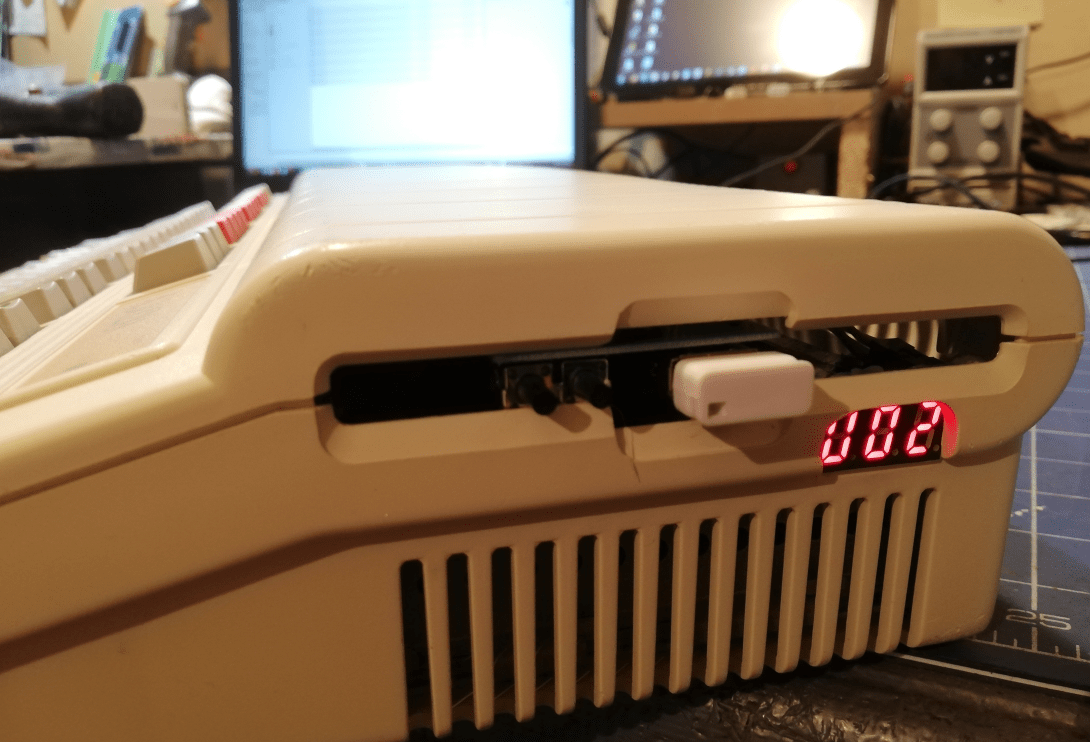
This is how it was done.
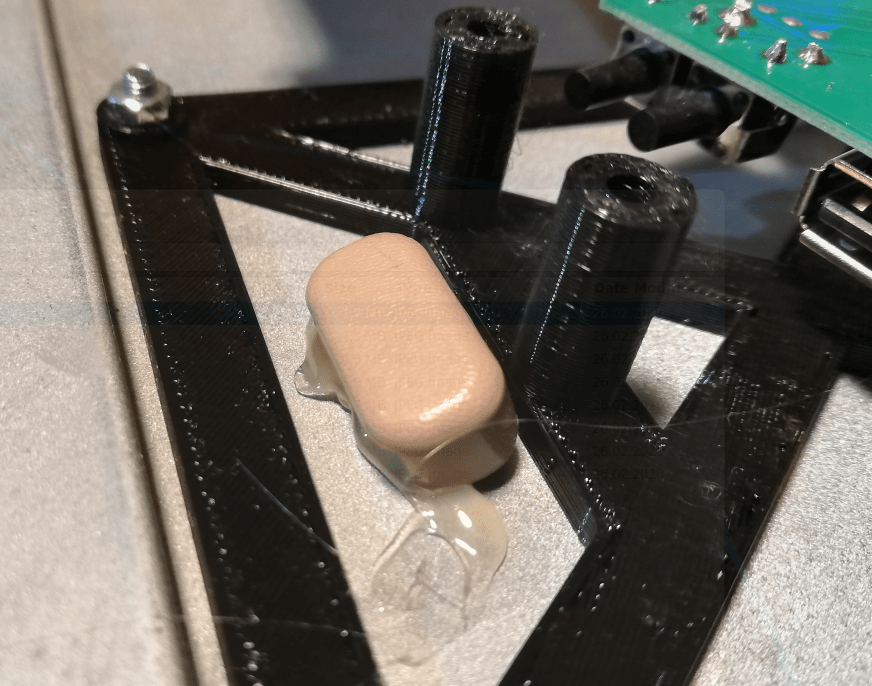
I’ve glued on an original floppy button just in case the owner wants to return to an original state.
Finale
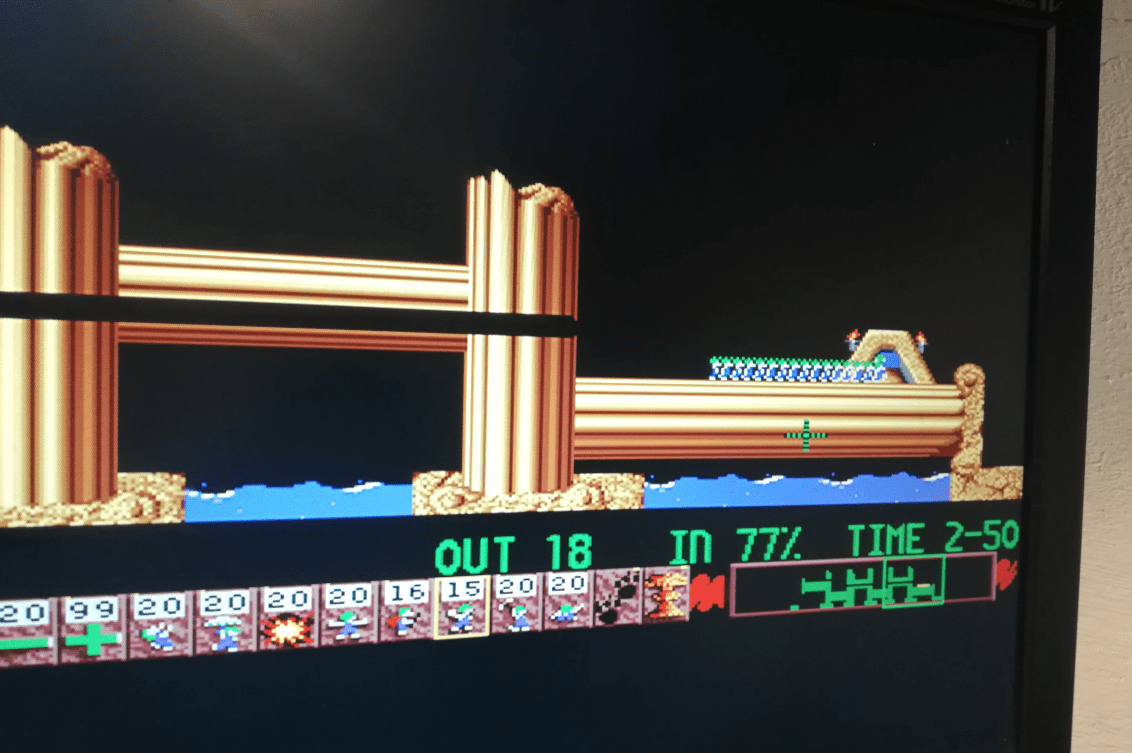
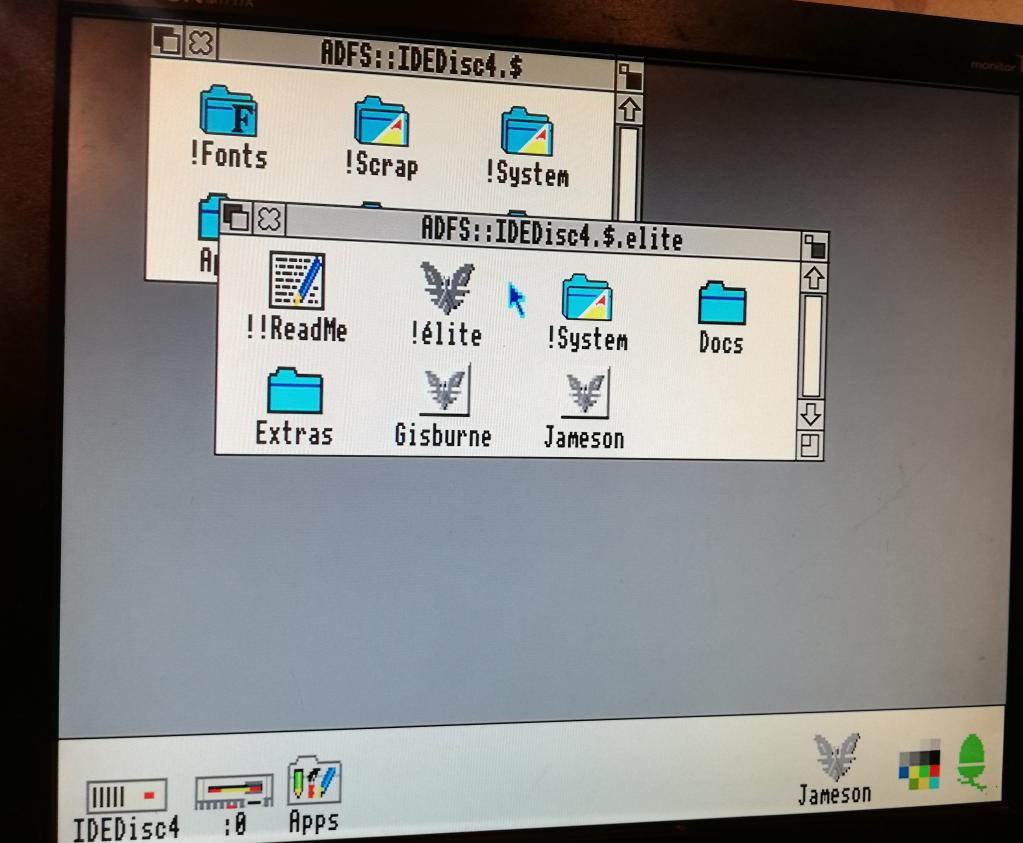
Acorn Archimedes A3020 was ready to play with. Before shipping it to a new owner, I played a bit with this great machine. Below are some pics and a short video showing what this computer is capable of.


PS. Promised STL files for 3D printing -> HERE
OUTRO
If you want to get the retro gear I am manufacturing or hardware modules, please visit shop -> https://retrohax.net/shop/
Please support my work by commenting here and on our Facebook or Twitter pages.
If you want to donate a dead computer then drop me an email. Extreme cases are welcome. – Nobody donates anything. so don’t bother. Looks like only Youtubers get all goodies LOLOL ;P <– THIS IS NO LONGER TRUE! Cheers to guys from Brasil 😀
I kolejny sprzęt odratowany!! Świetna robota!
Dziękuję 🙂
Awesome………. just a great job !!!!!
Thank you sir!