… or how to spend a few months extruding molten plastic
Why?
After finishing my first 3D printer, I started to feel hungry for more upgrades, changes and playing with 3Dprinting in general. The second build was commenced!
The 2nd build
Of course, it was based on the well-known RepRap Prusa-Mendel i2 again.
Plastic parts for a second 3D printer were printed on my first machine.
Nearly all parts were made out of yellow ABS filament.
This time, I wanted to have a chance to create larger models, so I had to buy longer threaded and smooth rods. Since longer rods mean more flexible construction (which is not desired effect), I had to print some frame add-ons to make it more rigid.
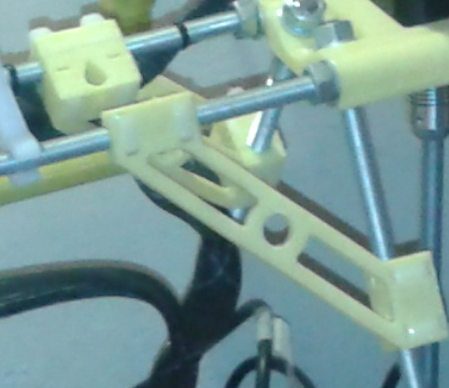
I’ve also added quite a few enhancements like a more precise Z-Endstop holder, electronics box, cable chain cover, or details like a dust collector.
Yeah yeah, I know it is nothing new but that was 3 years ago 😉
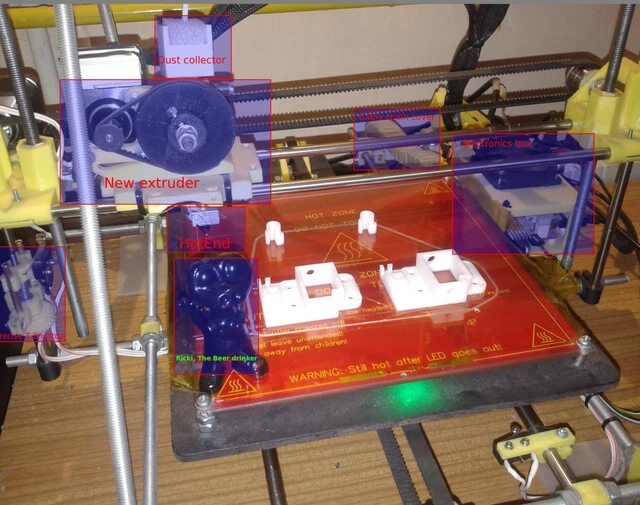
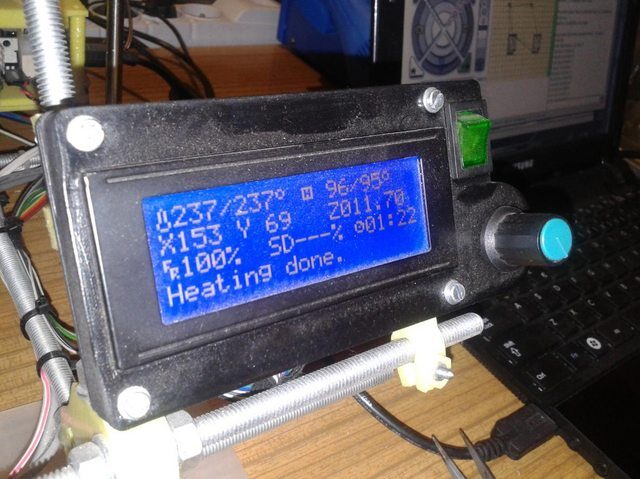
Besides all the above minor changes, there was a big one.
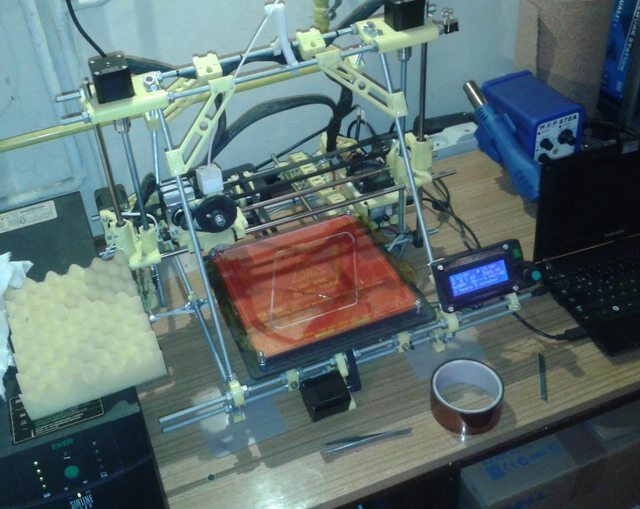
I’ve changed an extruder to Yruds and UDS4.5 Hot-end by Unique Design equipped with a 0.4mm brass nozzle. That combo definitely improved speed and precision. I’ve also powered the whole machine via the Ever Sineline UPS after a few failed prints – power surges are not good :>
Here is how it looked just after the first tests.
Here is a video of it printing just after preliminary calibration but still with an old hot-end
Printer 2.0 from pit on Vimeo.
For a comparison, you can have a look at the video below.
Fully calibrated (which took around a year lol) with all upgrades mounted and with the new UDS4.5 hotend.
StillPrinting from pit on Vimeo.
Printouts
I must admit that to get decent printouts I had to spend a few weeks … OK, OK …. waaaay more, but it’s fun and it’s a part of the learning curve.
I won’t go into details about how to calibrate a RepRap since on the web you can find a lot of publications by people with far superior knowledge to mine.
I’ve printed a shit load of useless stuff but there were goodies too.
A good example is the one below.
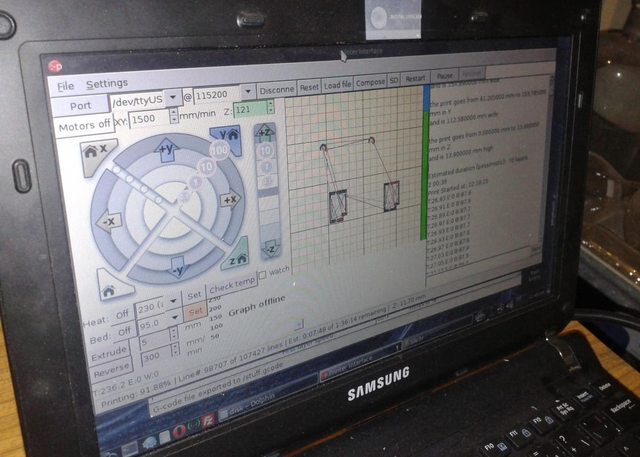
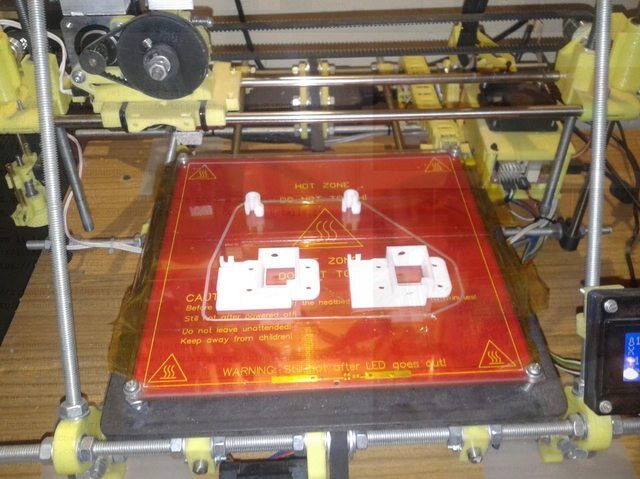
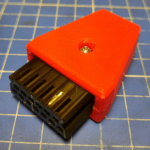
Thanks to Jakub Husak (for providing models) I was able to print replacement parts for FDD CA2001 for 8-bit Atari which fail quite often. These parts were given to participants of the Garage Party that I occasionally organize.
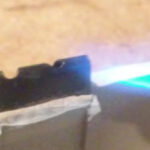
Here are photos of failing original parts
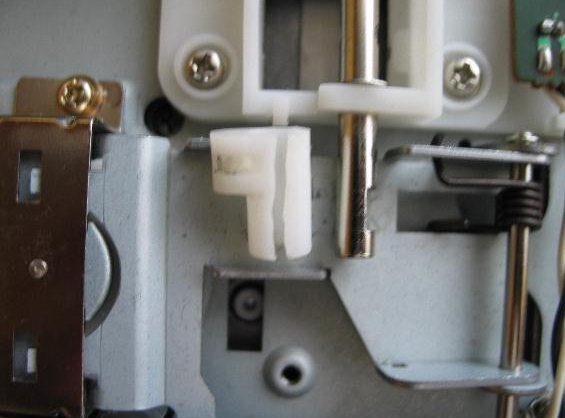
(original photo by [dereatari](http://www.dereatari.republika.pl/serw.htm#Stacje dysków Indus GT, LDW2000, CA2001))
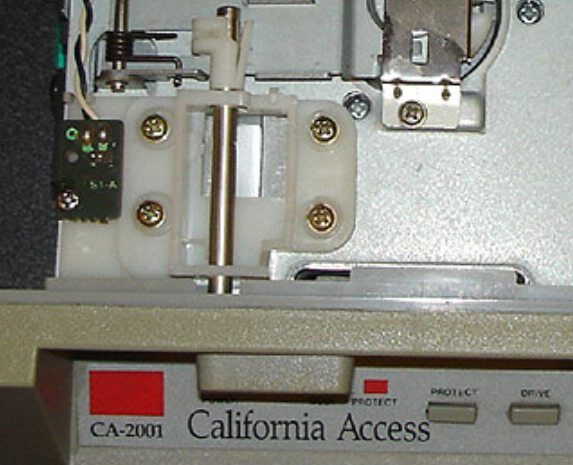
(original photo by blog.3b2.sk)
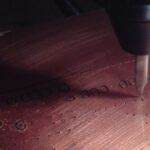
and here are replacements being printed.
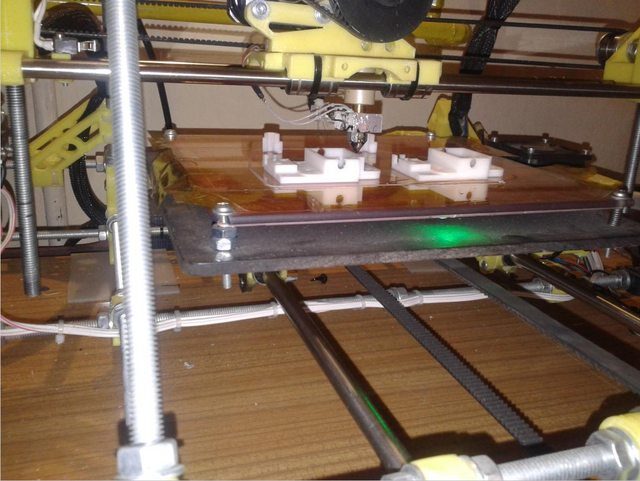
Not quite there … yet
Despite countless hours spent on calibration, tweaking and printing I still wanted more – well, my son wasn’t born yet so I had plenty of time 😀
In the last video below you can see parts for my third 3D Printer being extruded. Stay tuned for PART 3!
3d printer – lost video of my second build from pit on Vimeo.
OUTRO
If you want to get retro gear or hardware modules, please visit our shop
New products are being added every month.
Also, please support our work by spreading info about it.
Without your support, we simply cannot grow and we have a lot of new cool retro hardware (and more) products to come




One thought on “3D Printing – Learning curve”