… or was it 0x10? :>
[intro]

[/intro]
16 is better than 3
The title relates to the 8-bit guy’s latest video which is awesome!
I enjoy watching his videos and I hope he doesn’t mind that innocent teasing 😉
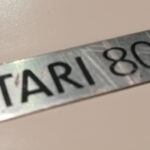
The story behind this post is simple, I’ve bought around 32 Atari computers – all 65XE.
I’ve started working on them one by one. I was halfway done and figured out that I will work on a few of them at once as it is faster that way.
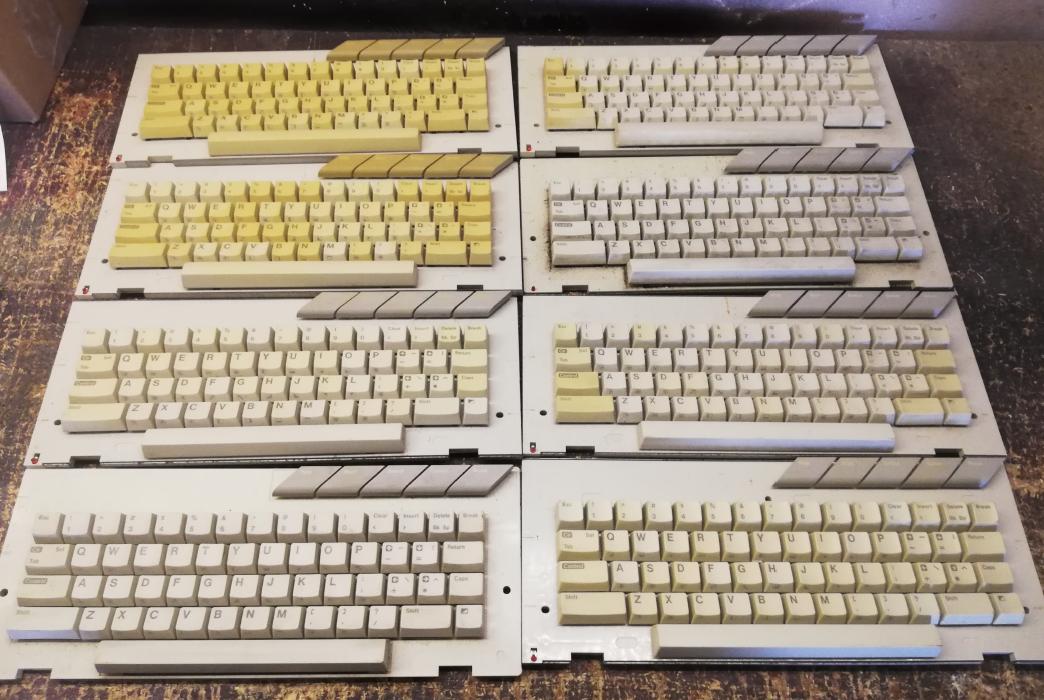
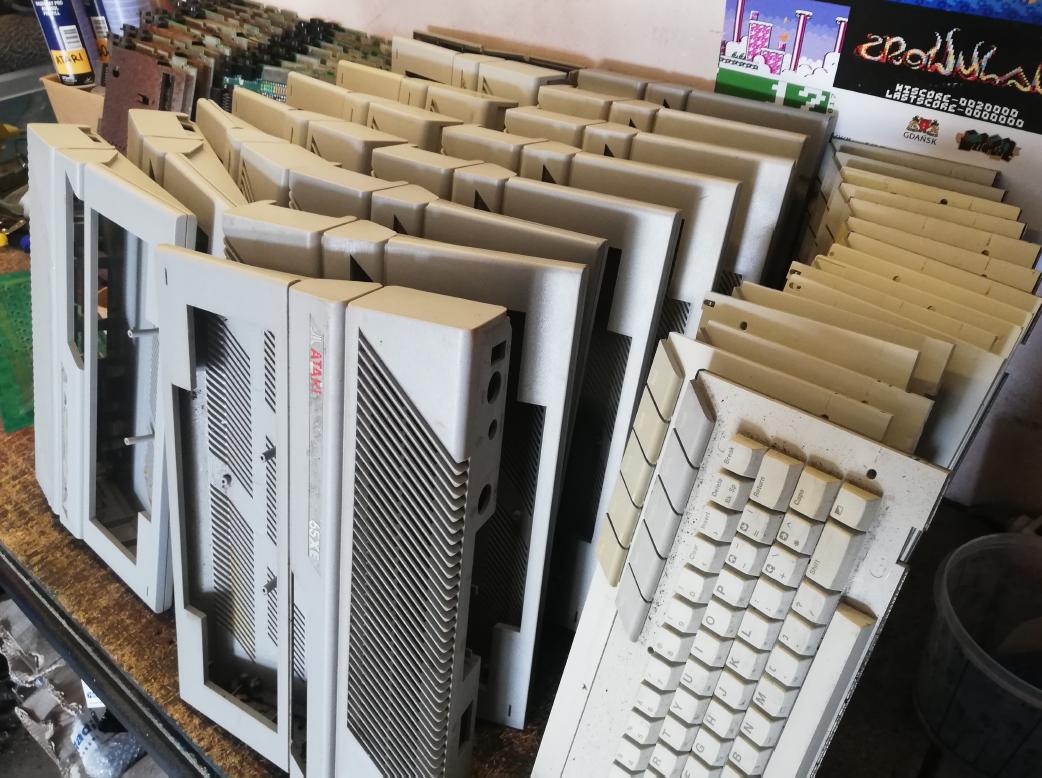
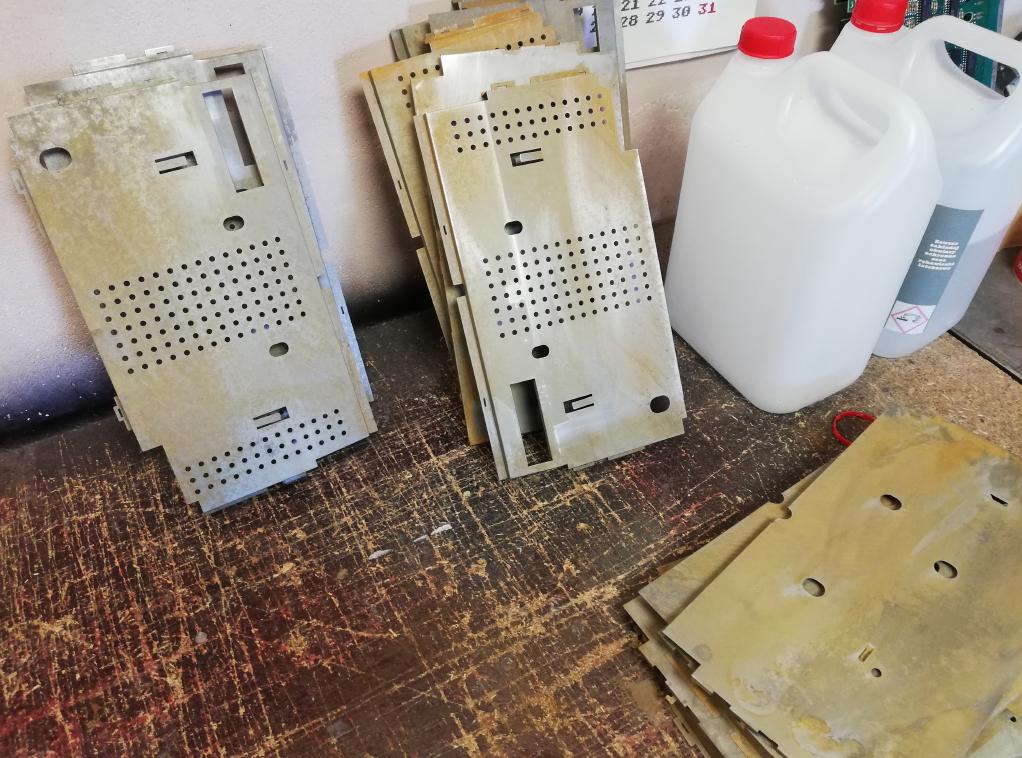
All of the machines were fixed, retr0brighted (if necessary), and had broken keyboard membranes replaced. However, in this post, I am mainly focusing on restoring metal shielding that is very often covered with rust.
Ok, let’s start with pics of the disassembly process to show you the original damages.
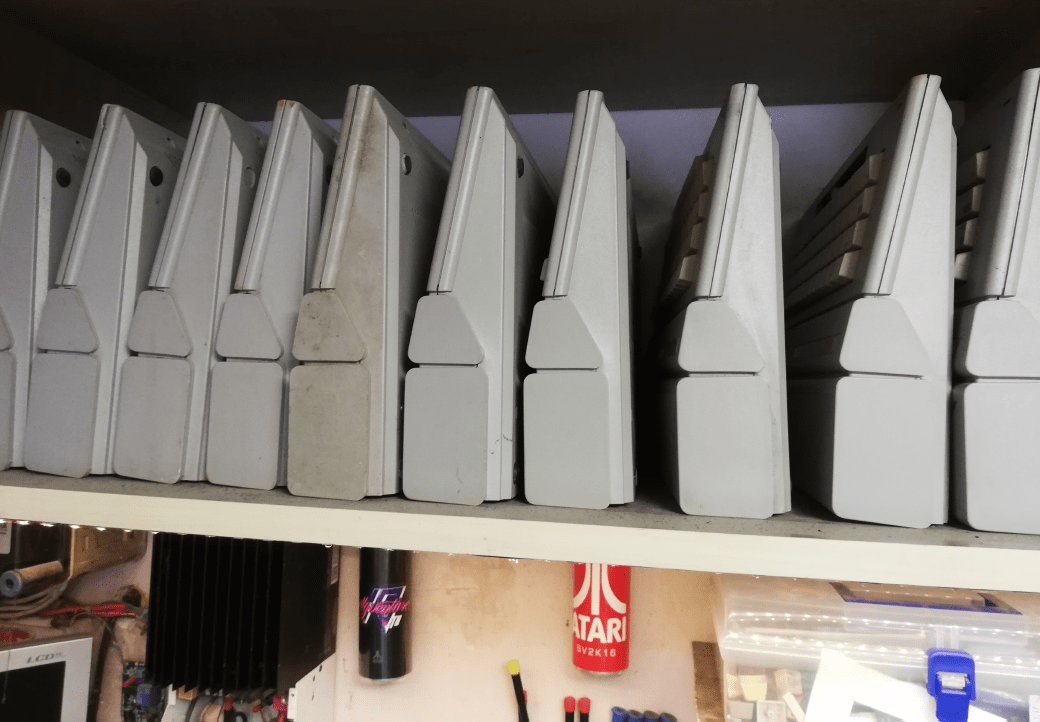
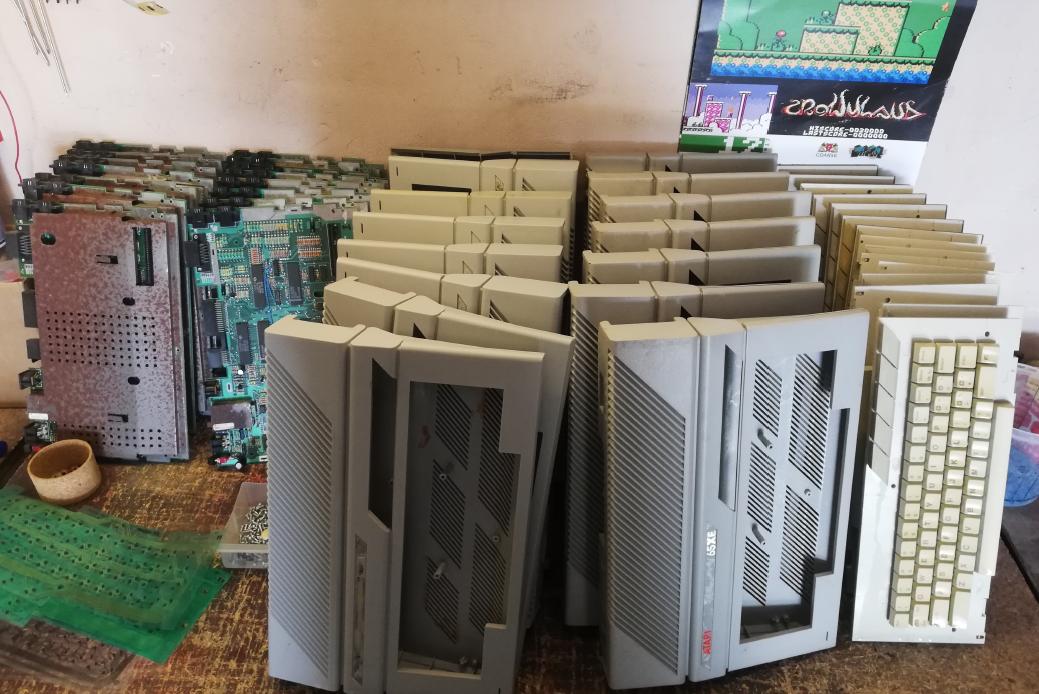
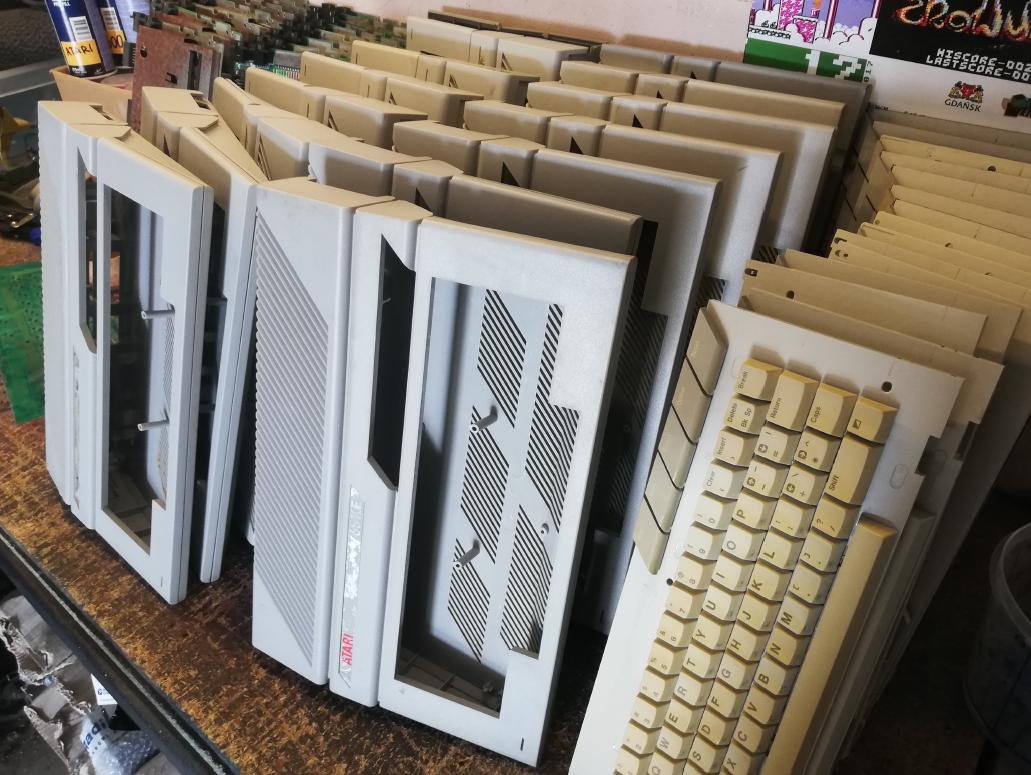
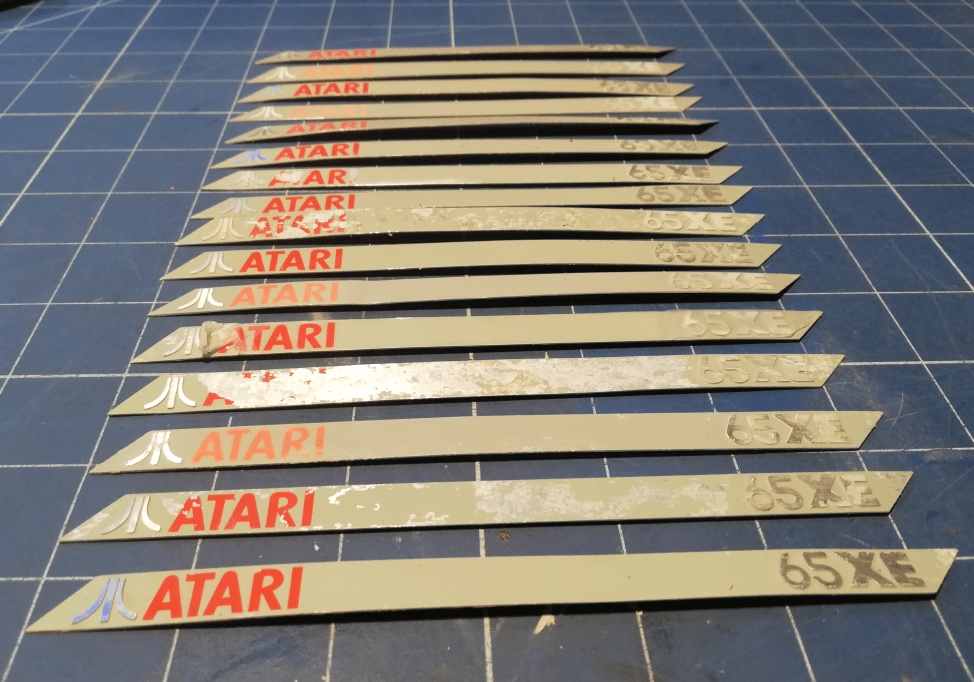
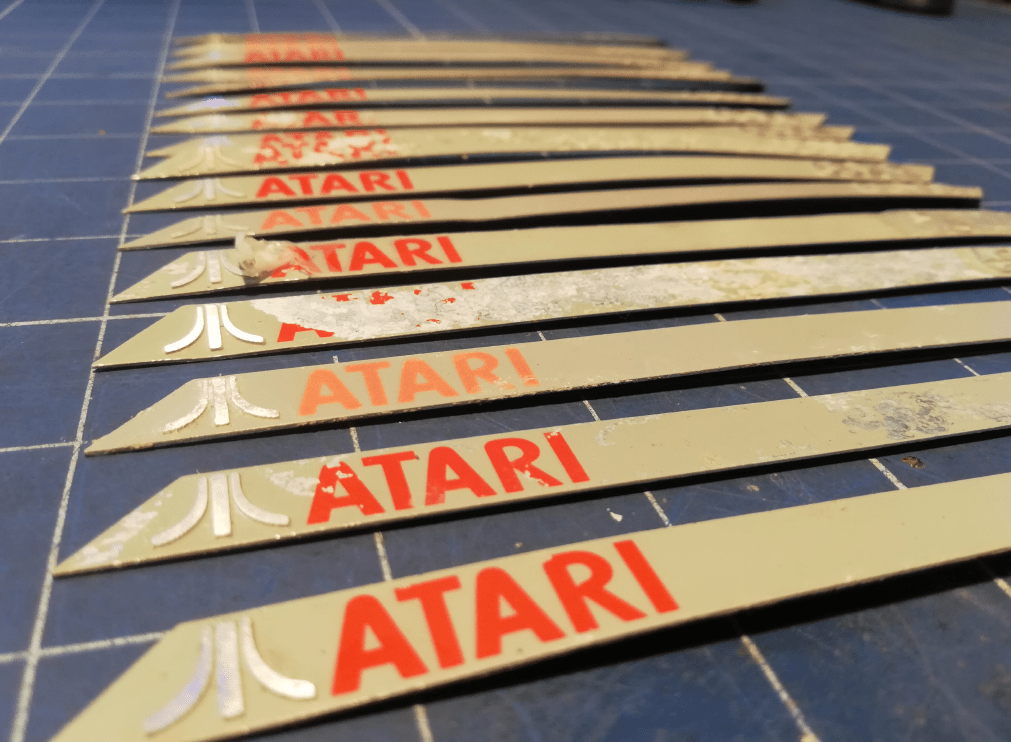
There are only 15 cases in the pic below lol. I forgot to put the 16th case there 😀
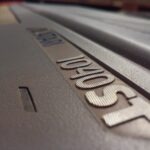
Unfortunately, I had to replace some of the original badges 🙁
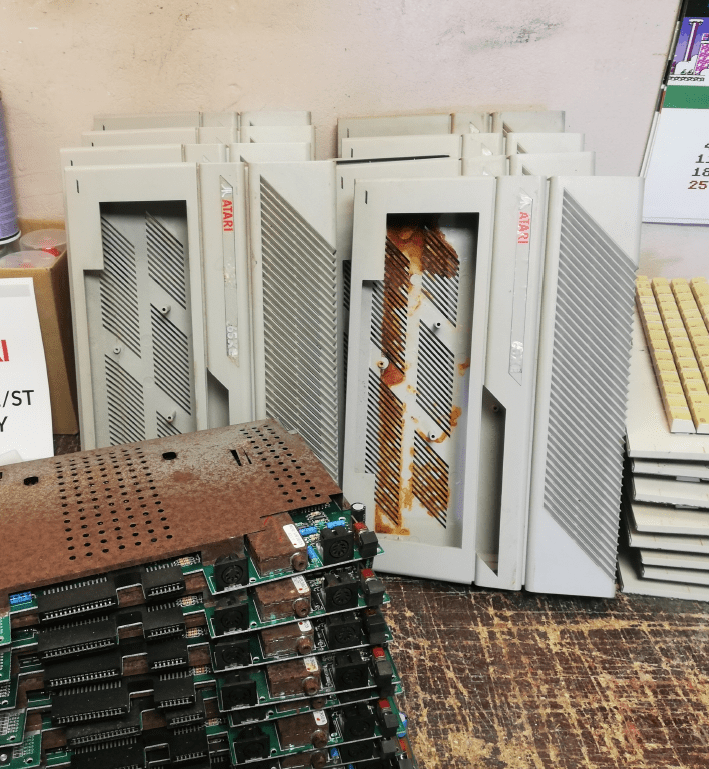
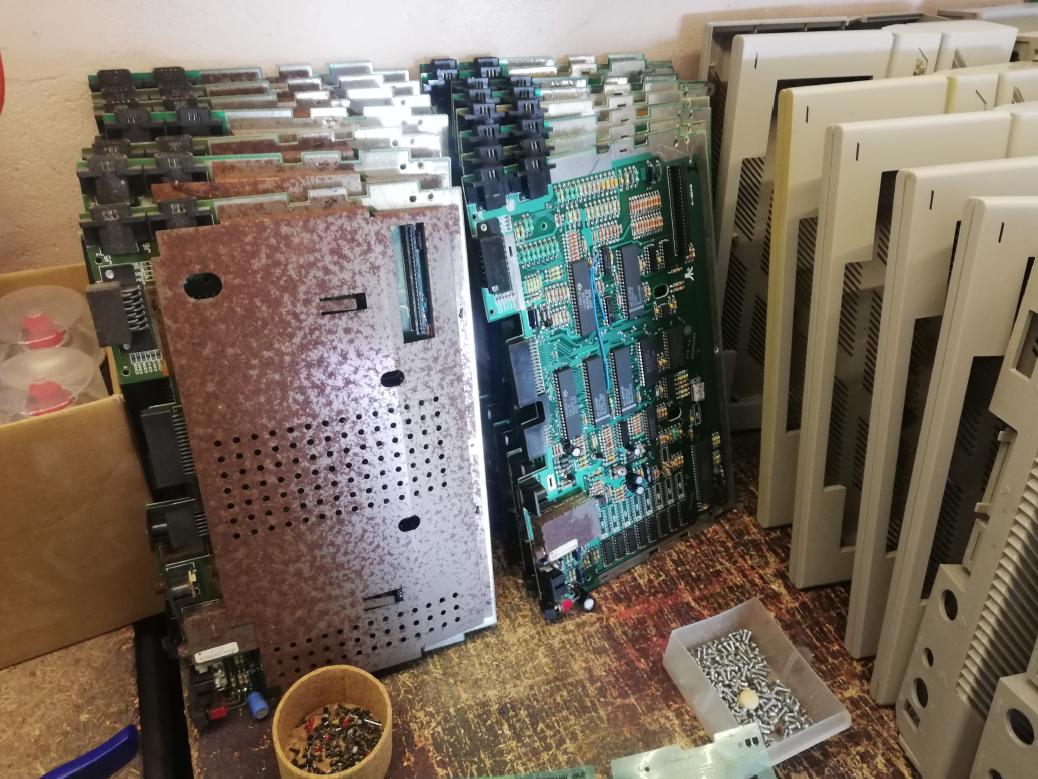
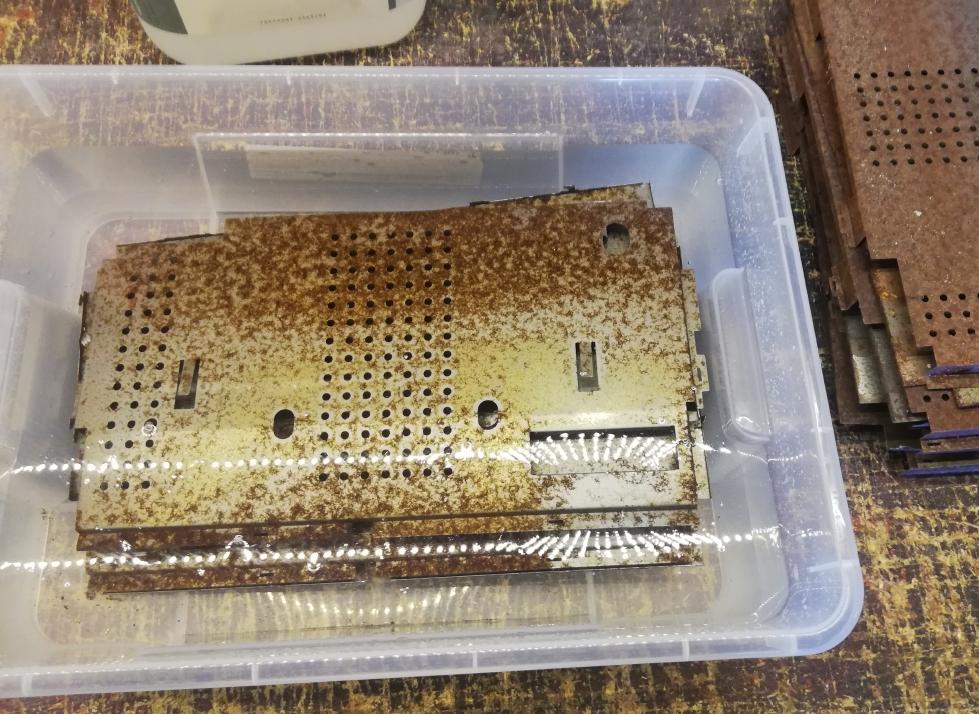
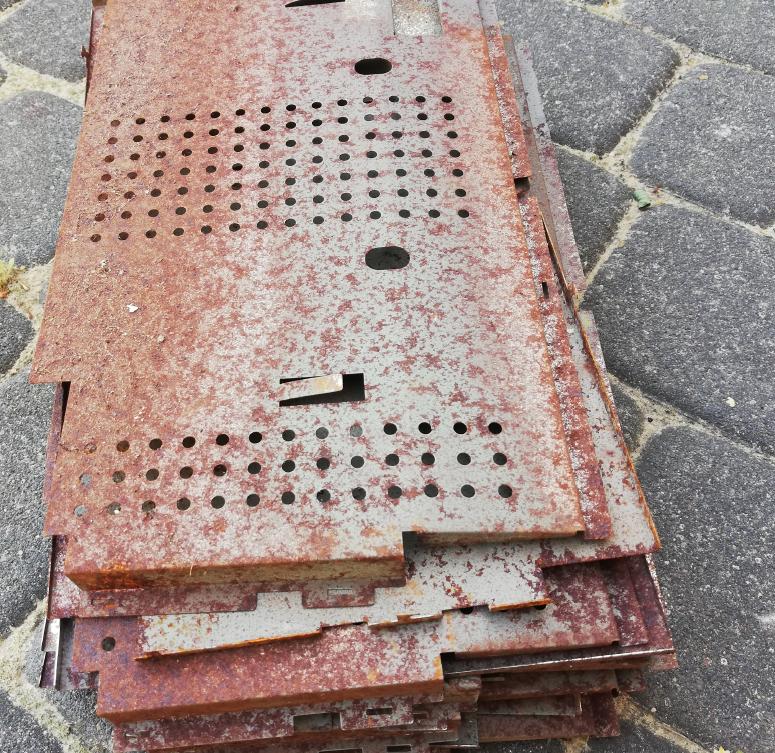
Metal shields
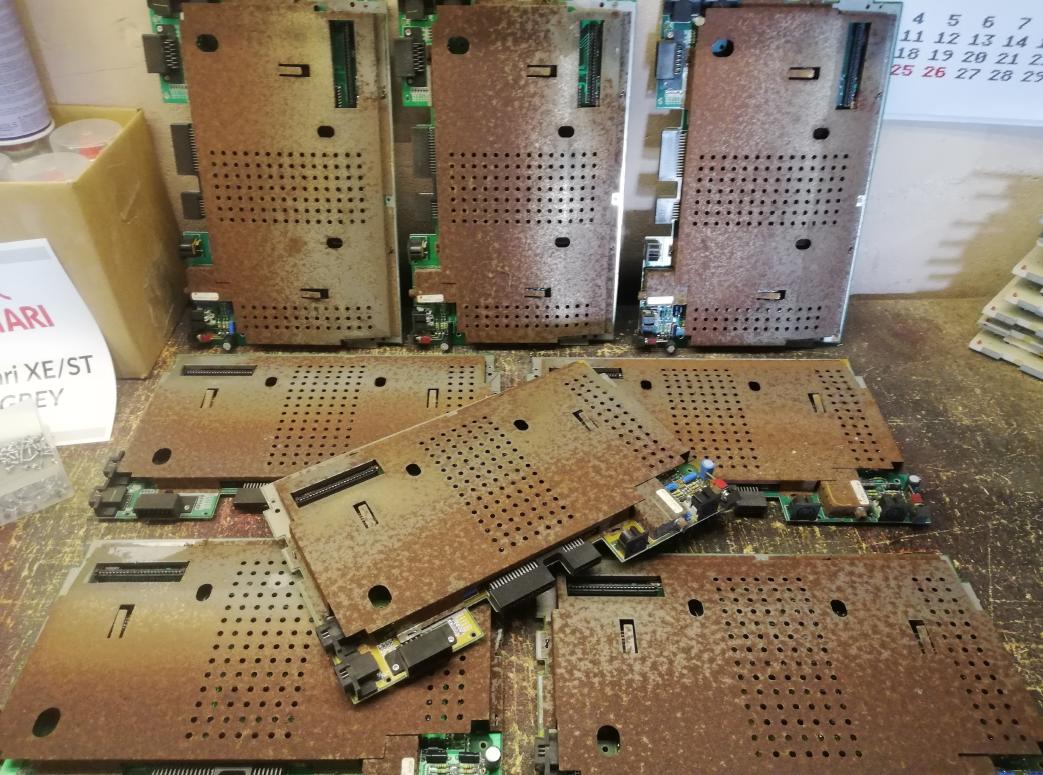
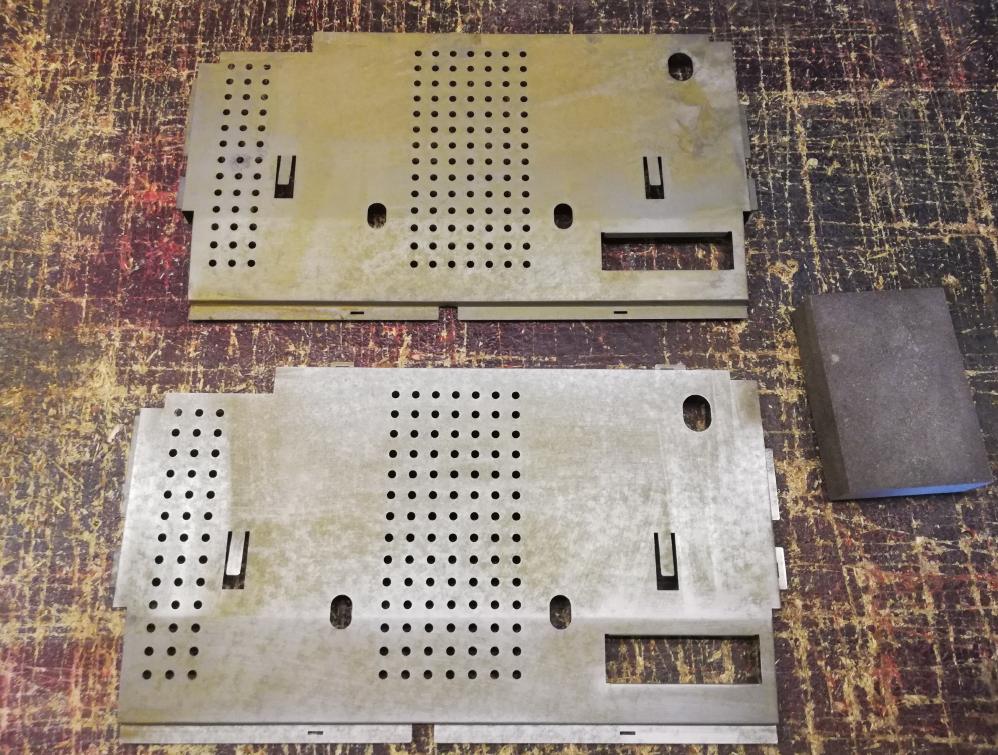
As seen in the above photos, the metal shielding was very rusted.
The plan was to get rid of rust and spray-paint these shields as I’ve shown in my blog post about Amiga 1200
In the A1200 post, I described the electrochemical process of rust removal.
It looked like this:
It works very nicely, however, it is also time-consuming. This time I had 32 separate metal shields to de-rust …. plus, I am a very lazy person and I had to figure out an easier and faster way.
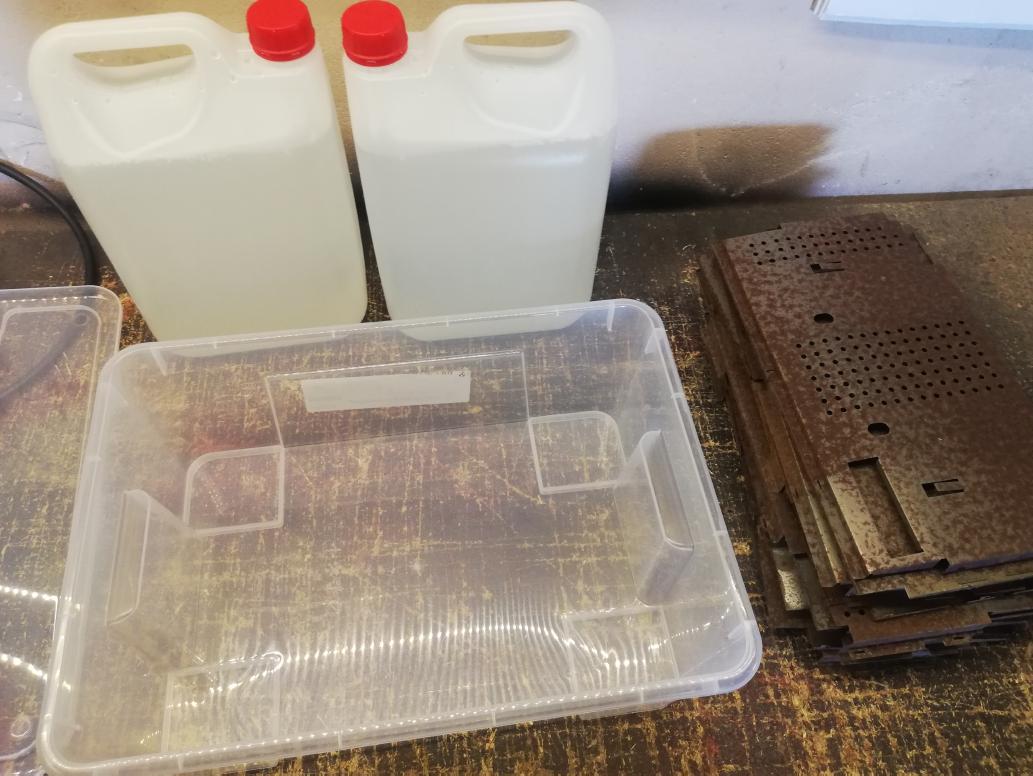
To achieve the desired effect, I’ve used a phosphoric/oxalic acid solution. There are two ways to get a proper mixture – you can either make it yourself, 35% phosphoric / 5% oxalic acids solution in demineralized water OR you can get a ready product which is very cheap as has very similar contents – 5L costs around $10
I’ve bought 10 liters of such a cheap de-rusting solution so I could conveniently fill a plastic box where at least 6-10 metal shields would fit.
The trick is to fill a box with the de-rusting solution so it fully covers the metal parts that you are working on and ………. WAIT

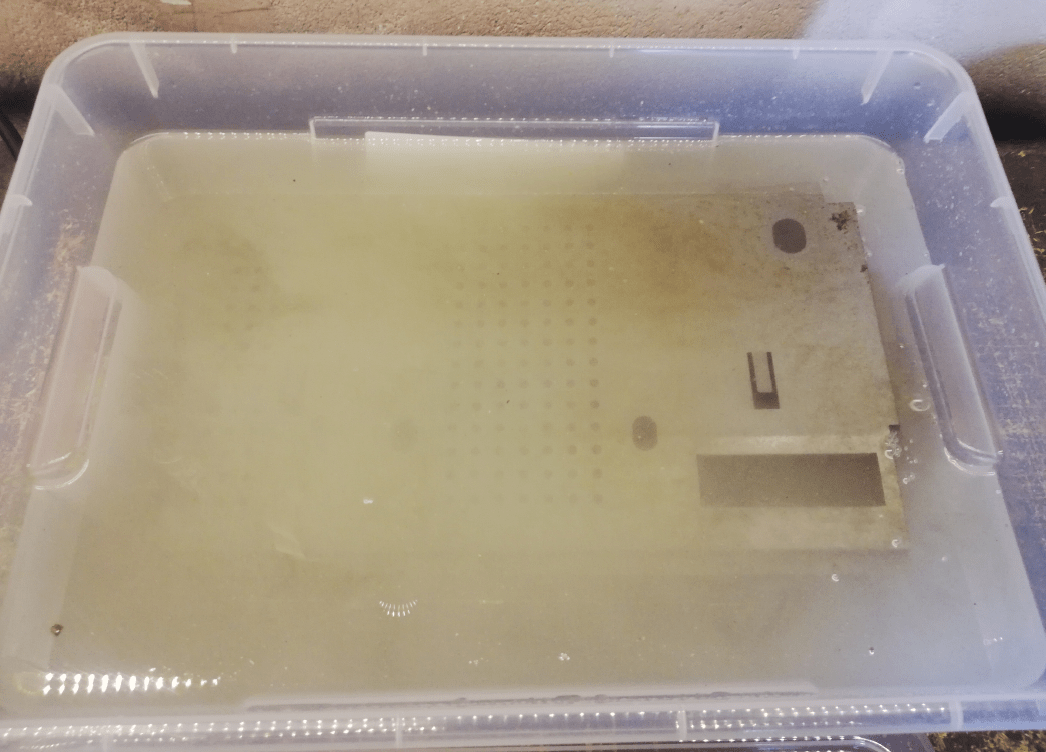
The job
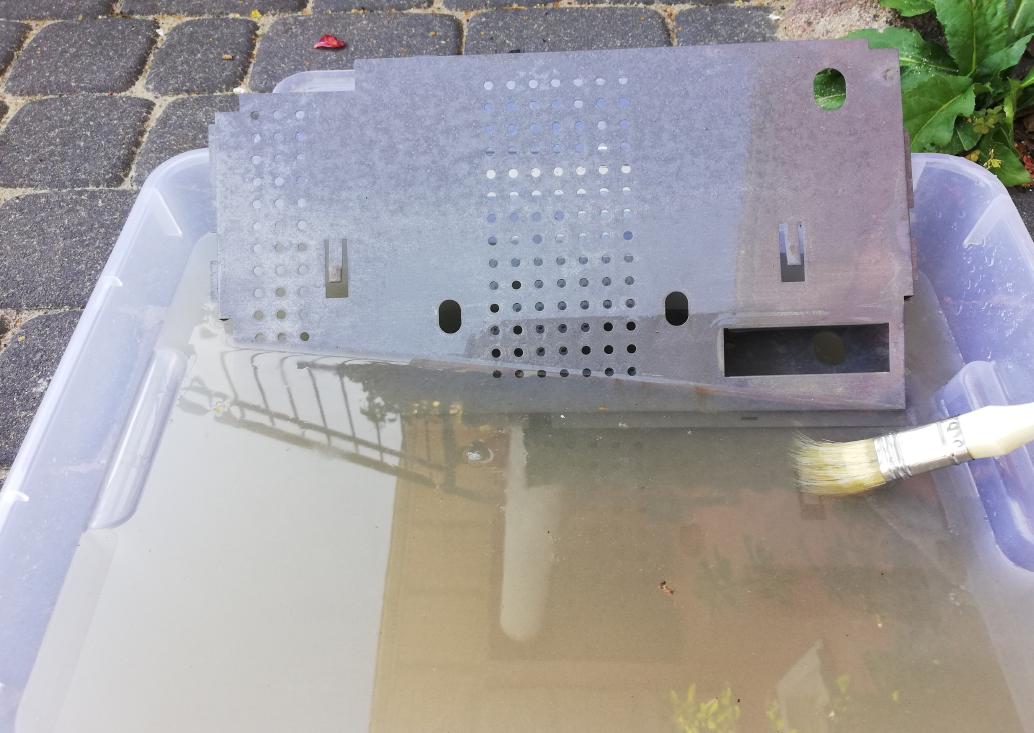
Here is how it looks:
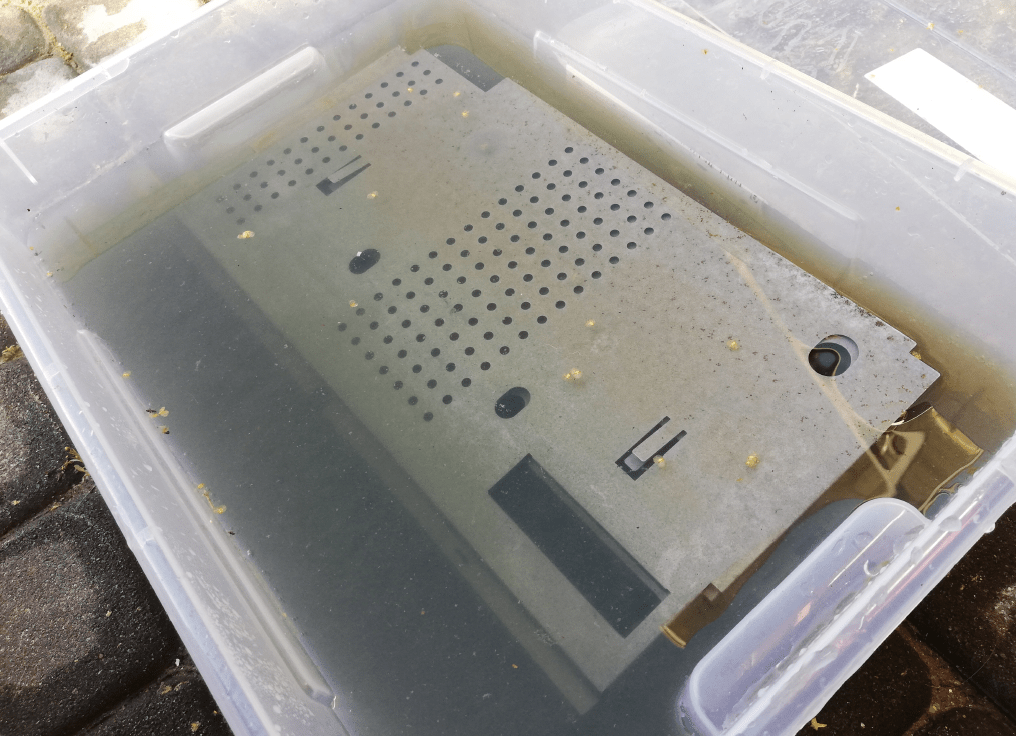
The issue with both chemical and electrochemical processes is that it completely removes iron oxide – the rust – so once you take a part out of the solution and rinse it with water, it almost immediately starts to cover with a fresh and thin rust layer. This means that the whole operation should be performed when it is warm and sunny outside so a part can quickly dry.
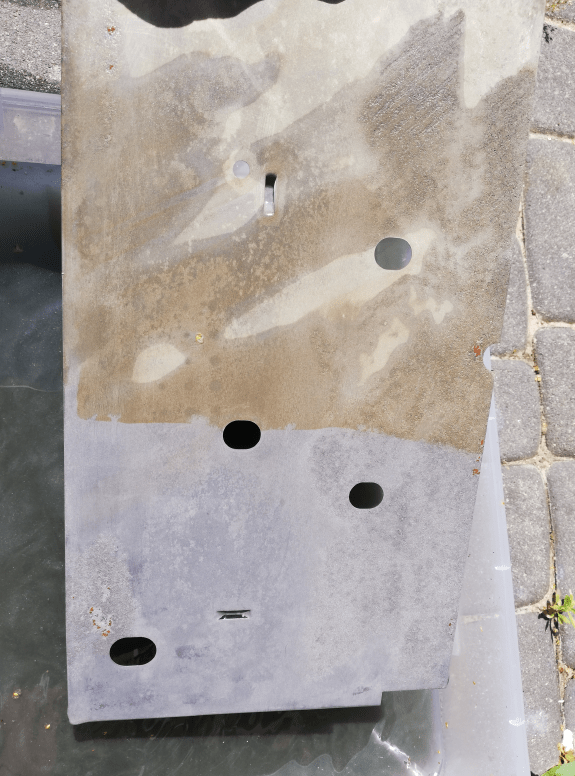
Below is an example of a freshly removed from a de-rusting solution shield. The lower part was just a few seconds before I took the picture.
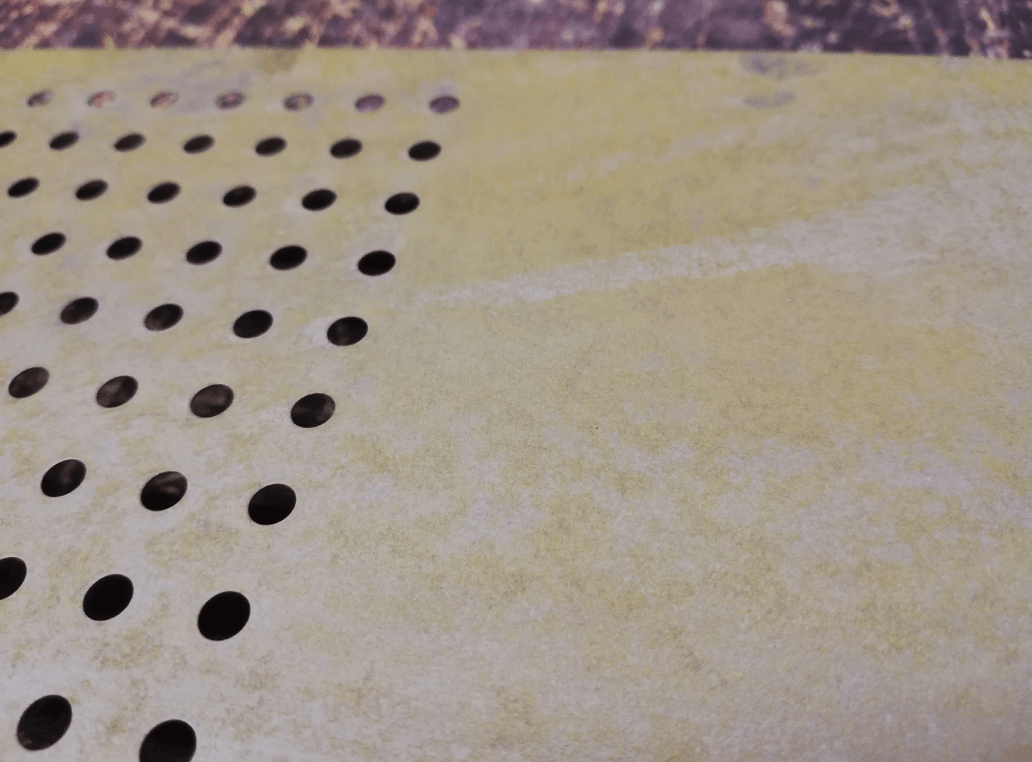
Here is a closeup of how it looks when dry.
Rest of the pics.
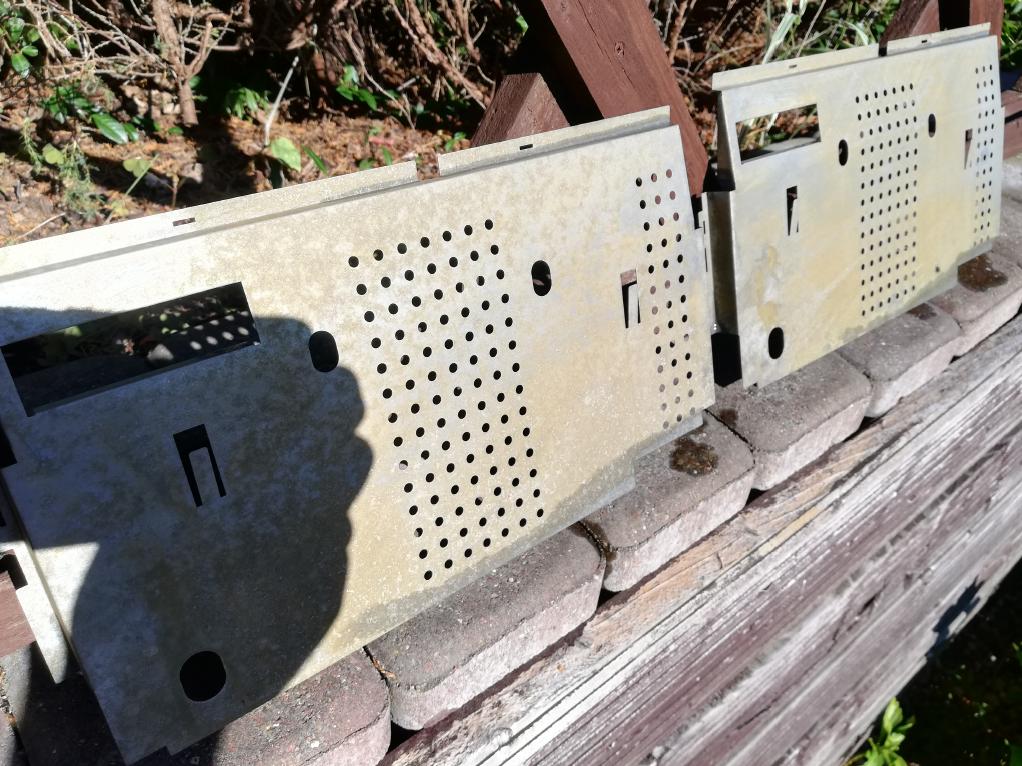
Ok, with the de-rusting process finished, I had to slightly treat all shields with sandpaper to prepare them for spray-painting which followed shortly after.

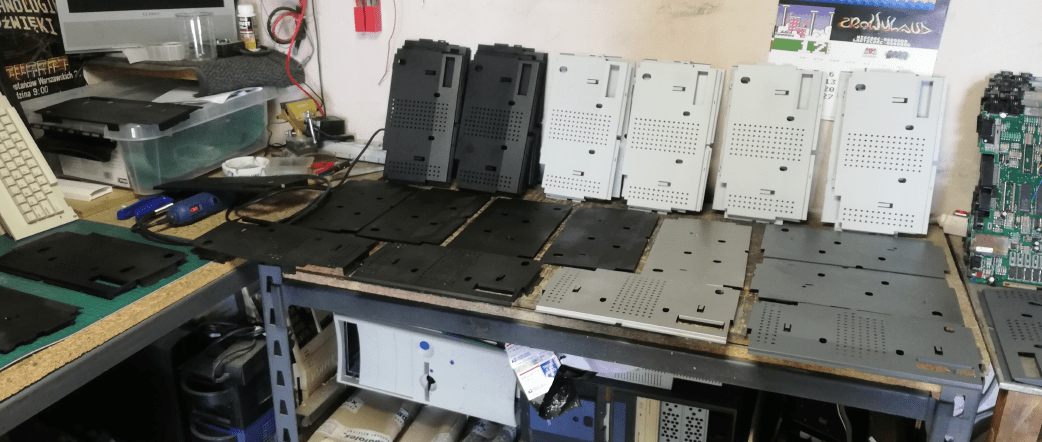
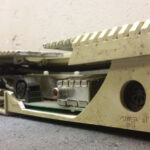
Electronics
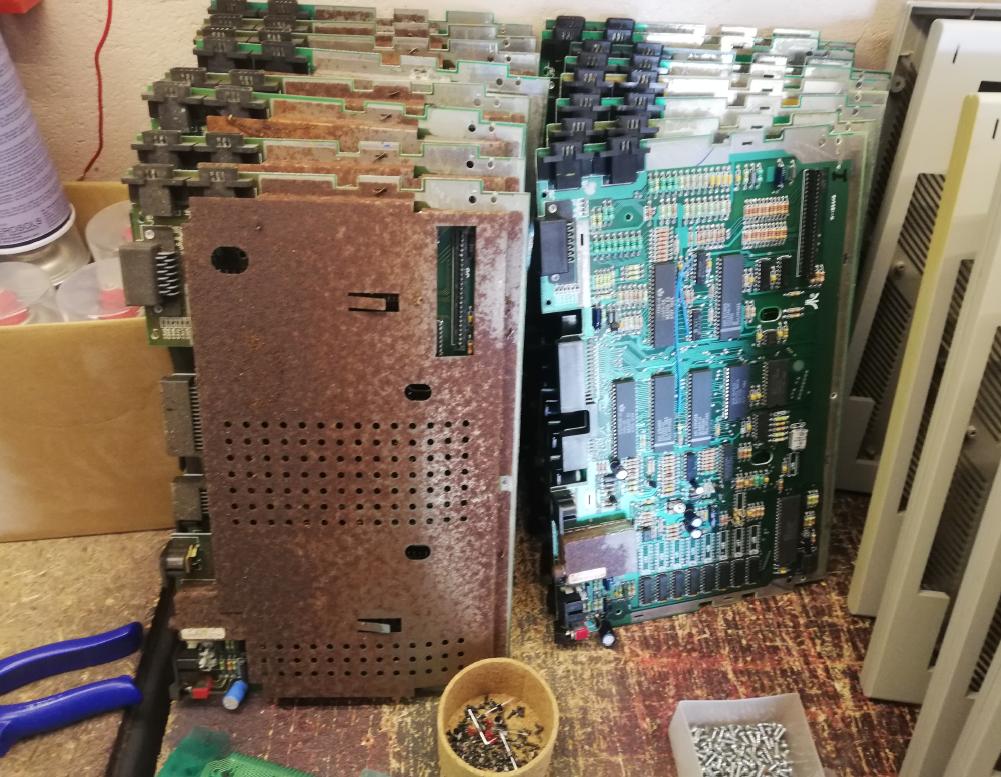
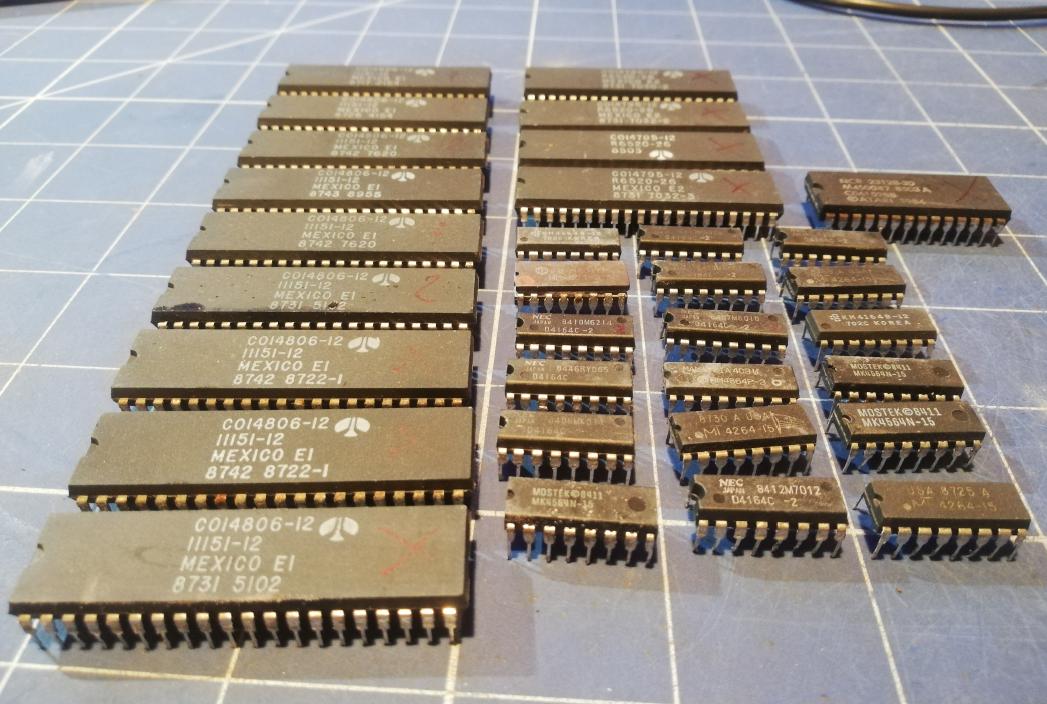
What to do with 16 dead, Atari motherboards?

Fast forward and here are the broken parts 😀
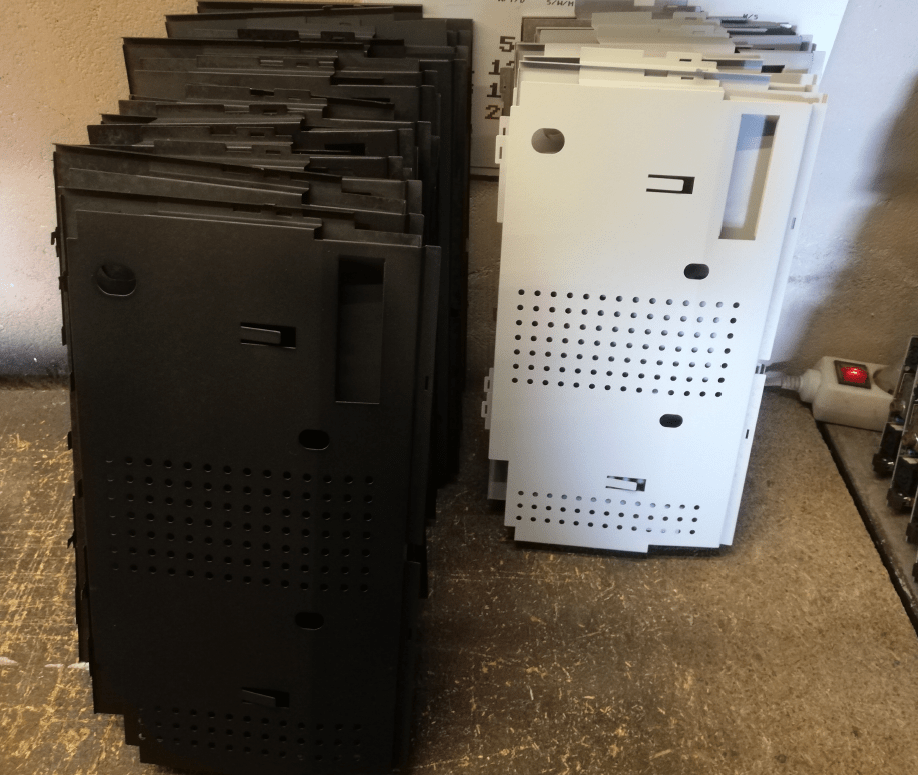
That was quick. Unfortunately, I didn’t take a picture of all Atari assembled and ready so instead, I’ve decided to upload a picture that Daniel of the TheBigLubawski games collection took the other day 😉
See you in the next post 😉
Outro
If you want to get the retro gear I am manufacturing, please visit shop -> https://retrohax.net/shop/
Please support my work by sharing and commenting here and on our Facebook or Twitter pages.