…or, surprisingly pleasant restoration
Intro
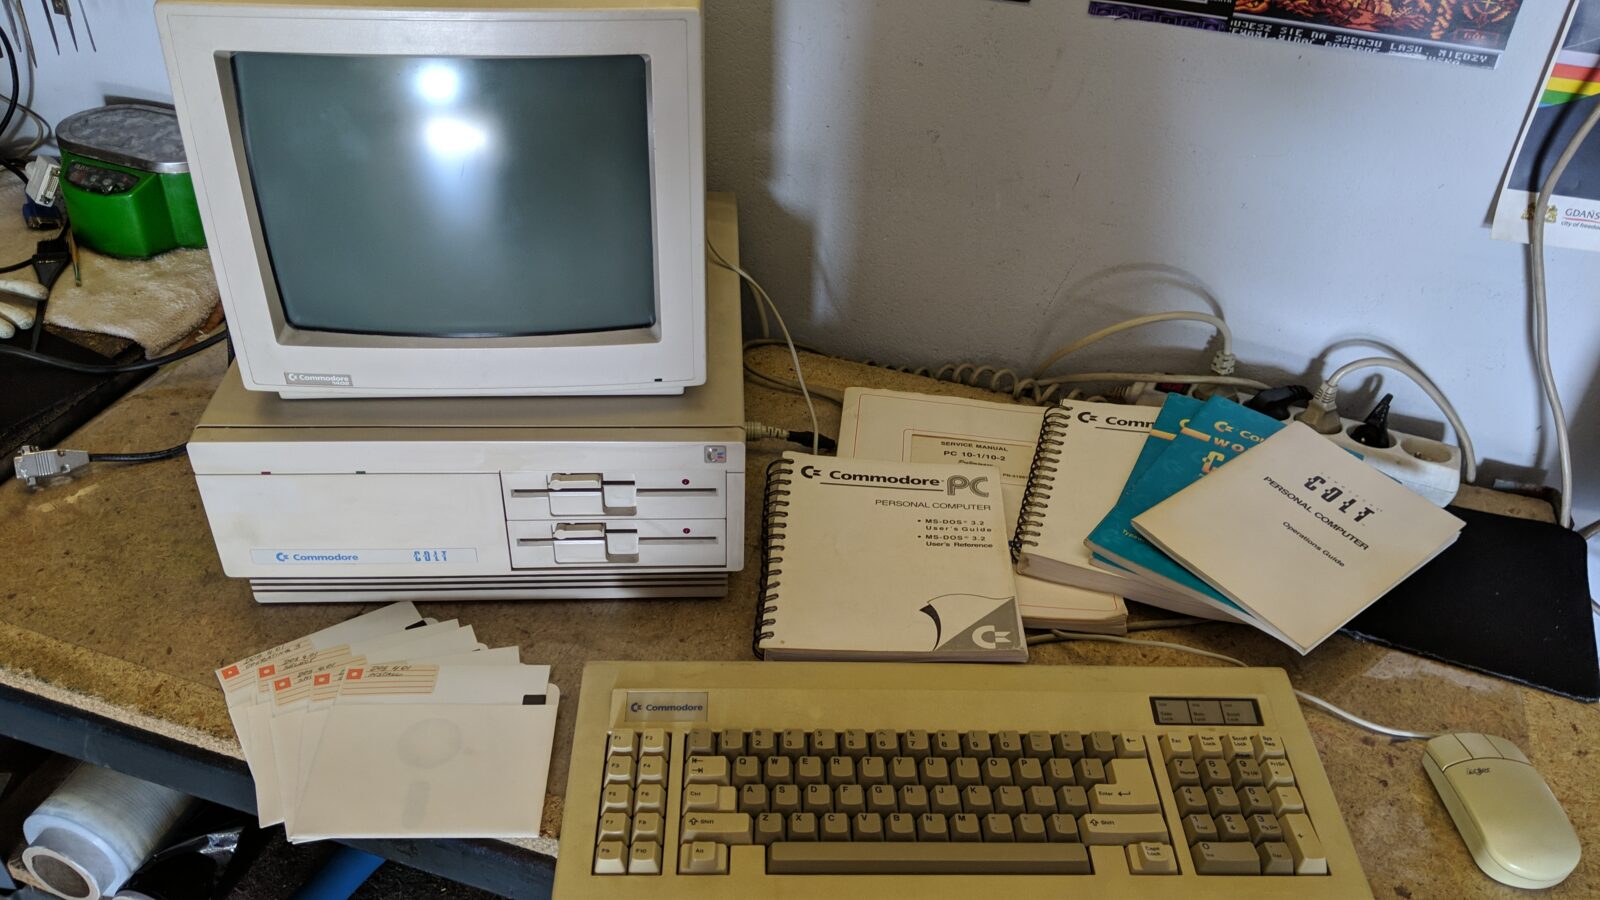
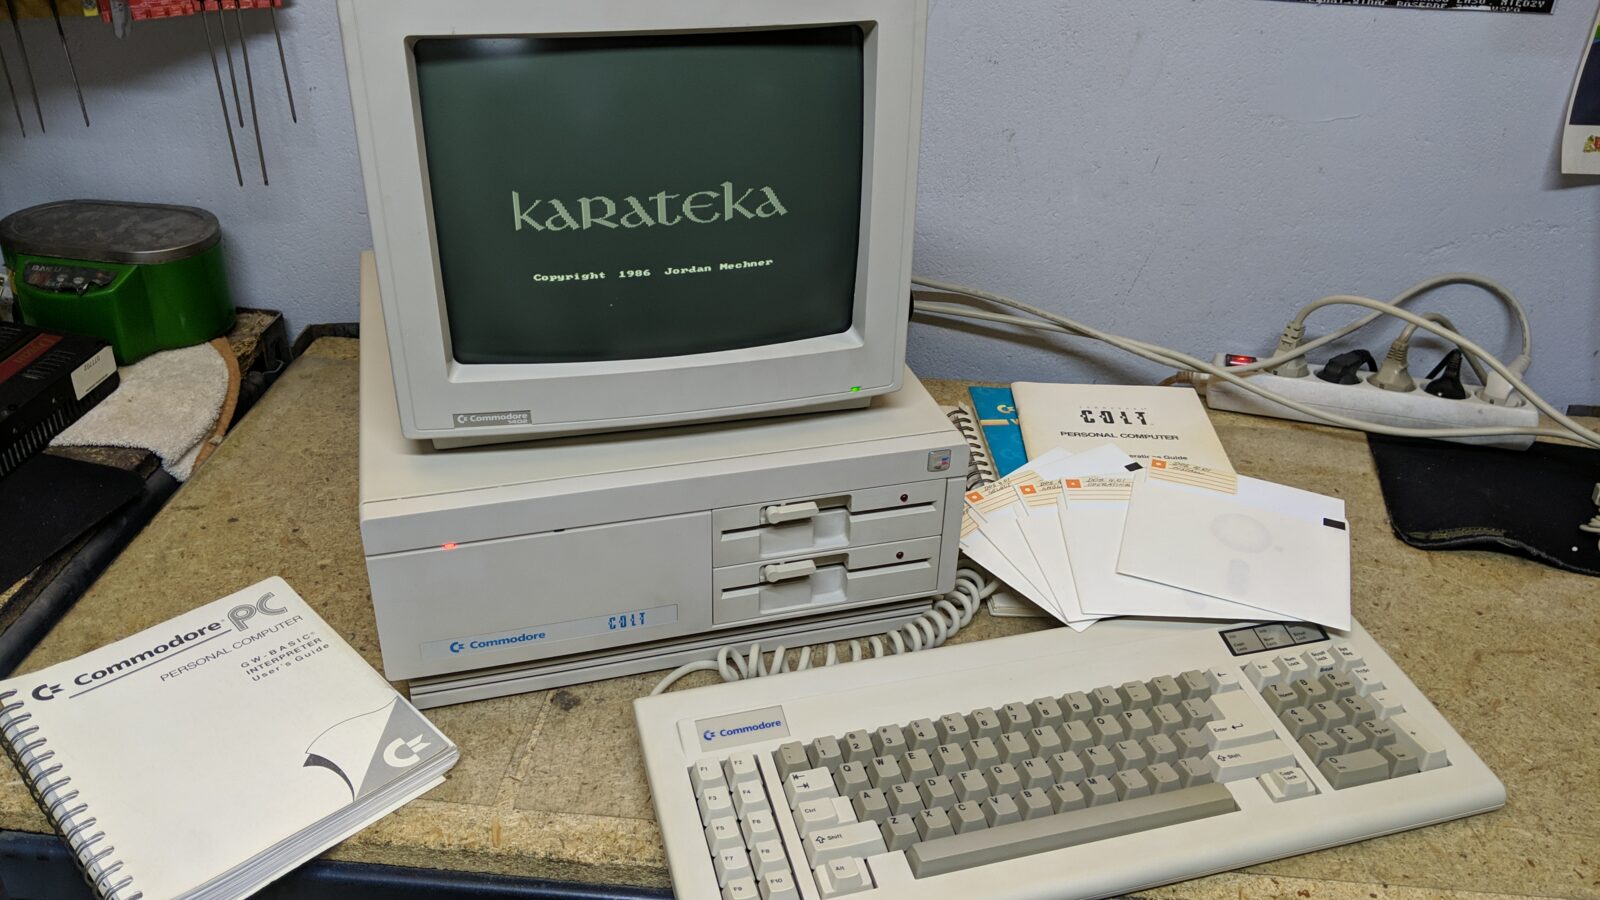
Today, I will write about a very nice X86 machine made by Commodore – Commodore COLT.
It is a rare machine in Europe as originally, it was released on the US market. It is an early IBM PC clone and in Europe, it was released as the Commodore PC 10-III. More on the history of this range of computers can be found on Wiki.
I got this particular unit from Błażej (cheers mate:) over two years ago but it was sitting on the shelf waiting in a ToDo queue. Originally, the first owner bought it in the US at the beginning of the 90s and it was used in communications. Since we’ve got it from the original owner, all the original gear that came along with it, is included.
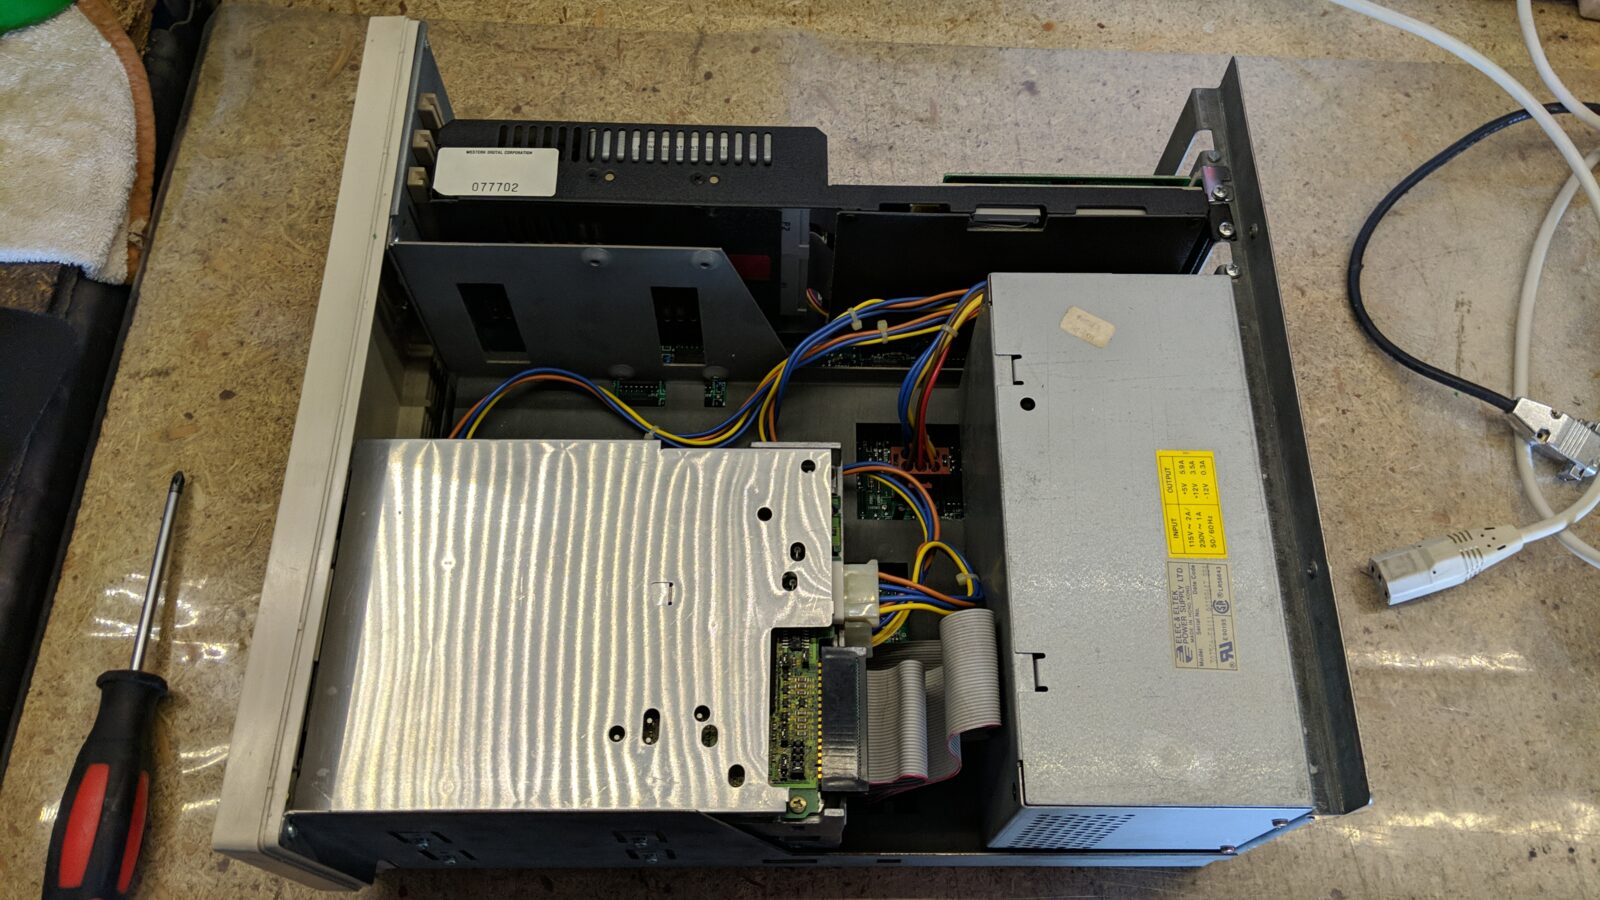
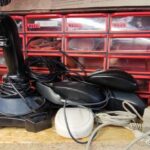
The below pics show its state when it arrived to me.

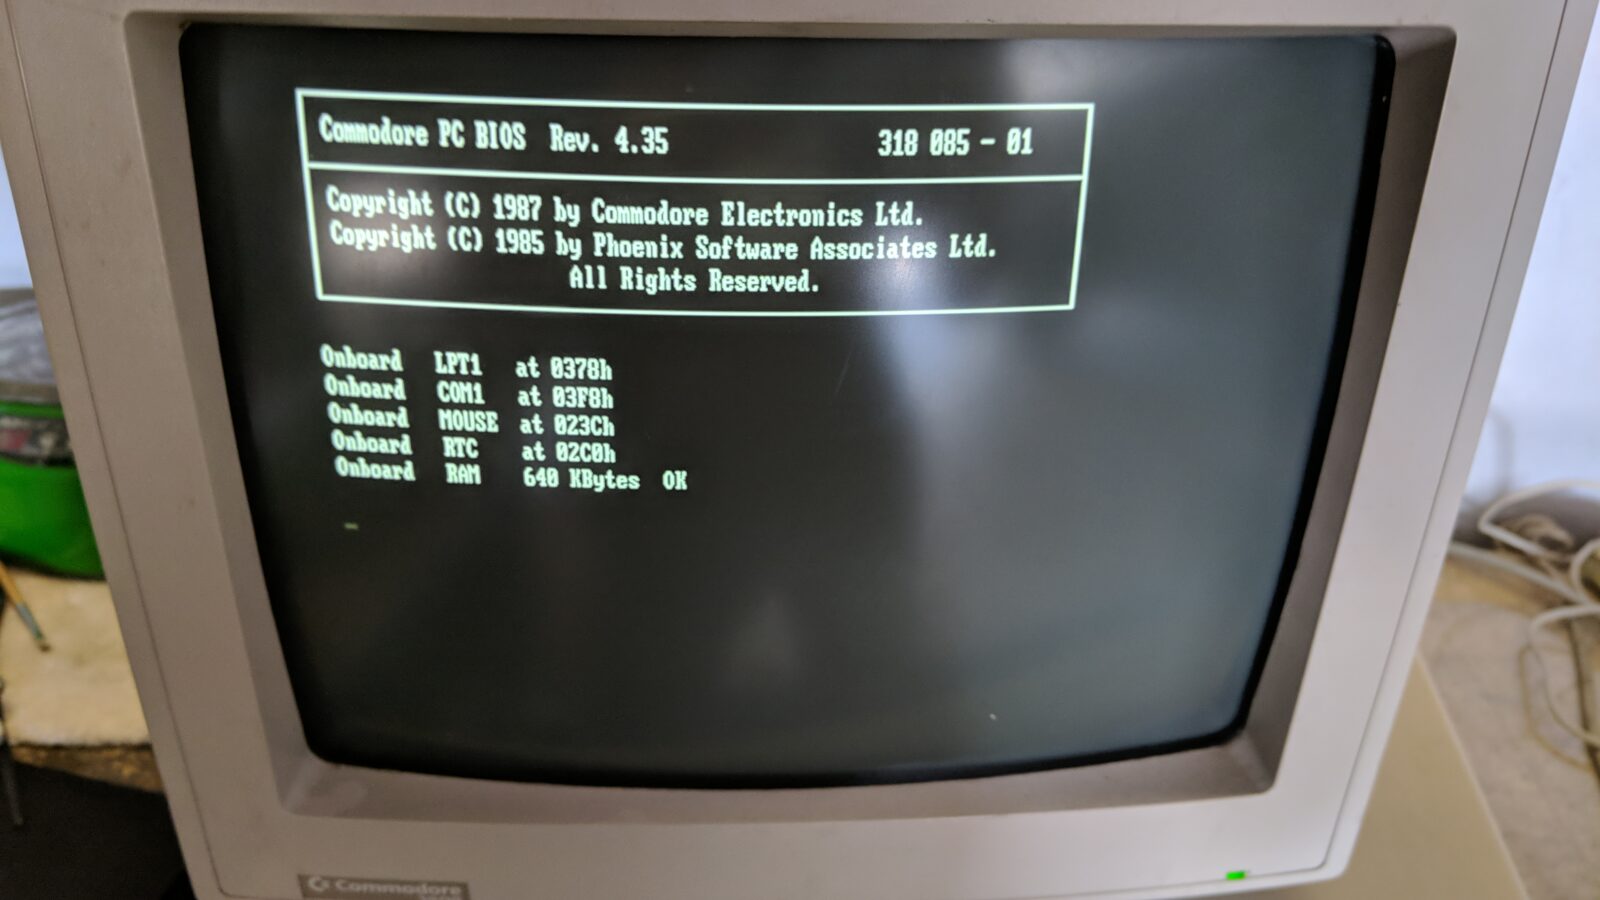
The test run ended right after the POST.
The plan for the machine was to clean it, fix any issues, upgrade it with V20 CPU + Co-Pro, and replace the original HDD with a solid-state drive solution. Let’s go on with it! 🙂
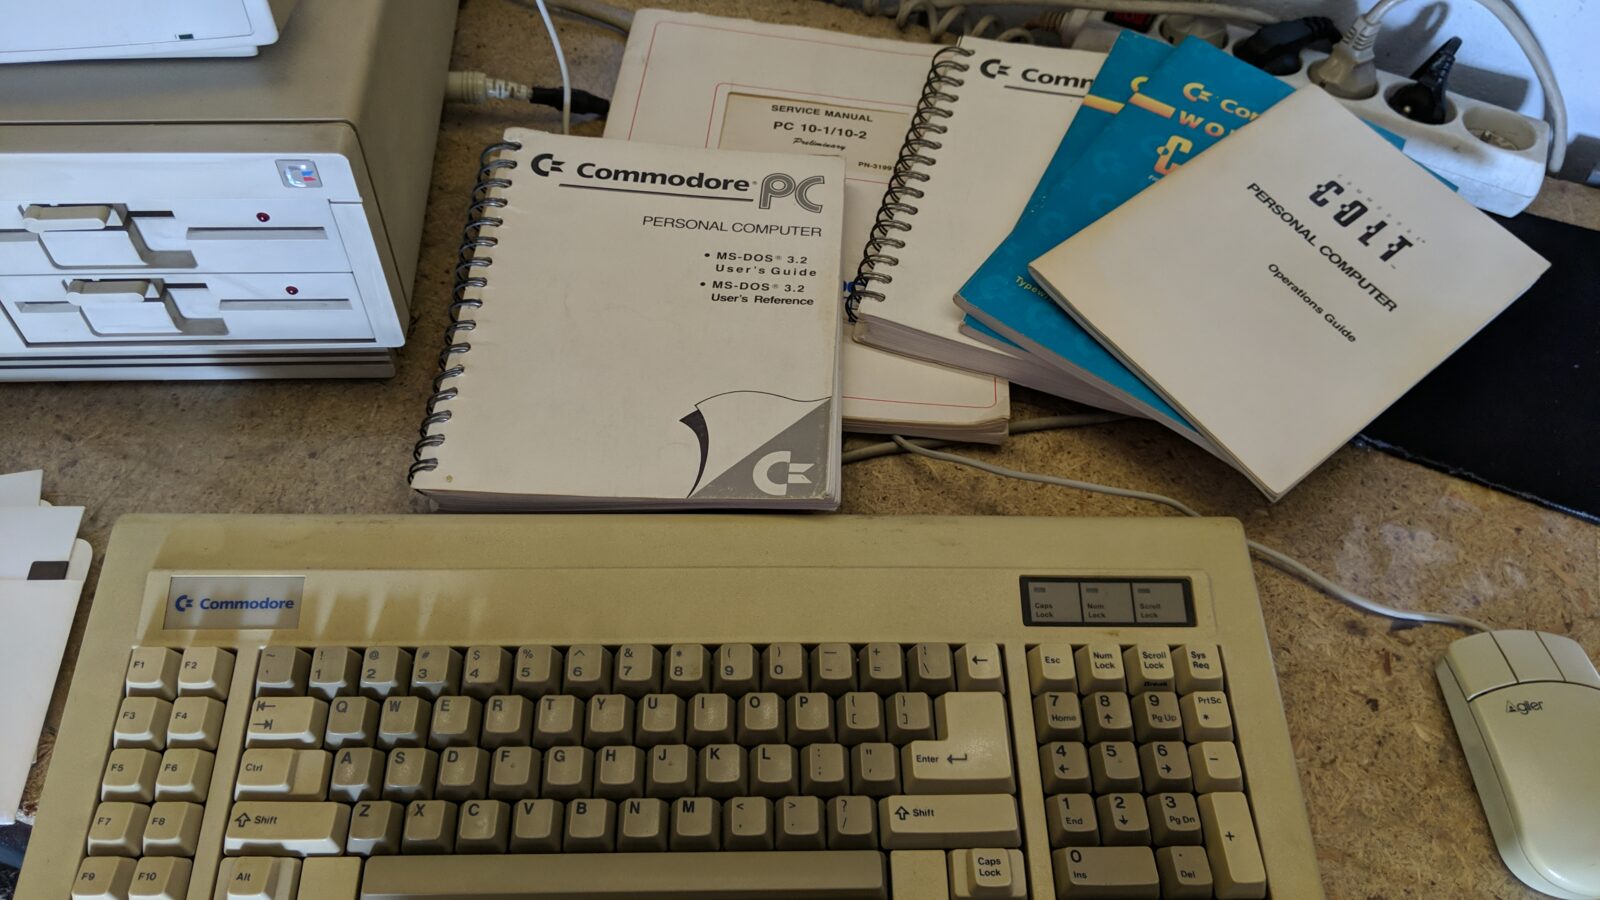
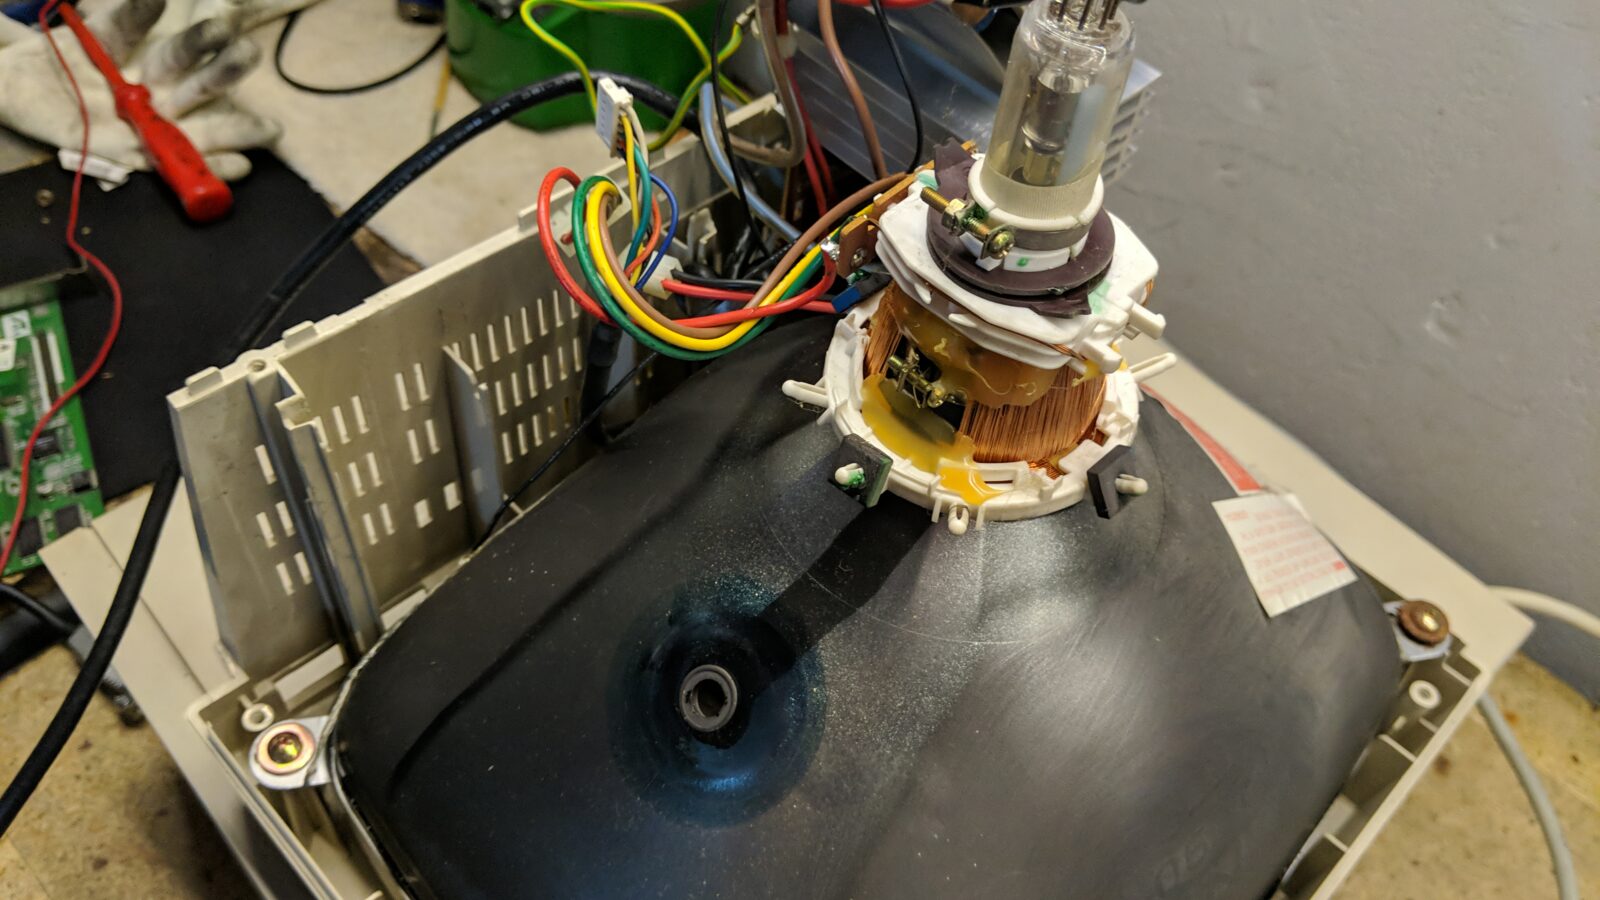
The CRT monitor and keyboard
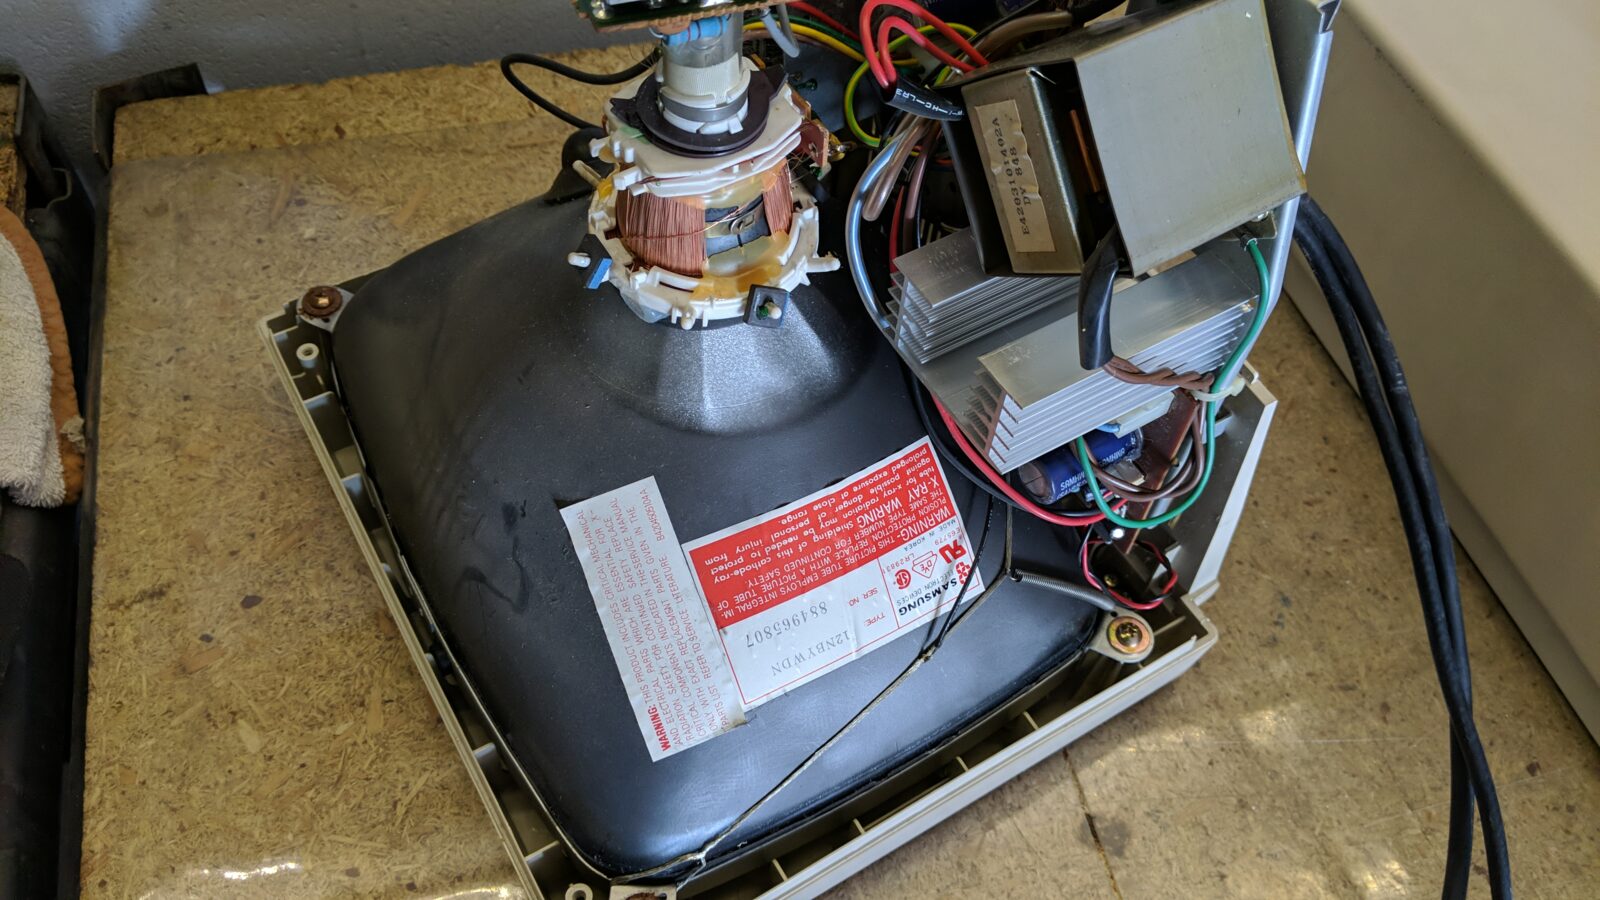
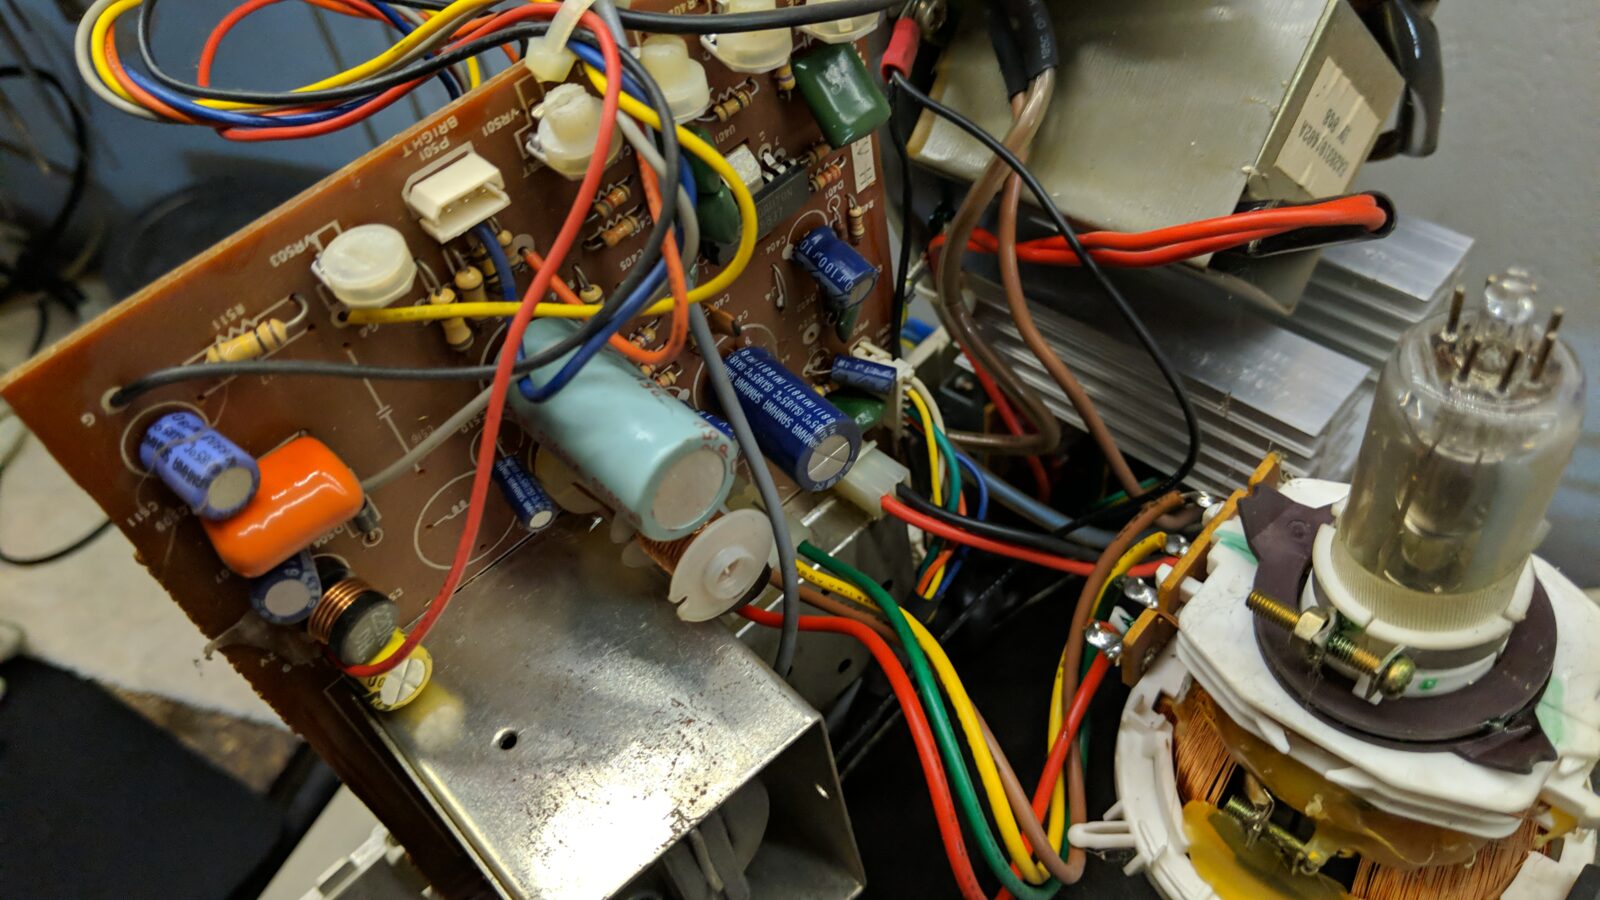
The CRT that was dedicated to this Commodore is Monochrome solid state 12″ display – model 1402
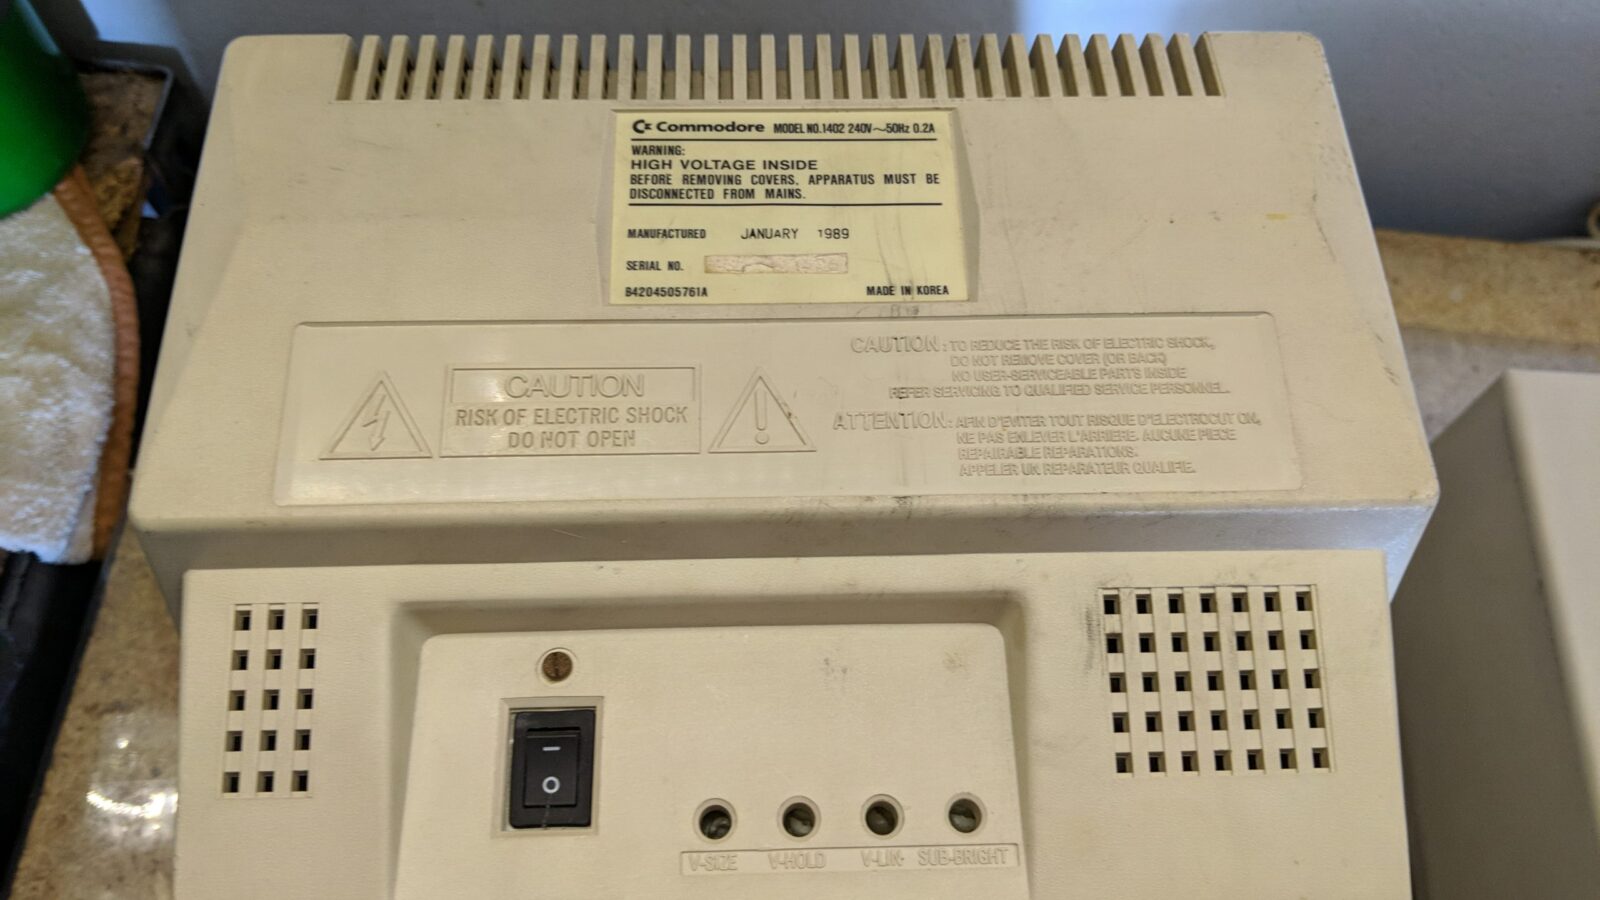
I’ve started with the monitor. After disassembly, I was able to re-cap the main board and clean the case.
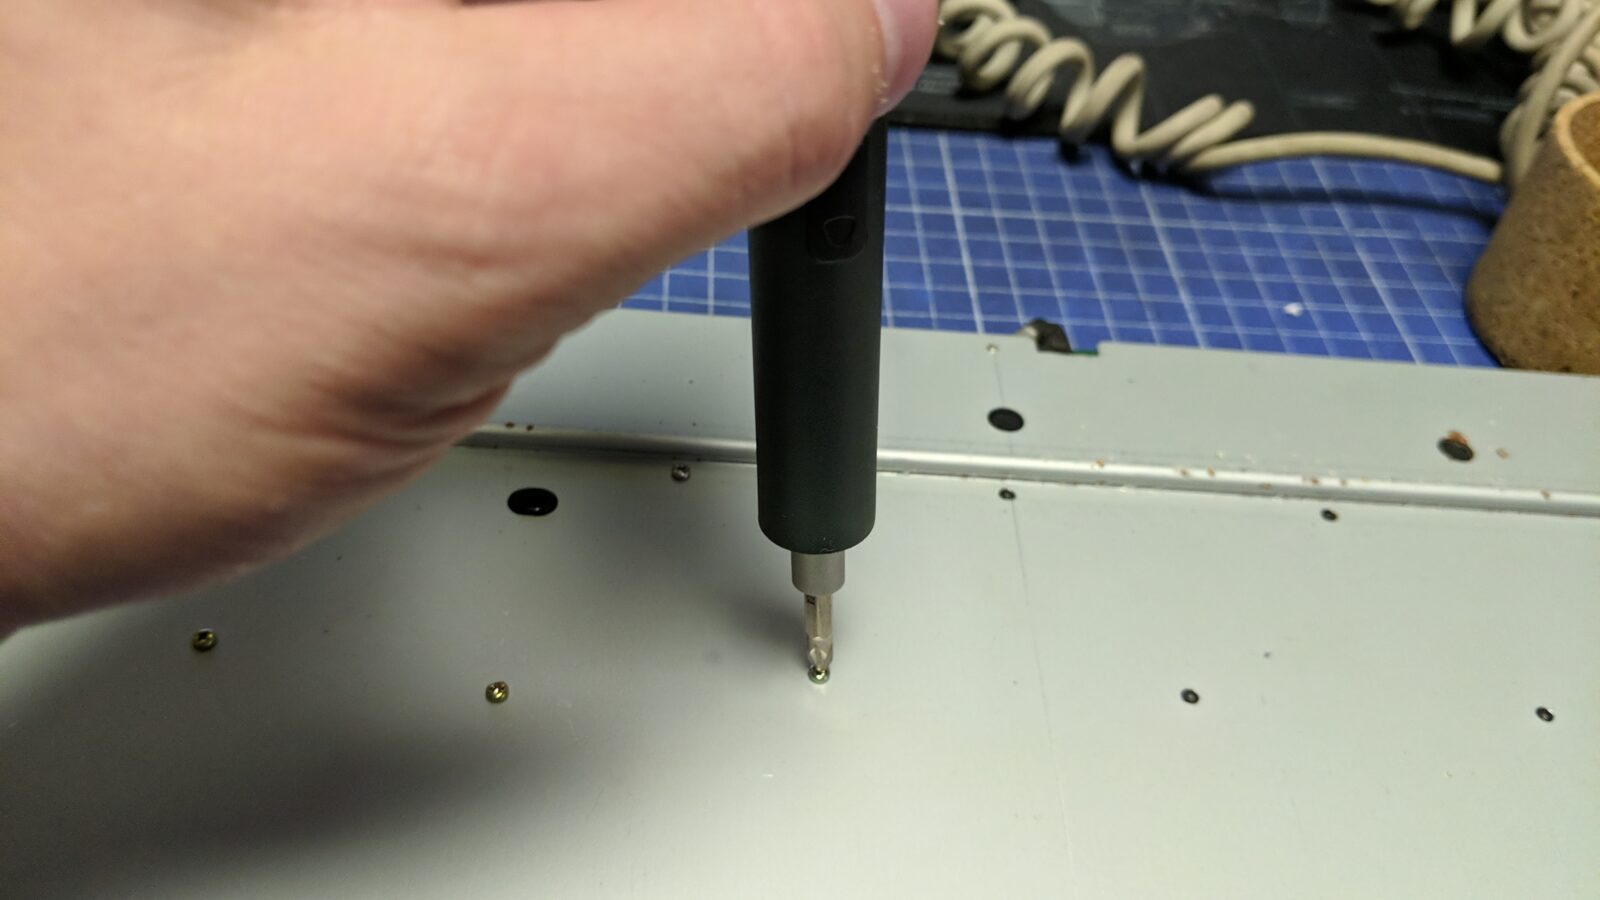
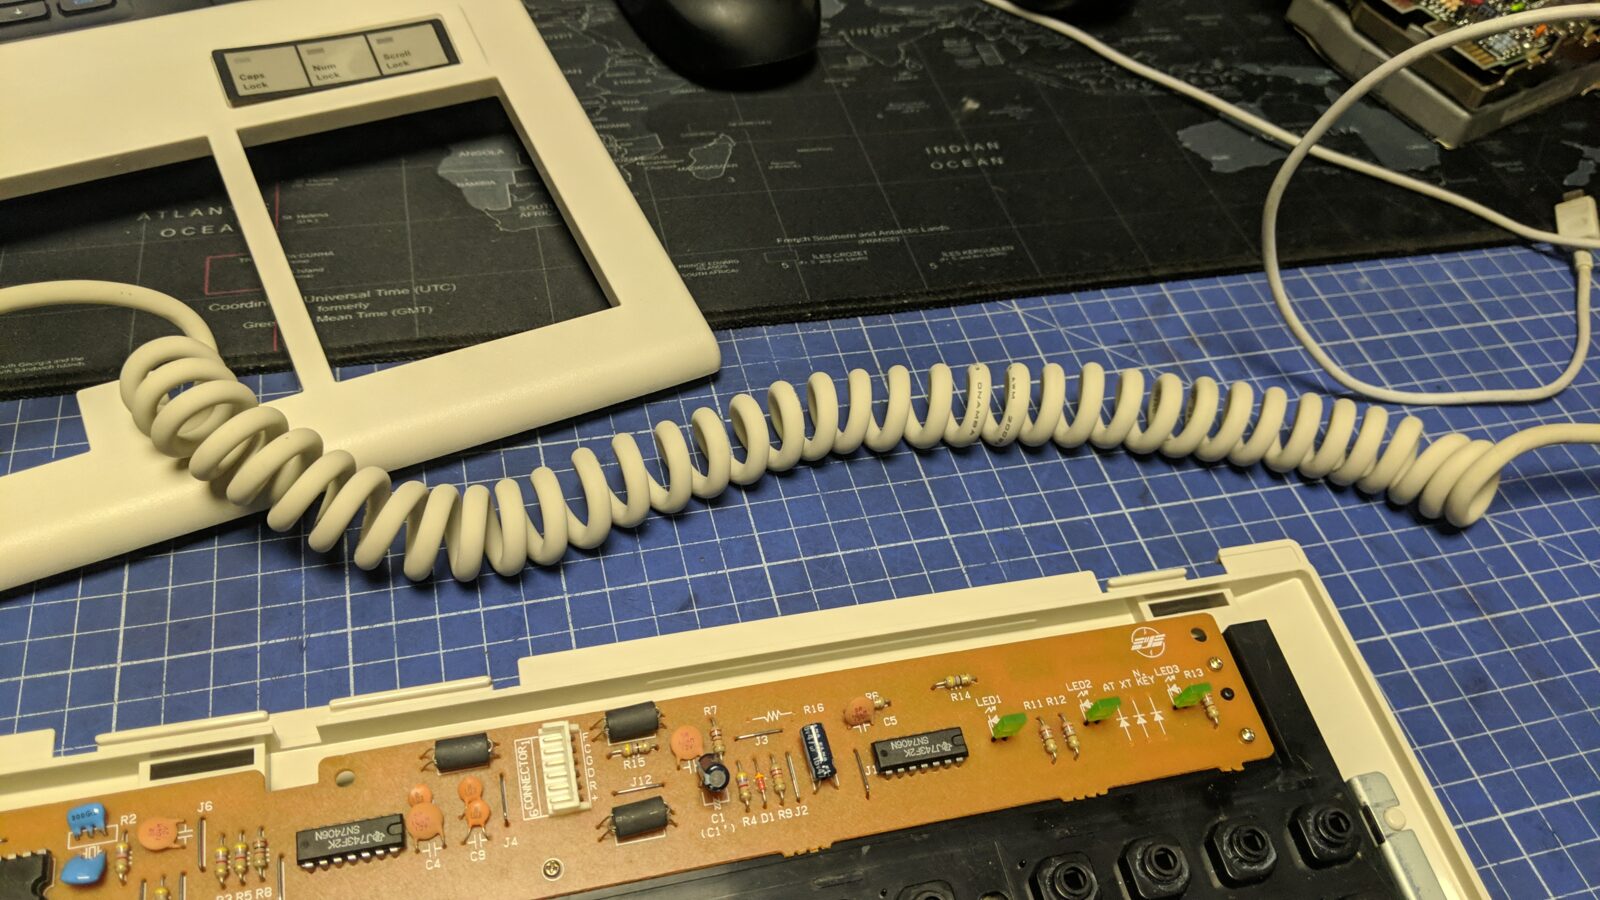
With the CRT sorted, I grabbed the keyboard that came along with it and disassembled it for cleaning with my freshly bought electric screwdriver 😀
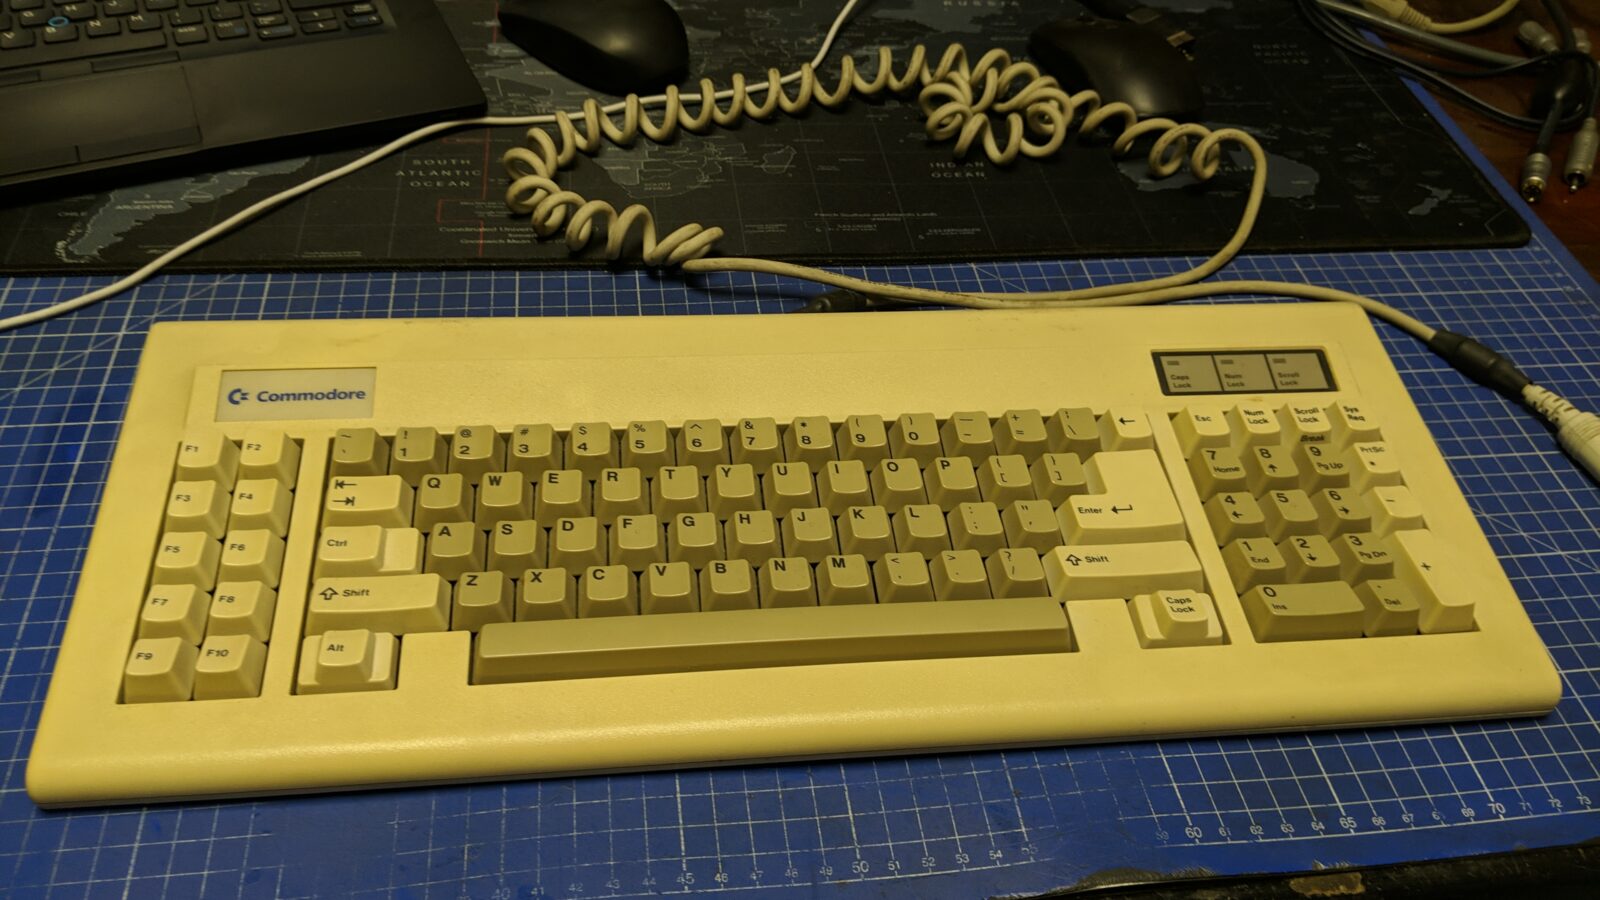
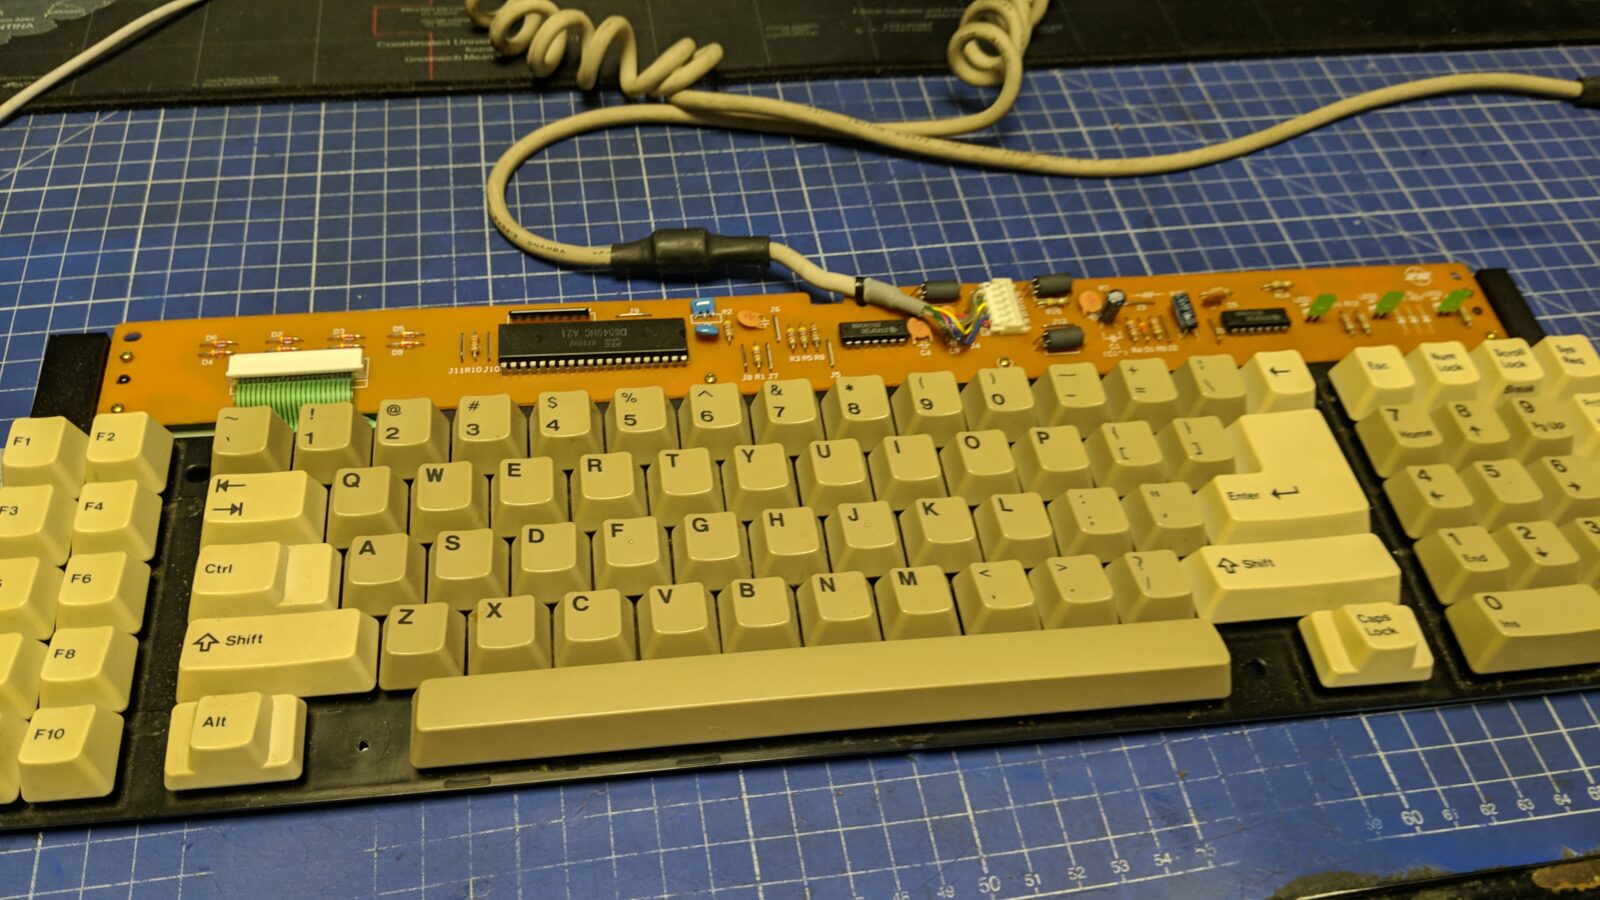
It uses an MITSUMI-type keyboard membrane found in various Amiga computers.
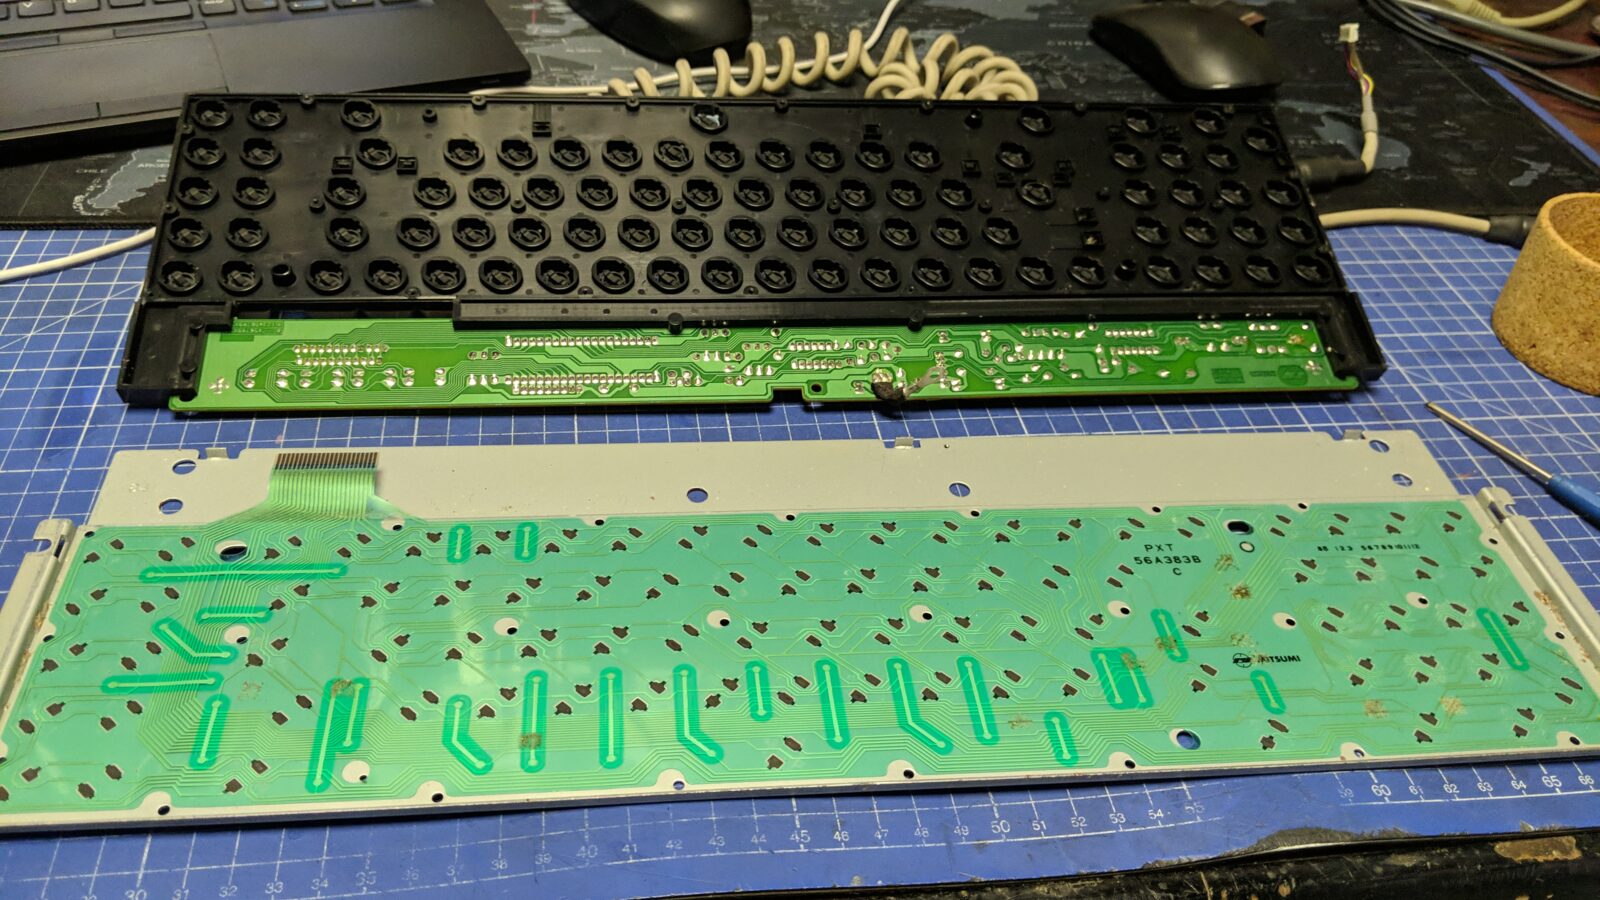
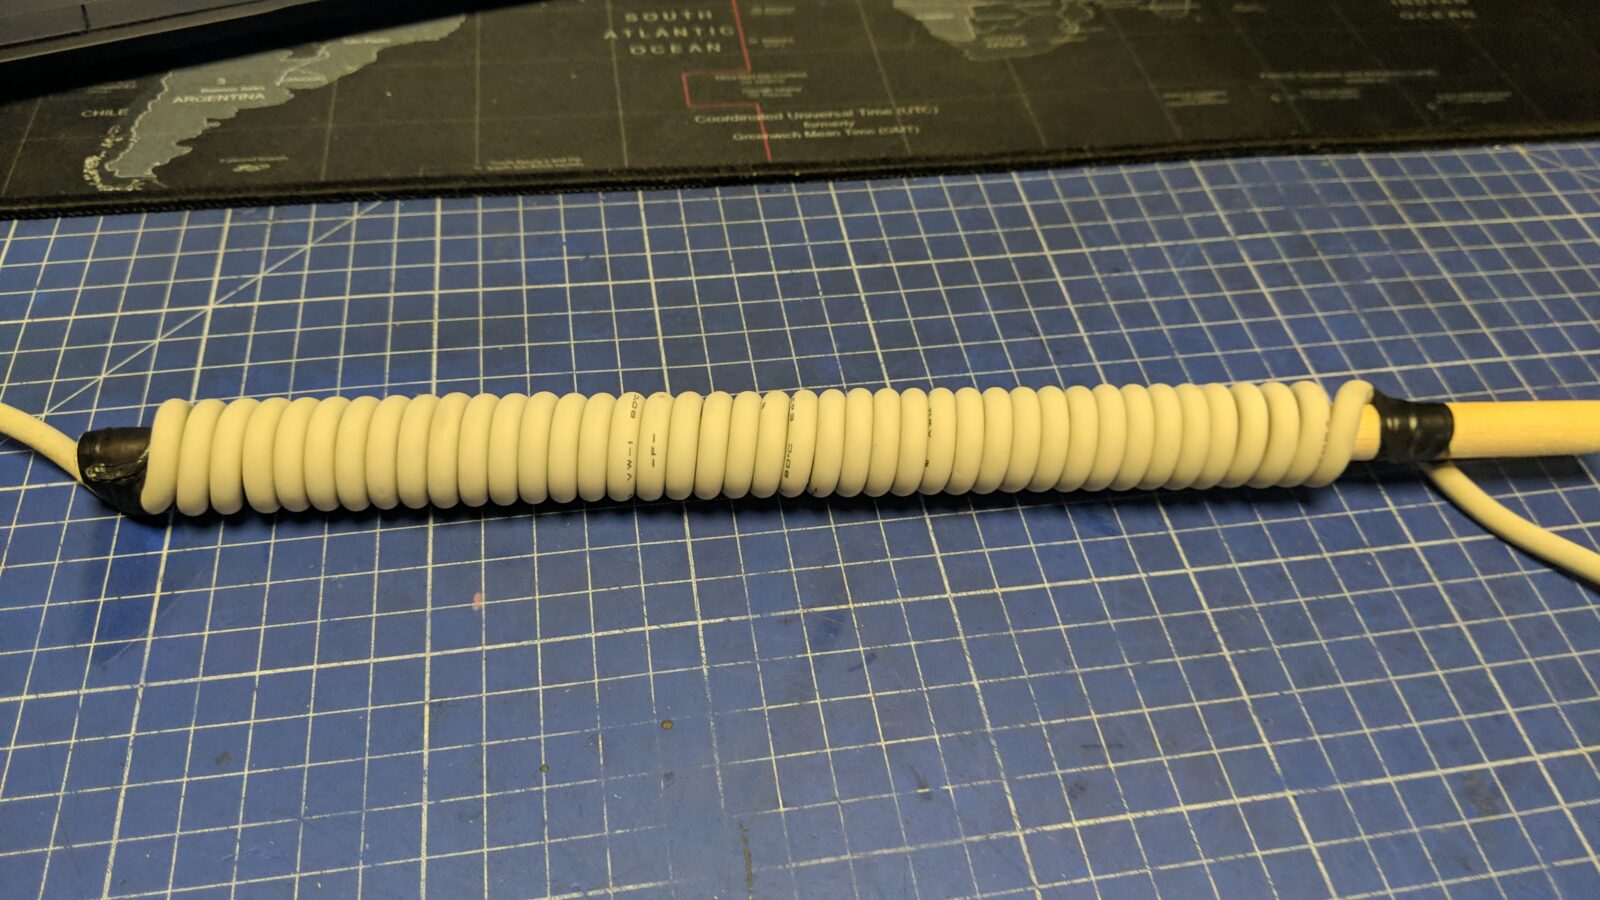
The main problem was a stretched cable.
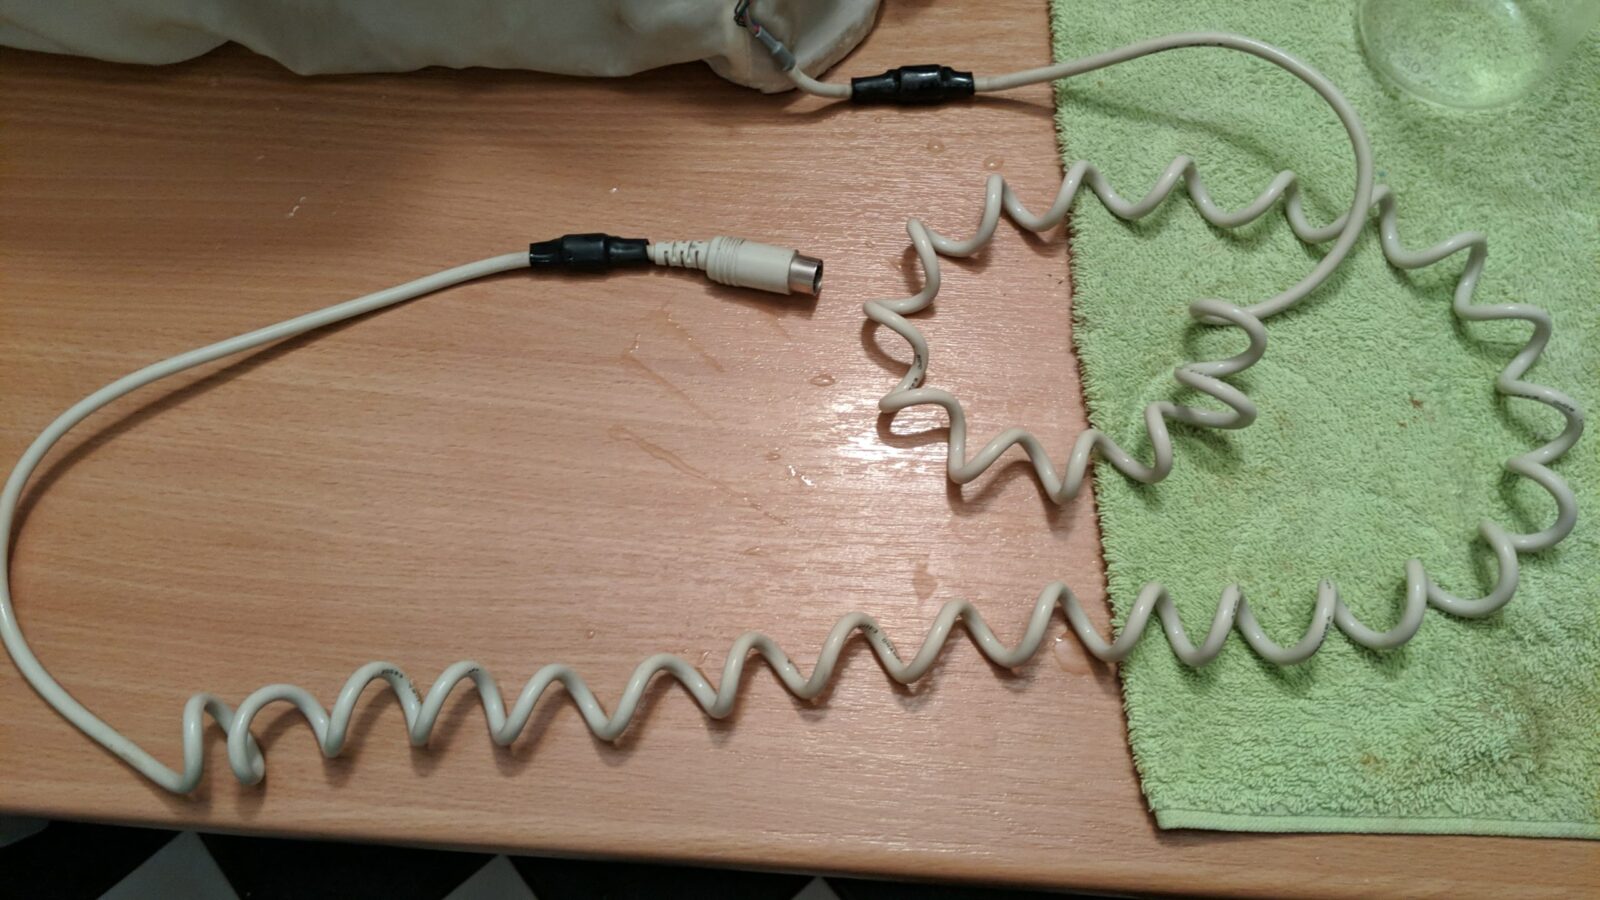
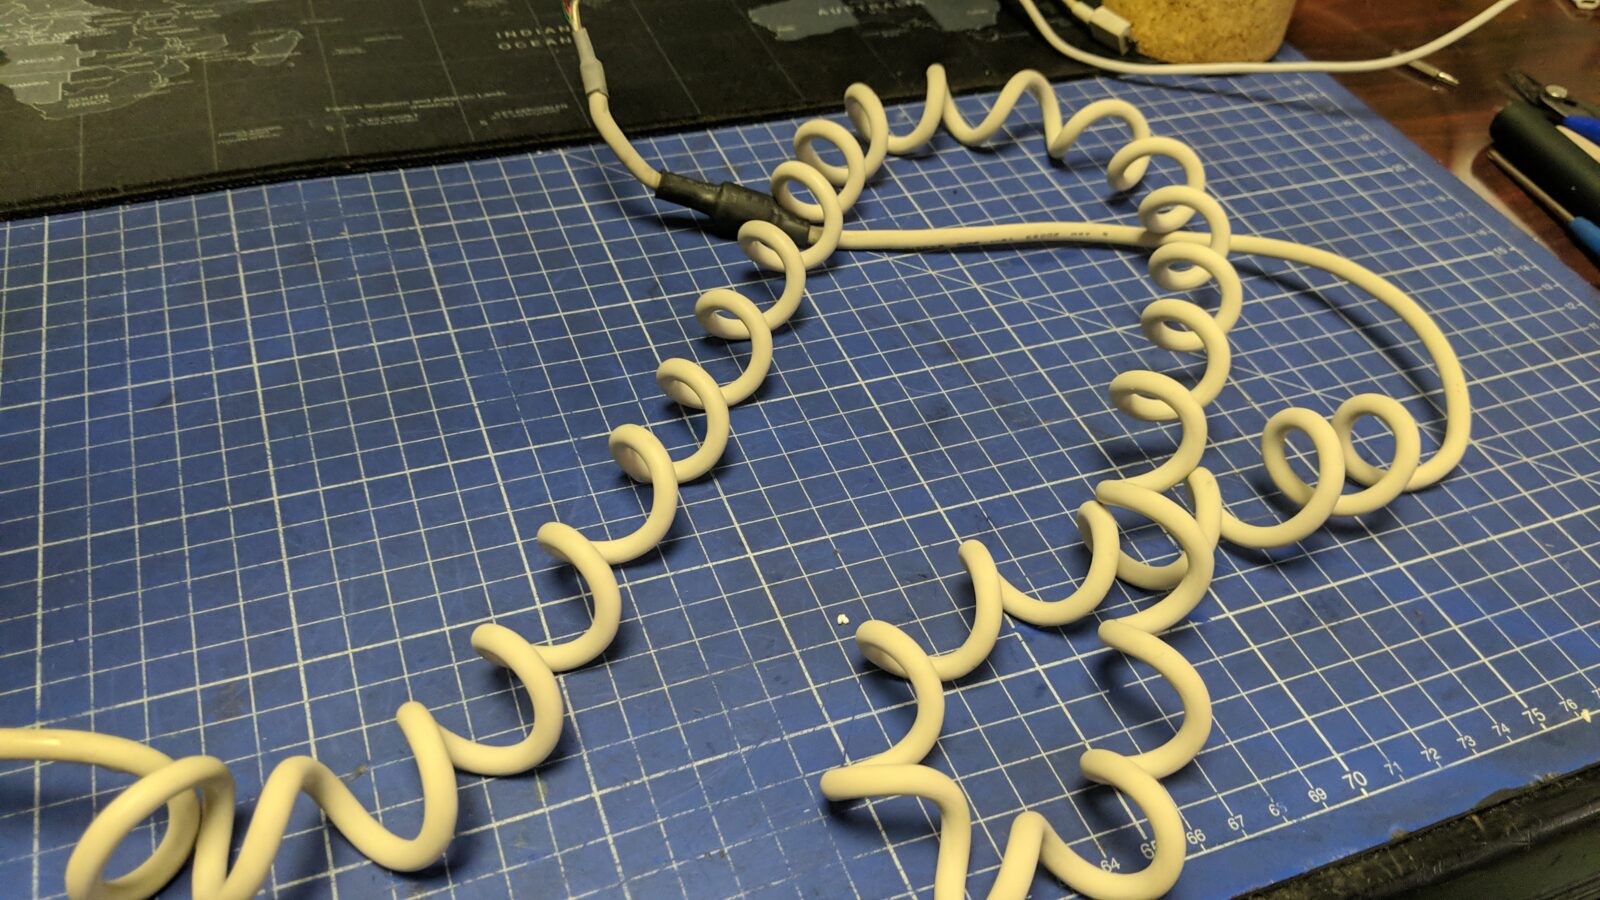
To address this issue, I’ve rolled it on a wooden rod, released any strain with a hot-air gun set to 120 degrees Celsius, and put it in a freezer for a few hours to make it remember its shape. That method worked like a charm.
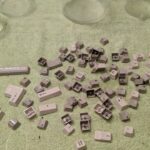
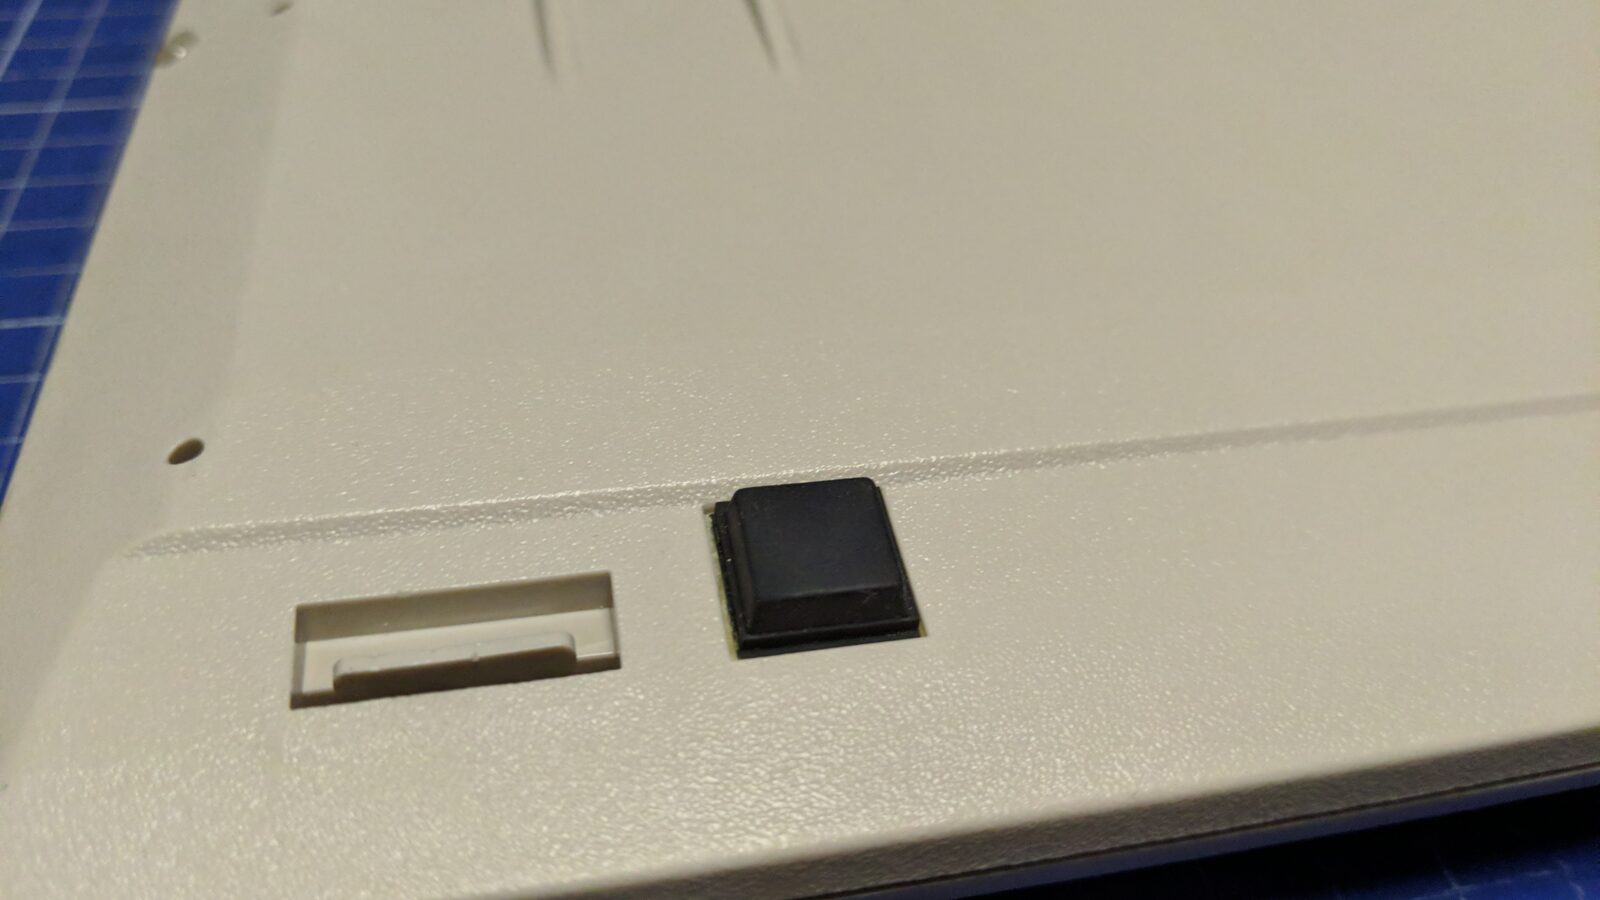
The keyboard received new rubber feet.
Disk and electronics fixes
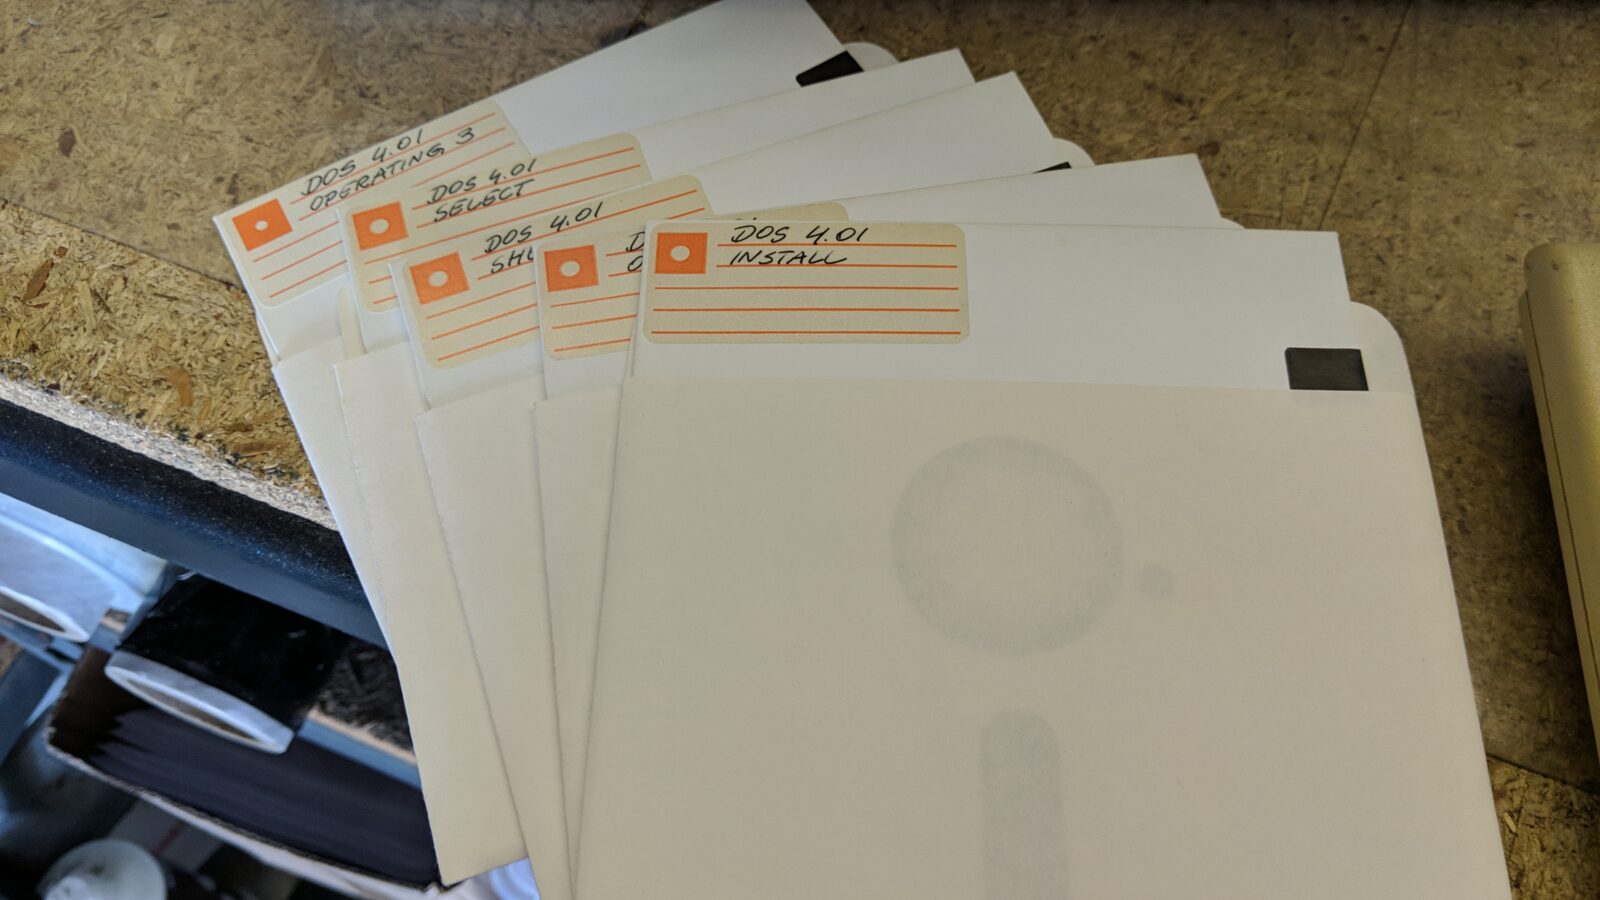
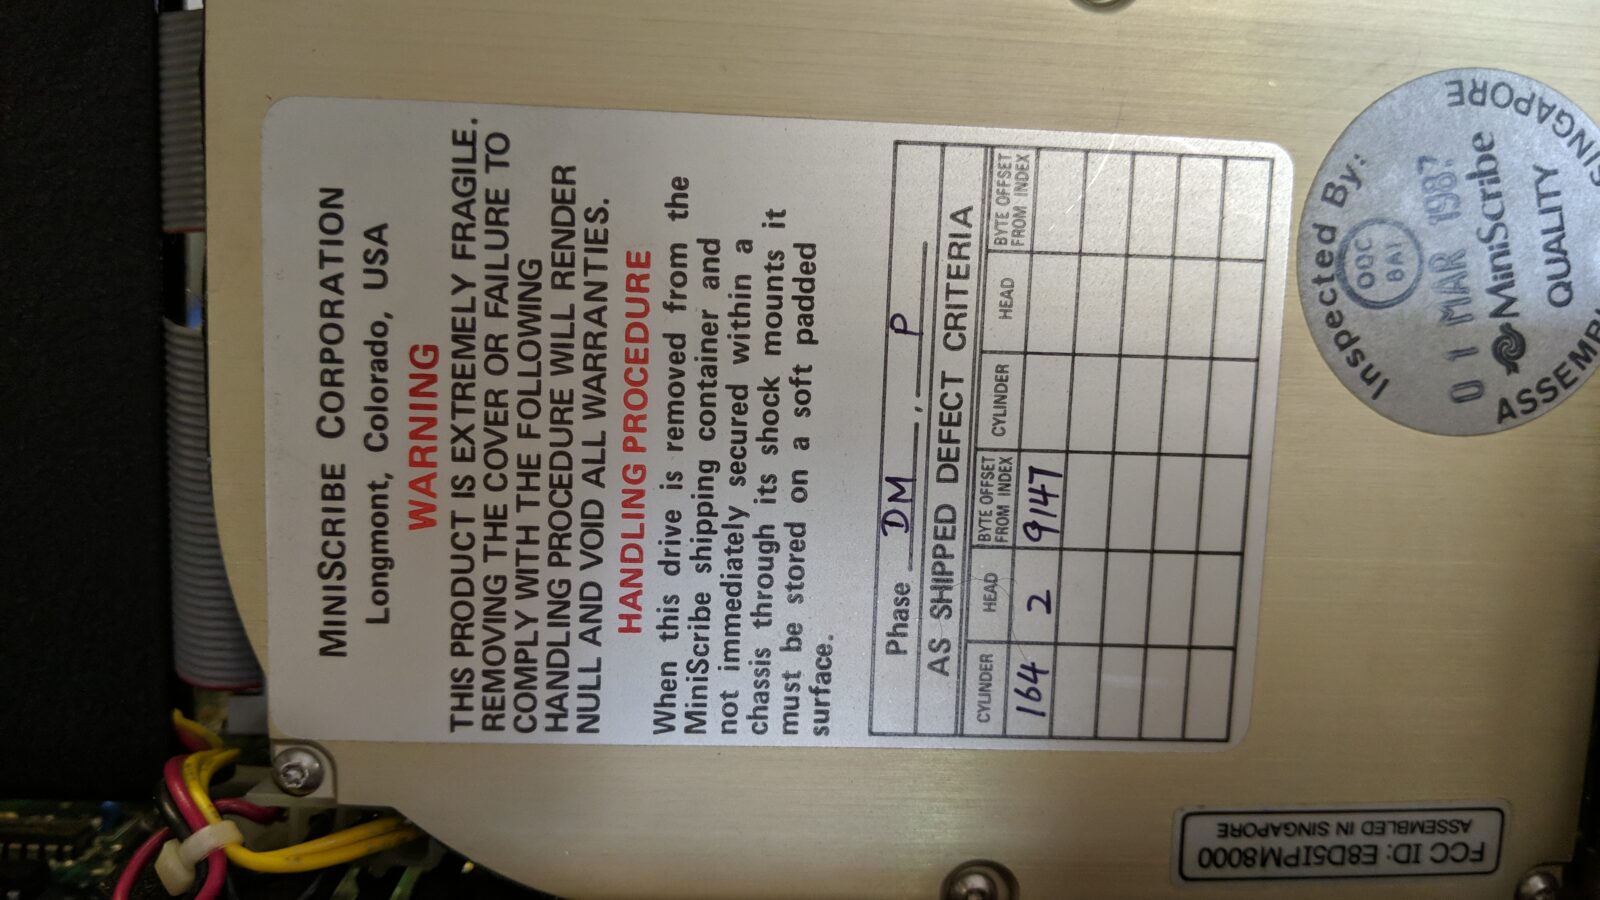
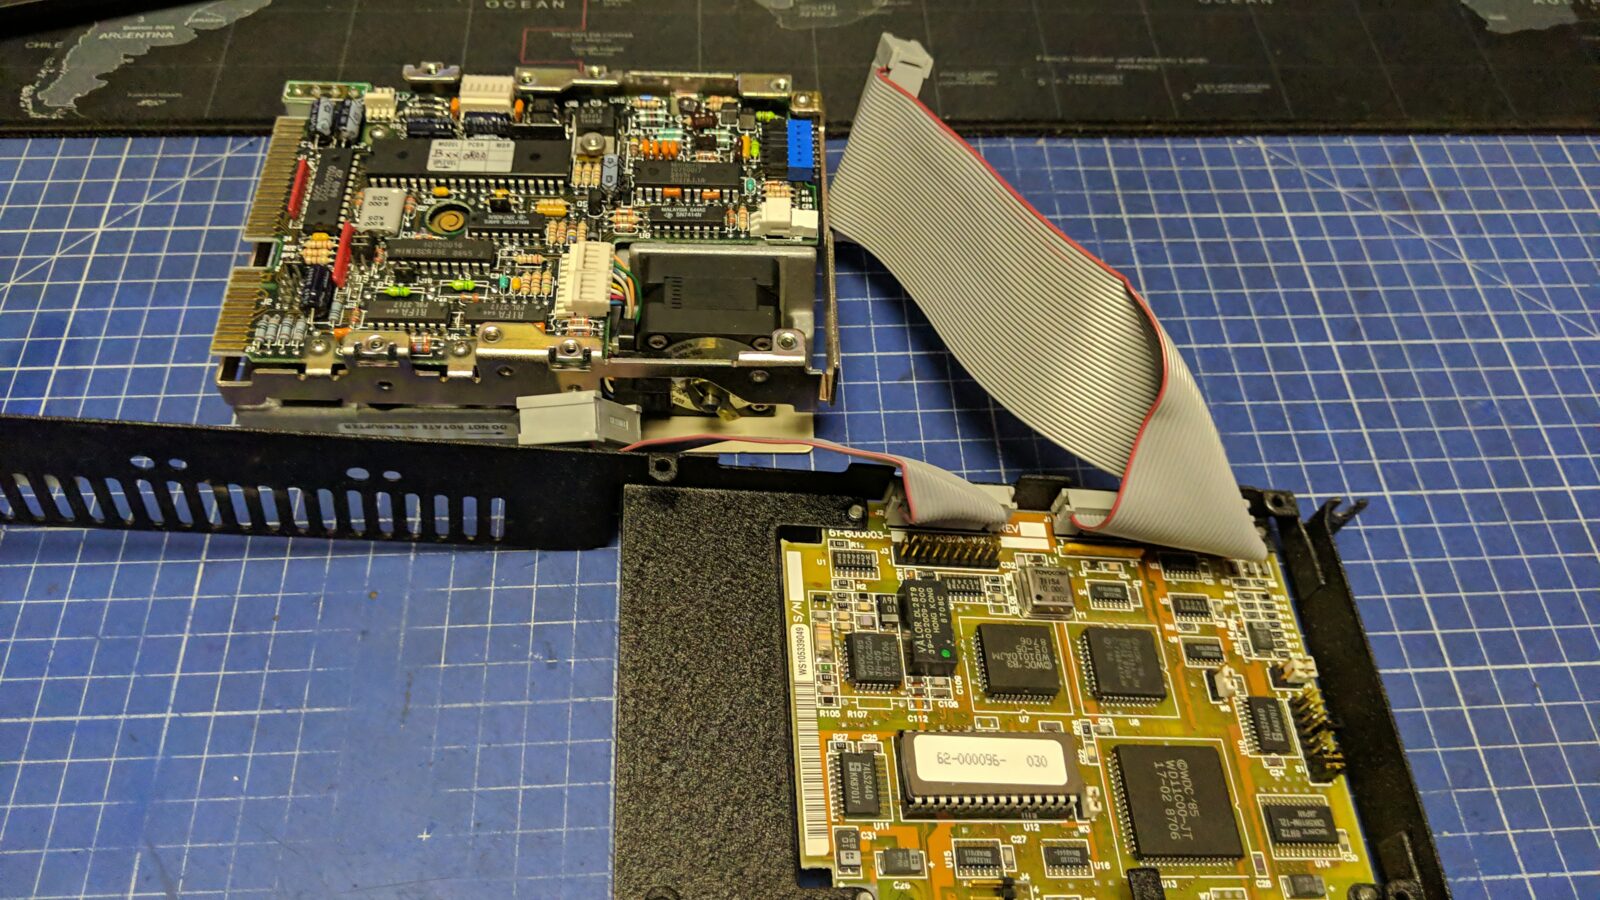
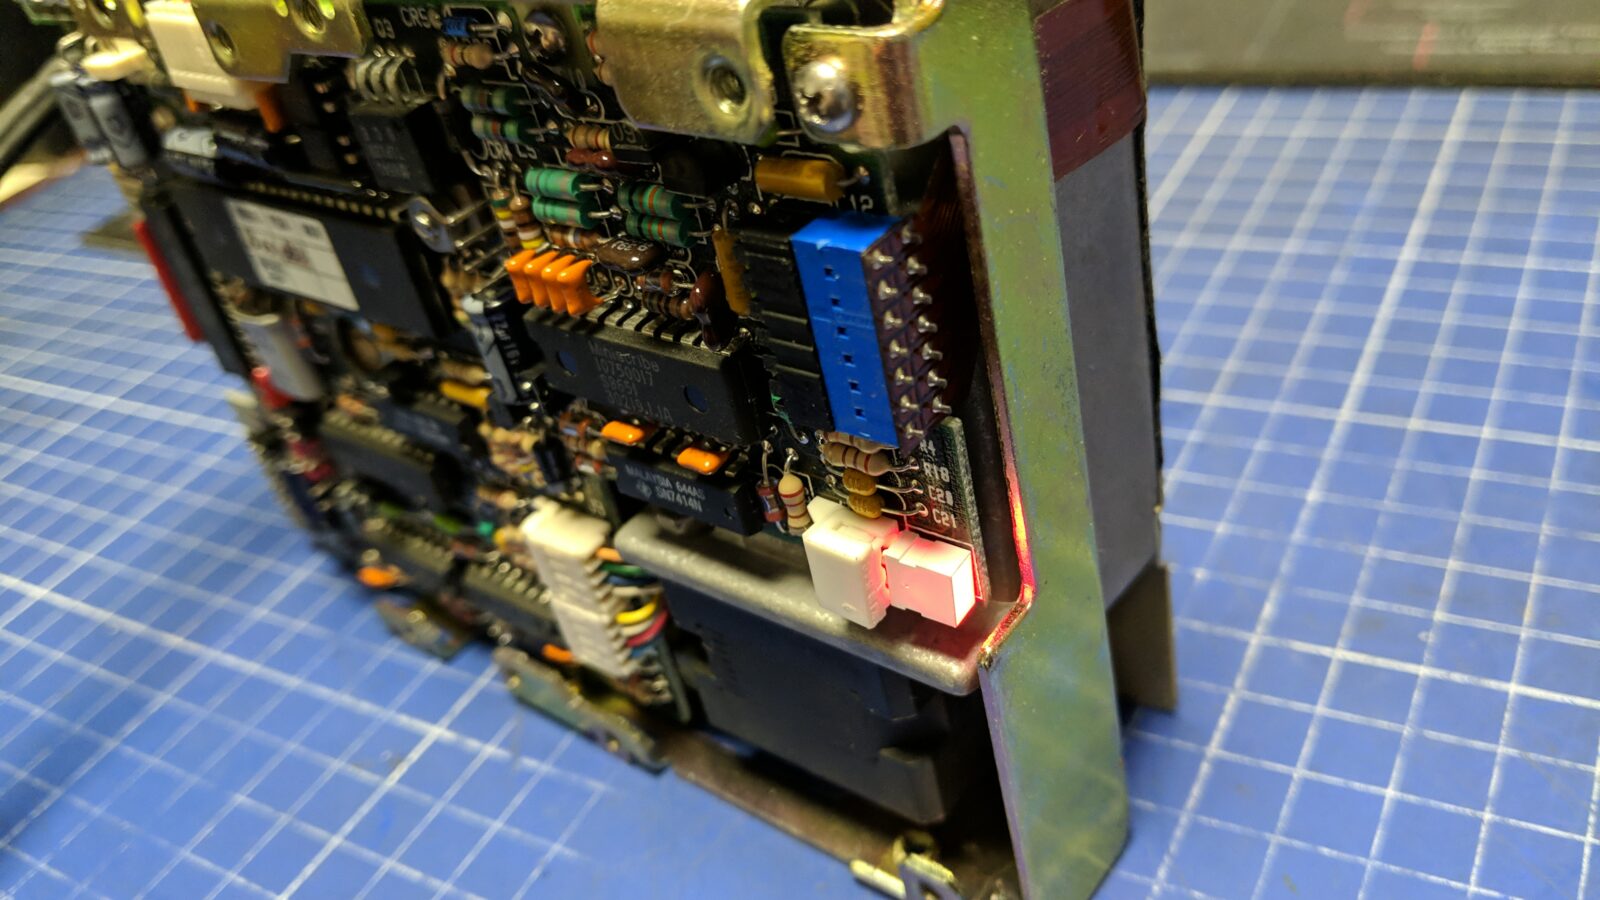
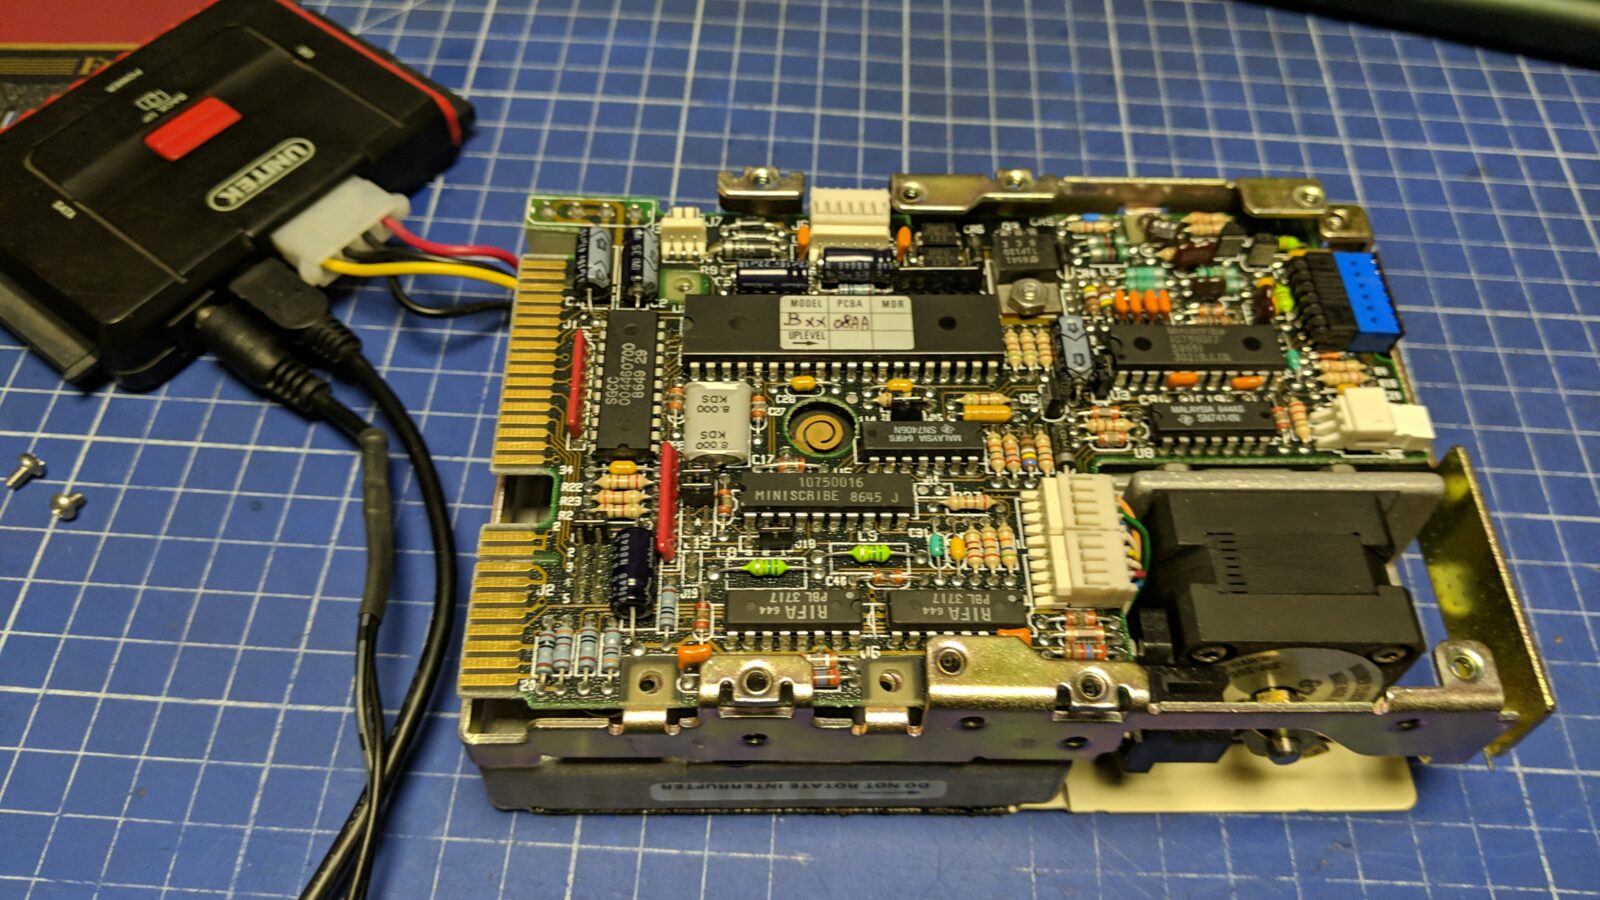
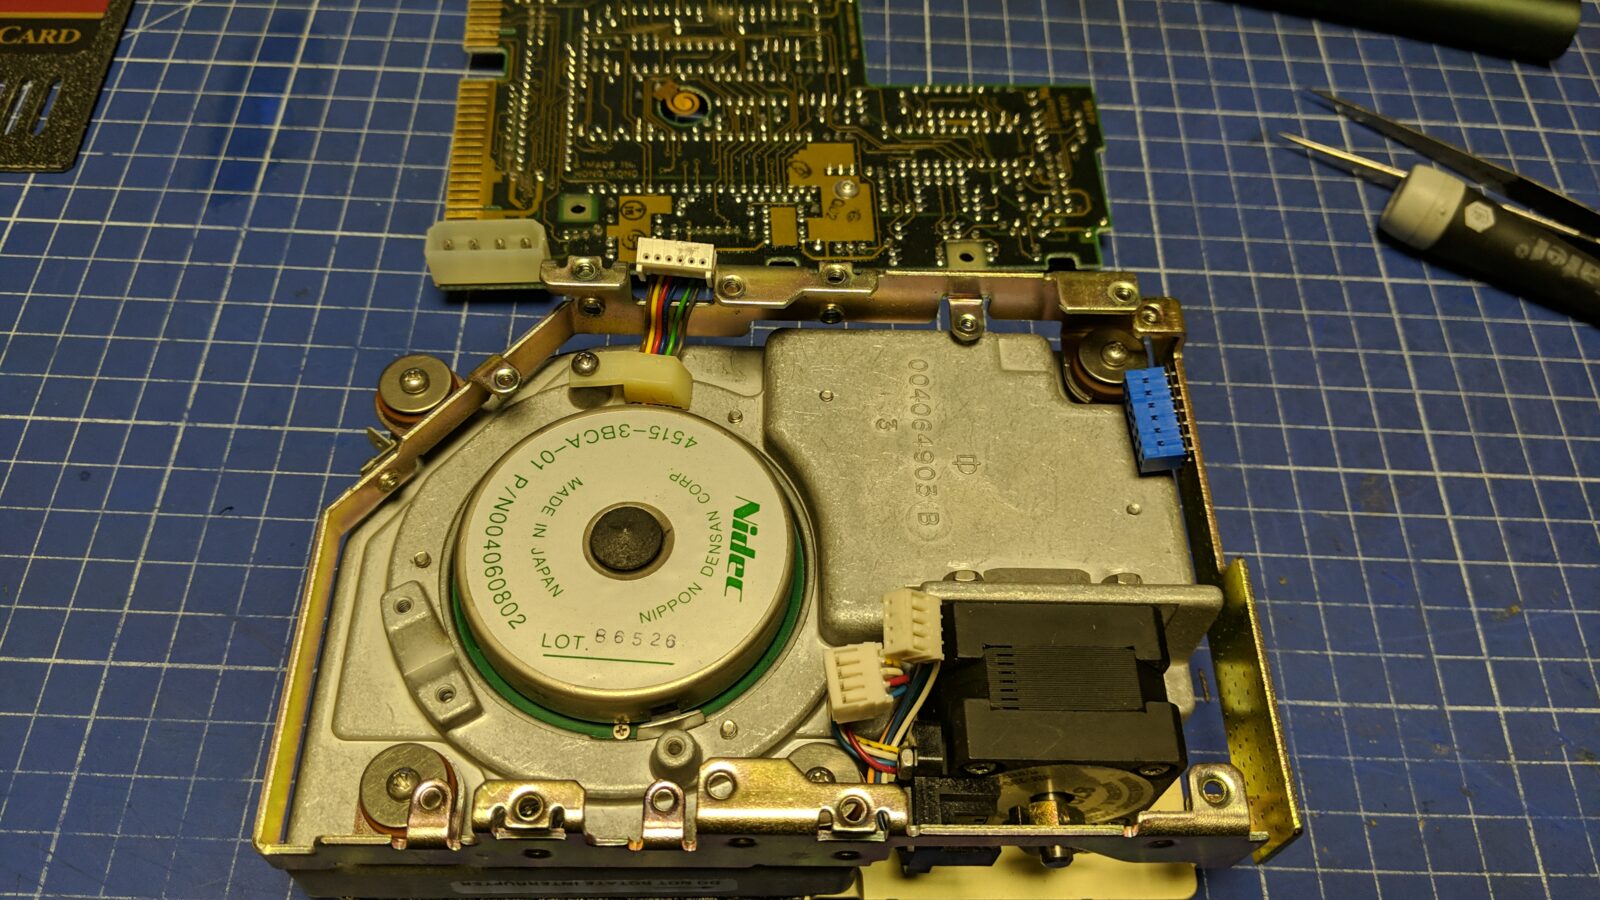
Next, I’ve moved on with the machine itself. After disassembly, it turned out that it used an interesting piece of kit, a File Card by Dysan with a disk on it. I had never seen such a solution before as I started my PC journey with 286 series of PC clones back in 1992. Unfortunately, the boot process stopped after a POST so I suspected a dead hard drive.
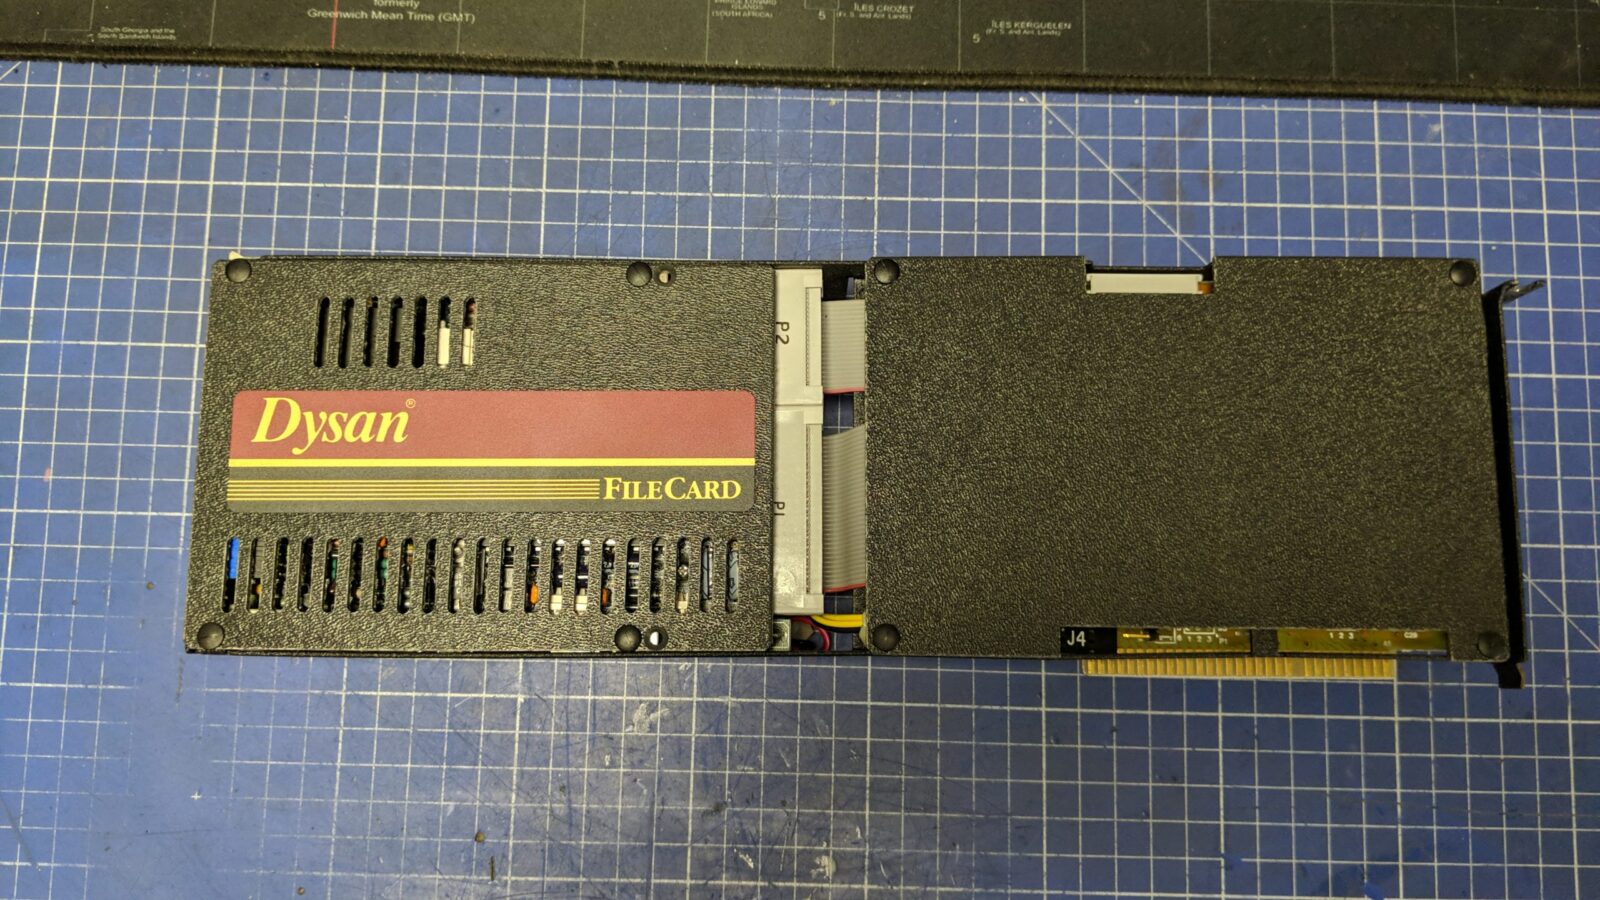
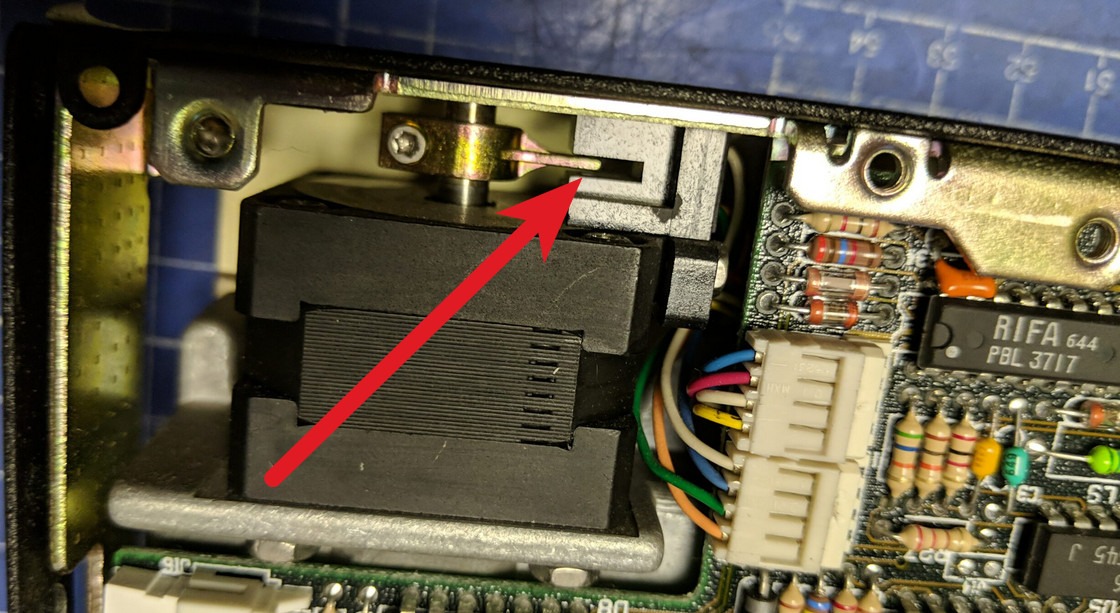
After tinkering with it for a while, I’ve found out that it is not dead! All I had to do to make it work again, was to manually move a shaft mounted on a stepper motor so it slid in a start-position sensor.
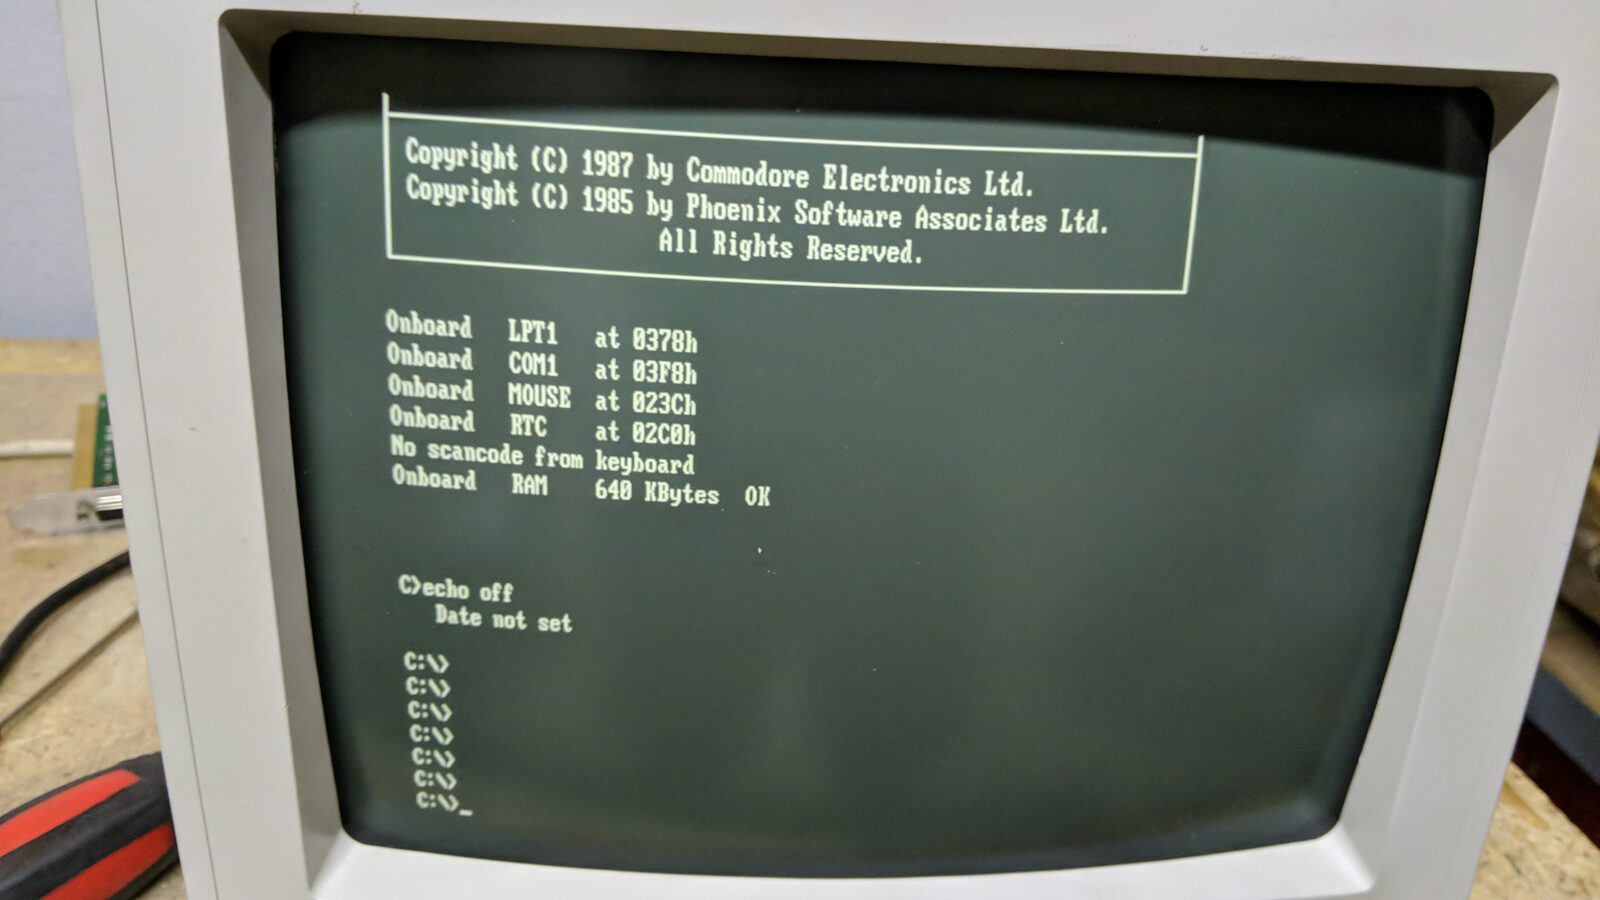
… aaaand it booted to DOS!! YaY!
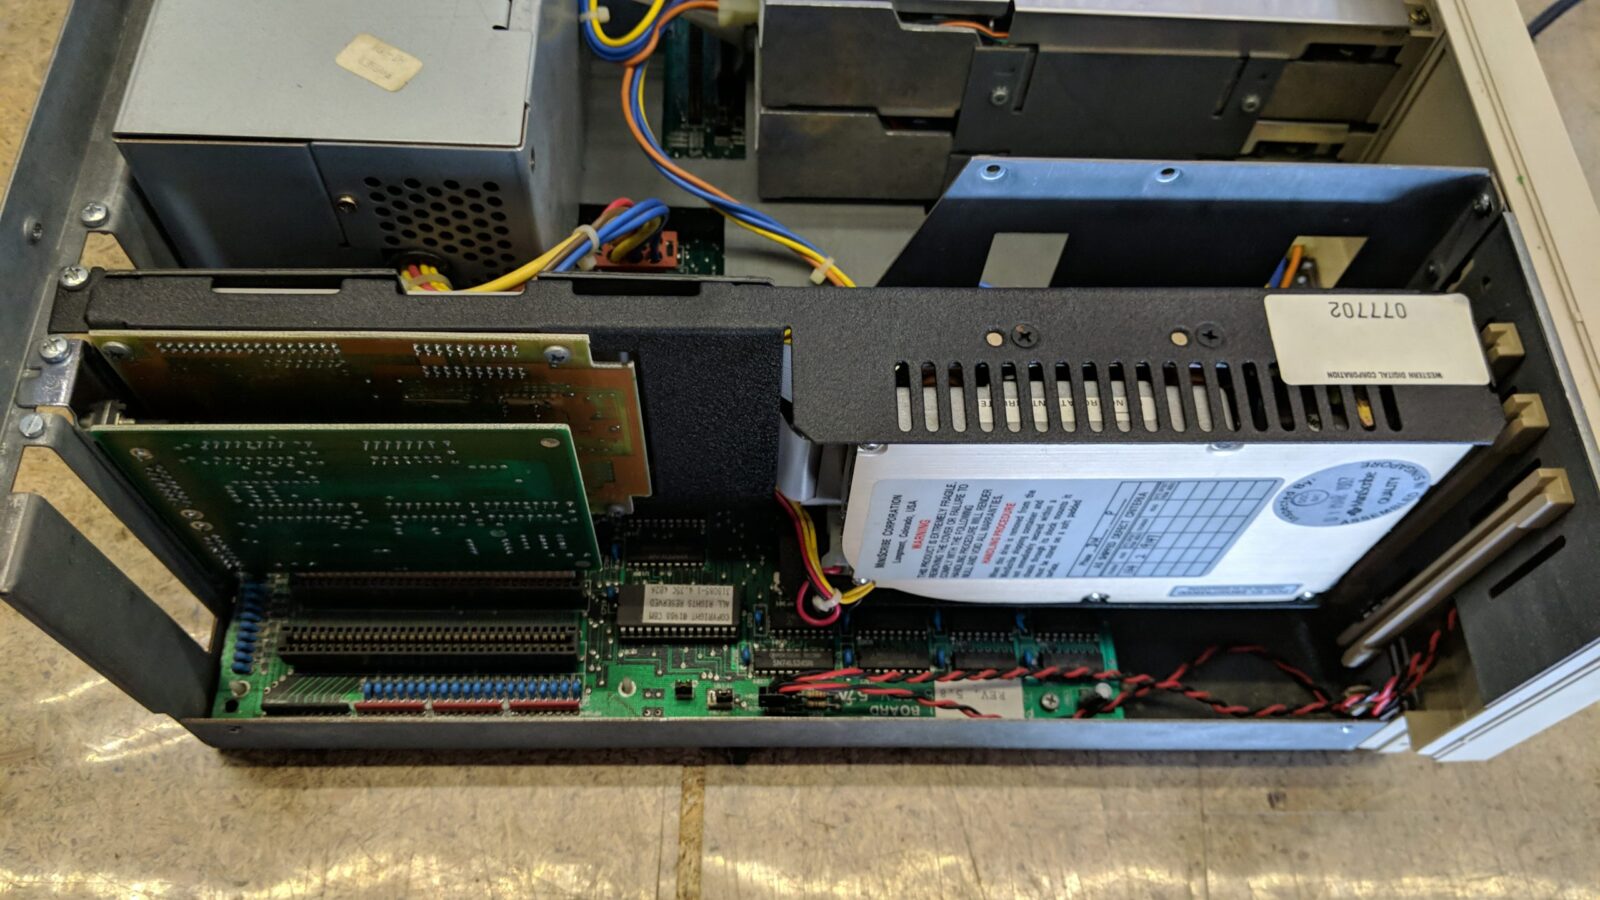
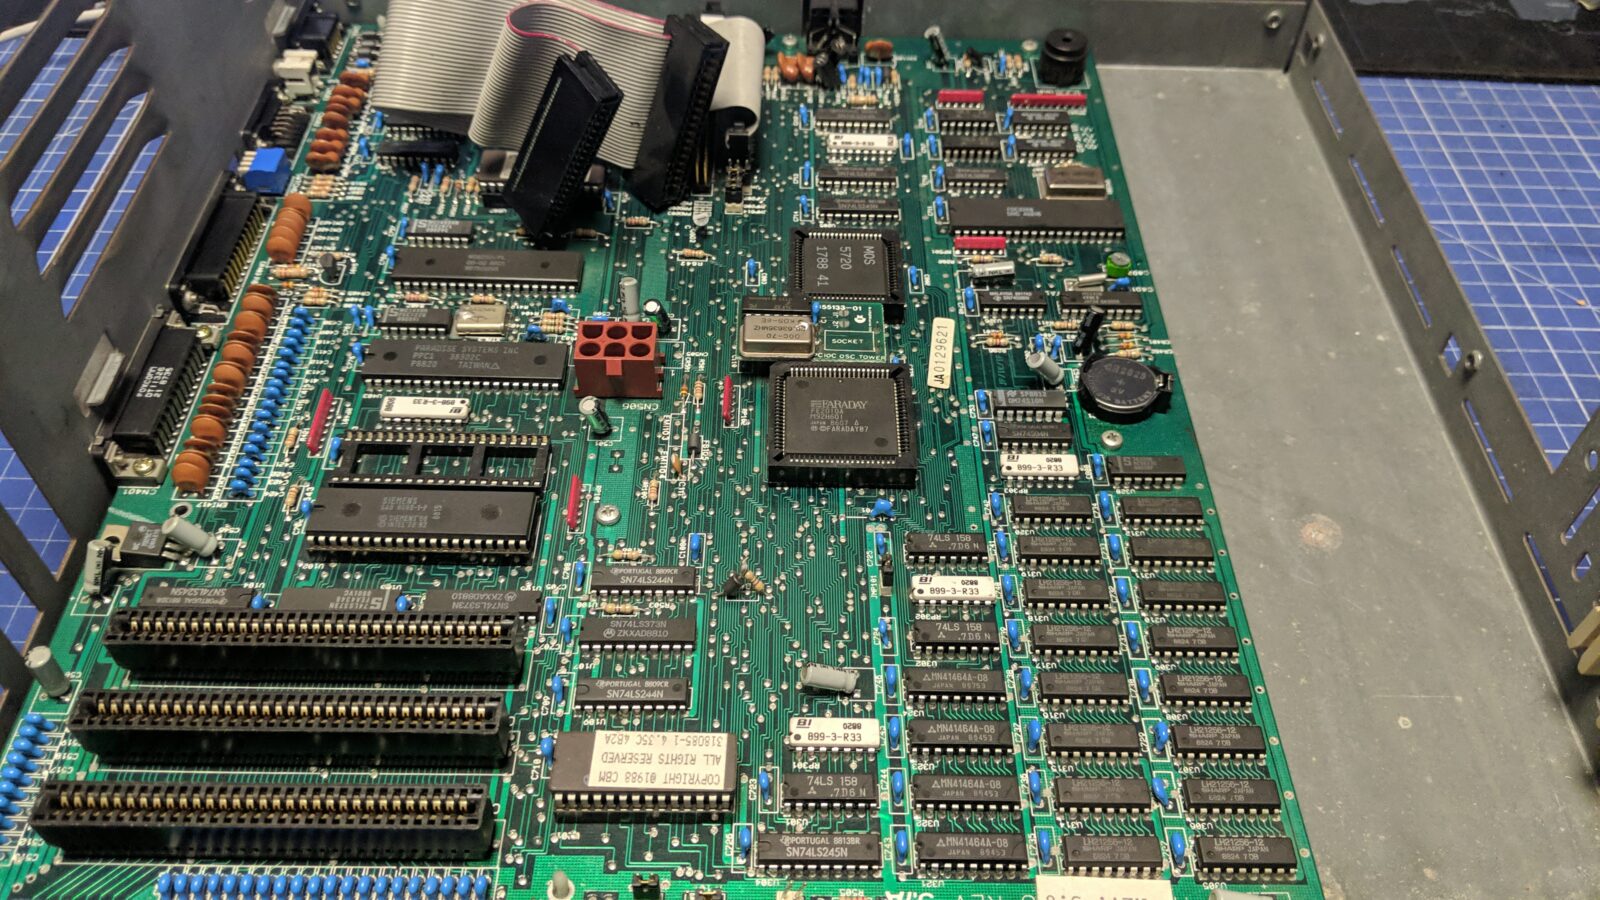
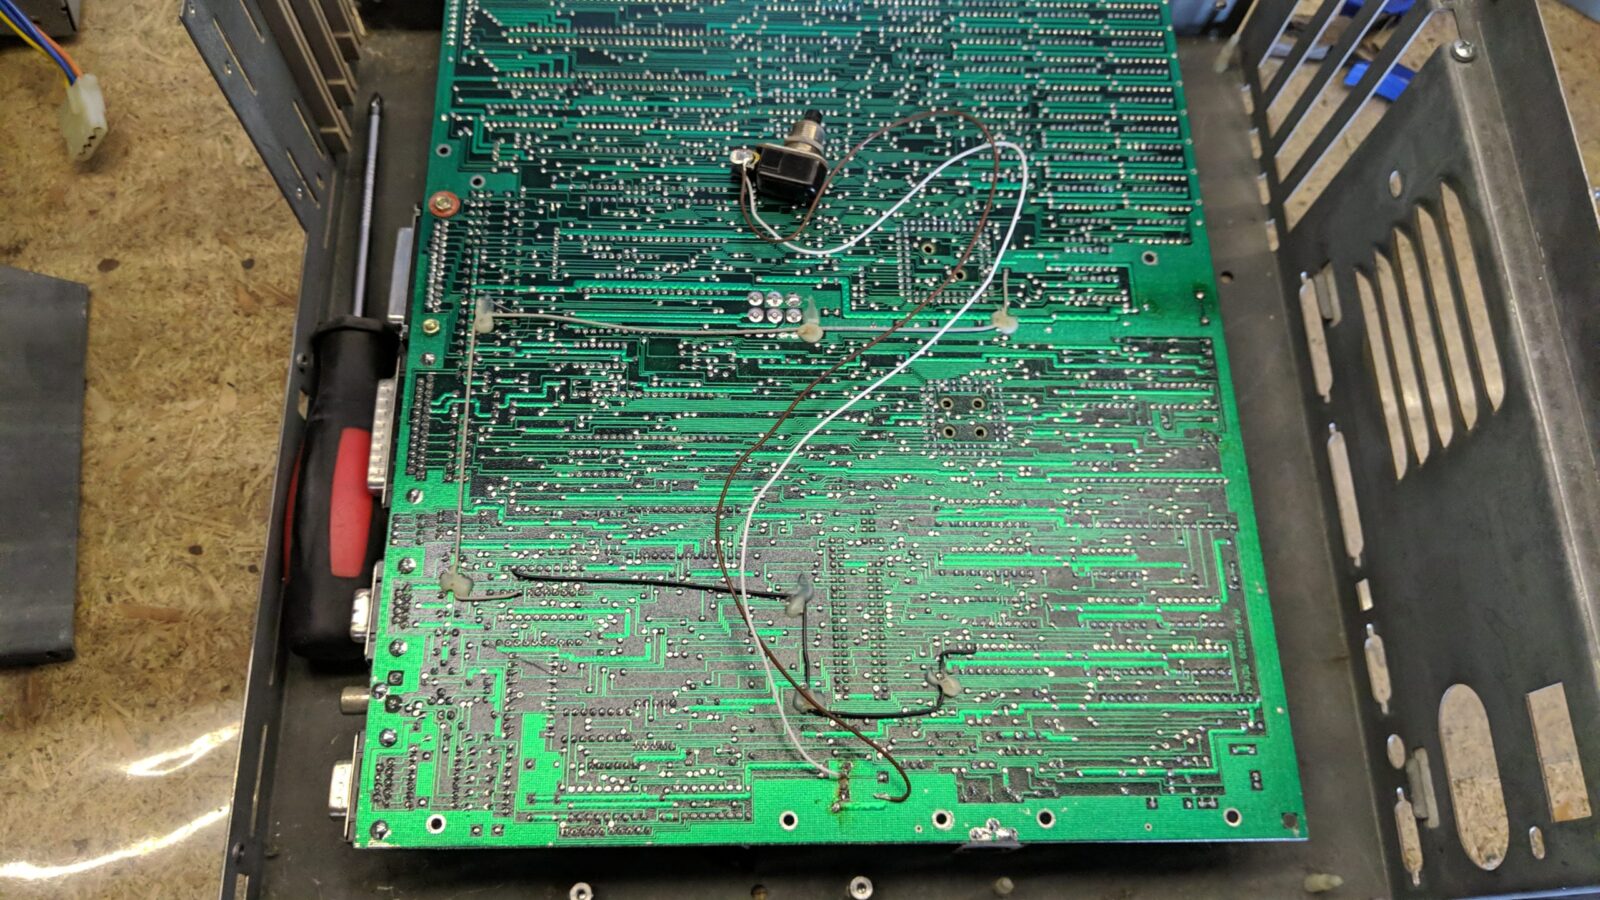
With the working disk, I could move on to the motherboard and PSU.
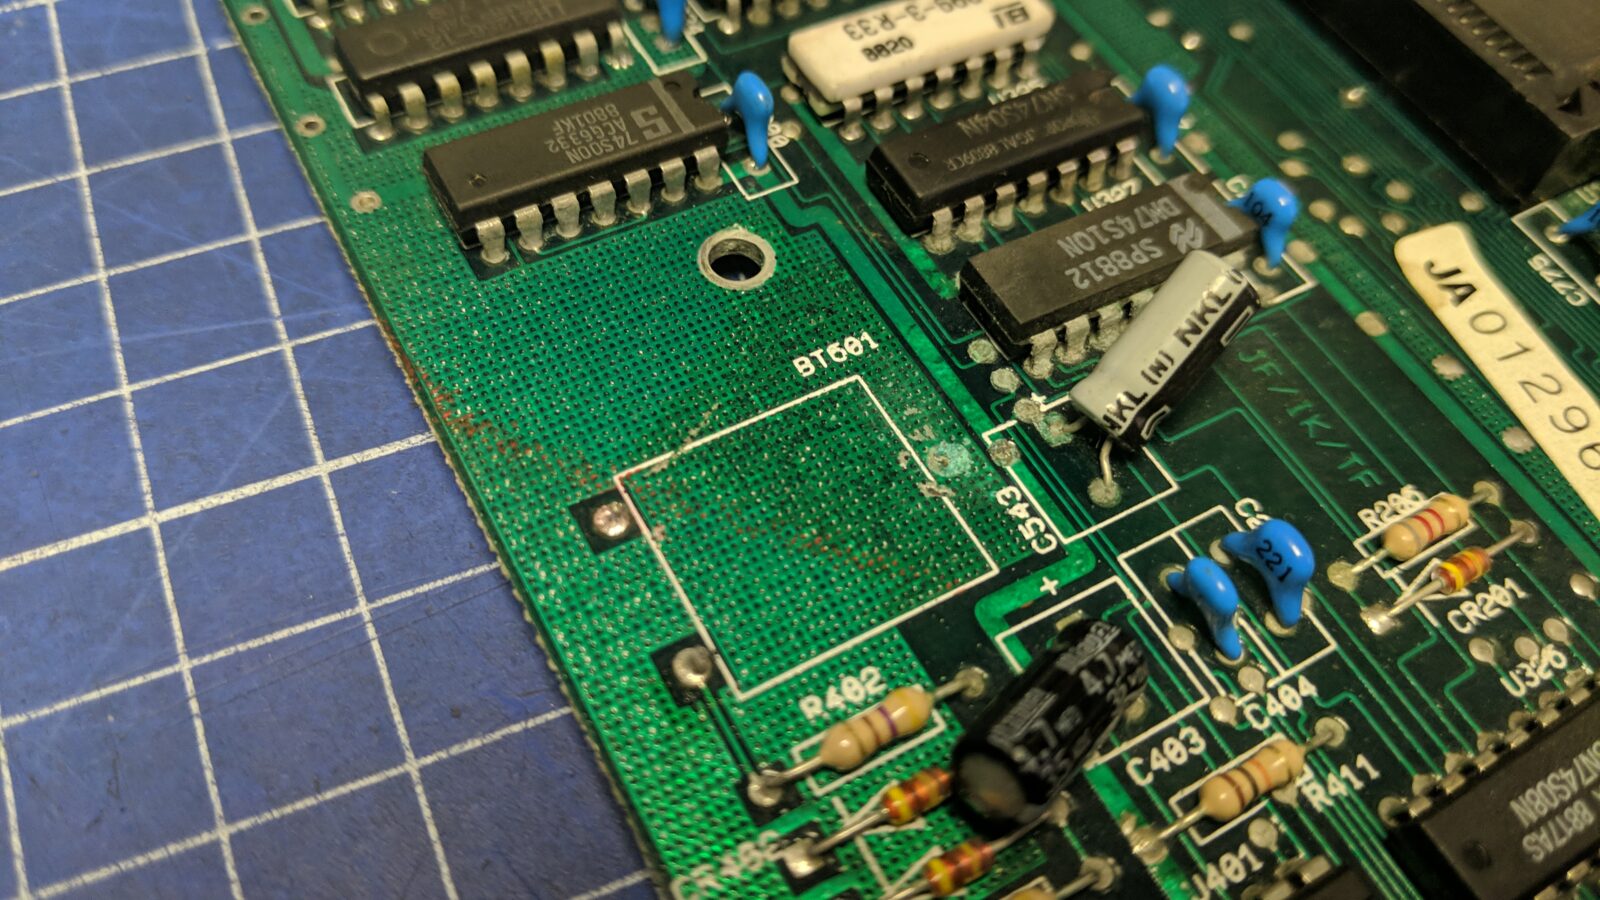
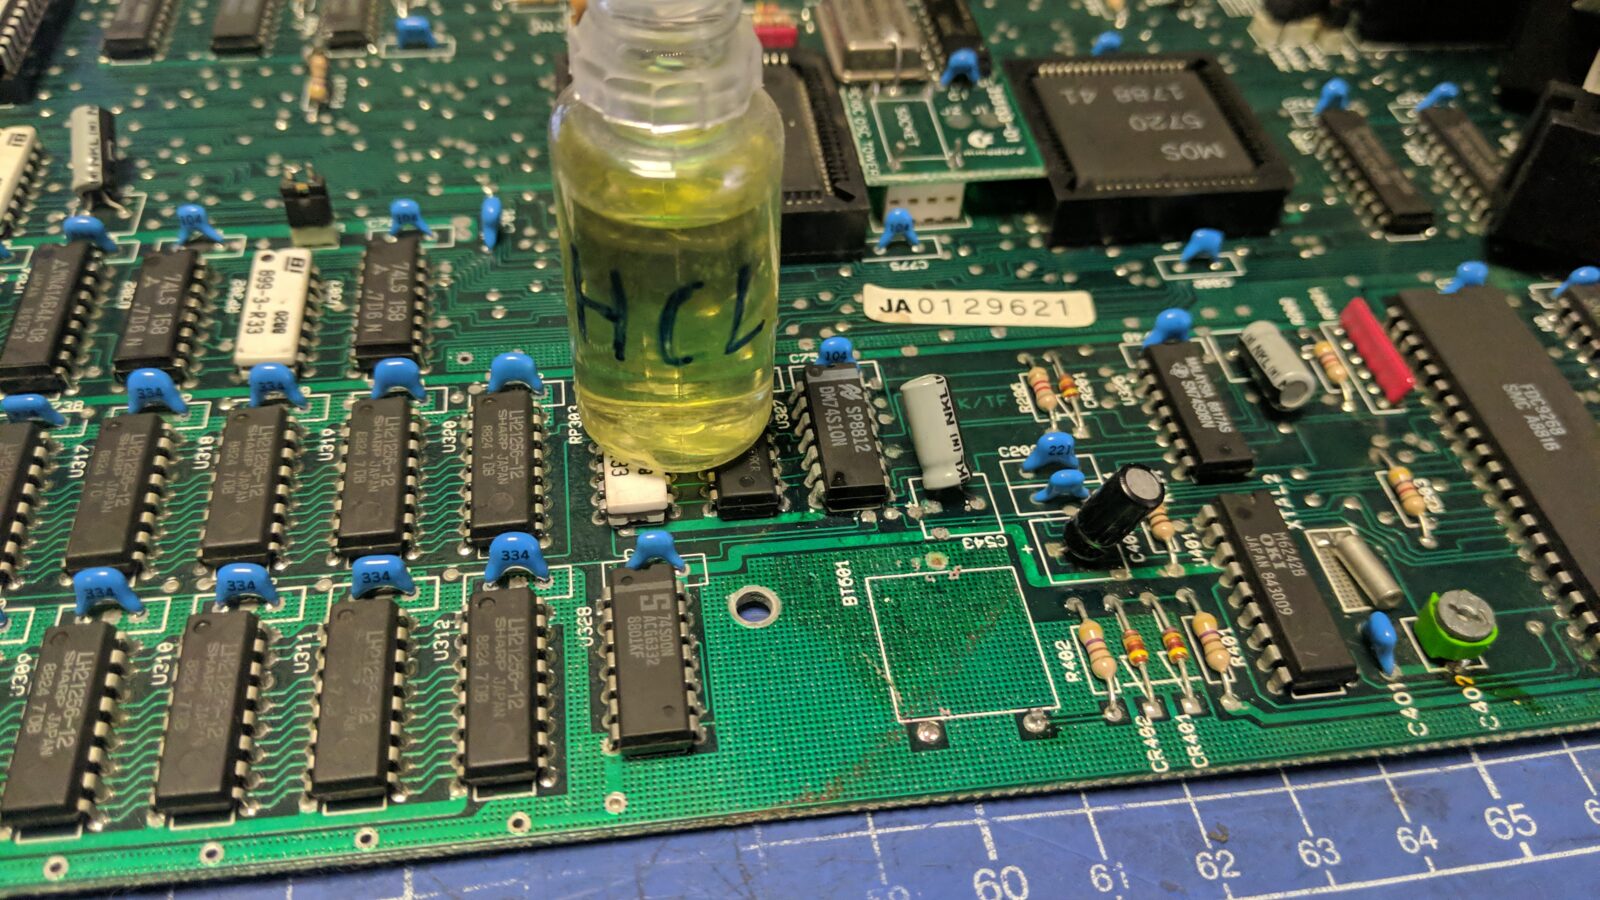
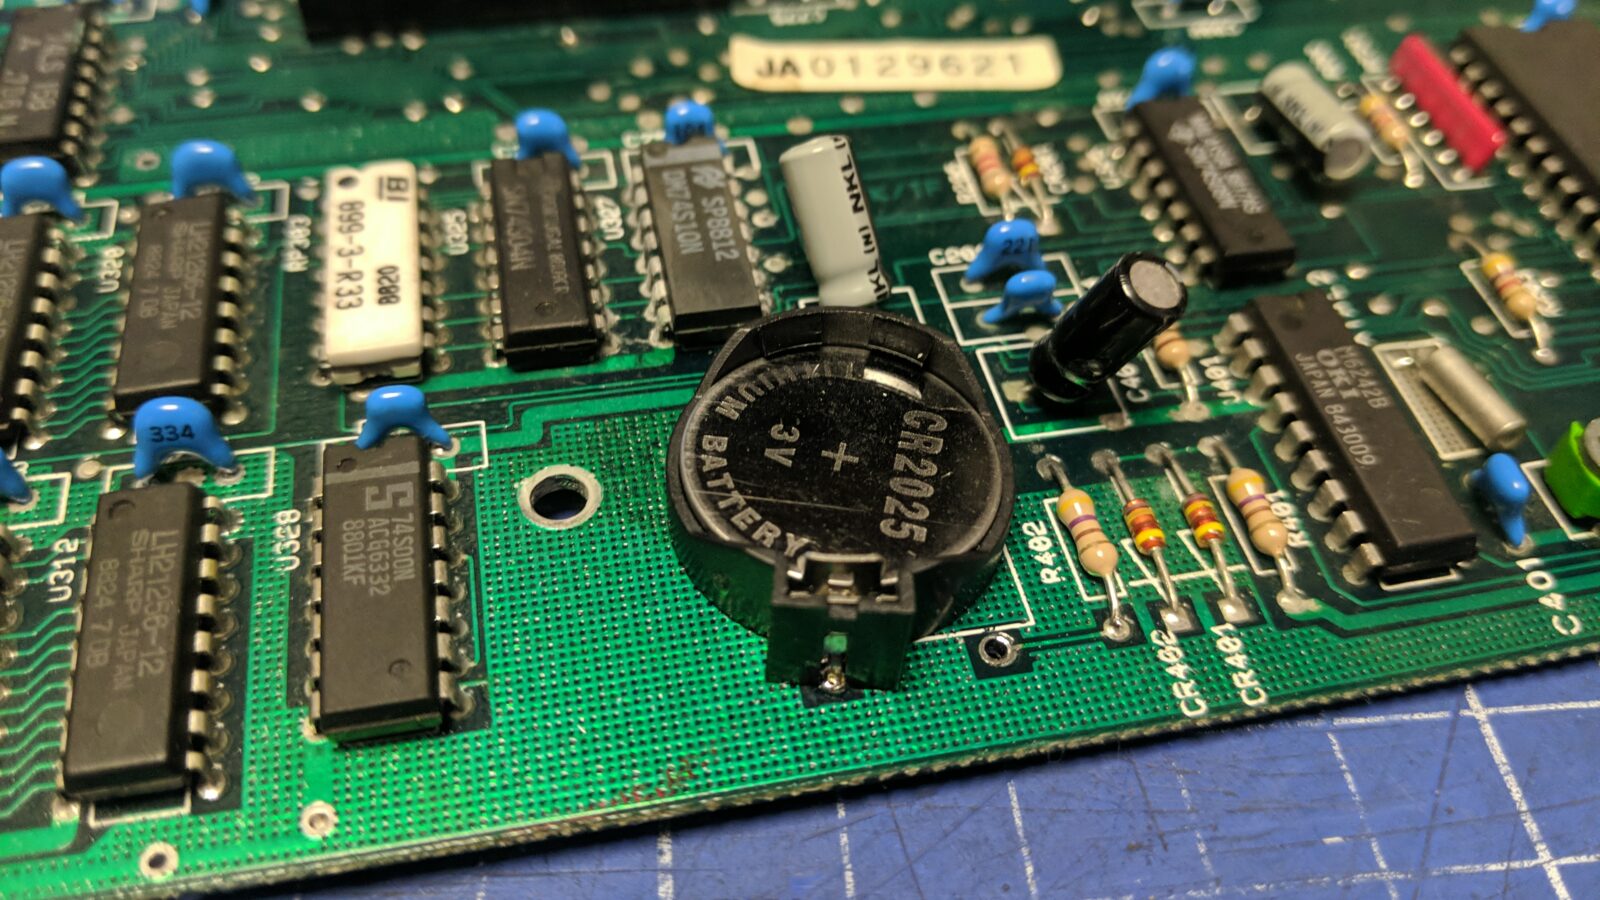
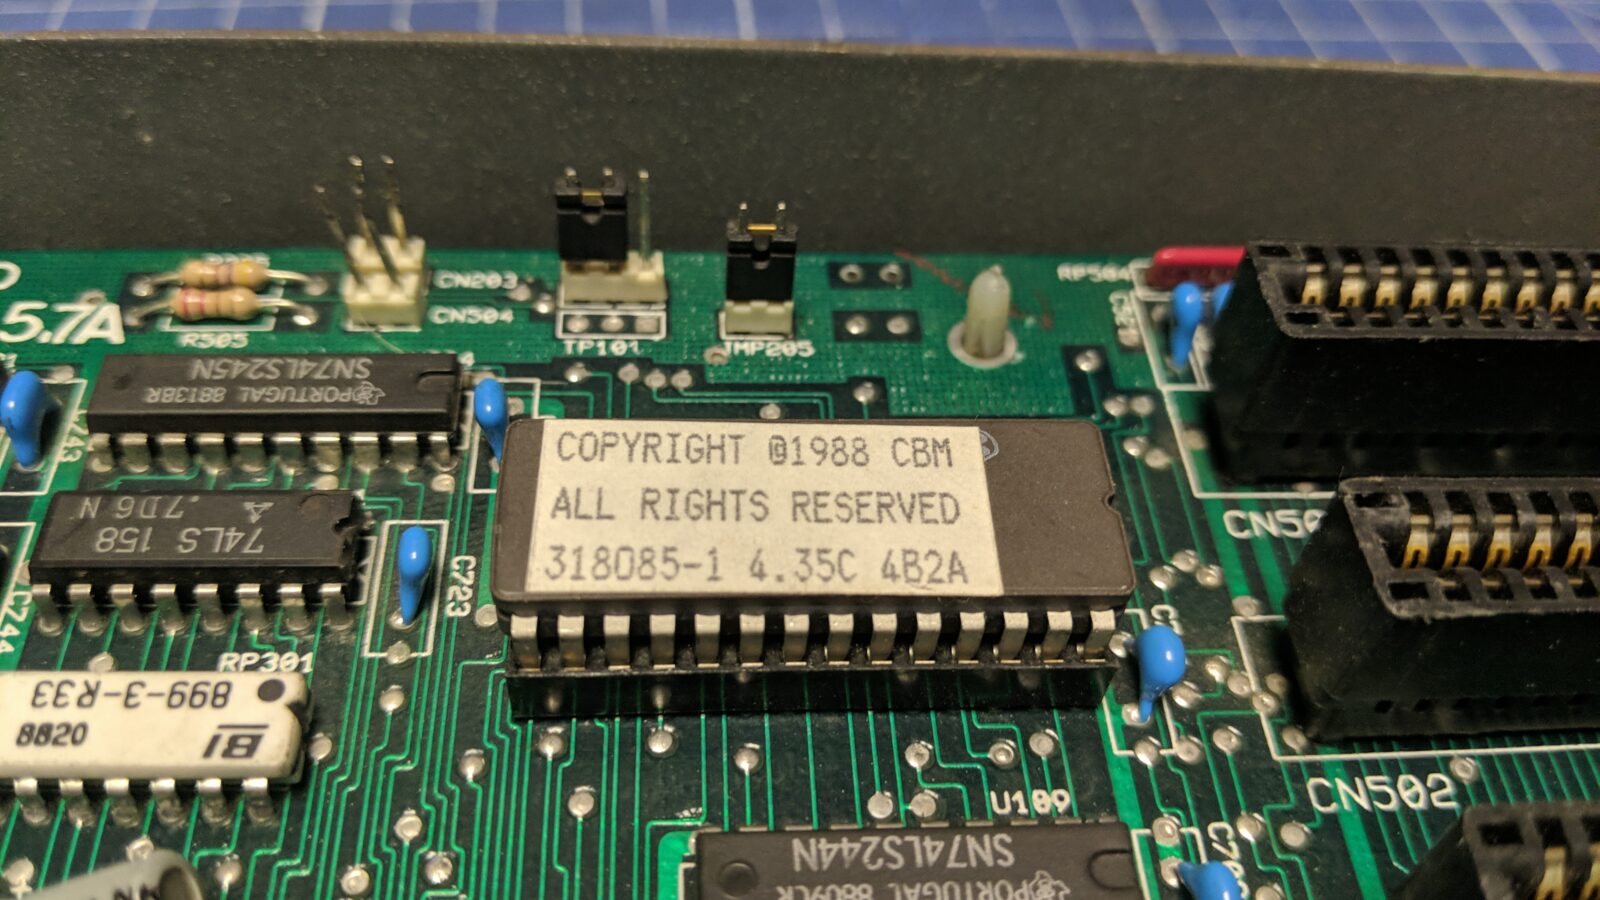
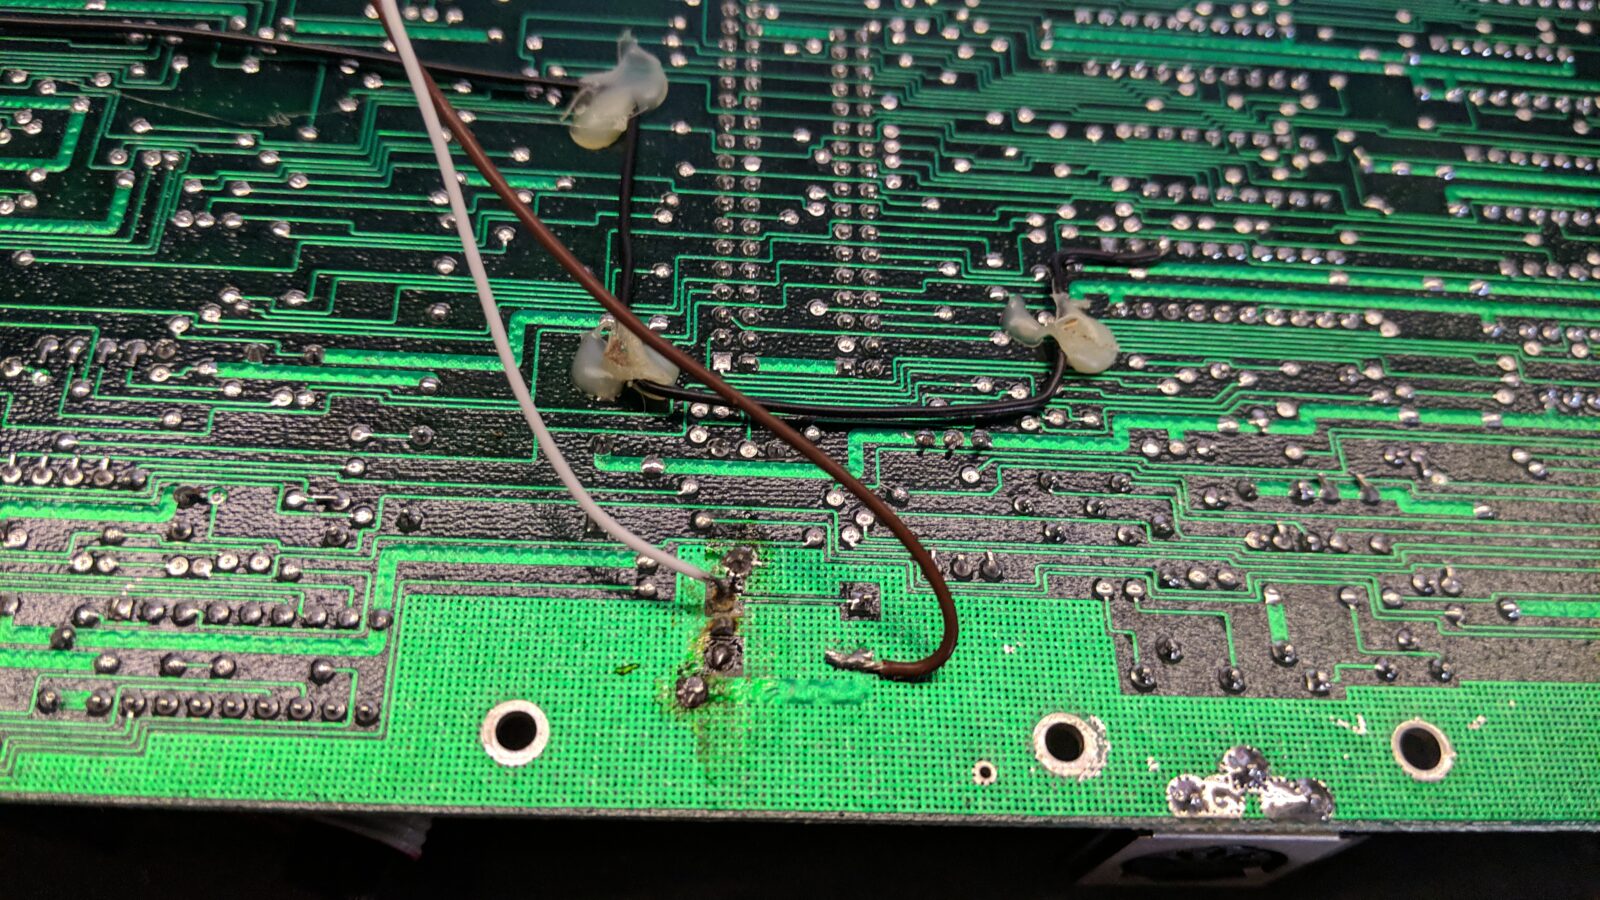
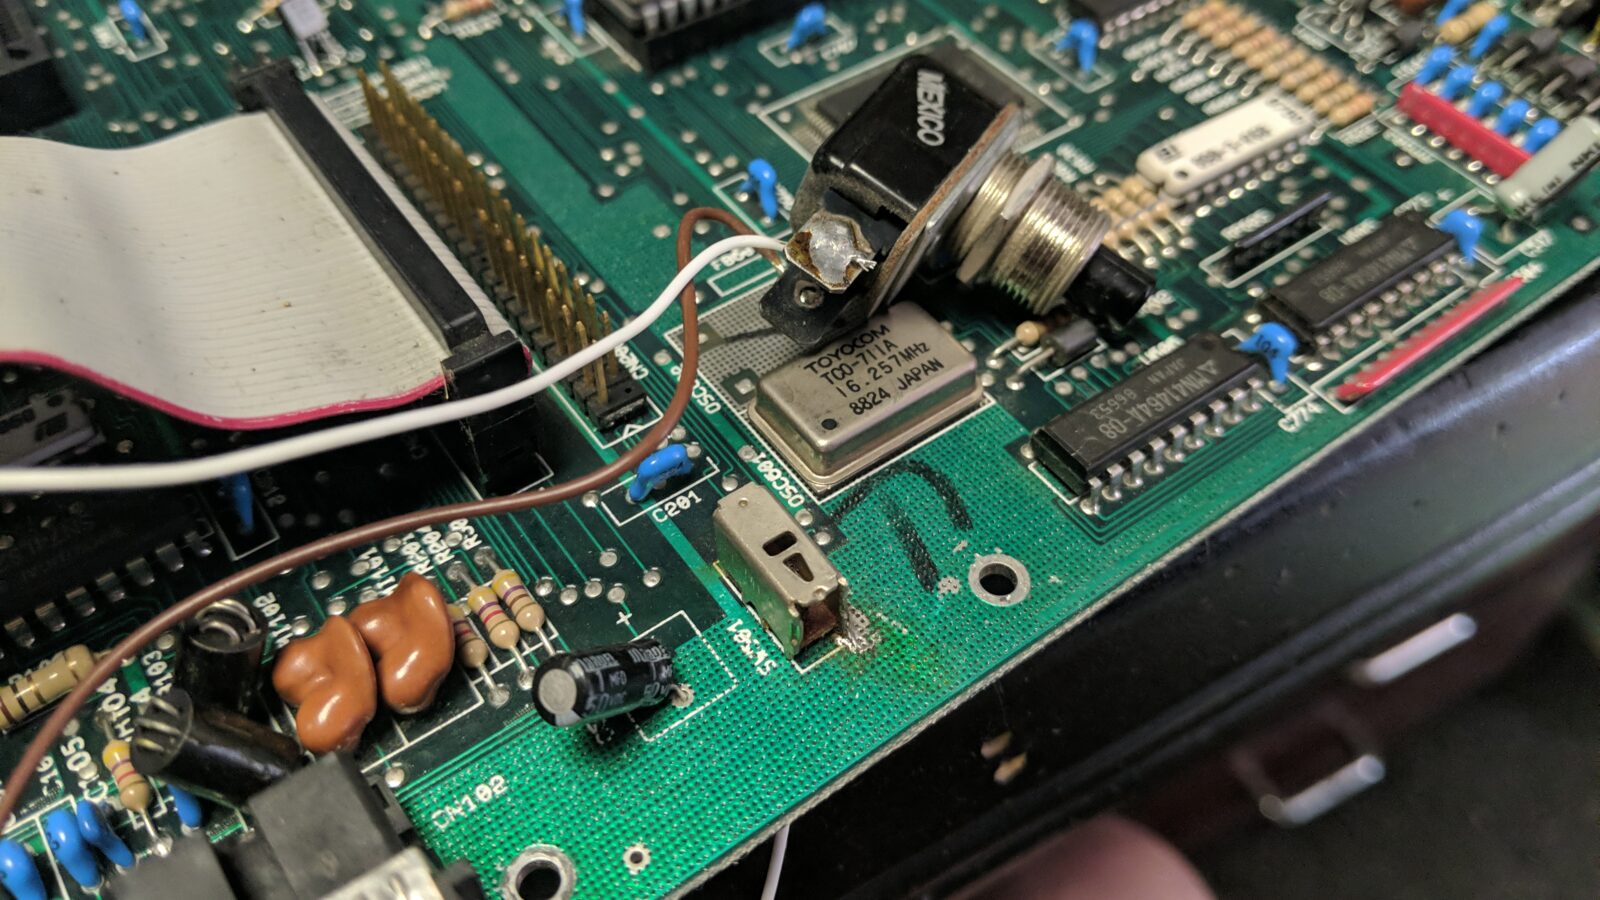
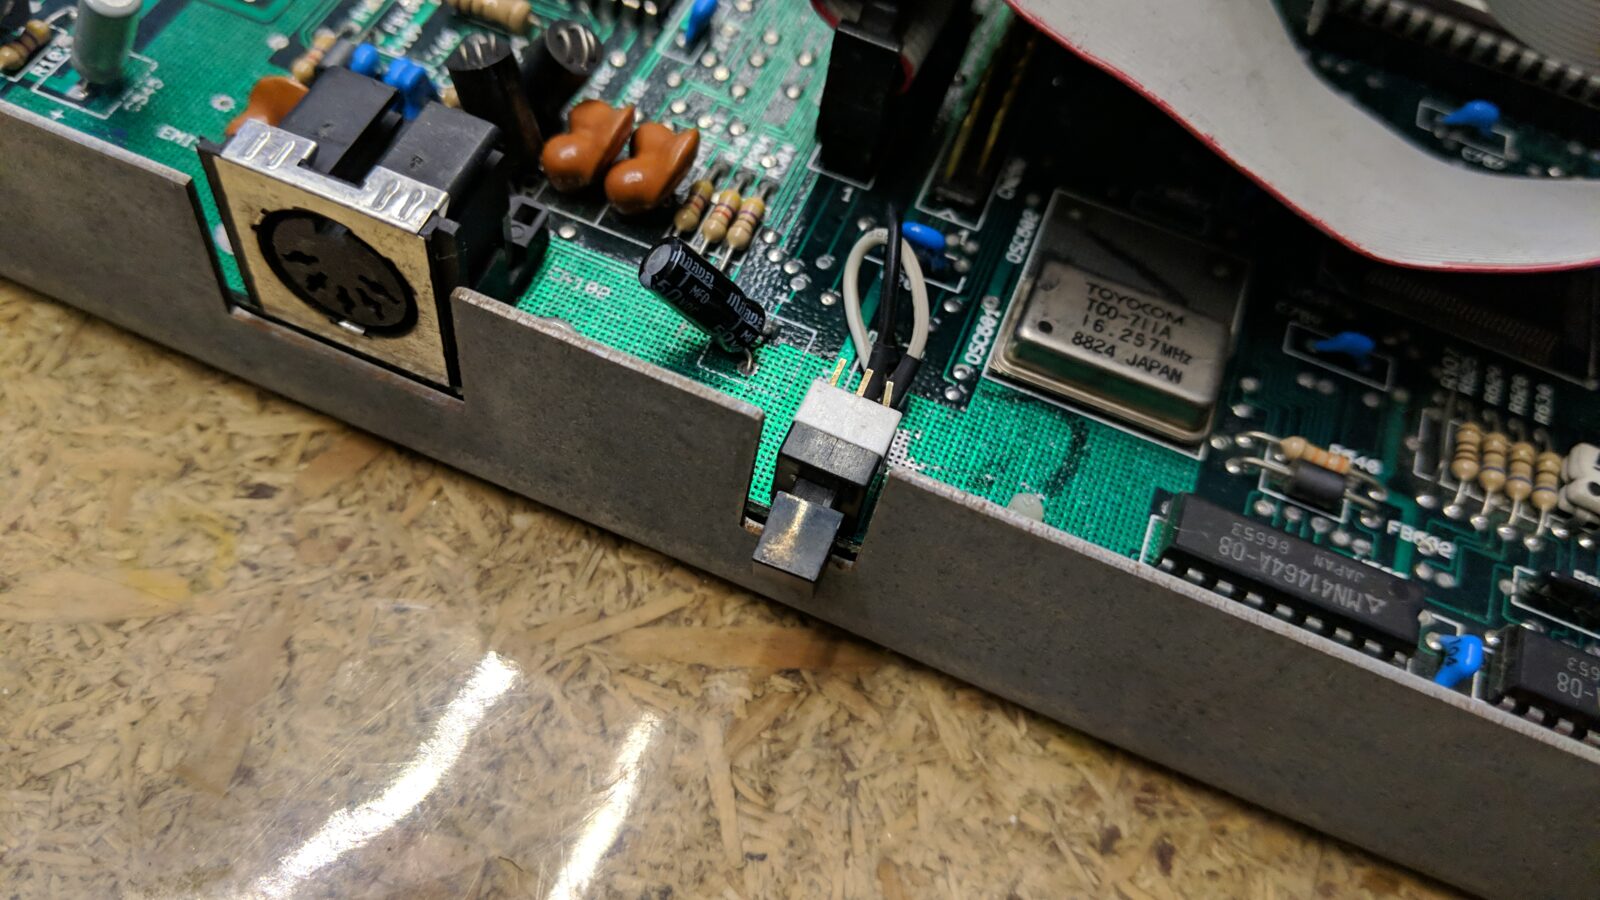
The motherboard had only two issues. The first was a missing RESET button and the second rather usual problem with an RTC battery that spilled its contents.
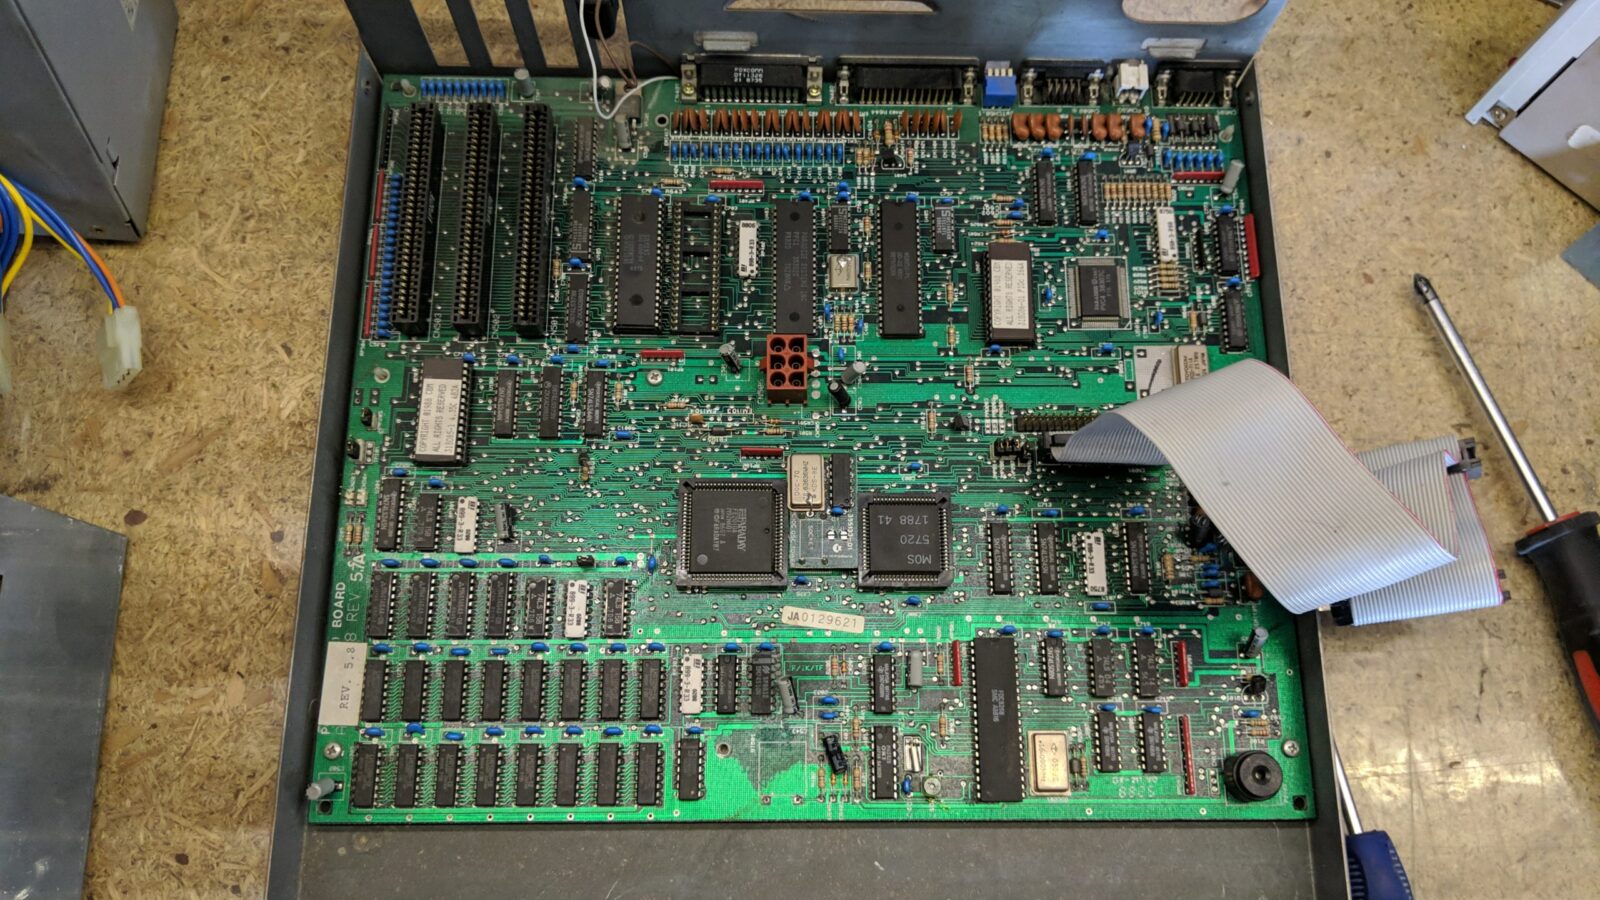
I’ve cleaned the residue with a diluted Hydrochloric acid and put a modern CR2025 battery in a basket.
Next, the RESET button is fixed. The original owner replaced the broken button with a button that he had at hand. I had to replace it.
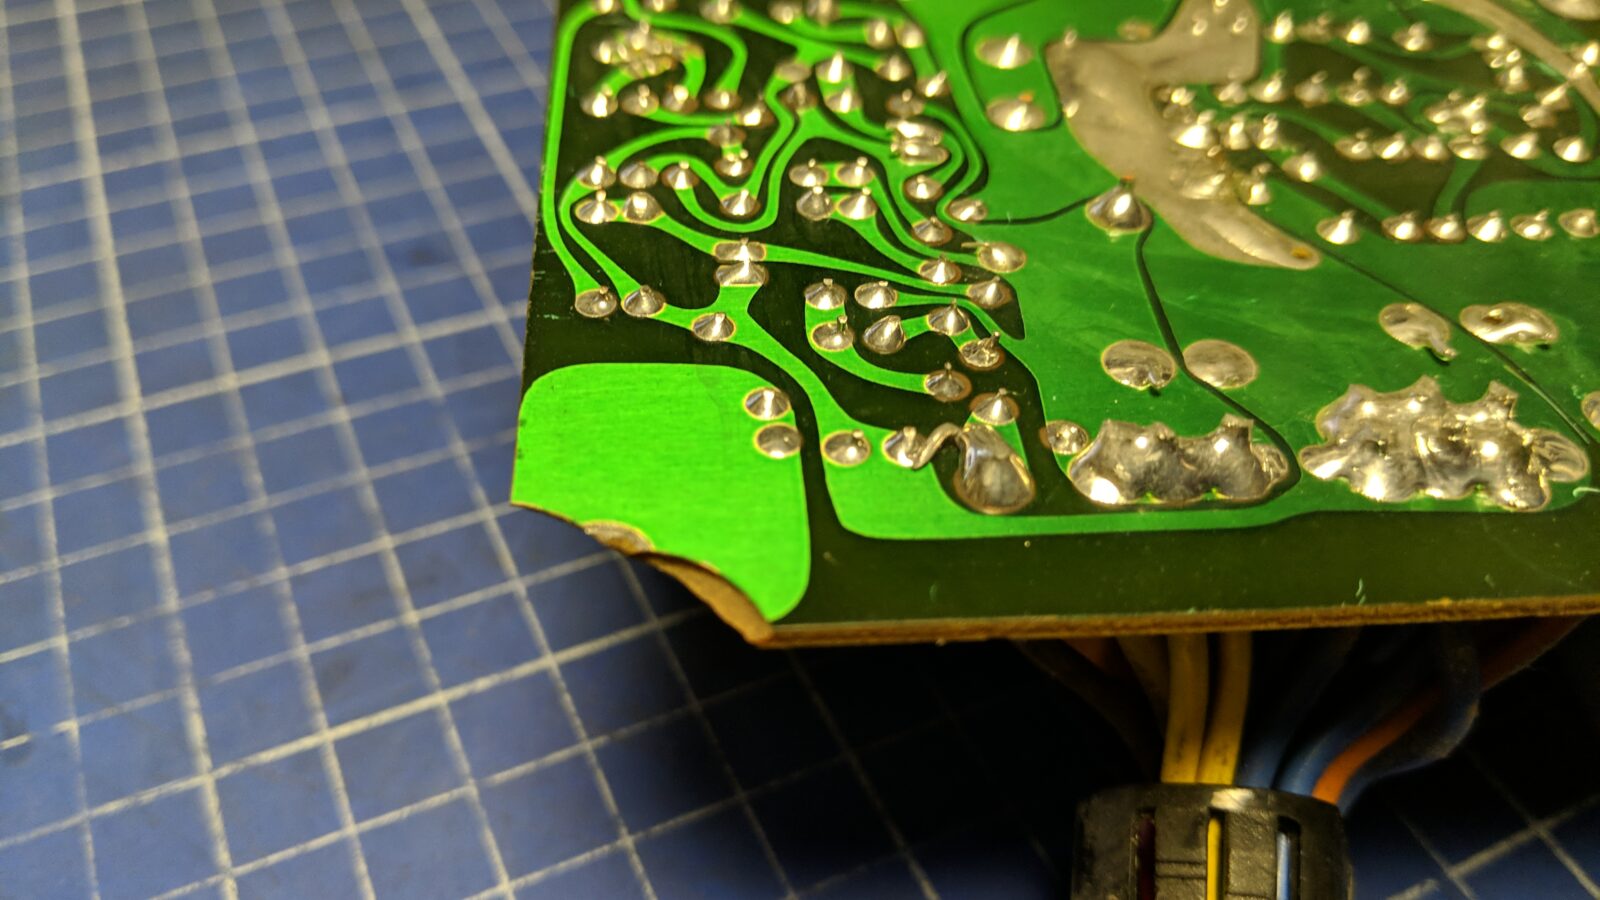
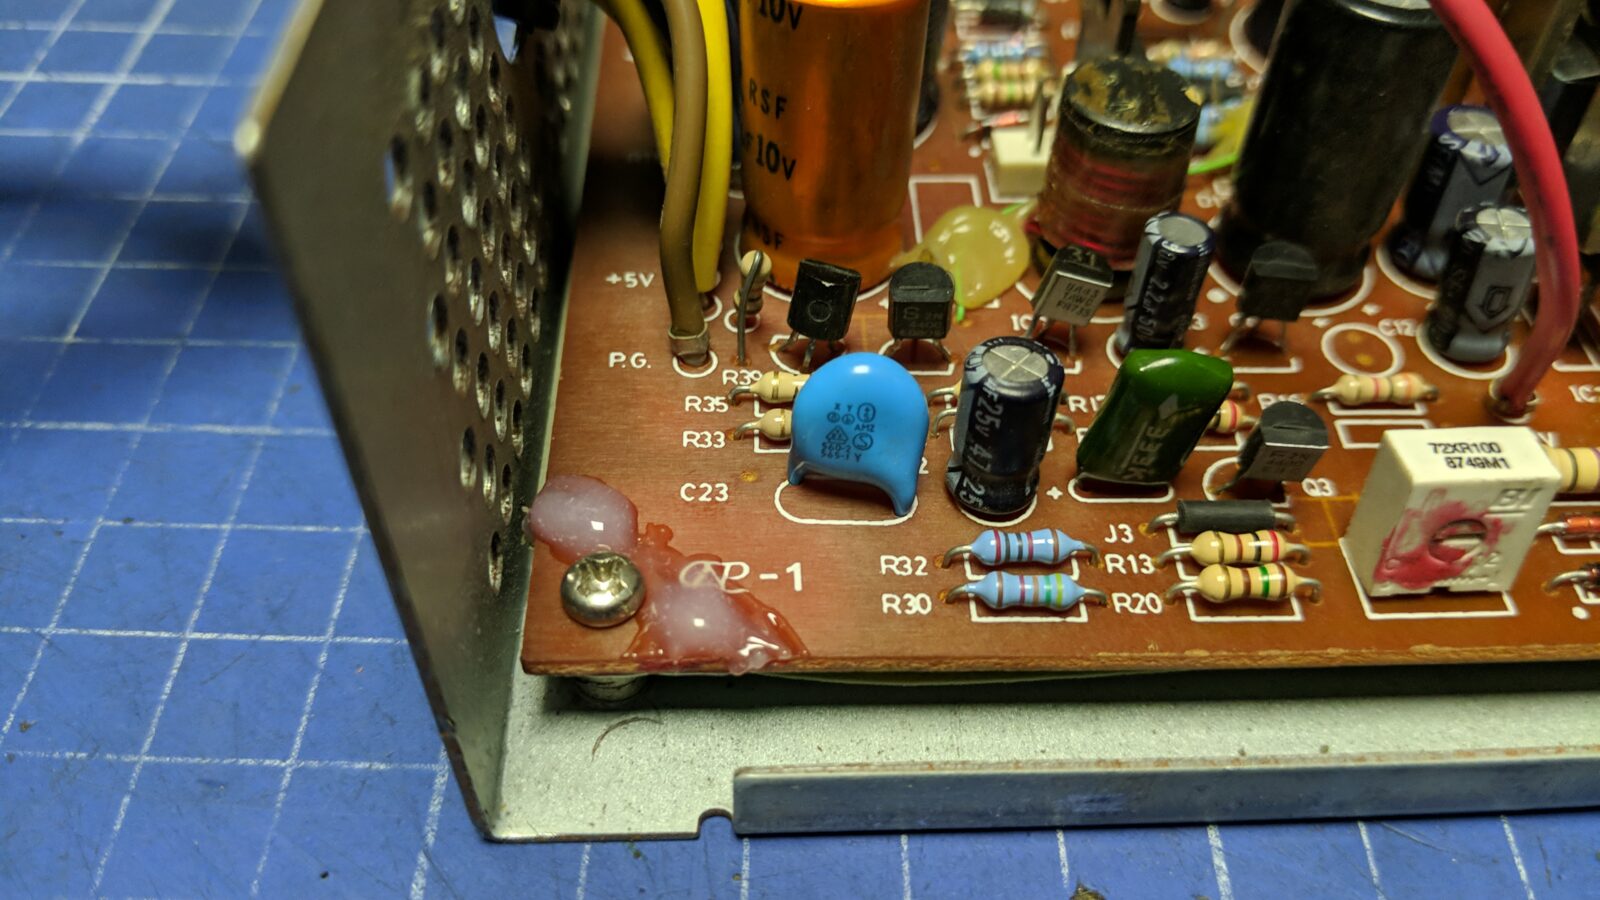
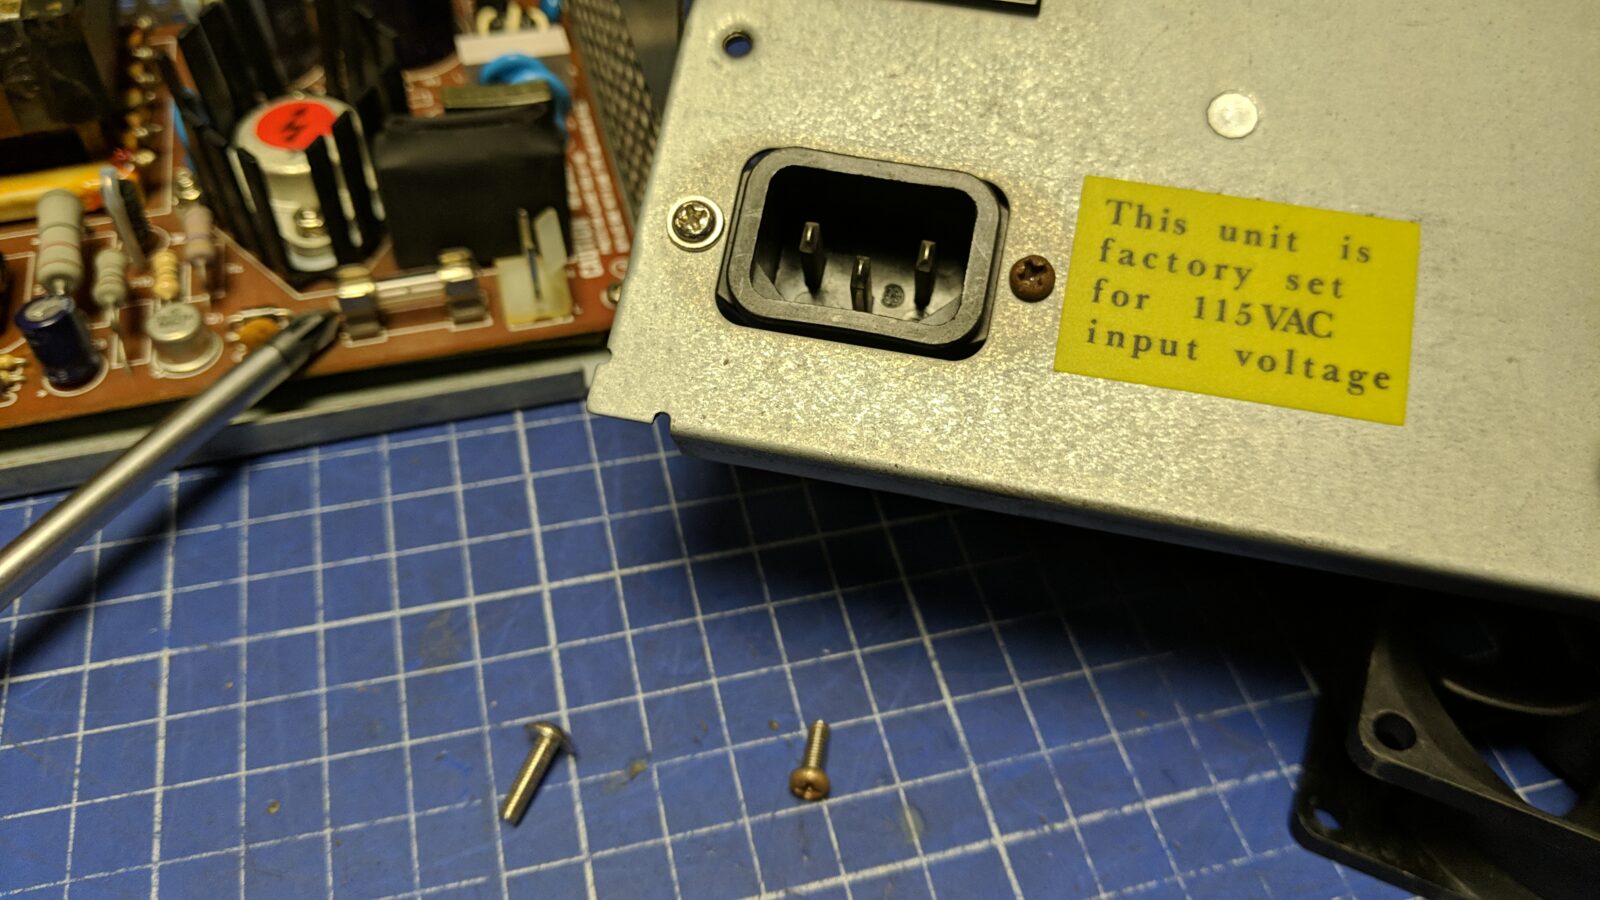
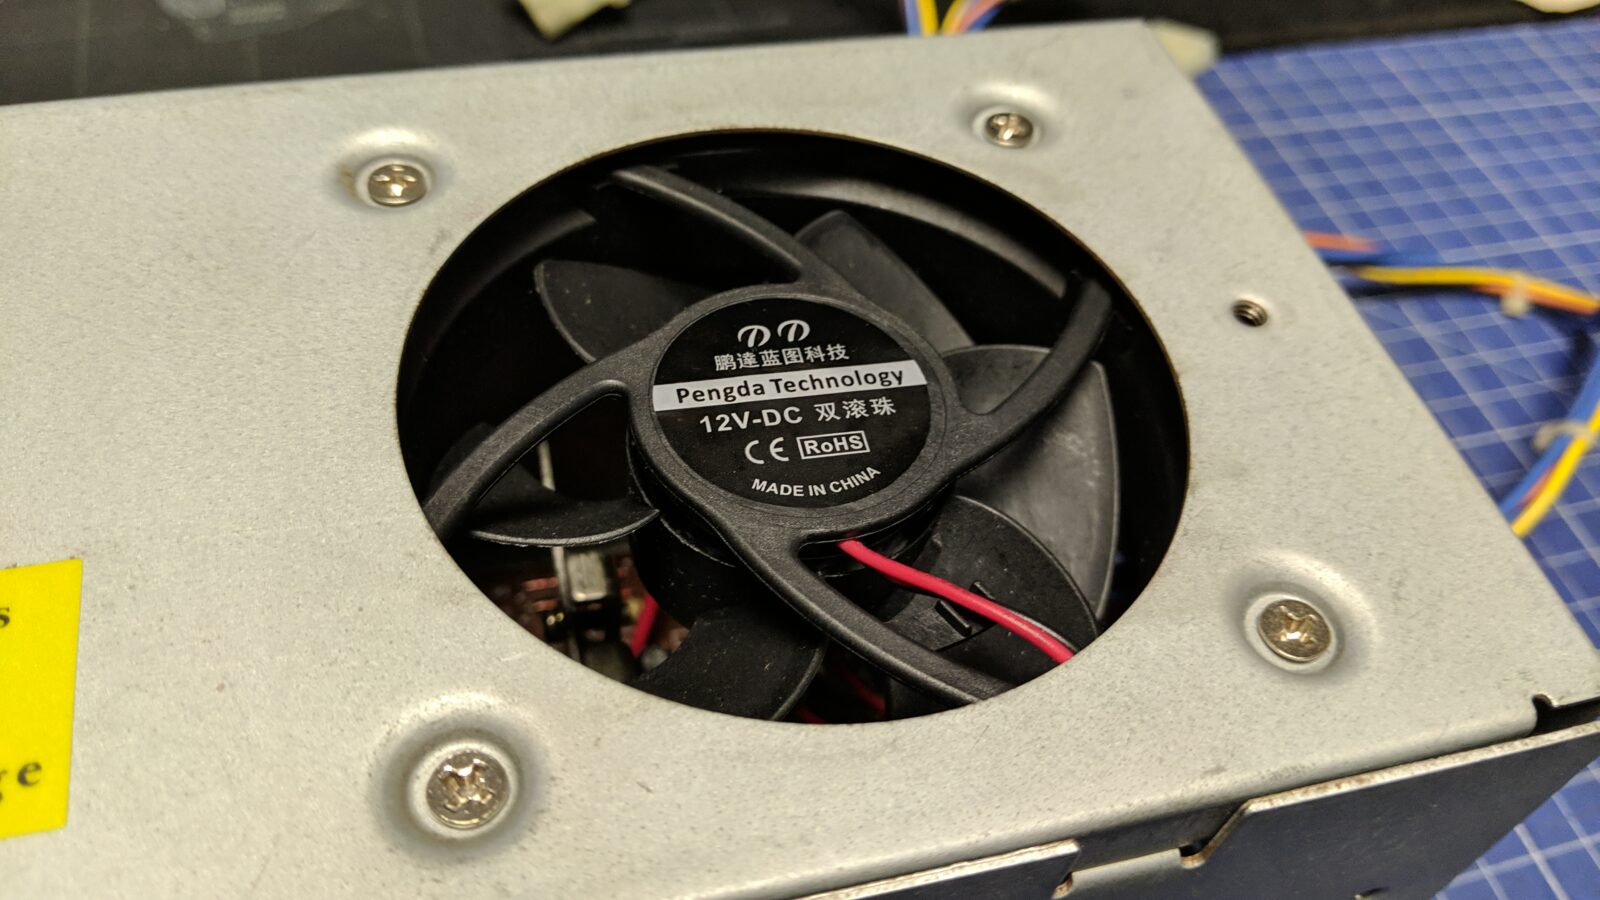
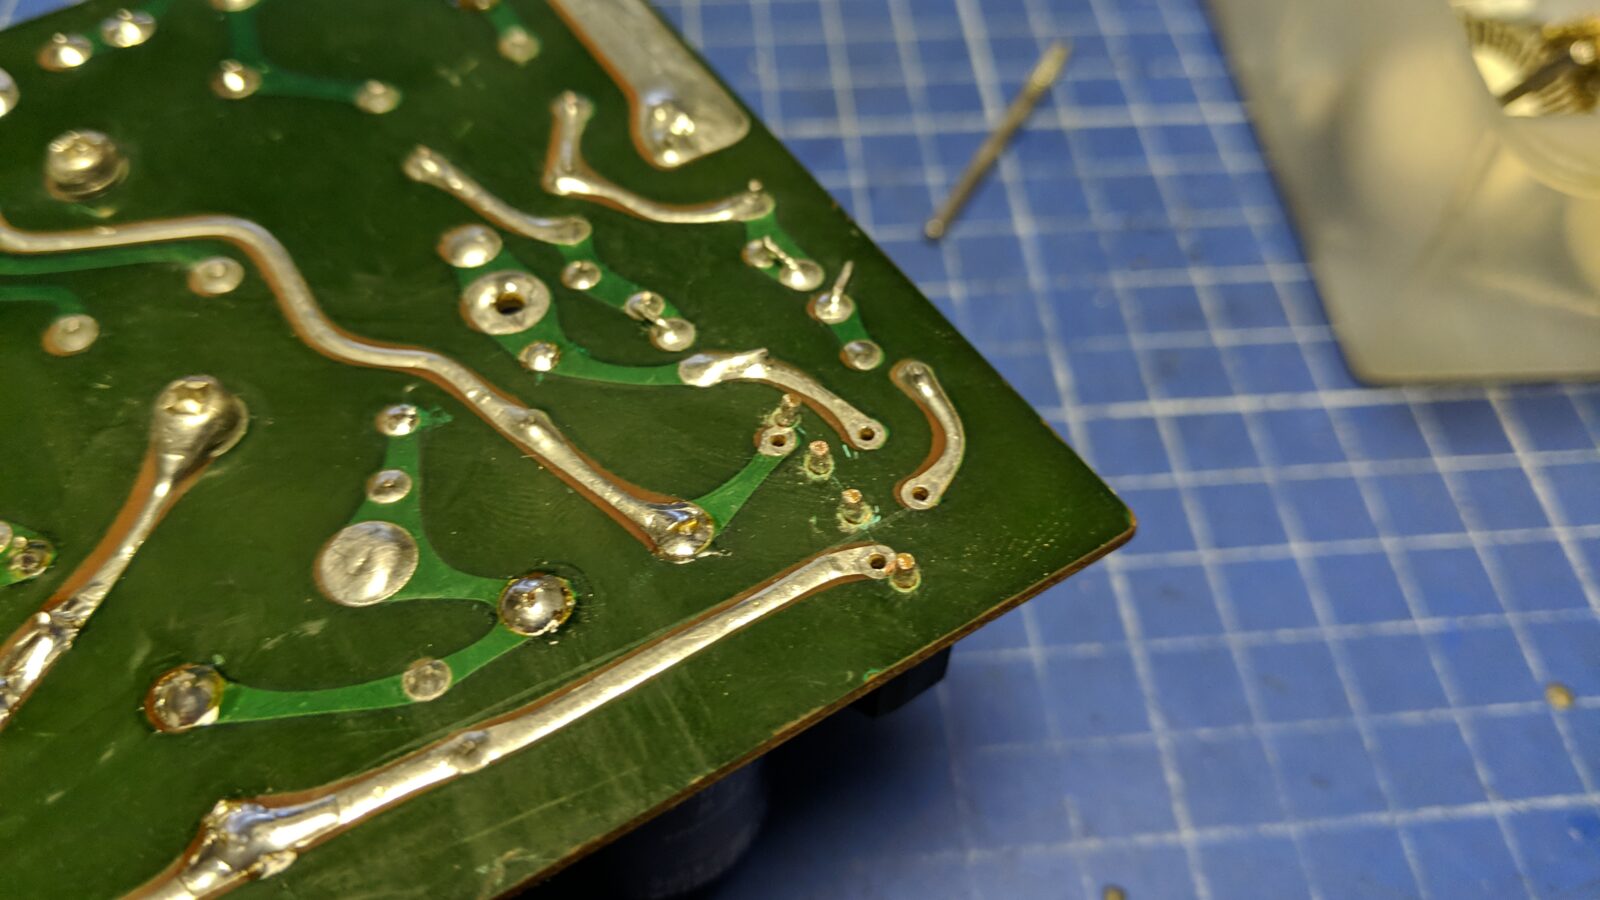
The PSU needed some cleaning and fan replacement. I used some epoxy glue to fix the chipped PCB and replaced some rusty screws.
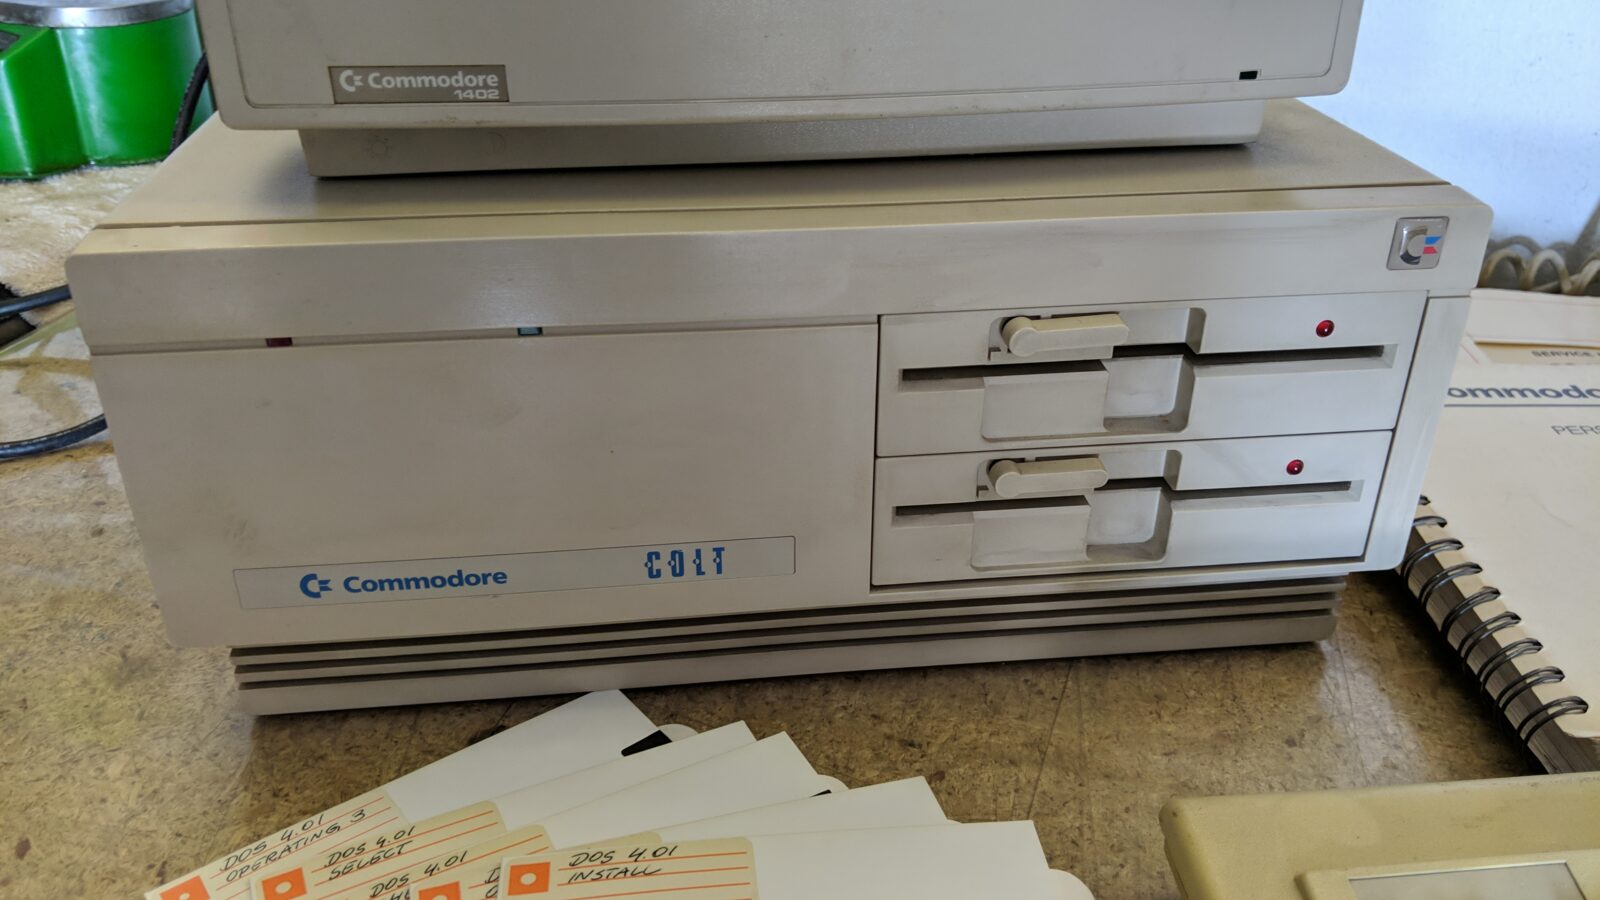
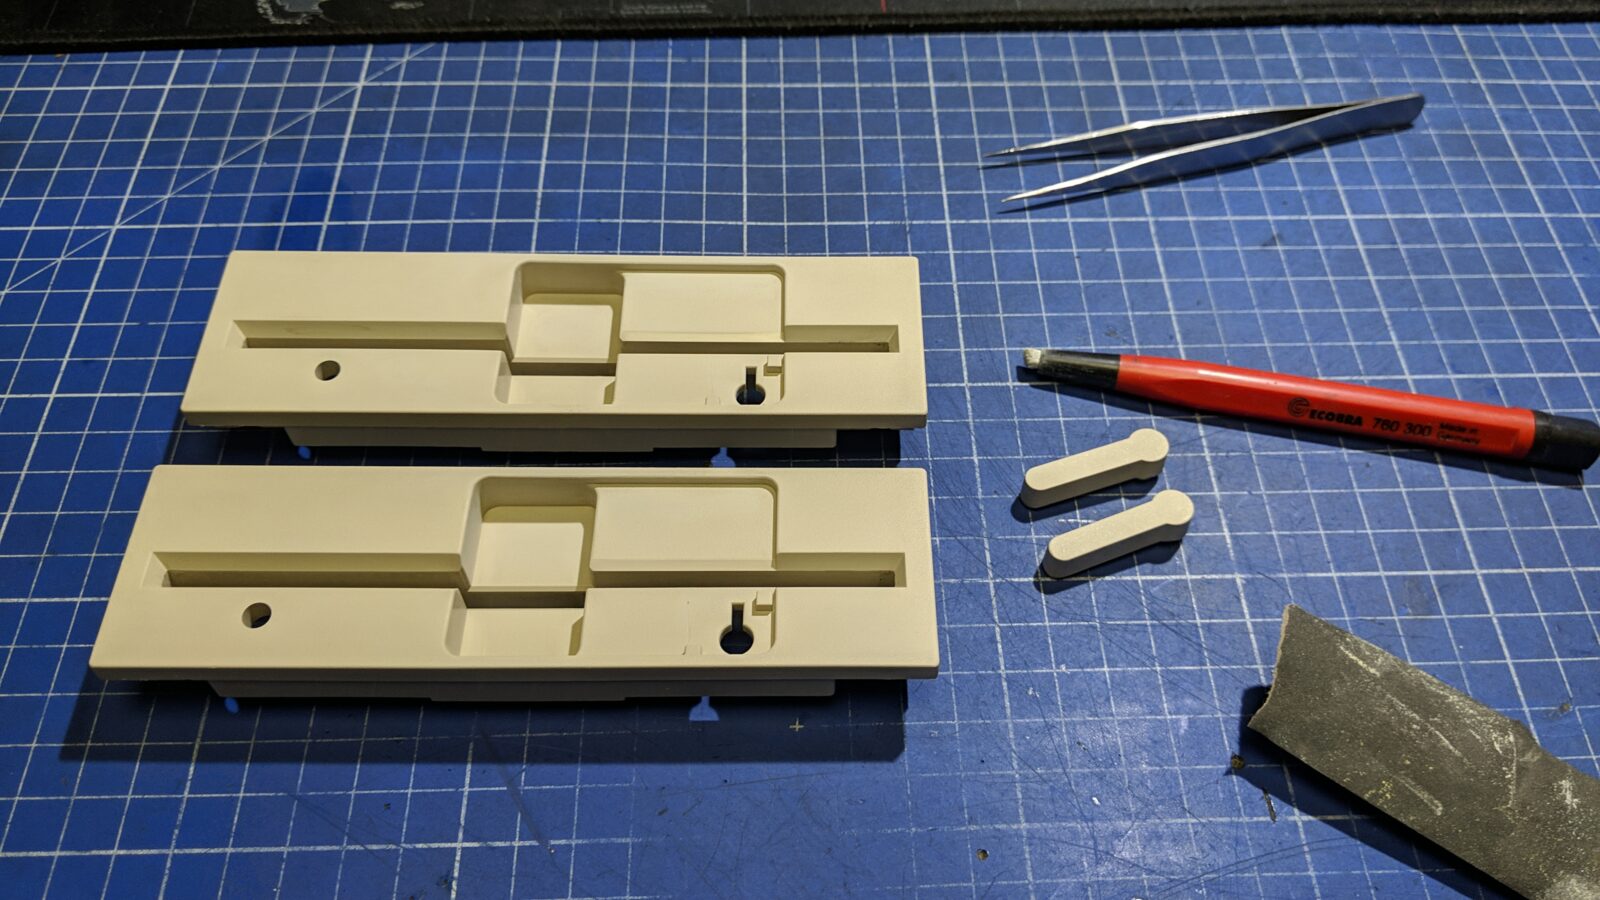
Floppy drives and case cleaning
With the electronics mostly sorted, I could move on to case cleaning.
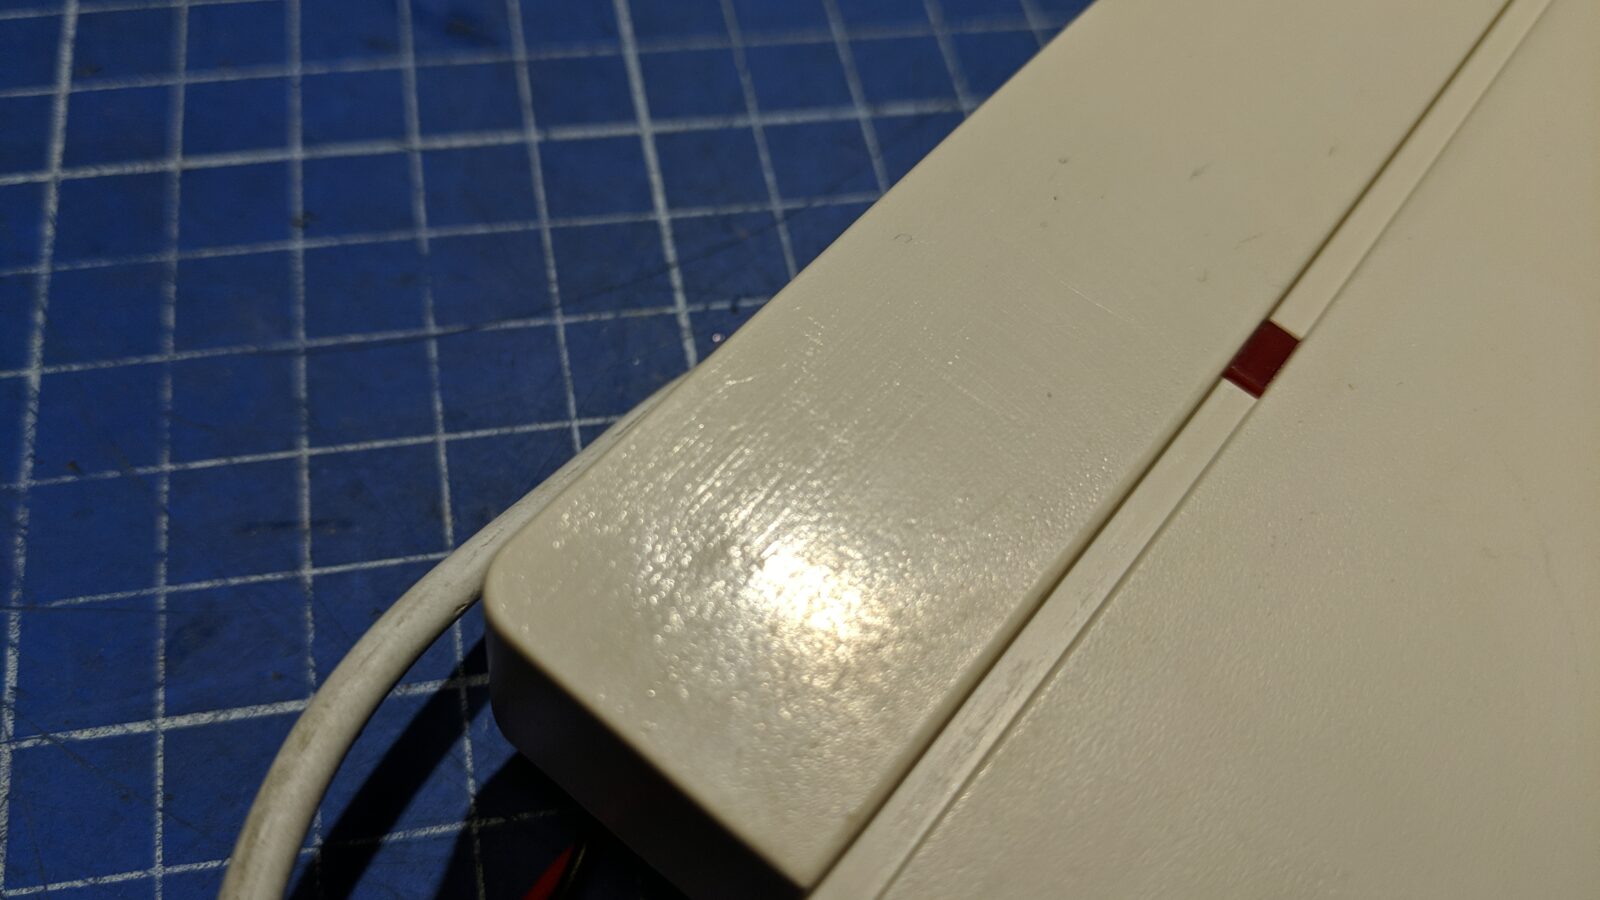
The front panel was suspiciously shiny compared to the rest of it. I think that the original owner used an acetone or other type of solvent to clean it but looks like it was a bad idea as it only embedded dirt in it and made it shiny.
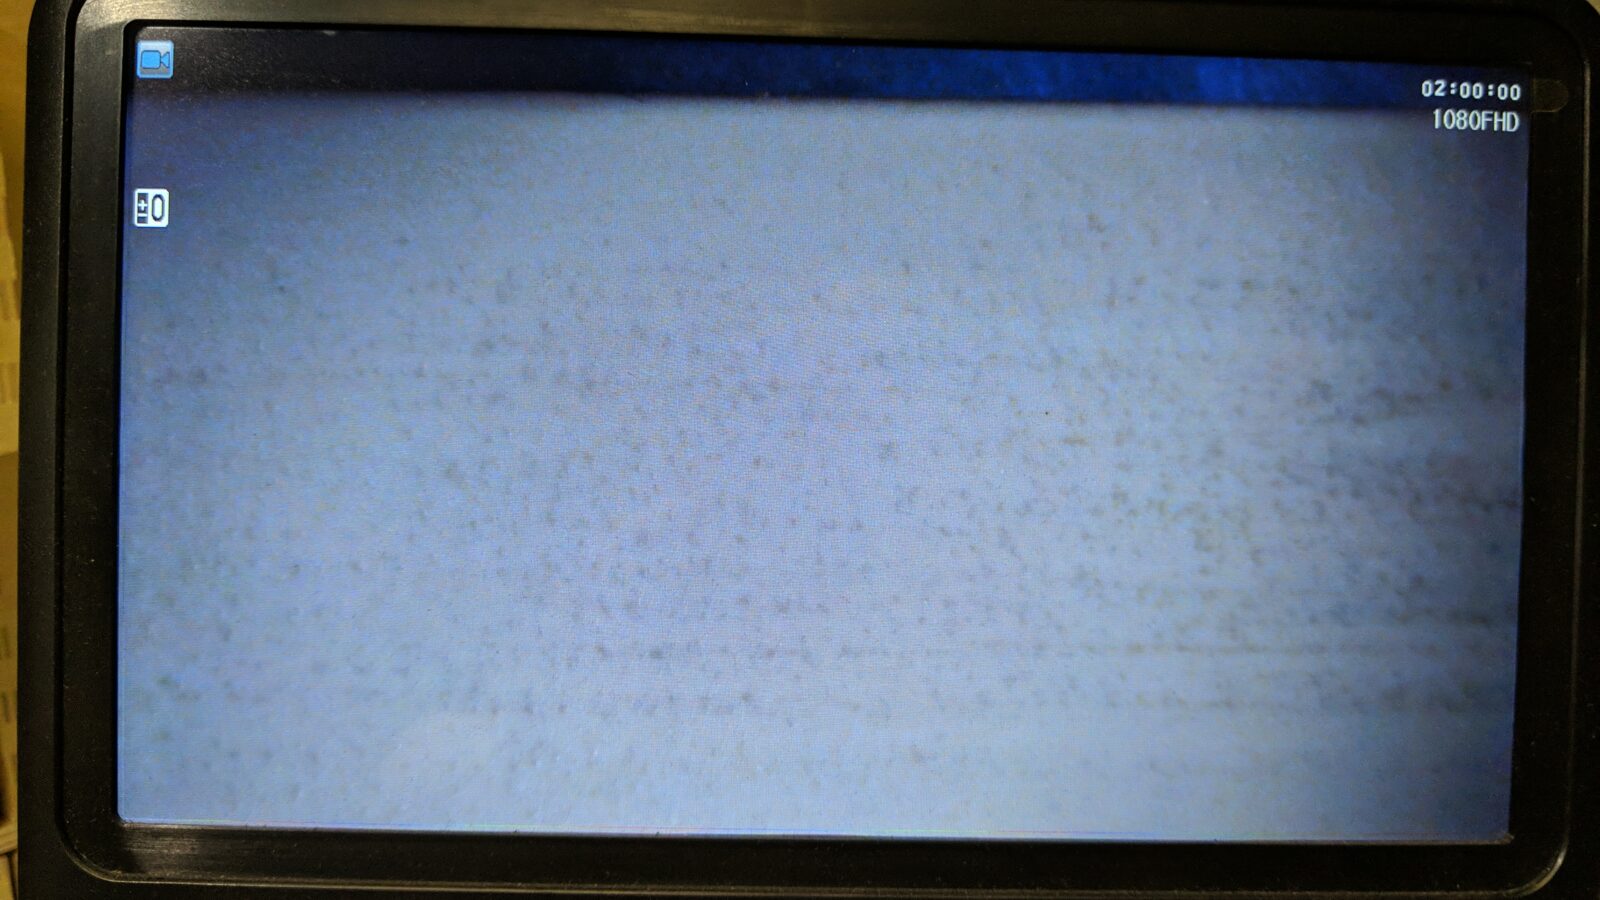
A closeup under a microscope shows a tiny hair embedded in it.
I’ve gently sanded this surface with 600-grit sandpaper. This restored the original look and didn’t damage the original texture that much.
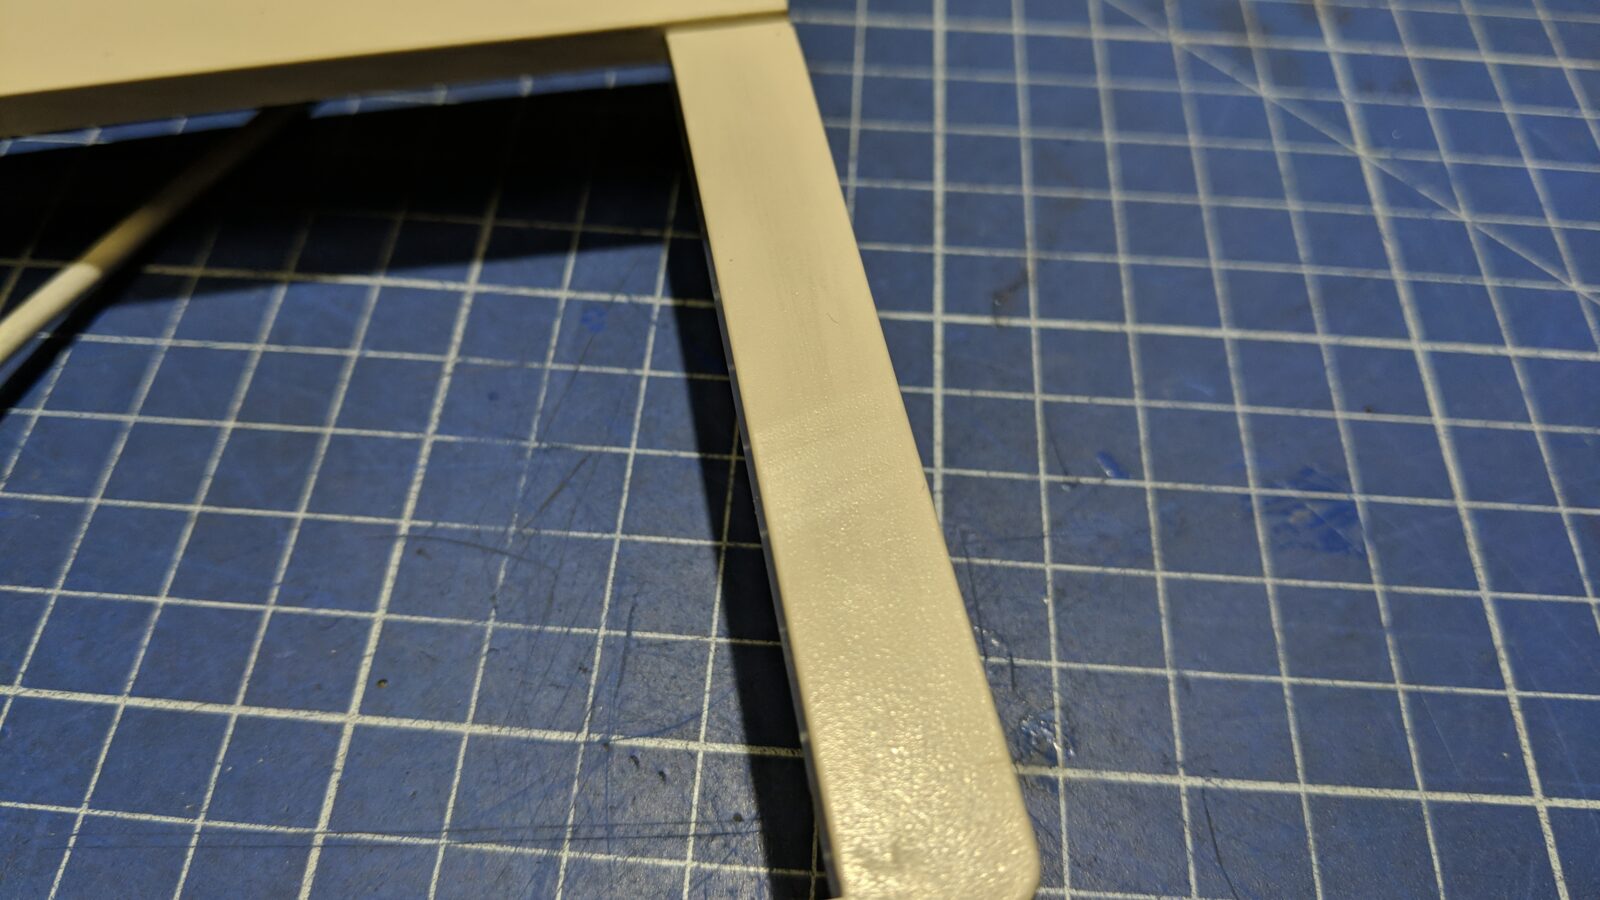
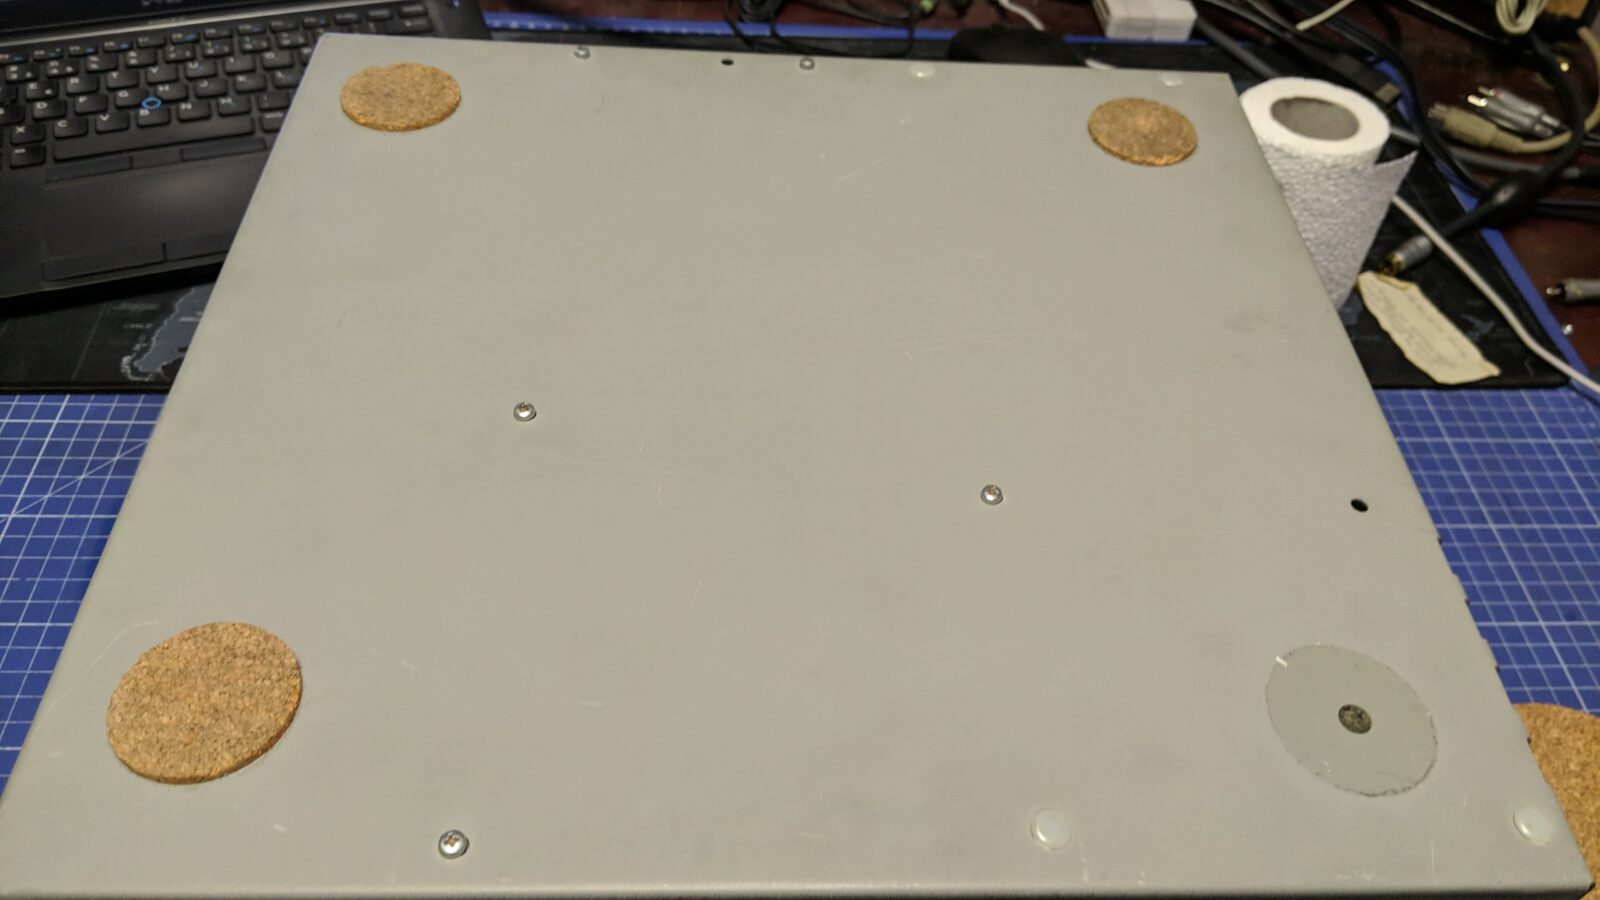
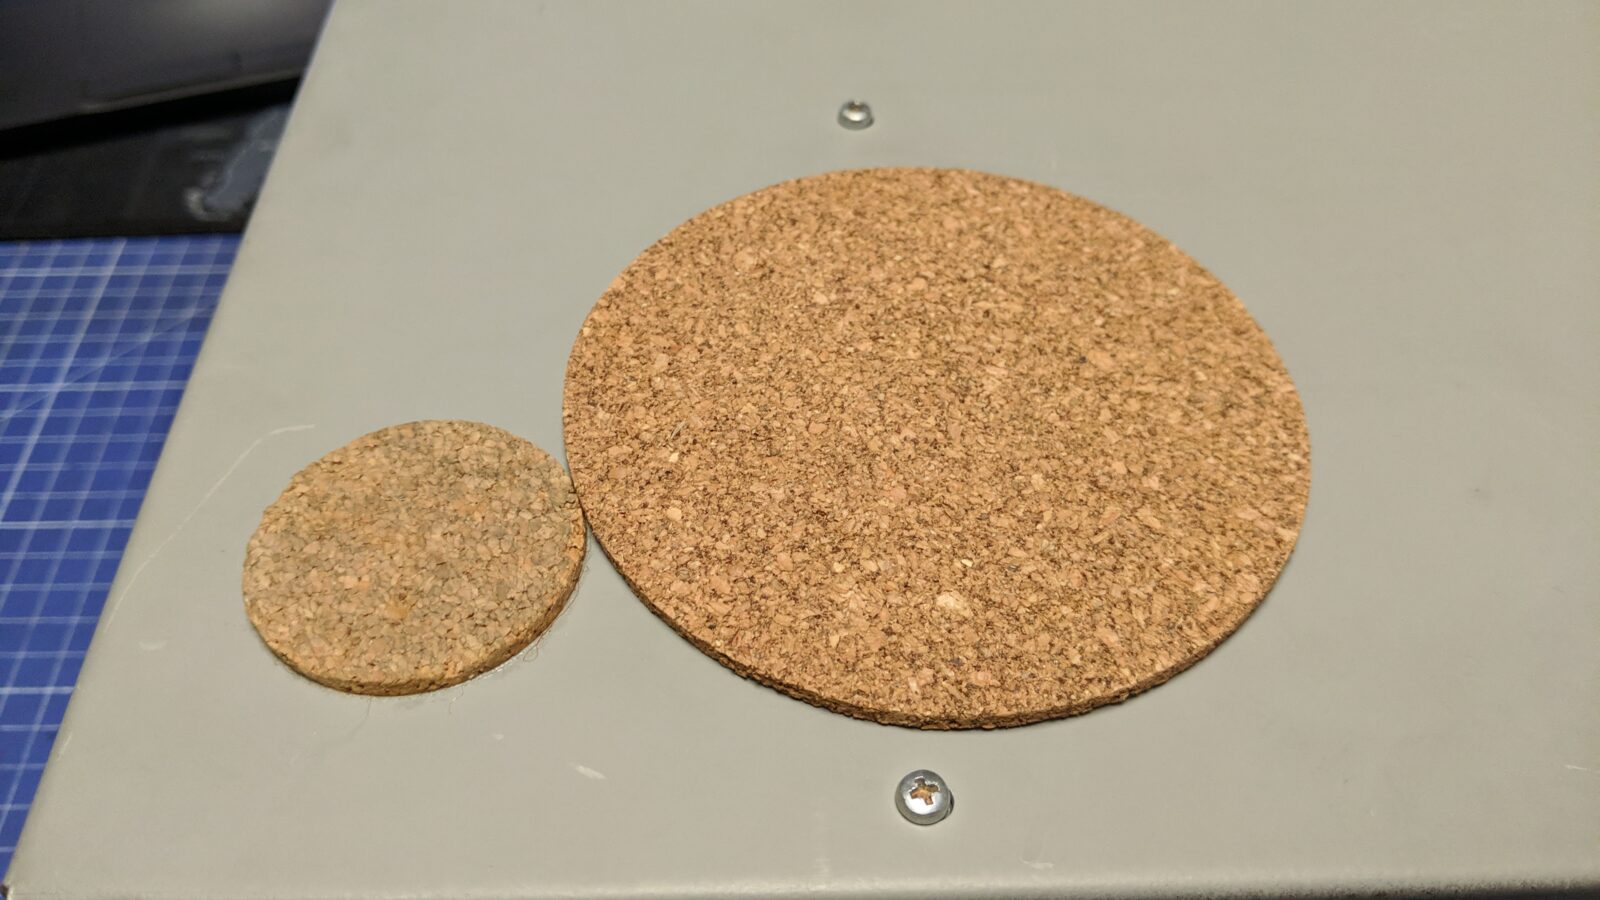
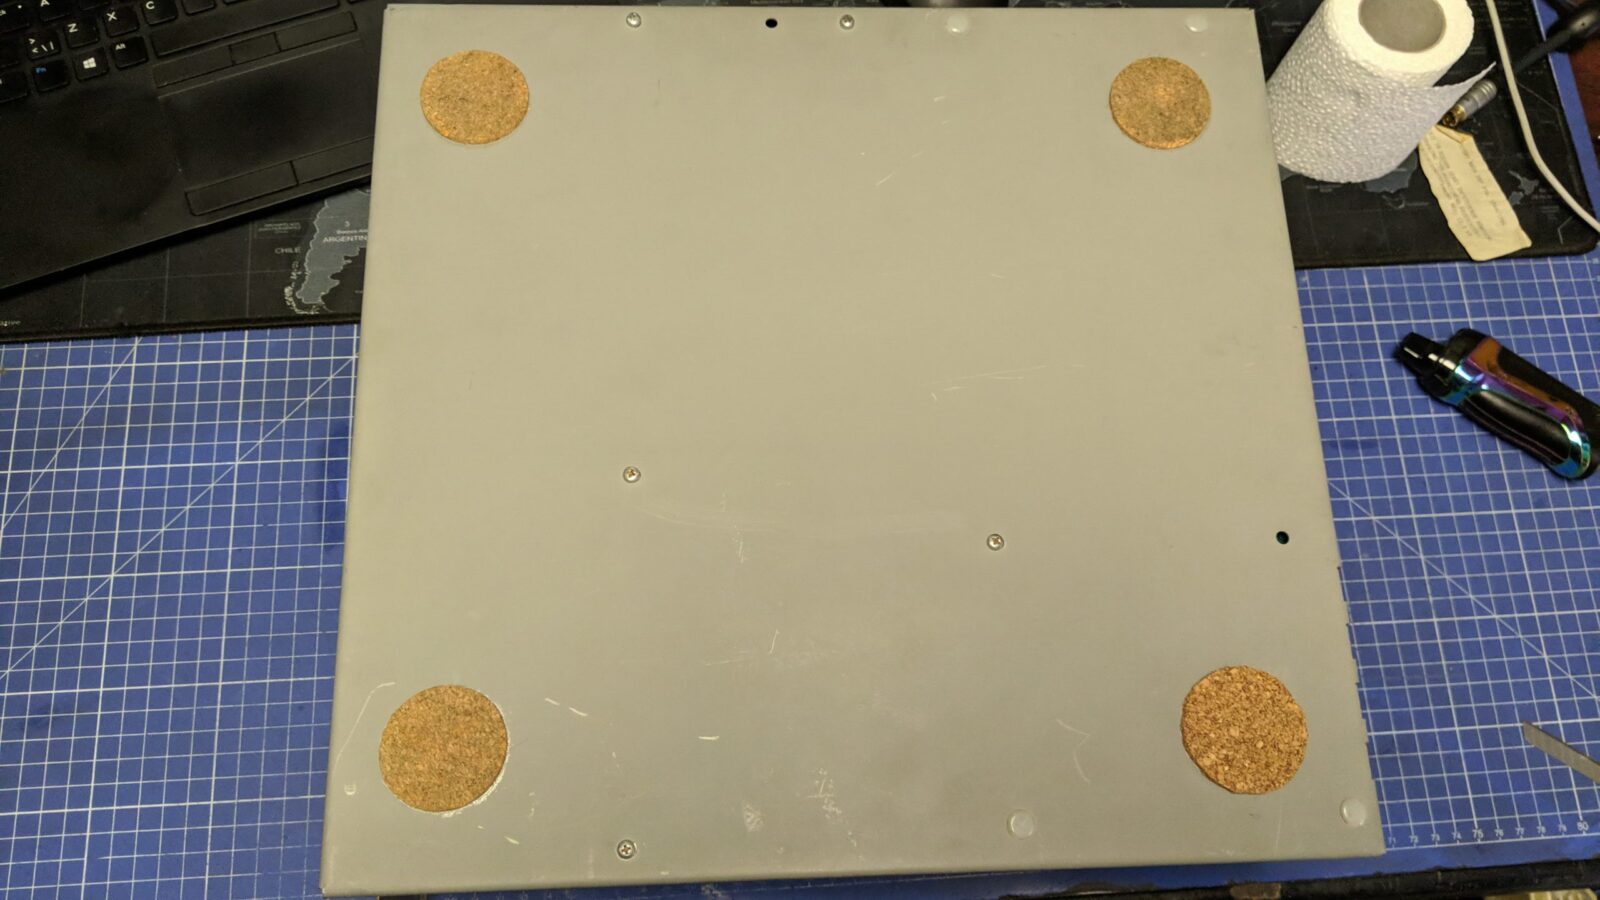
Next, I cut out a new leg for the case out of cork as it was missing.
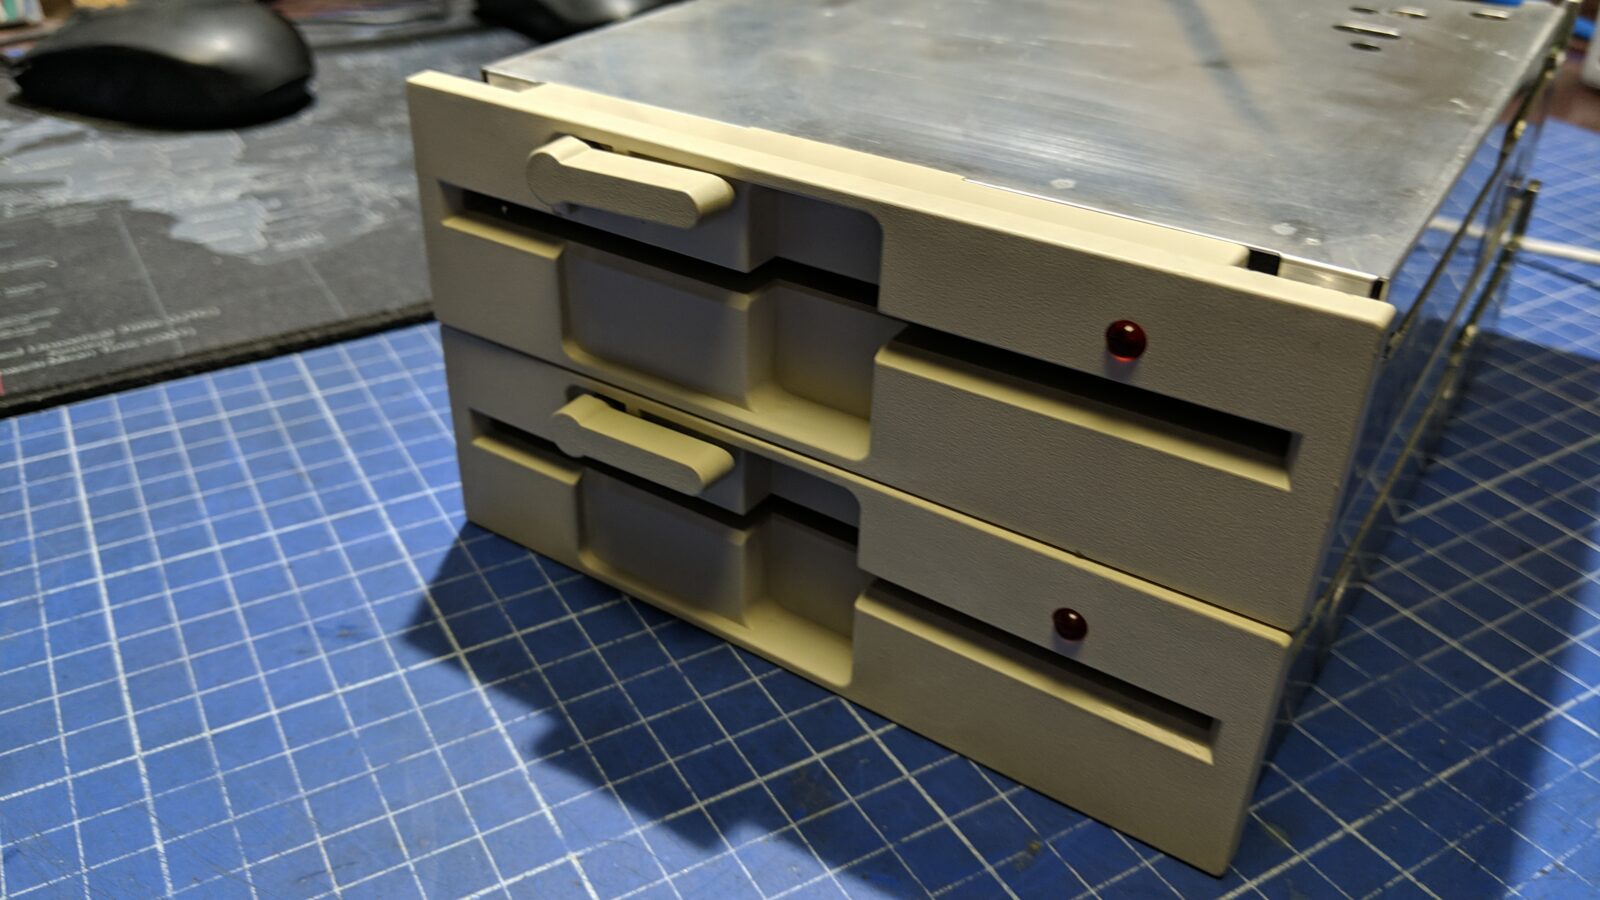
Lastly, I’ve cleaned and serviced two 5.25″ floppy drives. Standard stuff, like de-dusting, lubricating, etc.
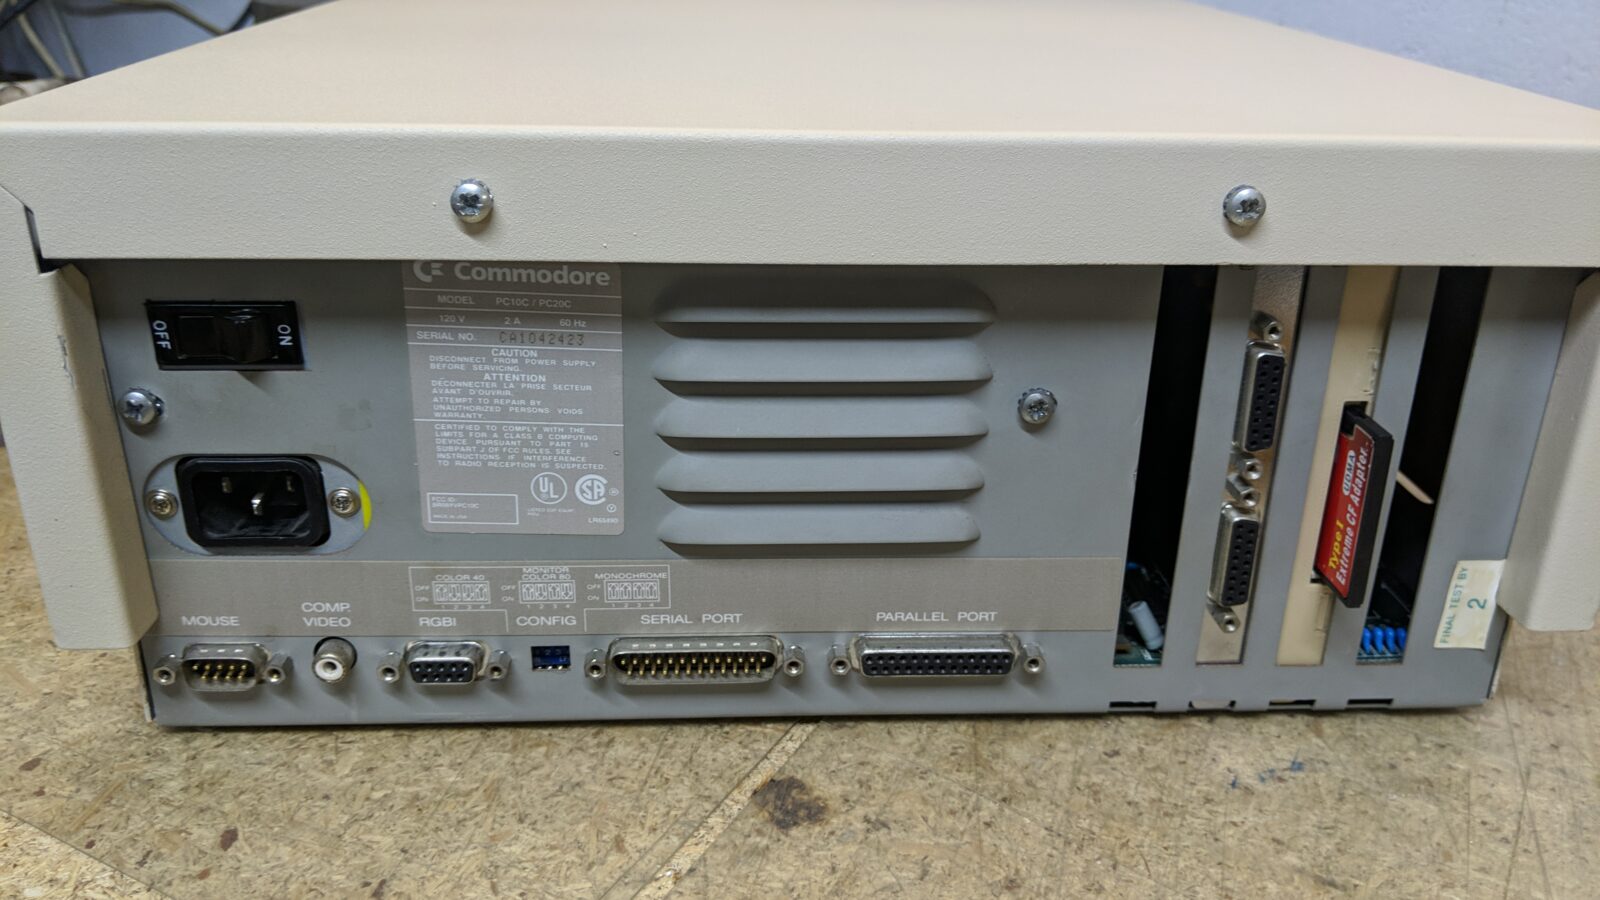
The upgrades
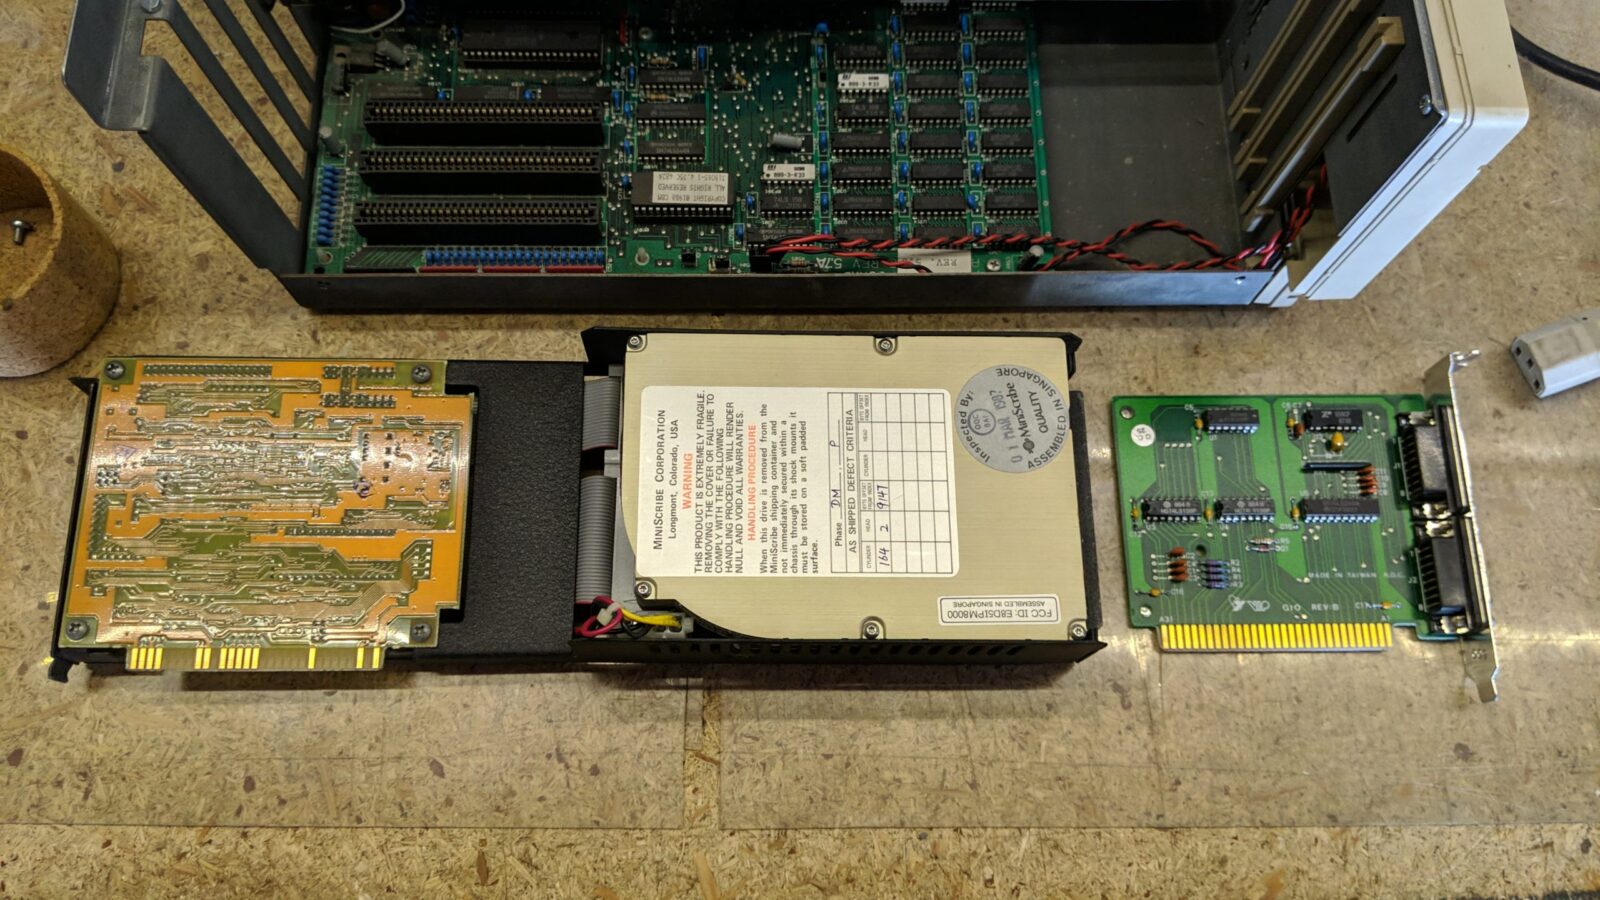
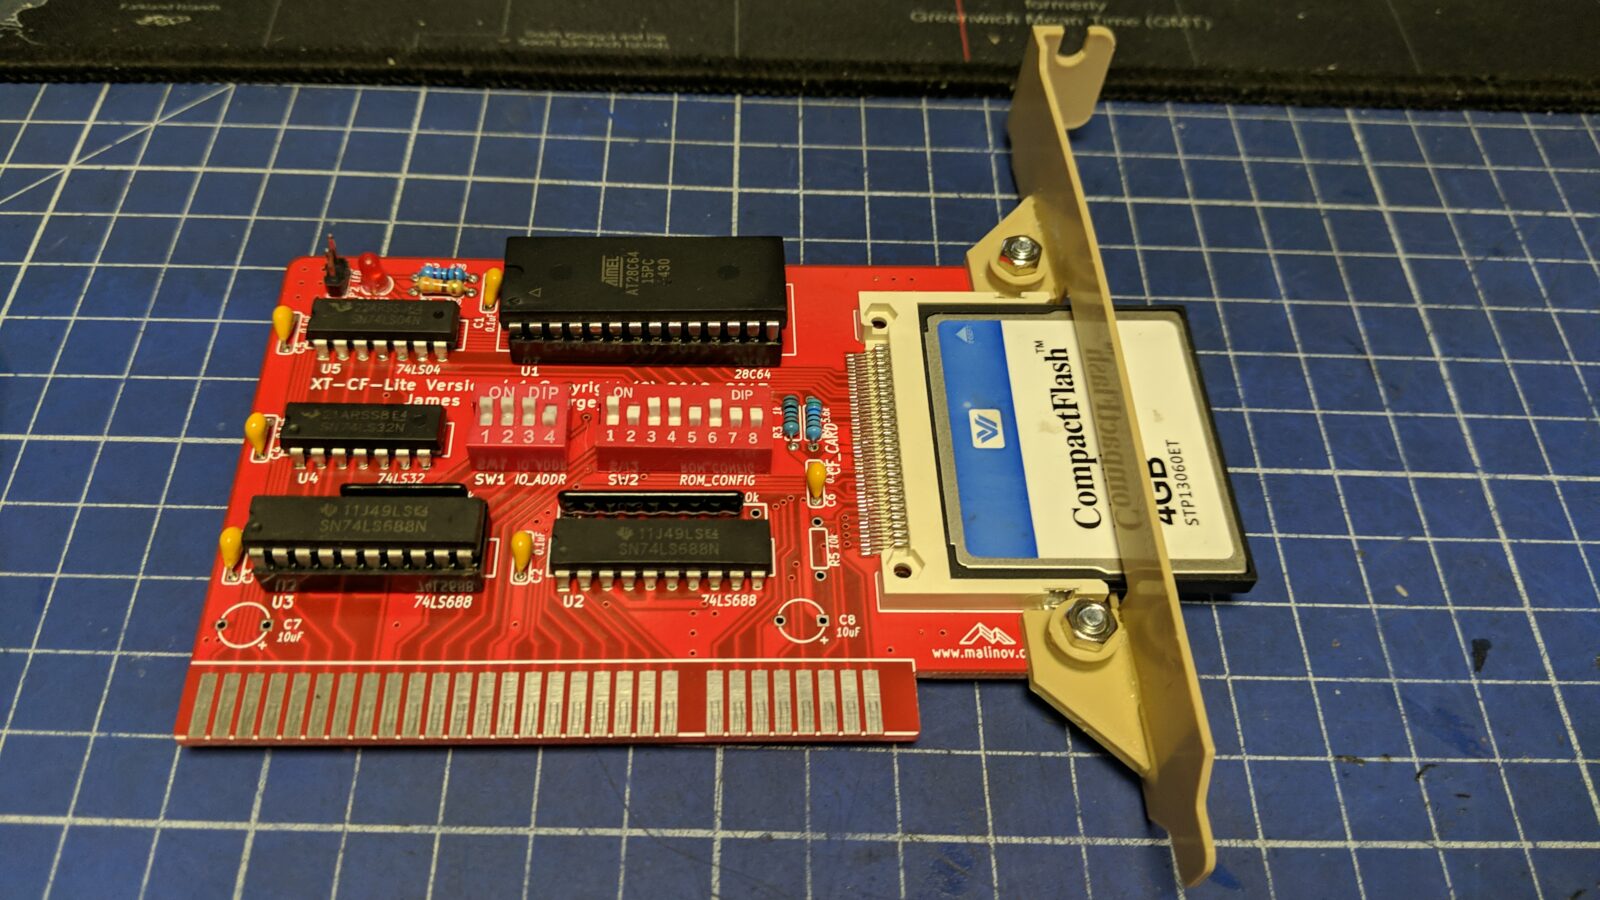
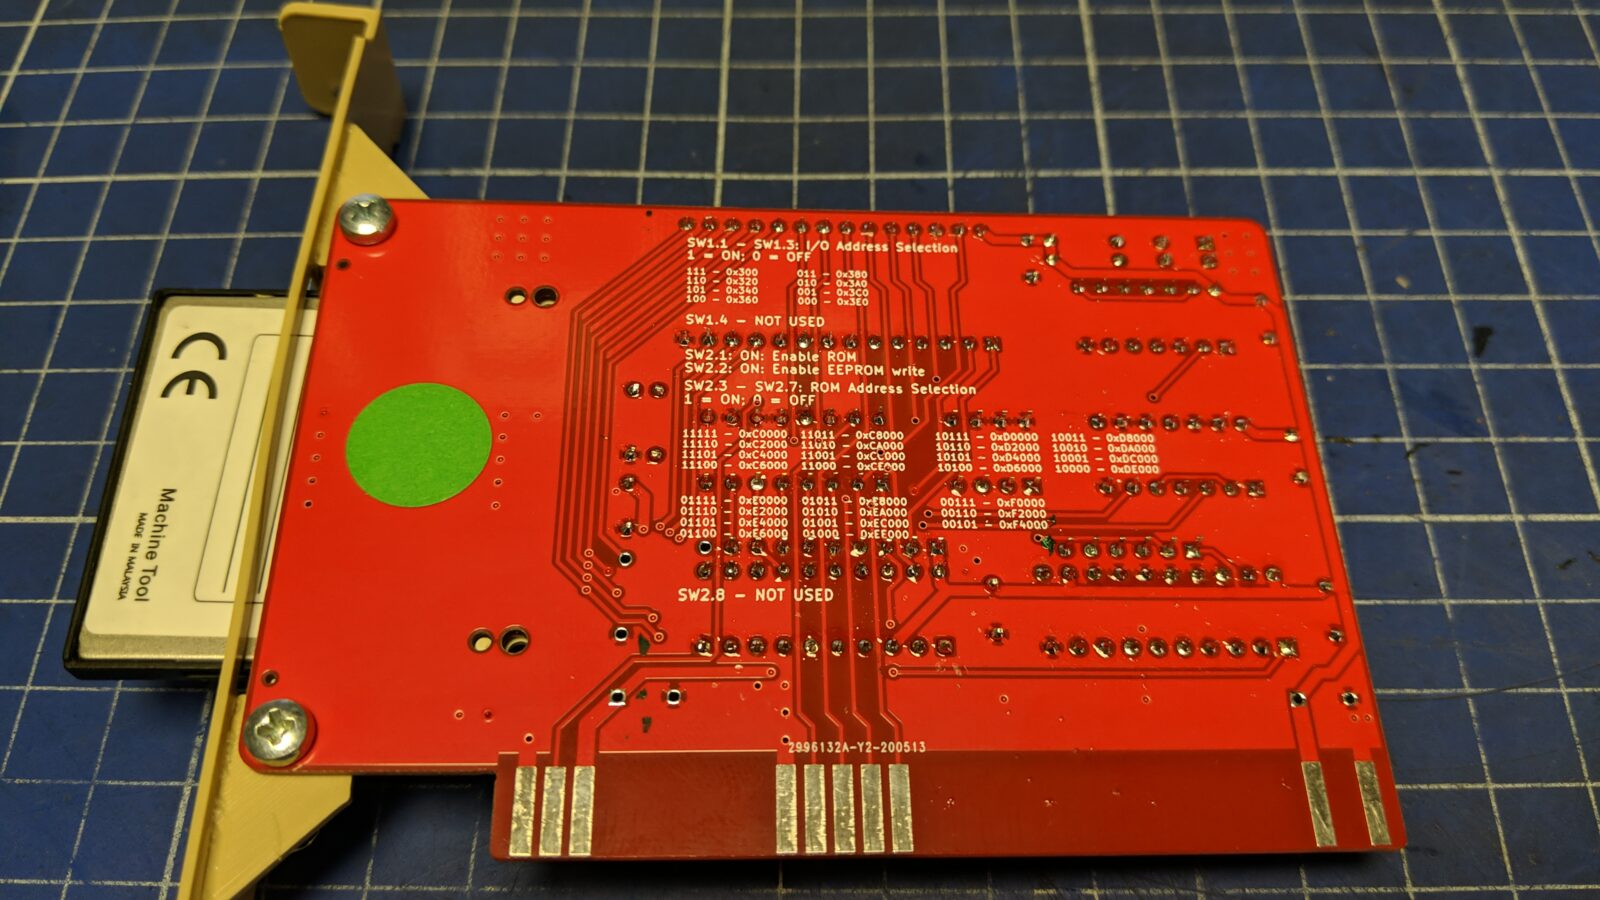
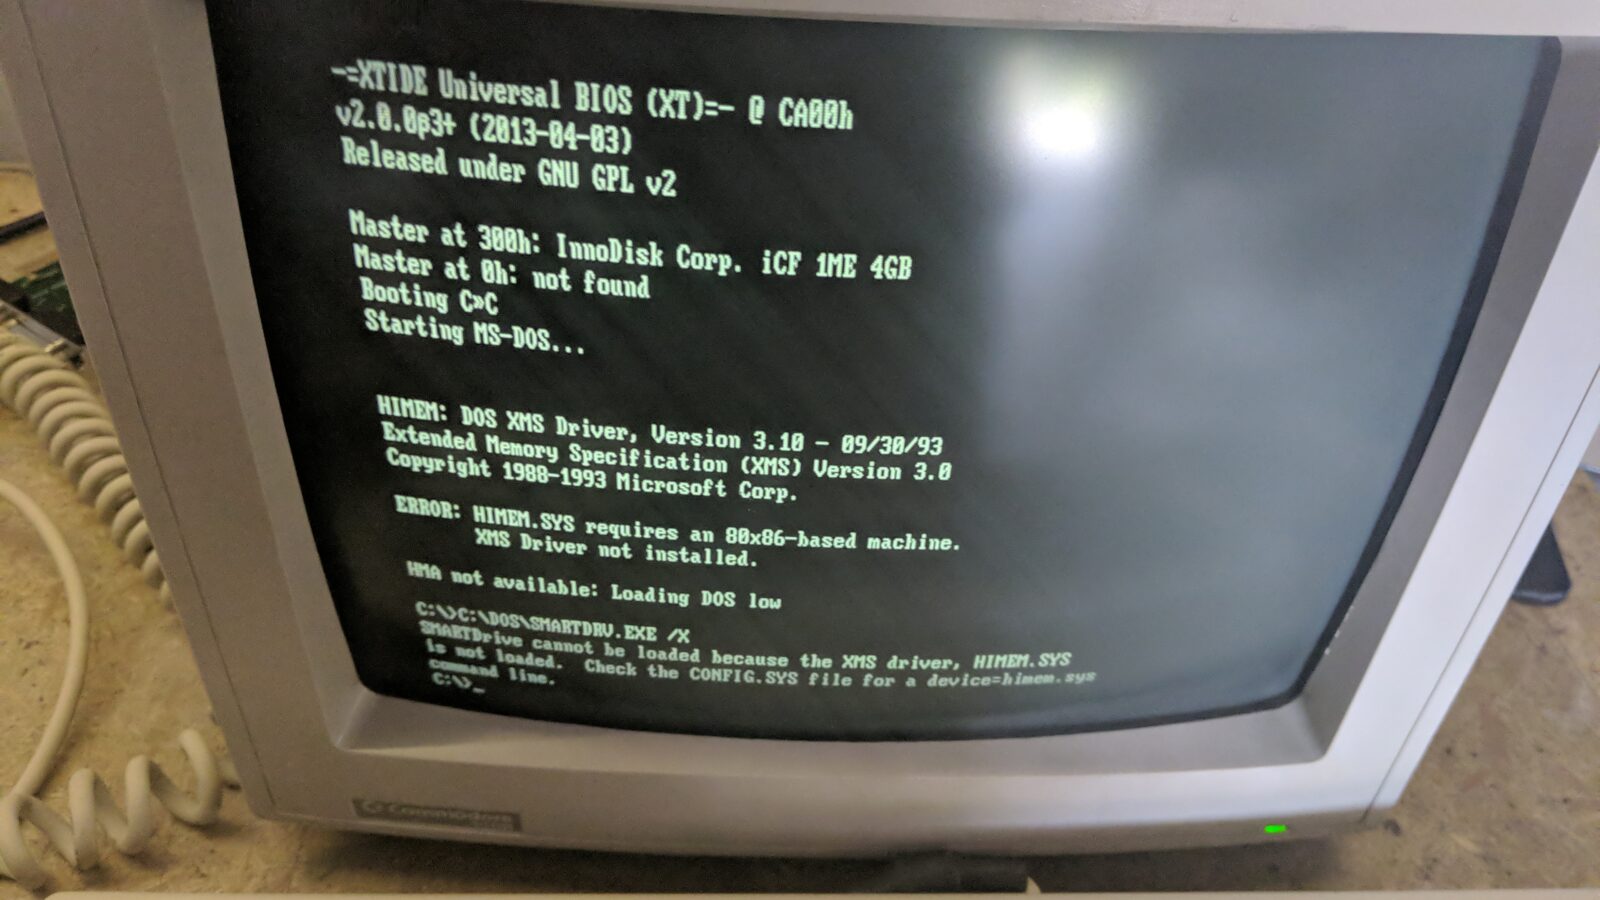
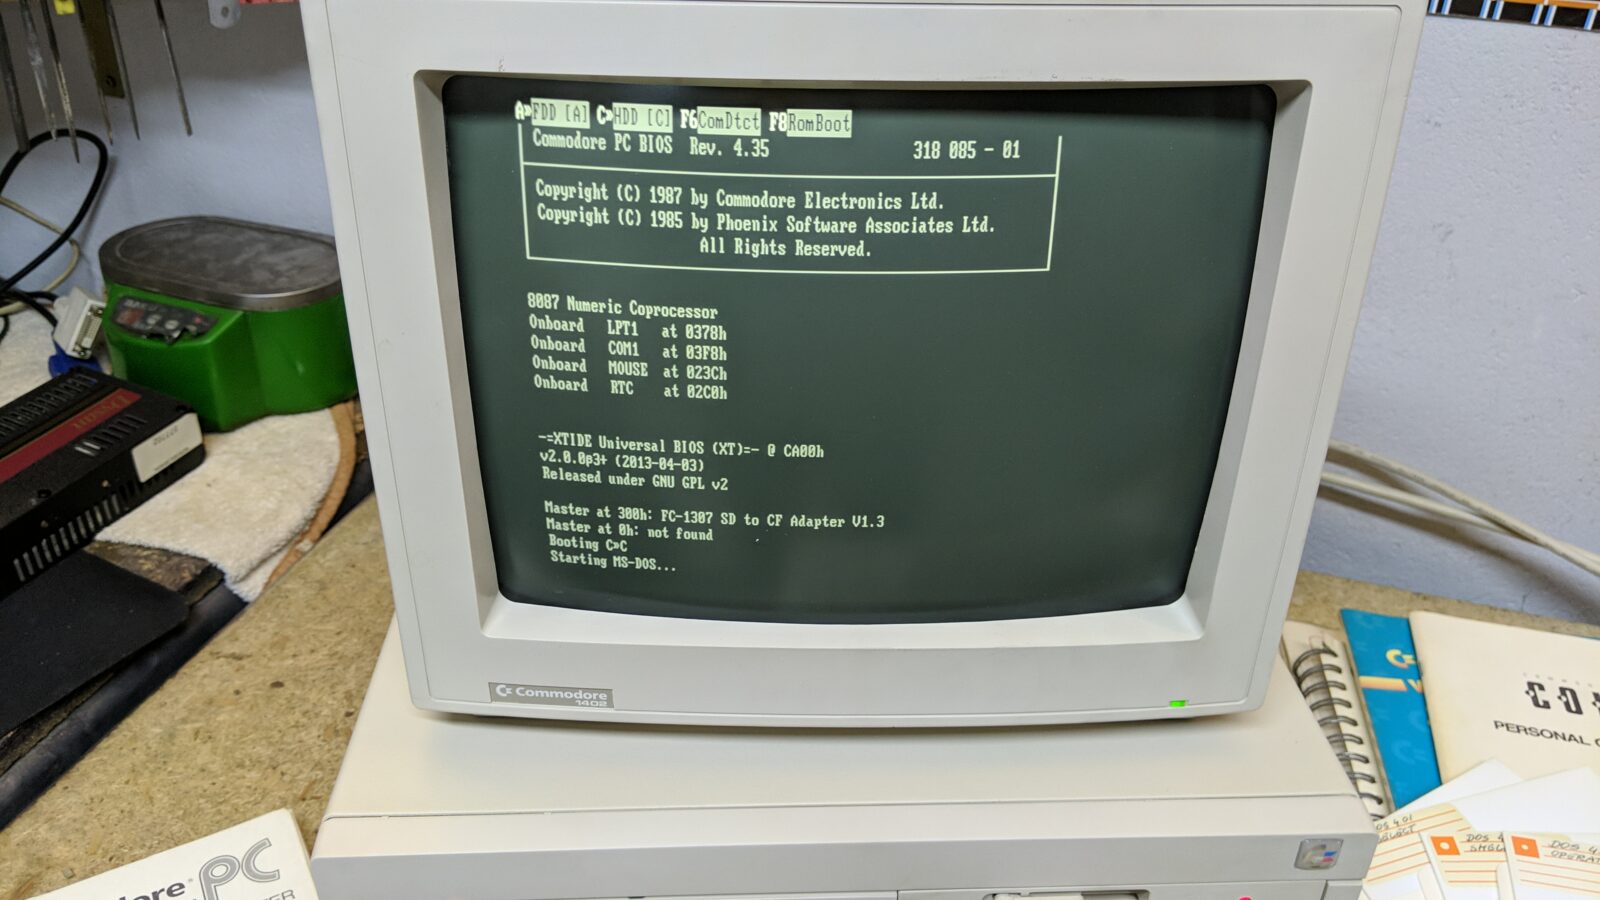
The major upgrade for this system was an XT-CF 8-bit ISA card which allowed the replacement of the original DYSAN filecard with a more convenient CF card. A great, little device!
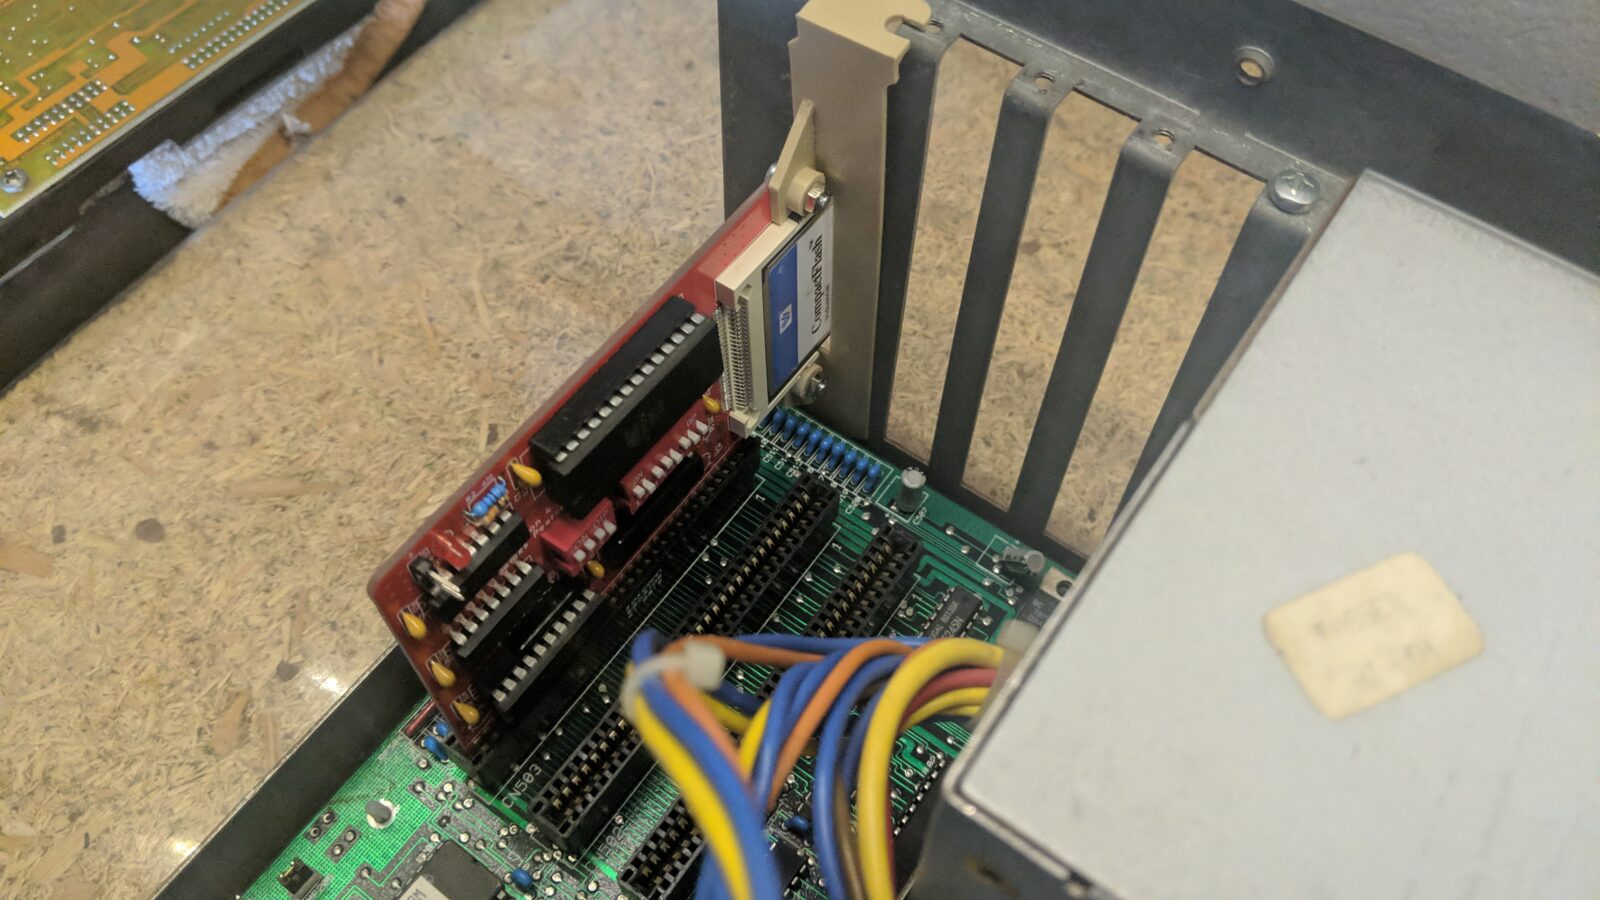
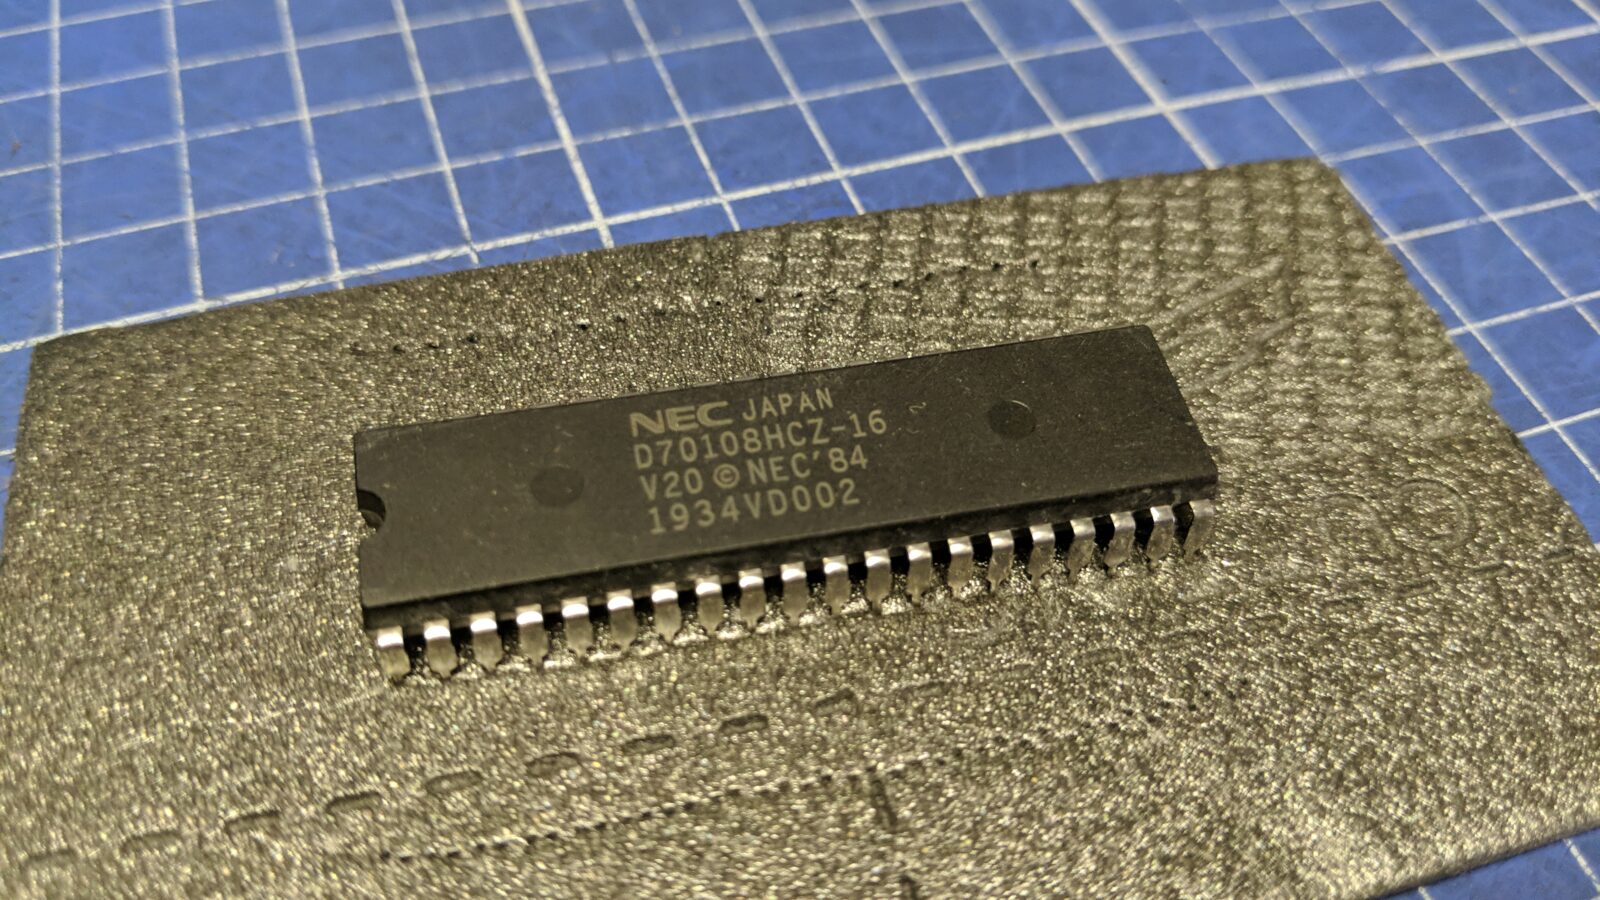
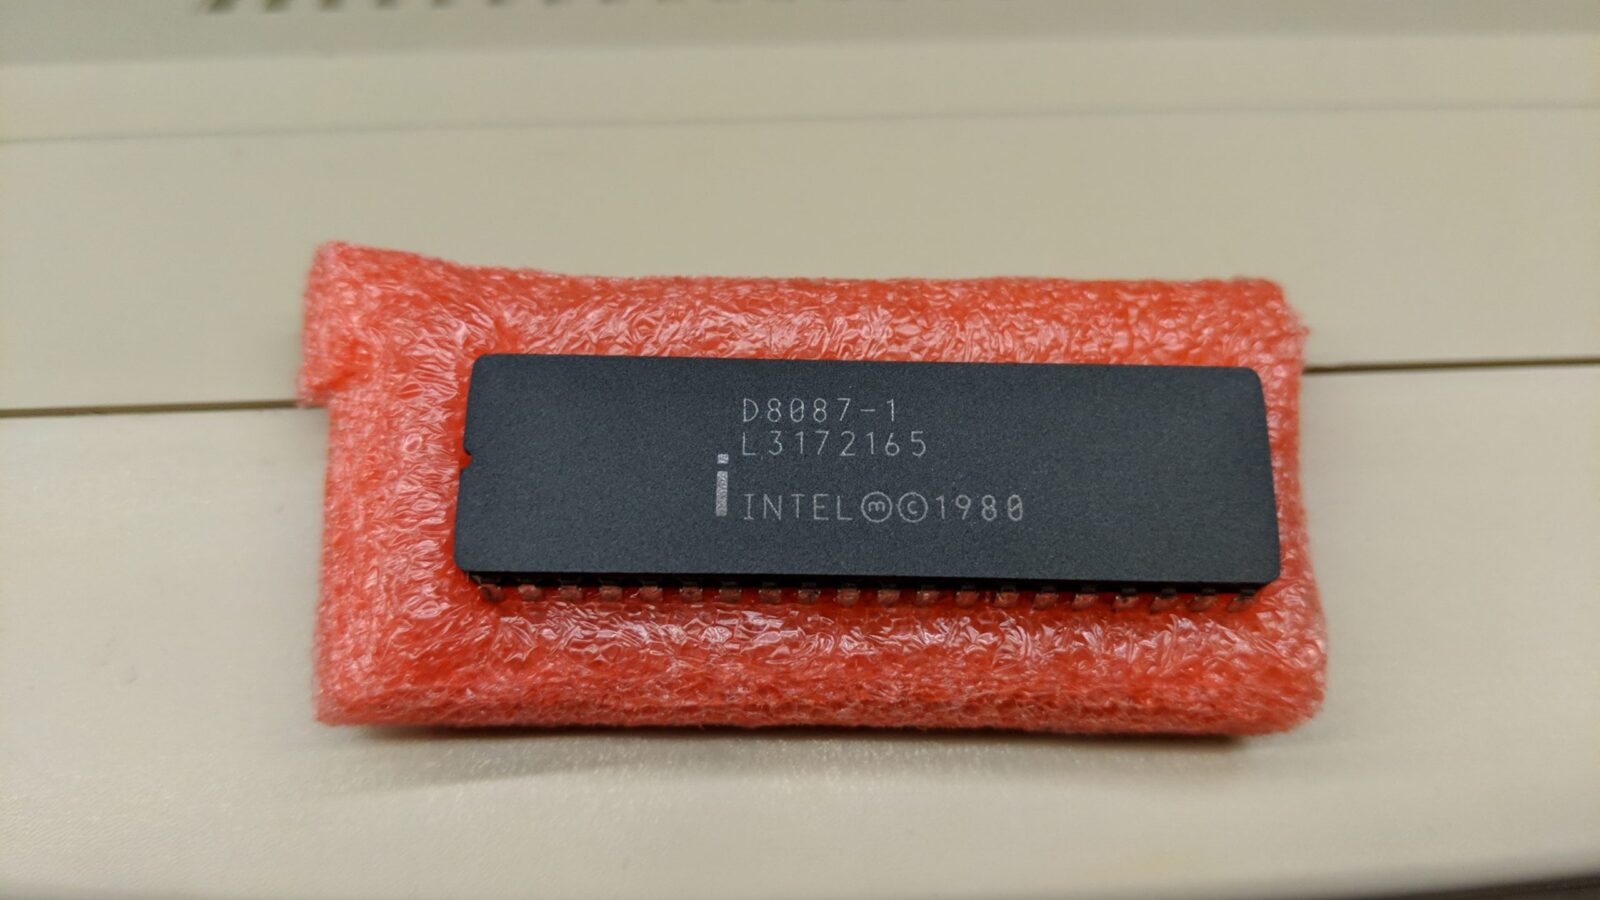
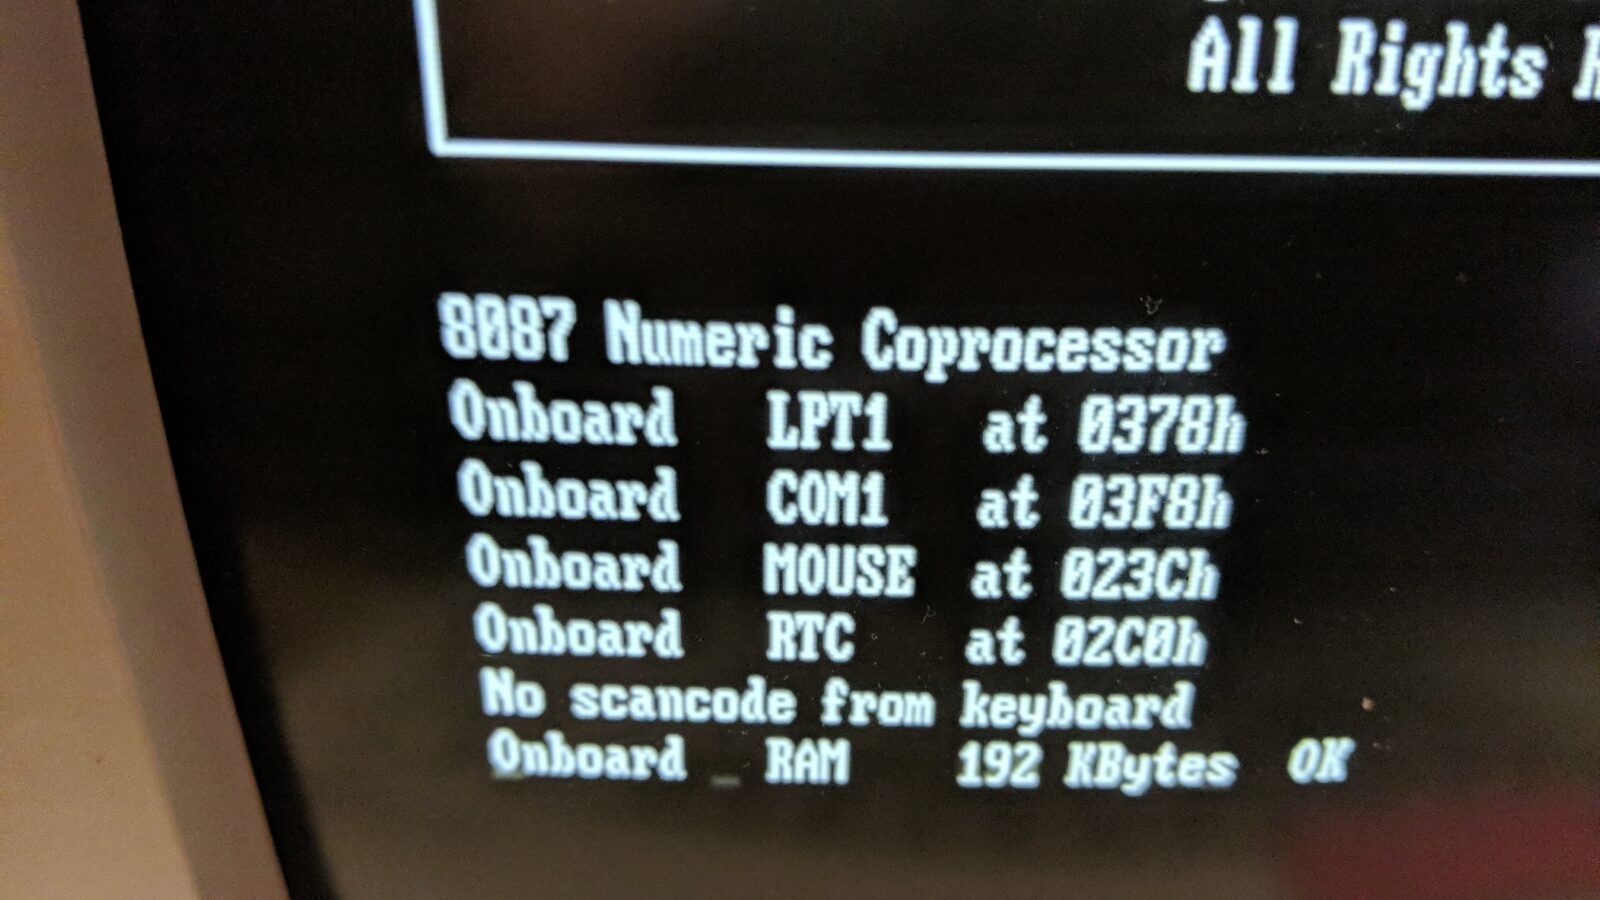
Next, the machine was upgraded with a NEC V20 CPU. I’ve also added an Intel 8087 co-processor as it wasn’t populated originally.
The failure
When I was running some tests, the machine suddenly went dead. I was like …

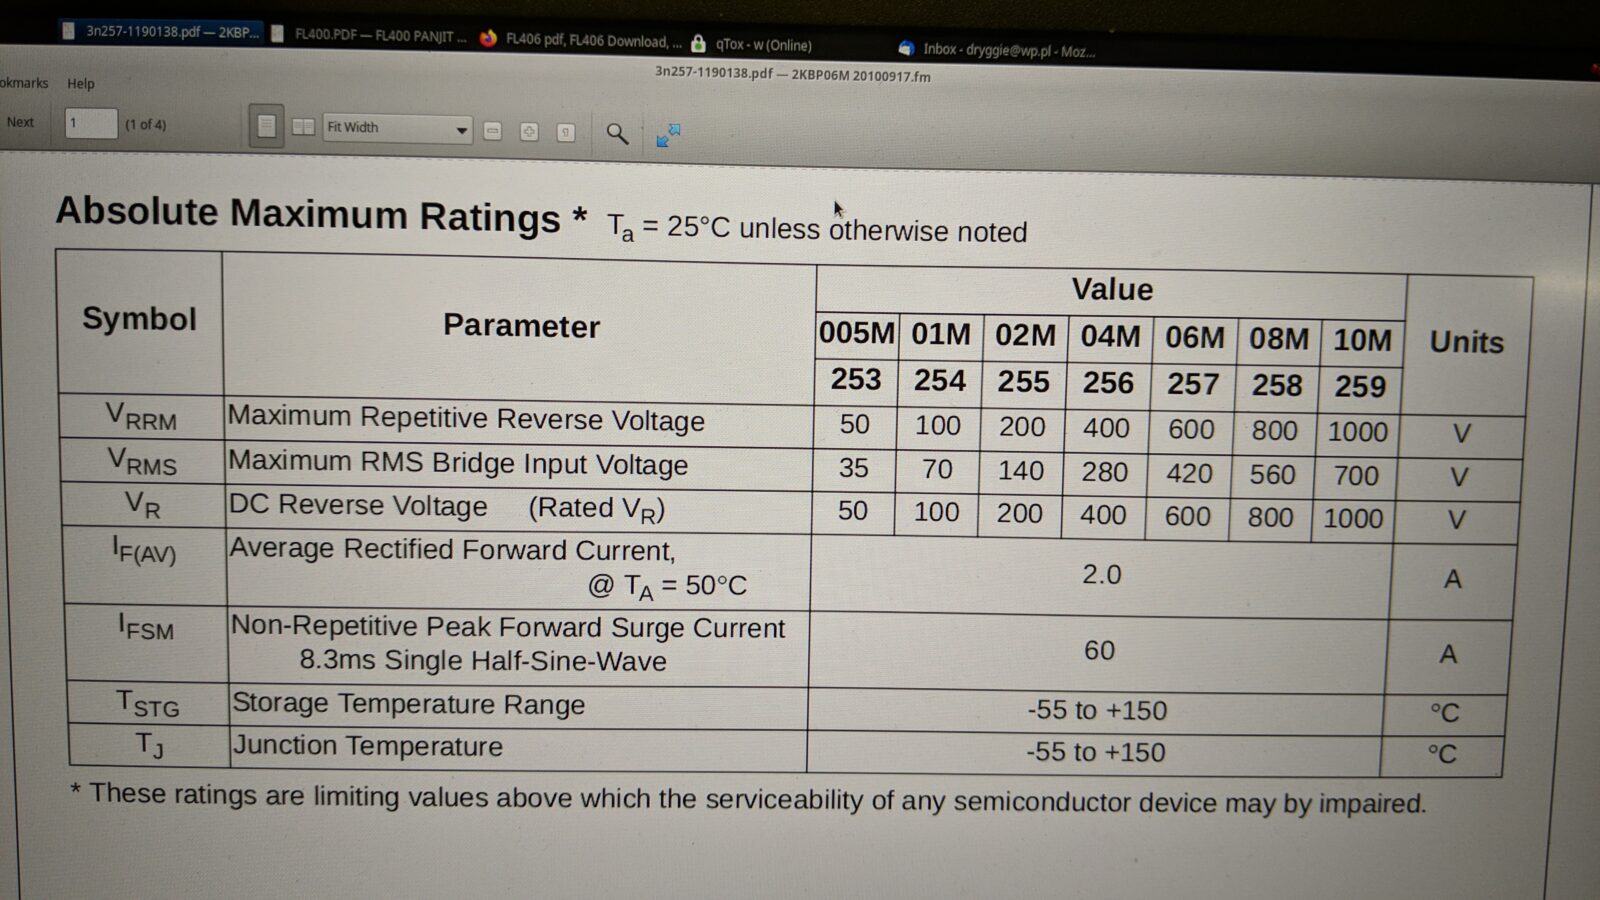
I had to disassemble it all again and find the fault. The PSU showed no signs of life at all and after some measurements, I’ve found that the voltage rectifier died. I’ve quickly browsed through my spare parts stash but found only one similar rectifier.
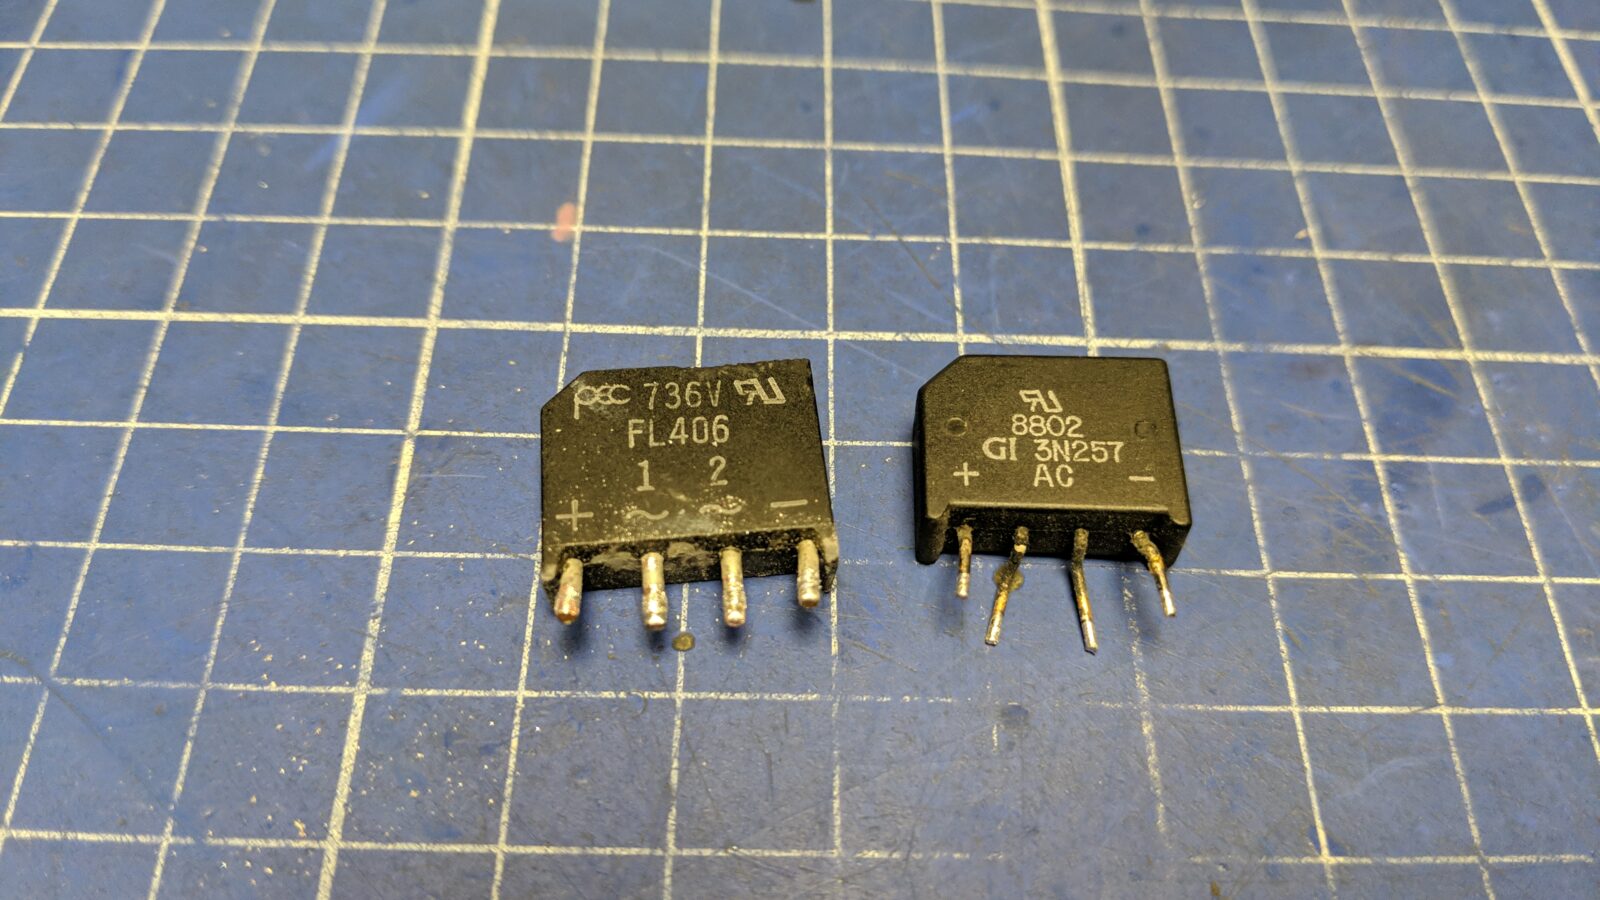
Fortunately, after comparing datasheets, it turned out that it is a good (although a bit stronger) replacement. All I had to do was to modify a PCB a bit.

Woot! it worked!
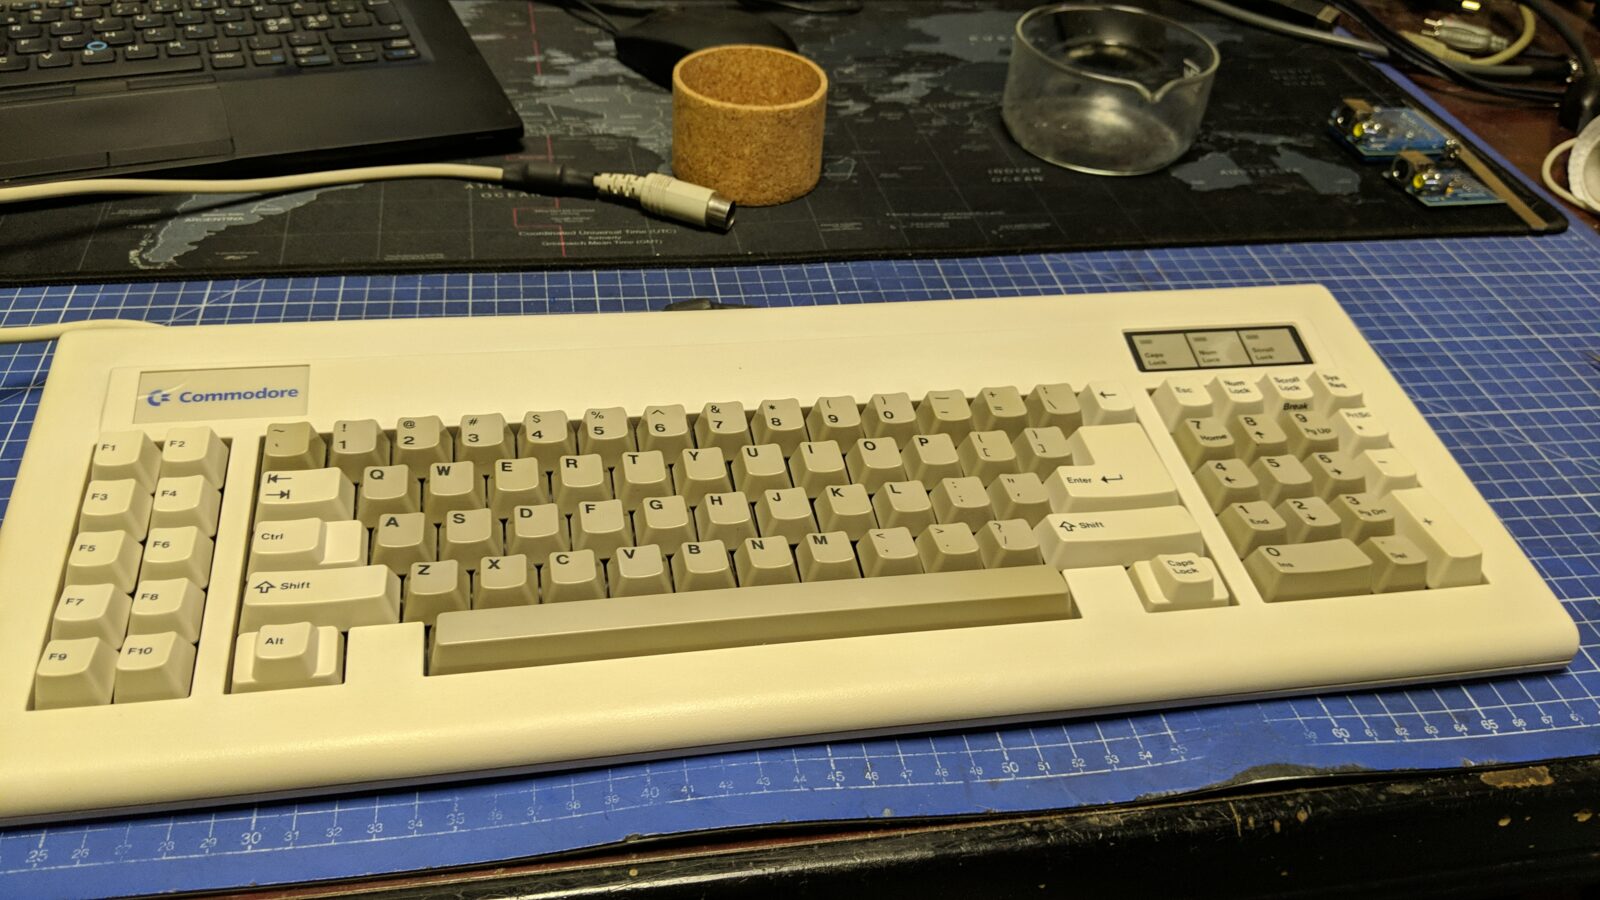
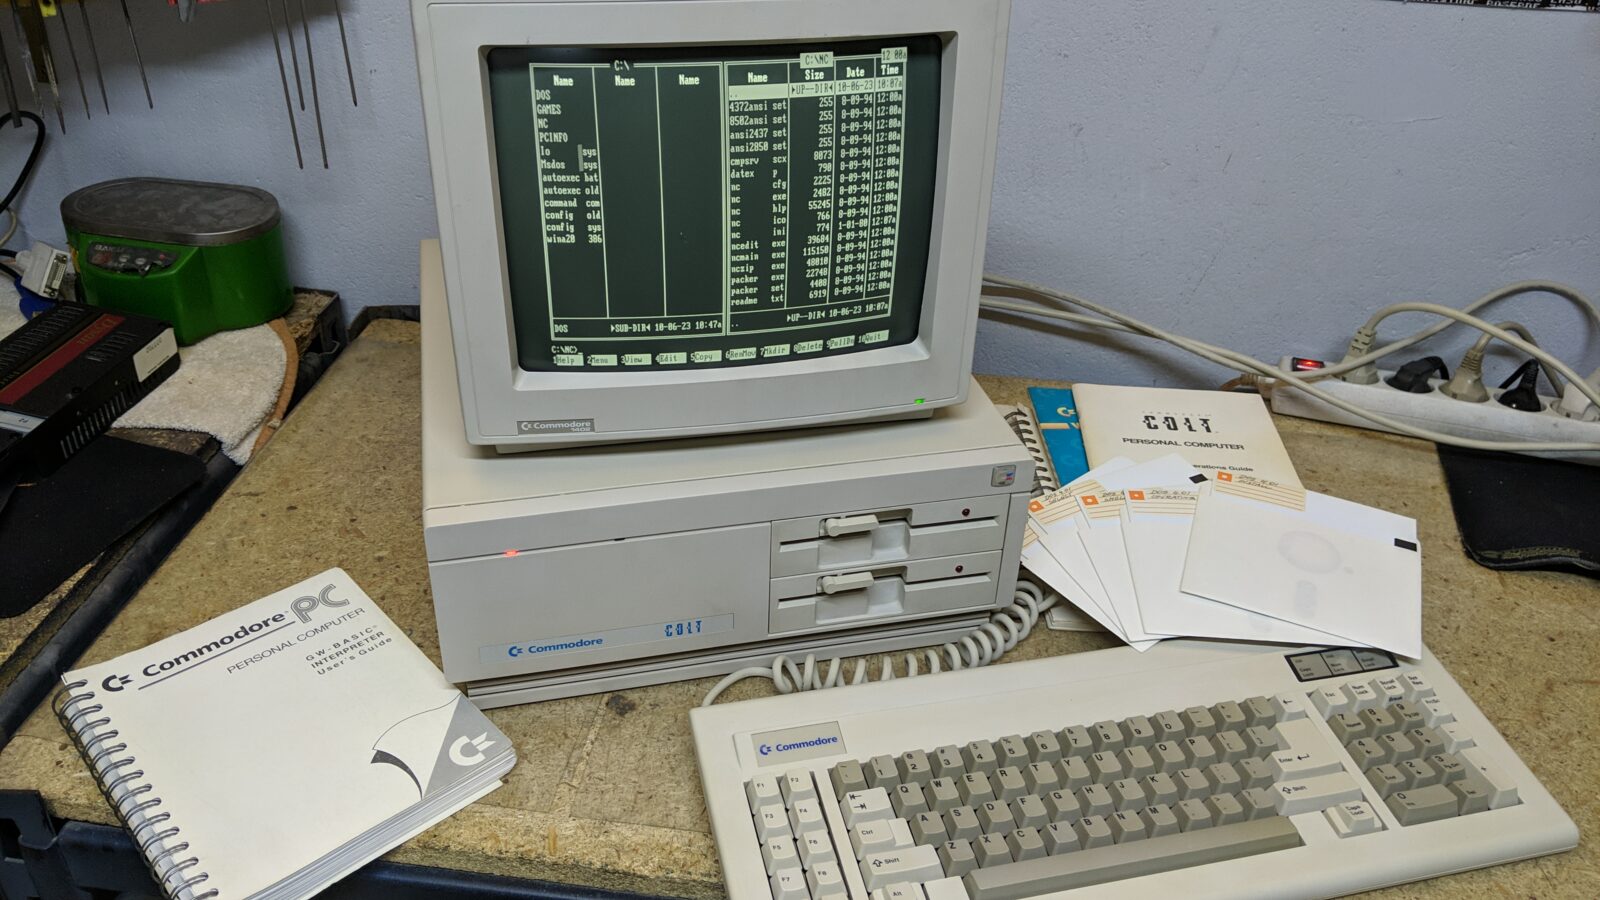
The end and final pics
You’ve reached the end of this post. Below are some final pics of this cool machine – The Commodore COLT

See you in the next post 🙂


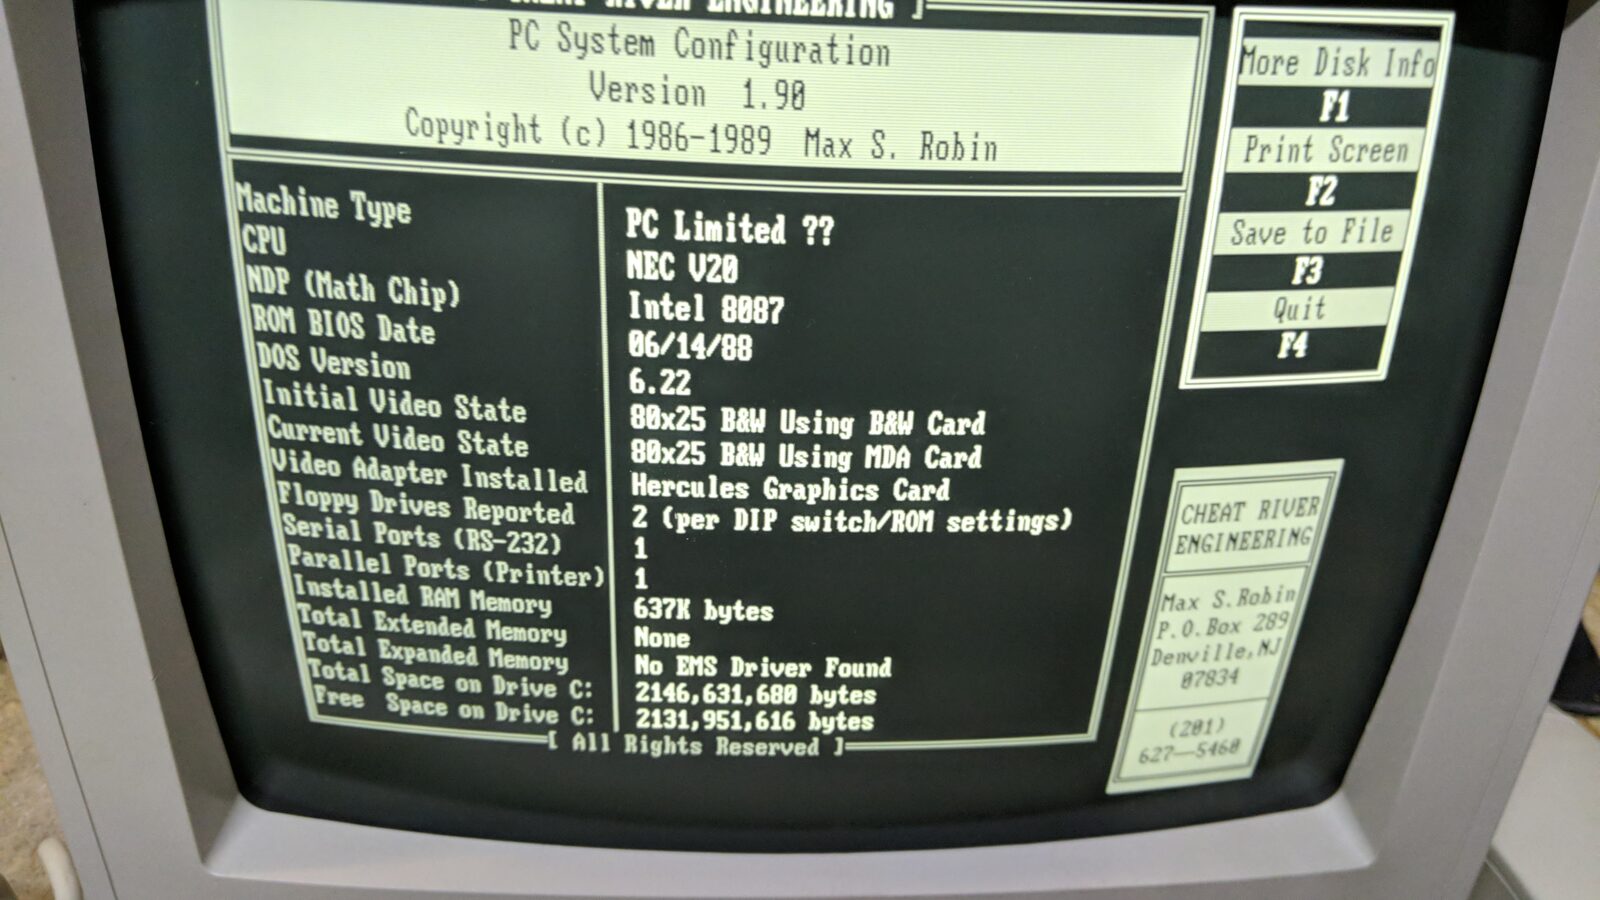
Congrats!! Excellent Job!! Could you please share or say where could I find “PC System Configuration” diagnostics tool? Thanks.
Hey,
Here -> https://mega.nz/file/XBUVWQhB#tySaJaeKWWqwUtoWDDYttYPgNM1lKrhbLRxCE6vfY9w
Cheers 🙂
Hej Drygol!
Ale fajny blaszak 🙂 Naprawdę przyjemny sprzęt do restauracji. Co do recappingu – chyba nie zawsze to jest potrzebne – obecne kondensatory są tak złej jakości, że chyba lepiej zostawić stare. Gratulacje!
Dzięki! 😀 Pełna zgoda co do kondziorów, natomiast w tym przypadku to była prośba klienta.
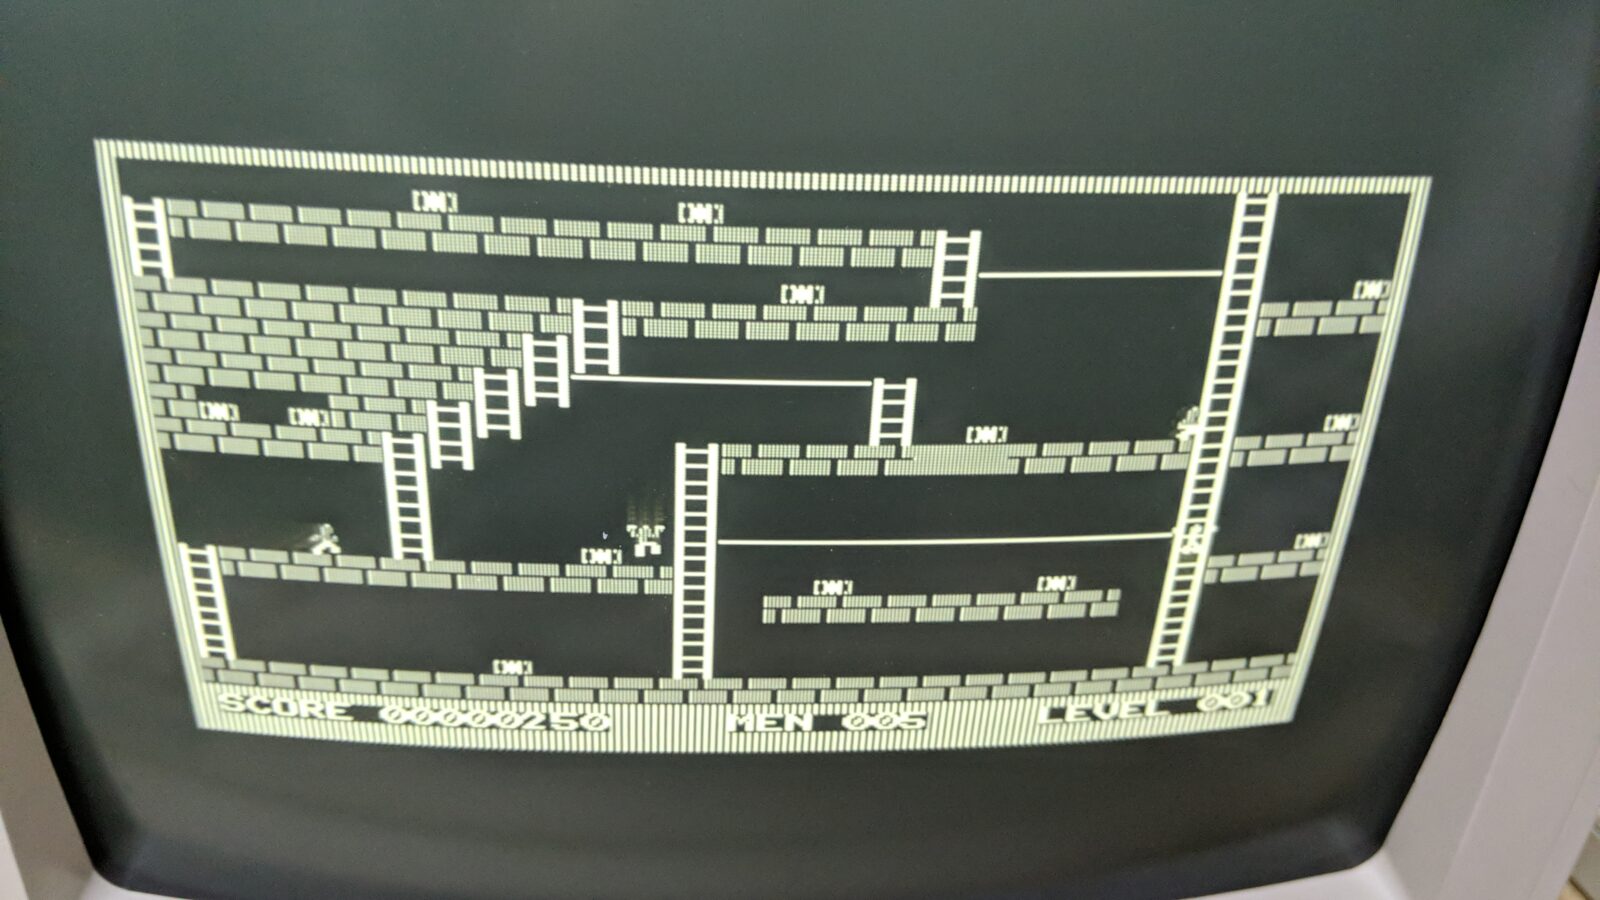
Karateka była na herculesie?! Tyle lat straciłem….
😀
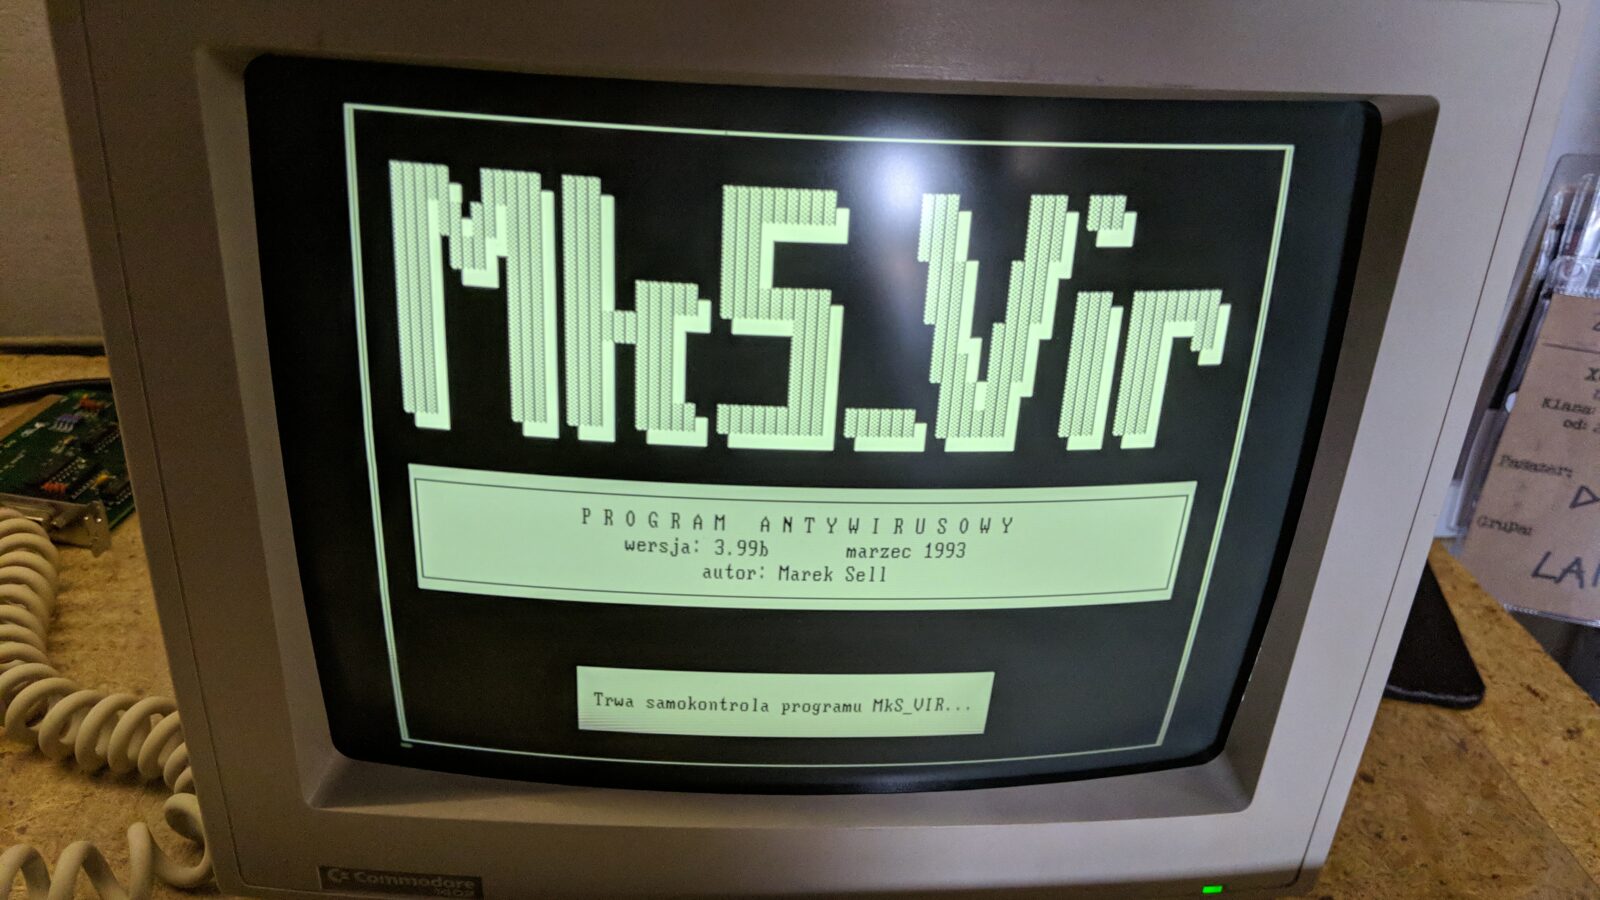
MKS_Vir FTW!!!!
😀 😀
Exellent Job, Sir.
Thank you dear sir!
Look Perfect
It is a great machine! it has to look good! 😀