… or did I spend ages trying to fix it?
Intro
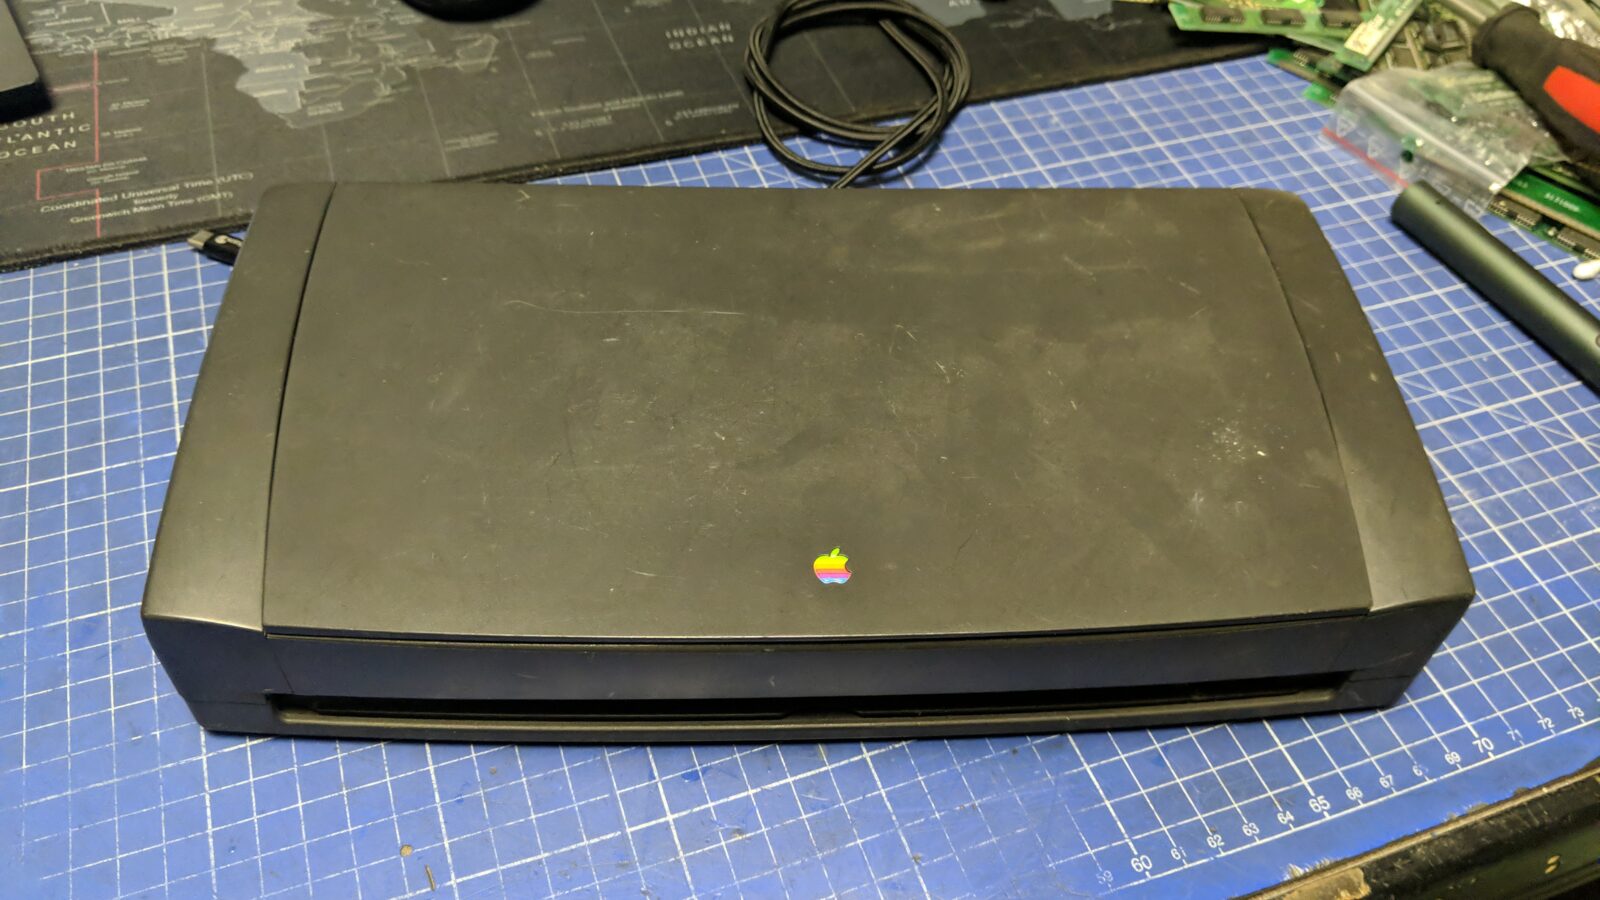
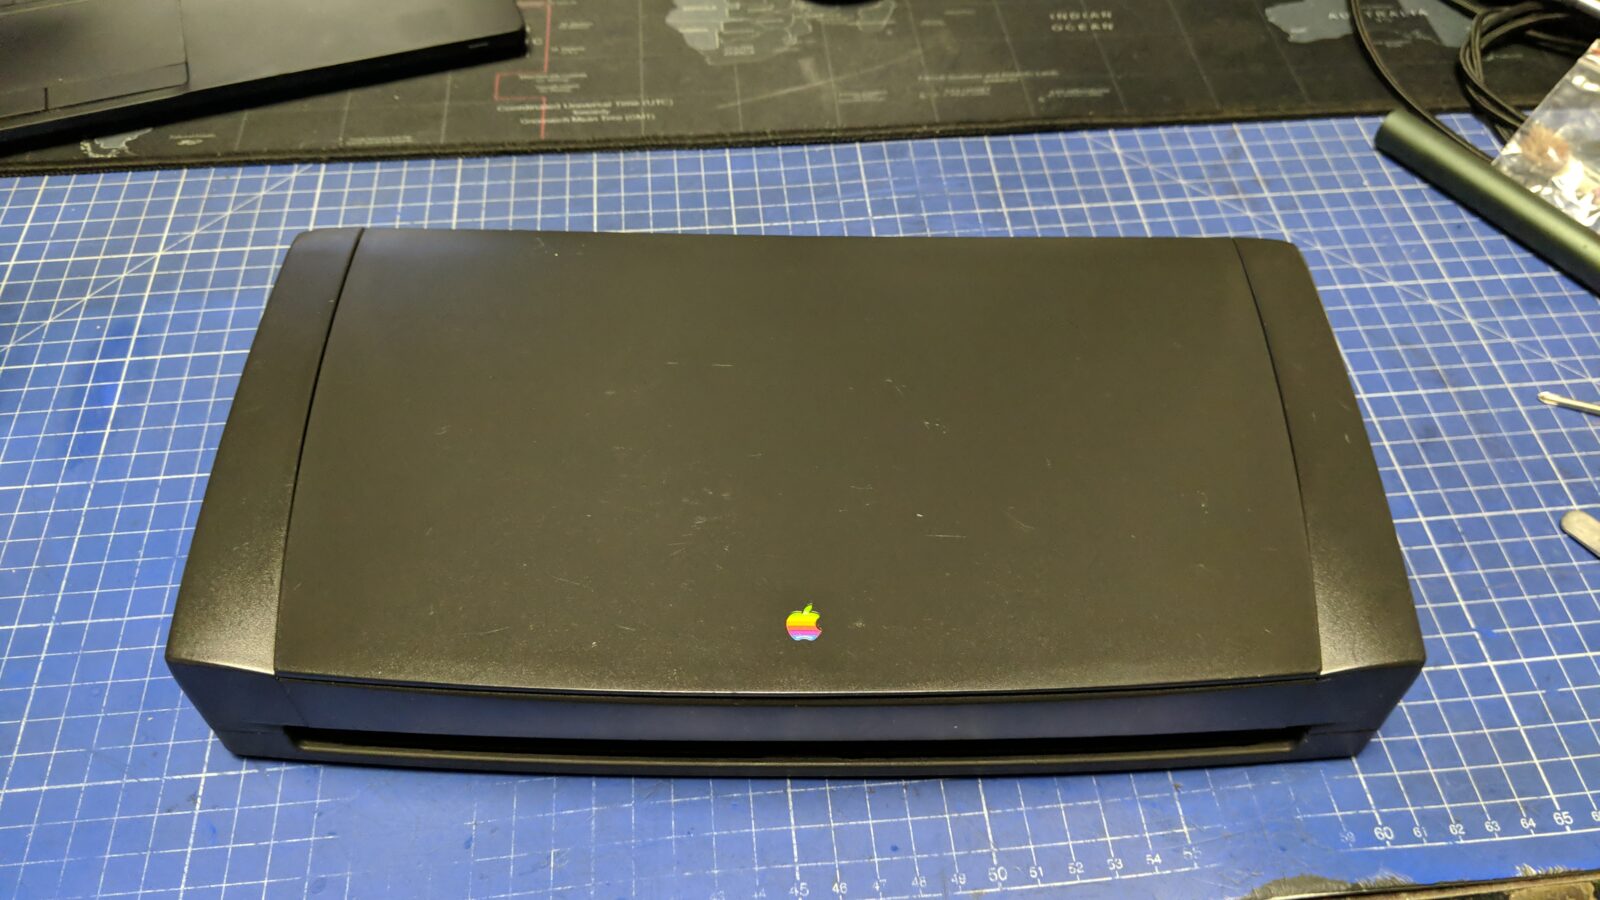
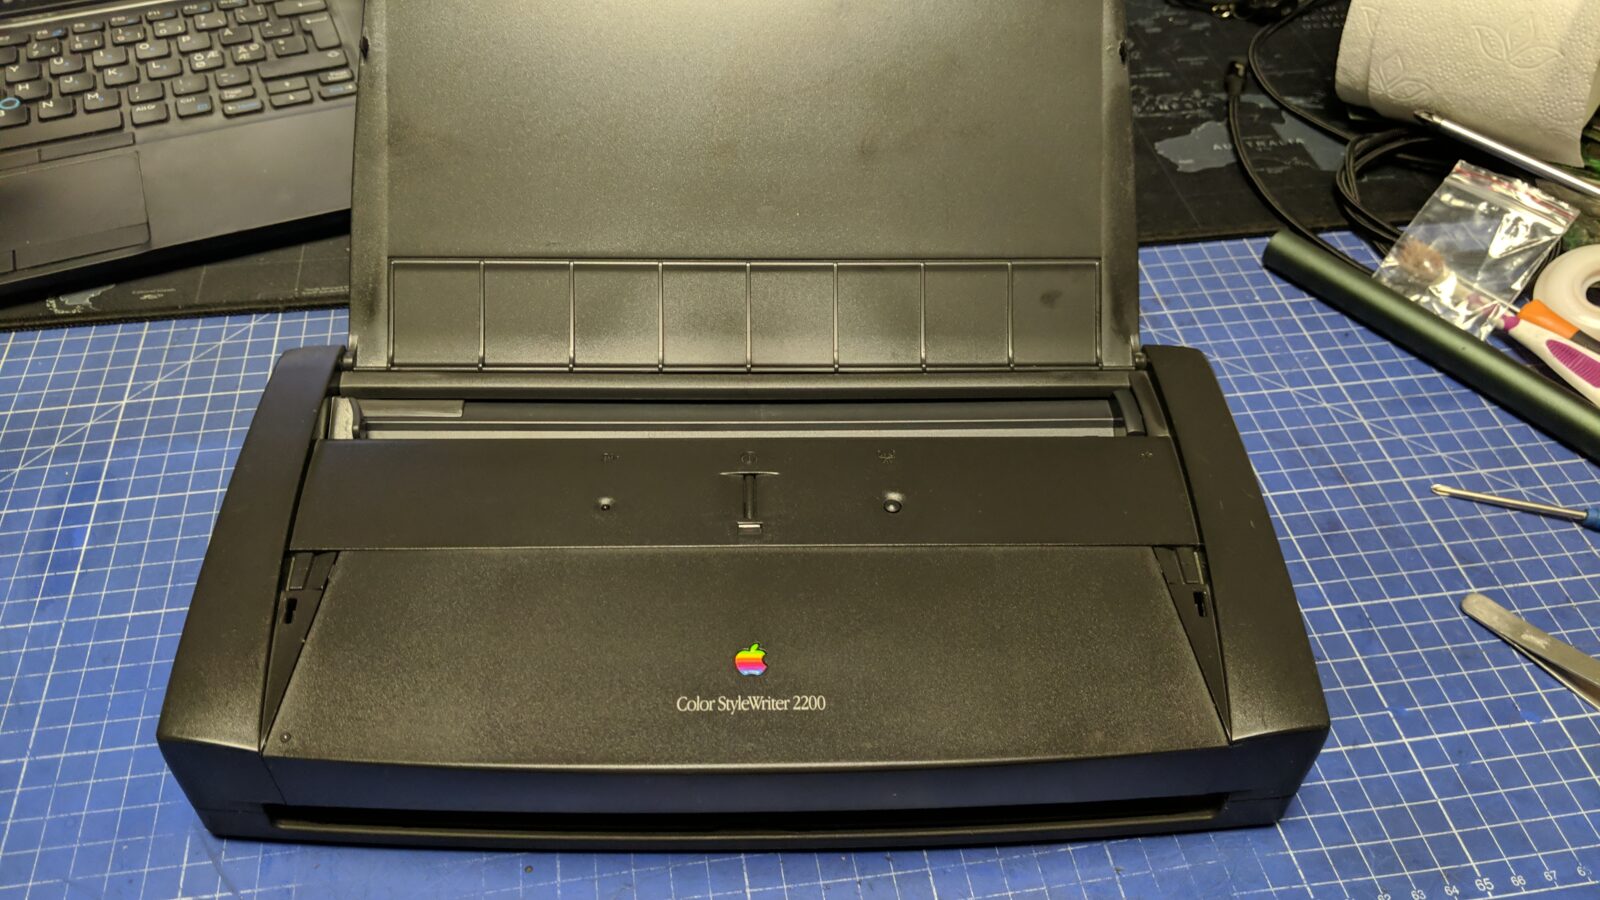
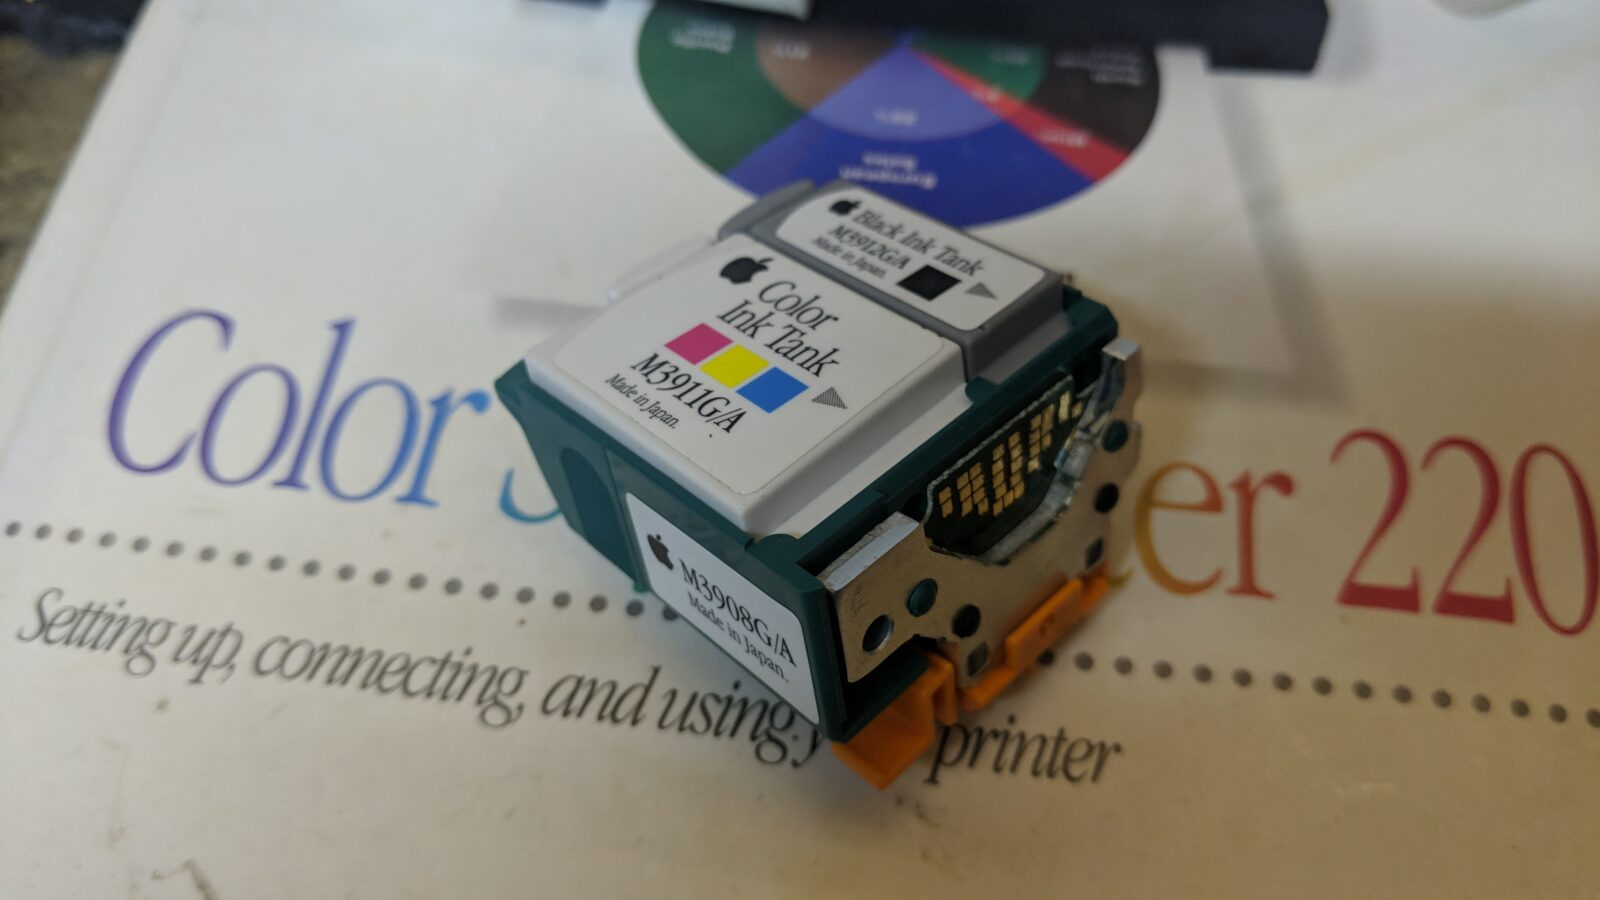
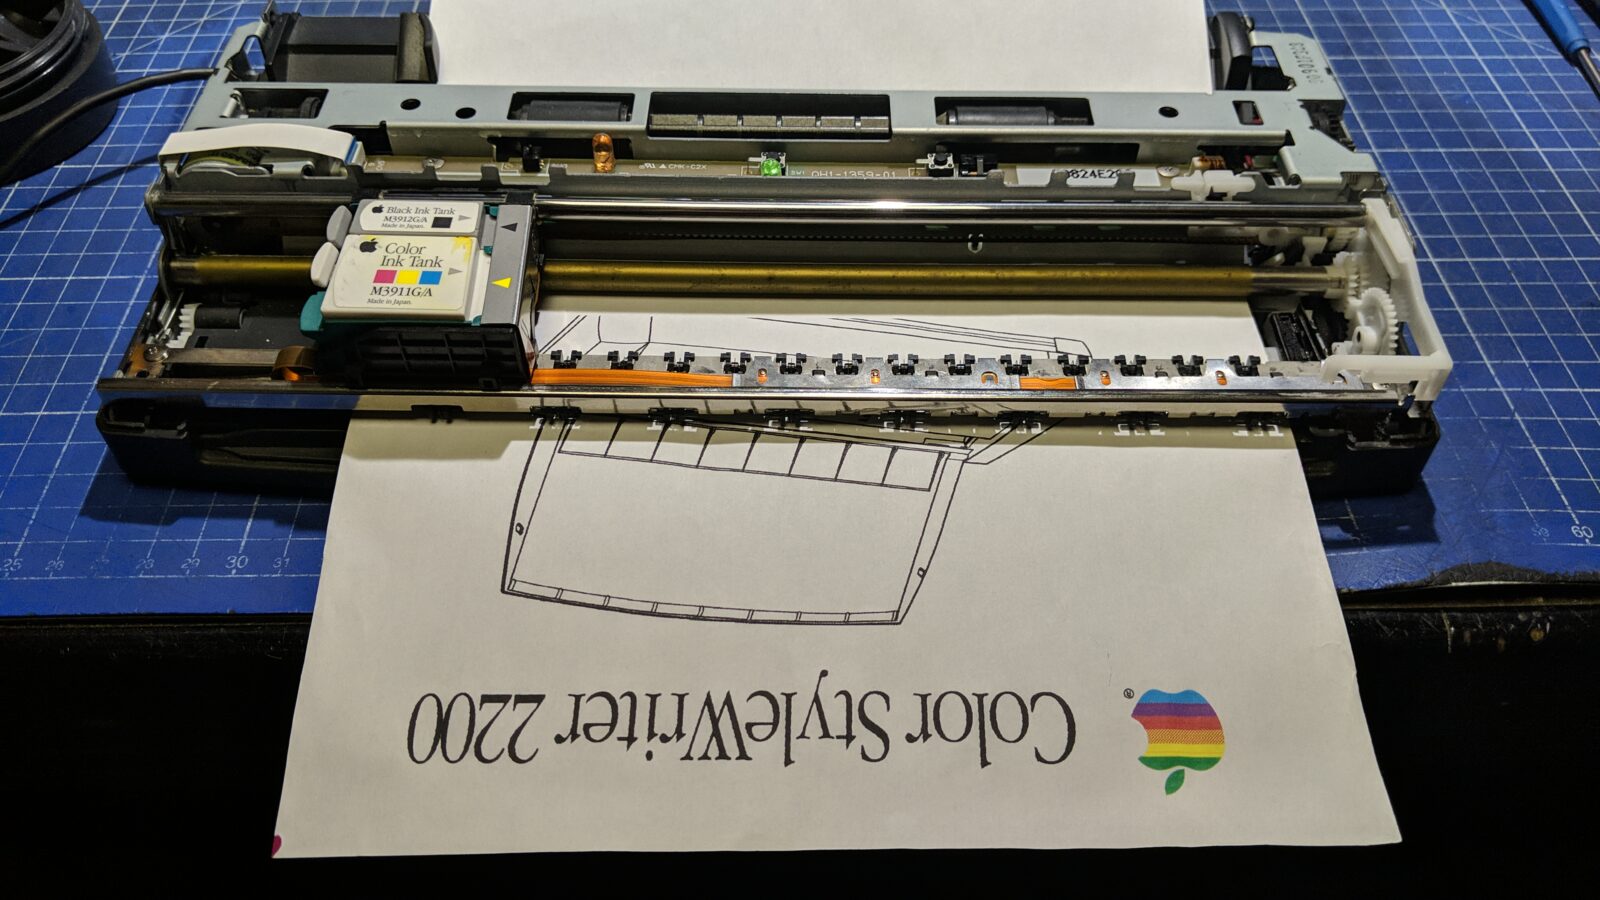
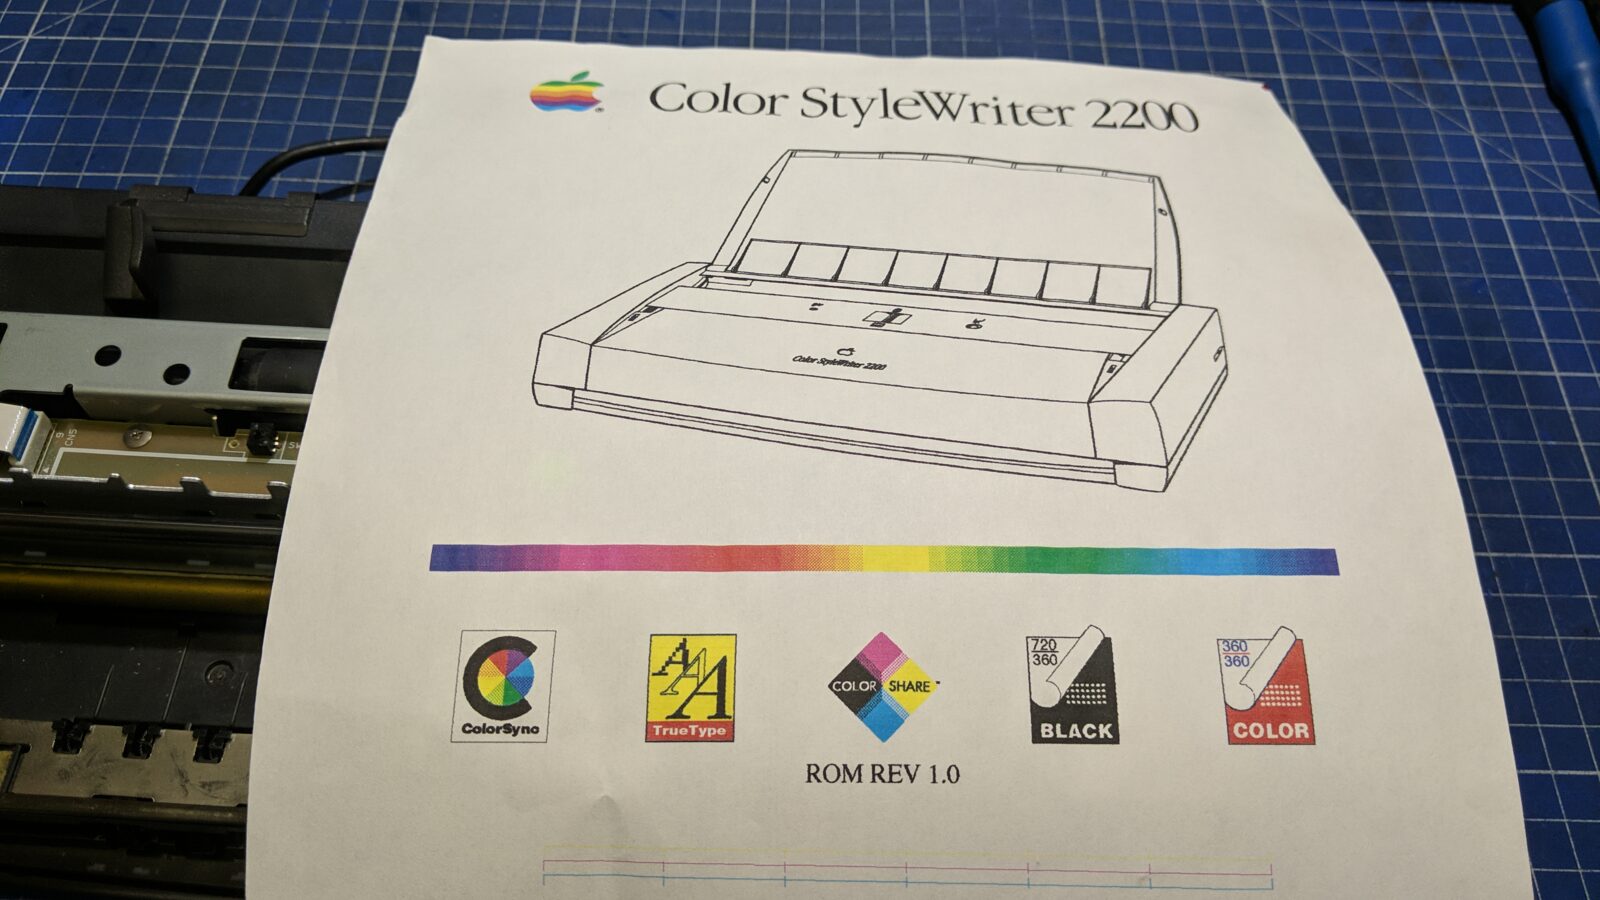
Like the Apple Color Slyle Writer 2200 that I had on my bench 🙂
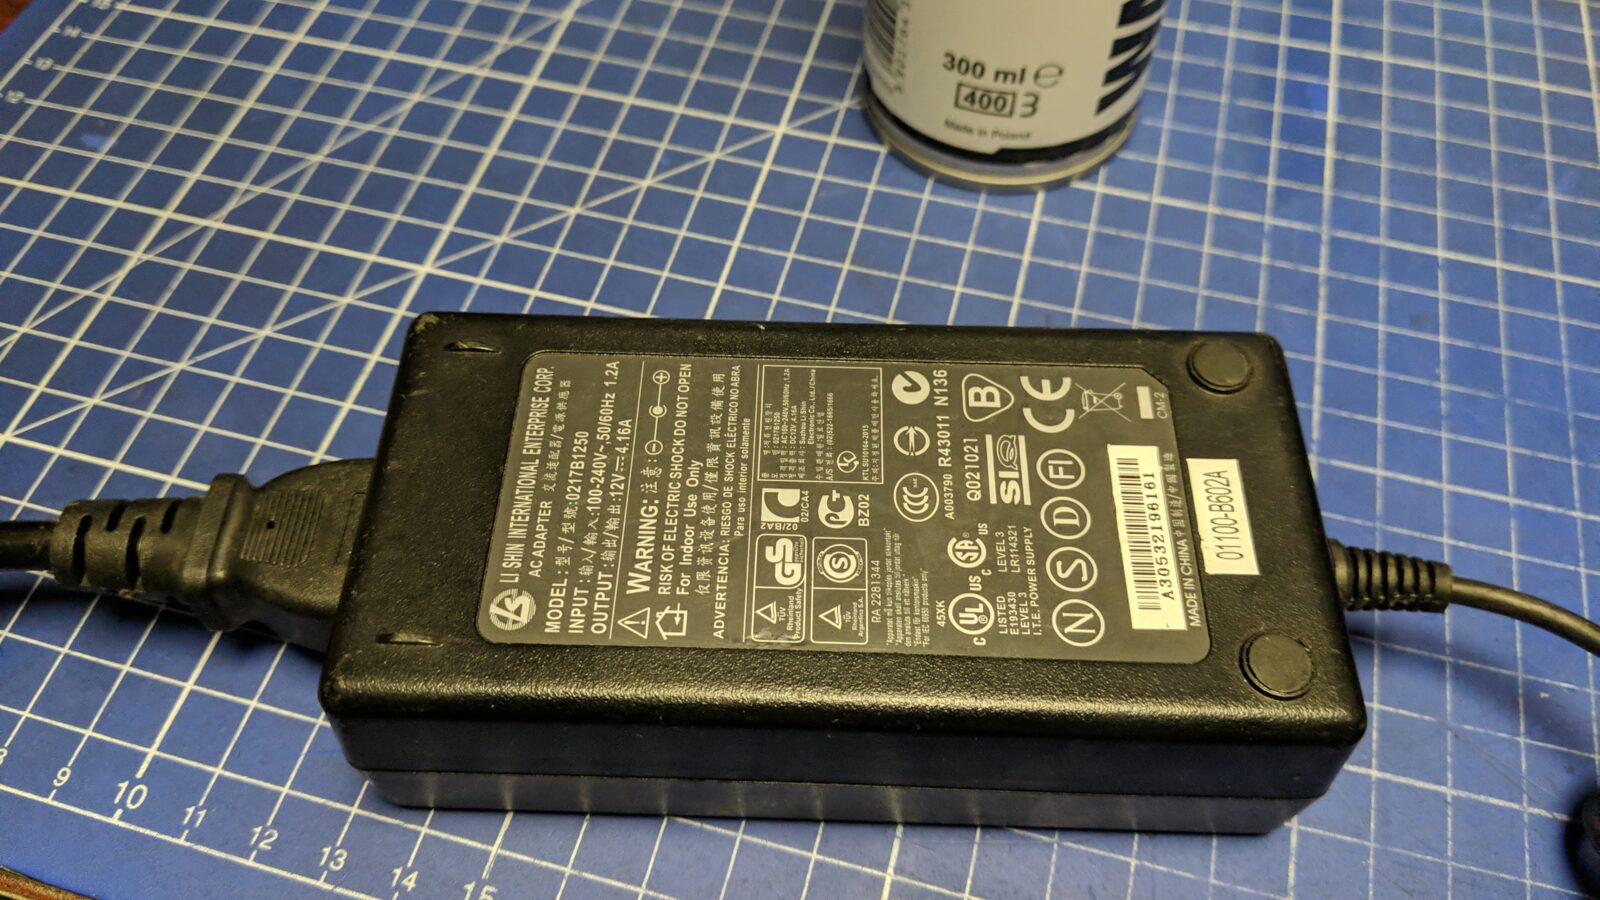
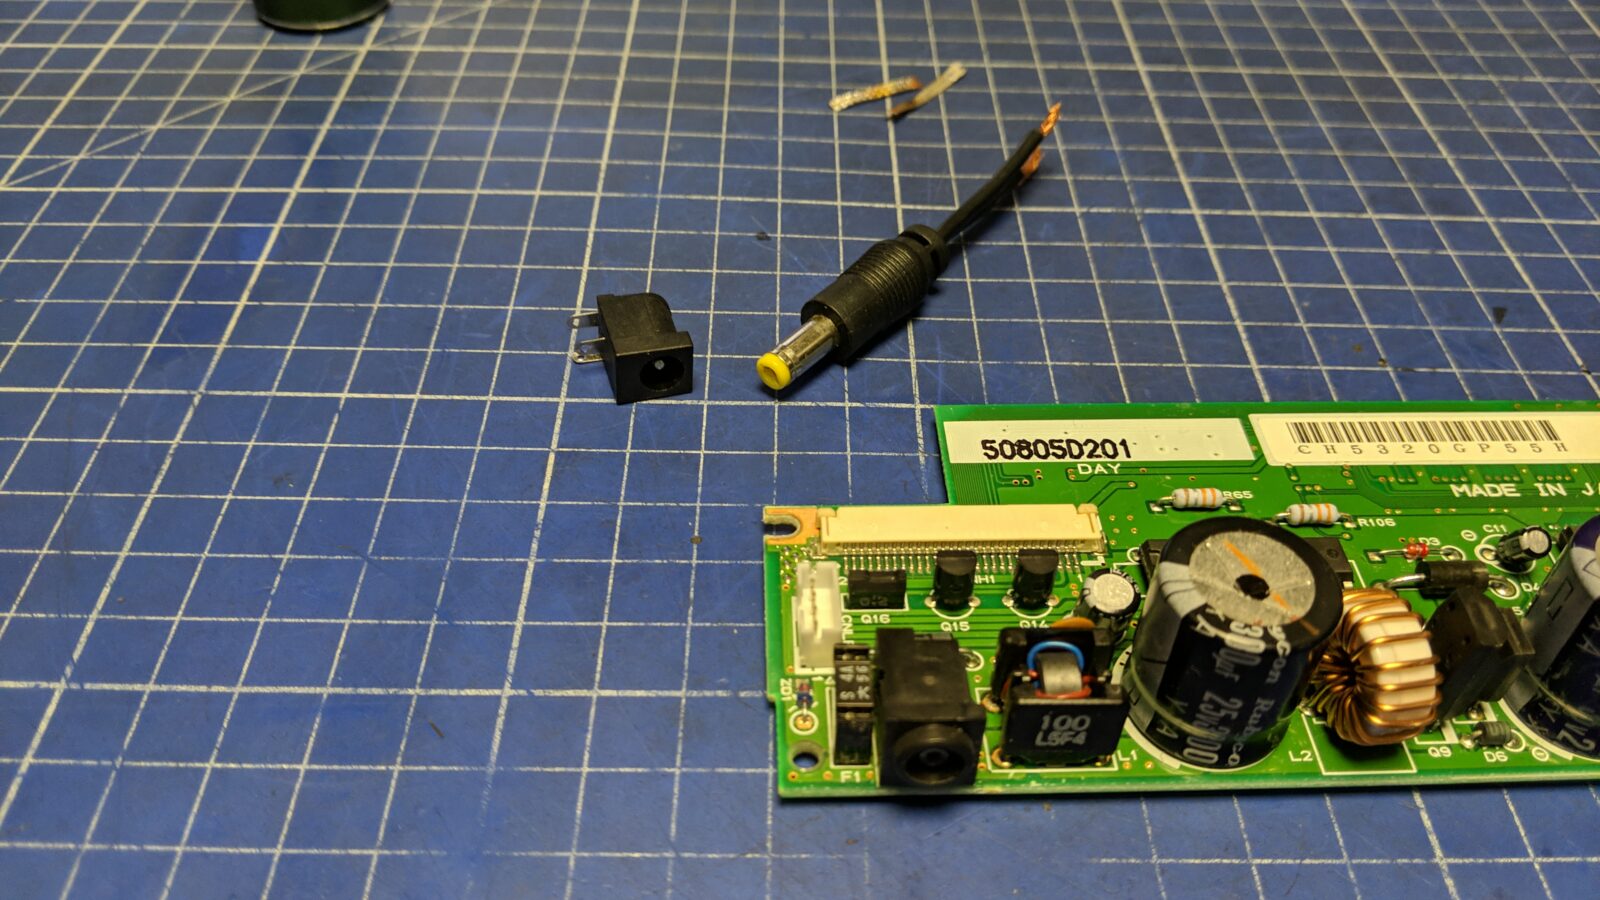
It seemed to work but outputted blank sheets, however, before I got there, I needed a PSU to get there as the unit came in without it.
Disassembly, cleaning, and the PSU
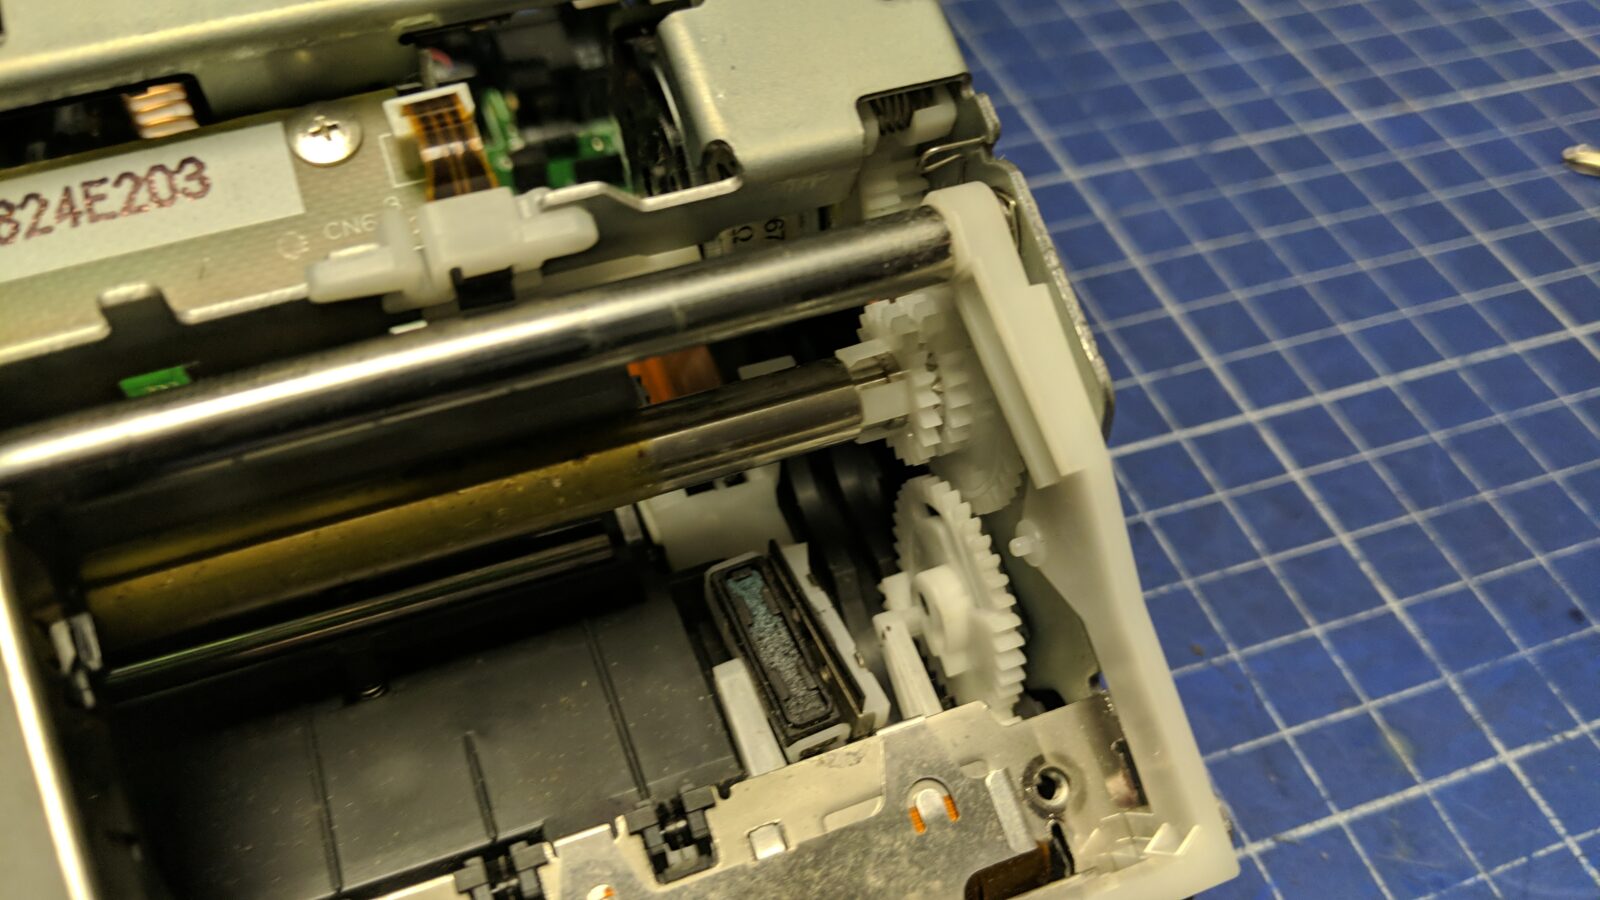
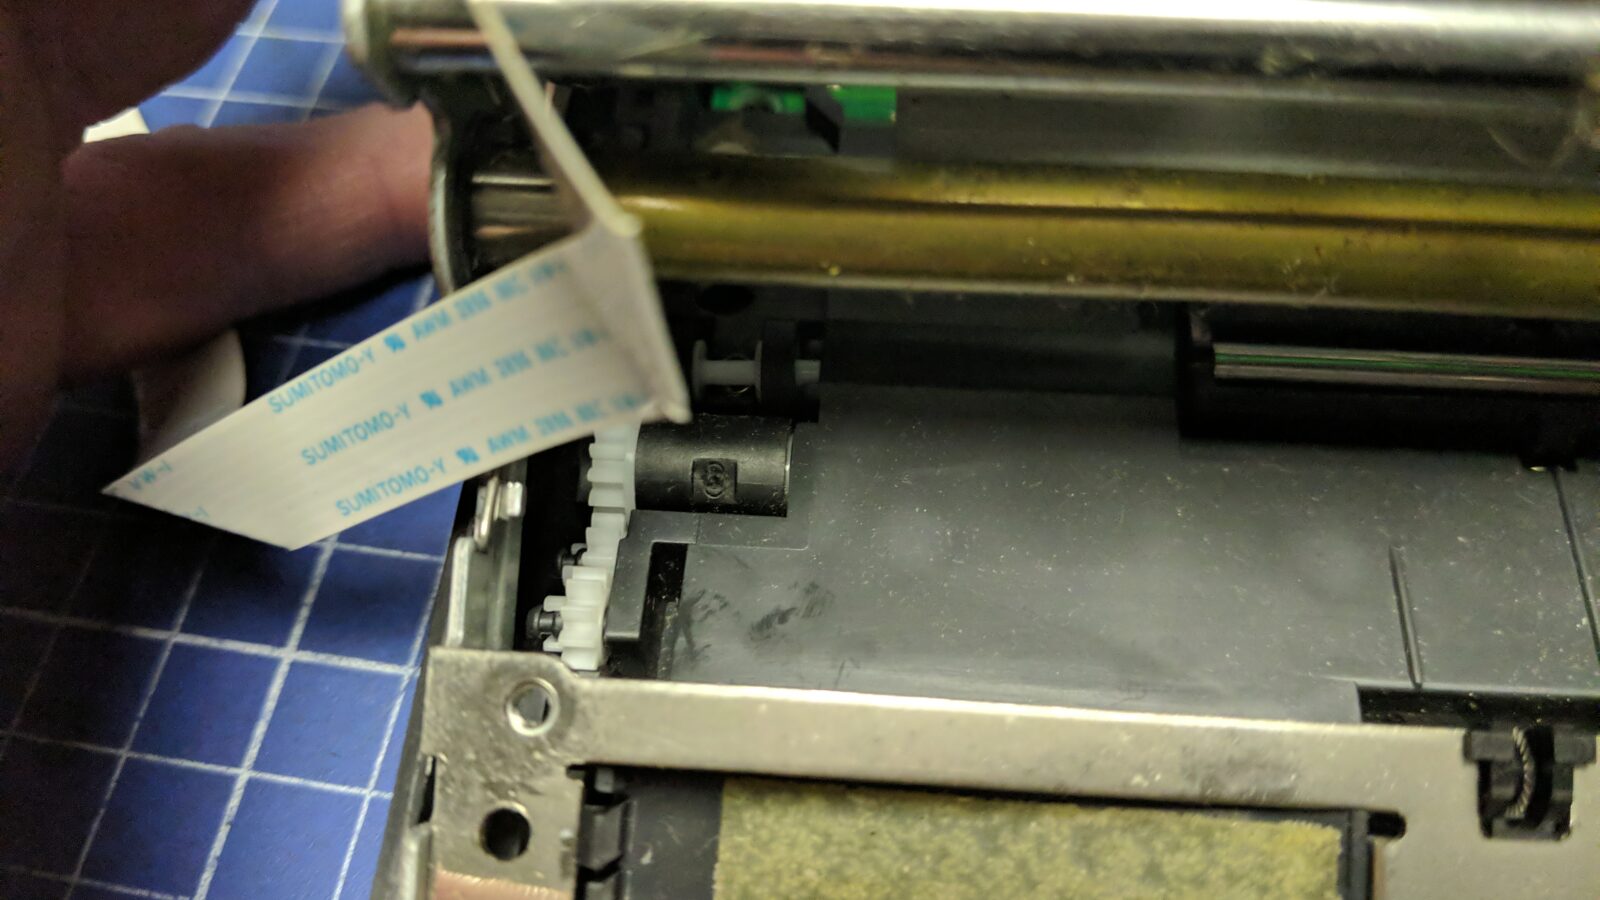
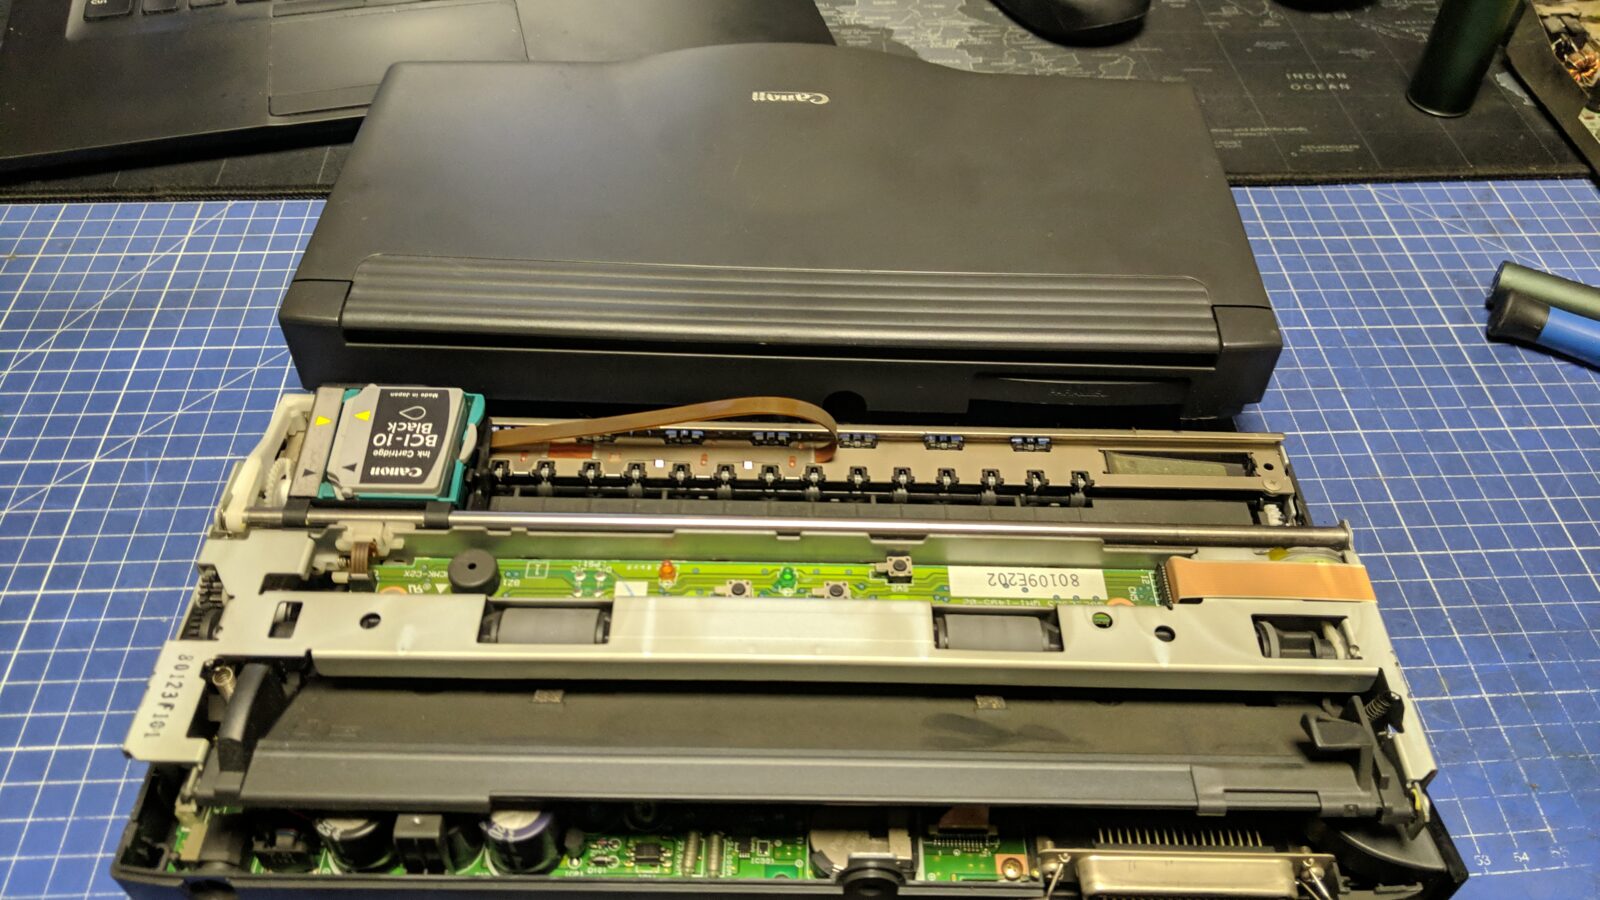
First things first so let’s start with disassembly.

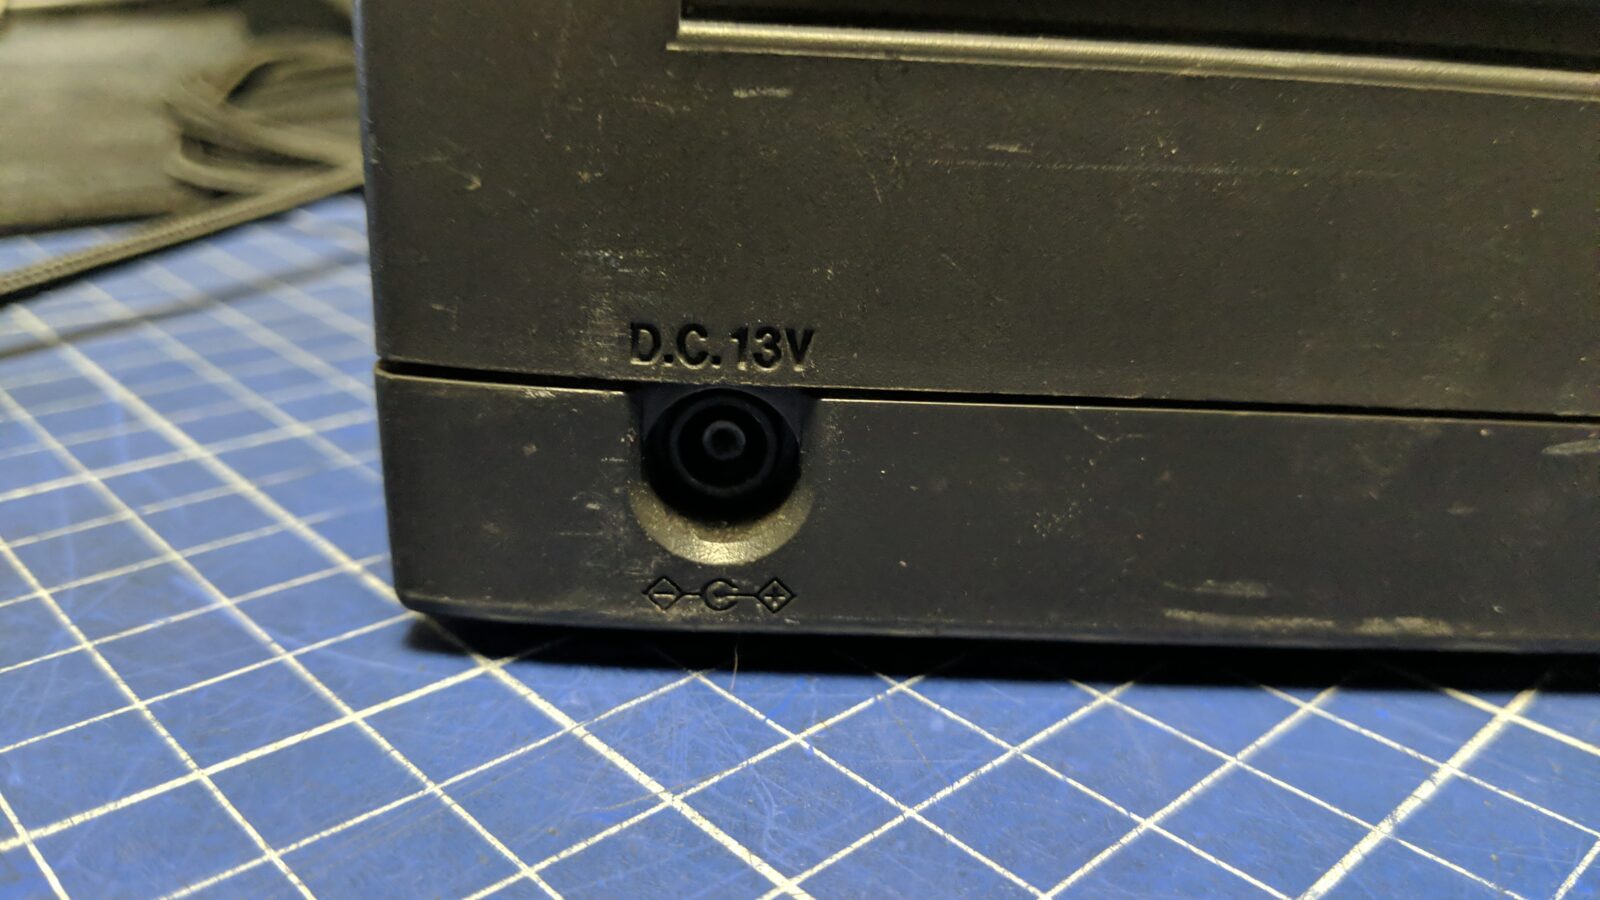
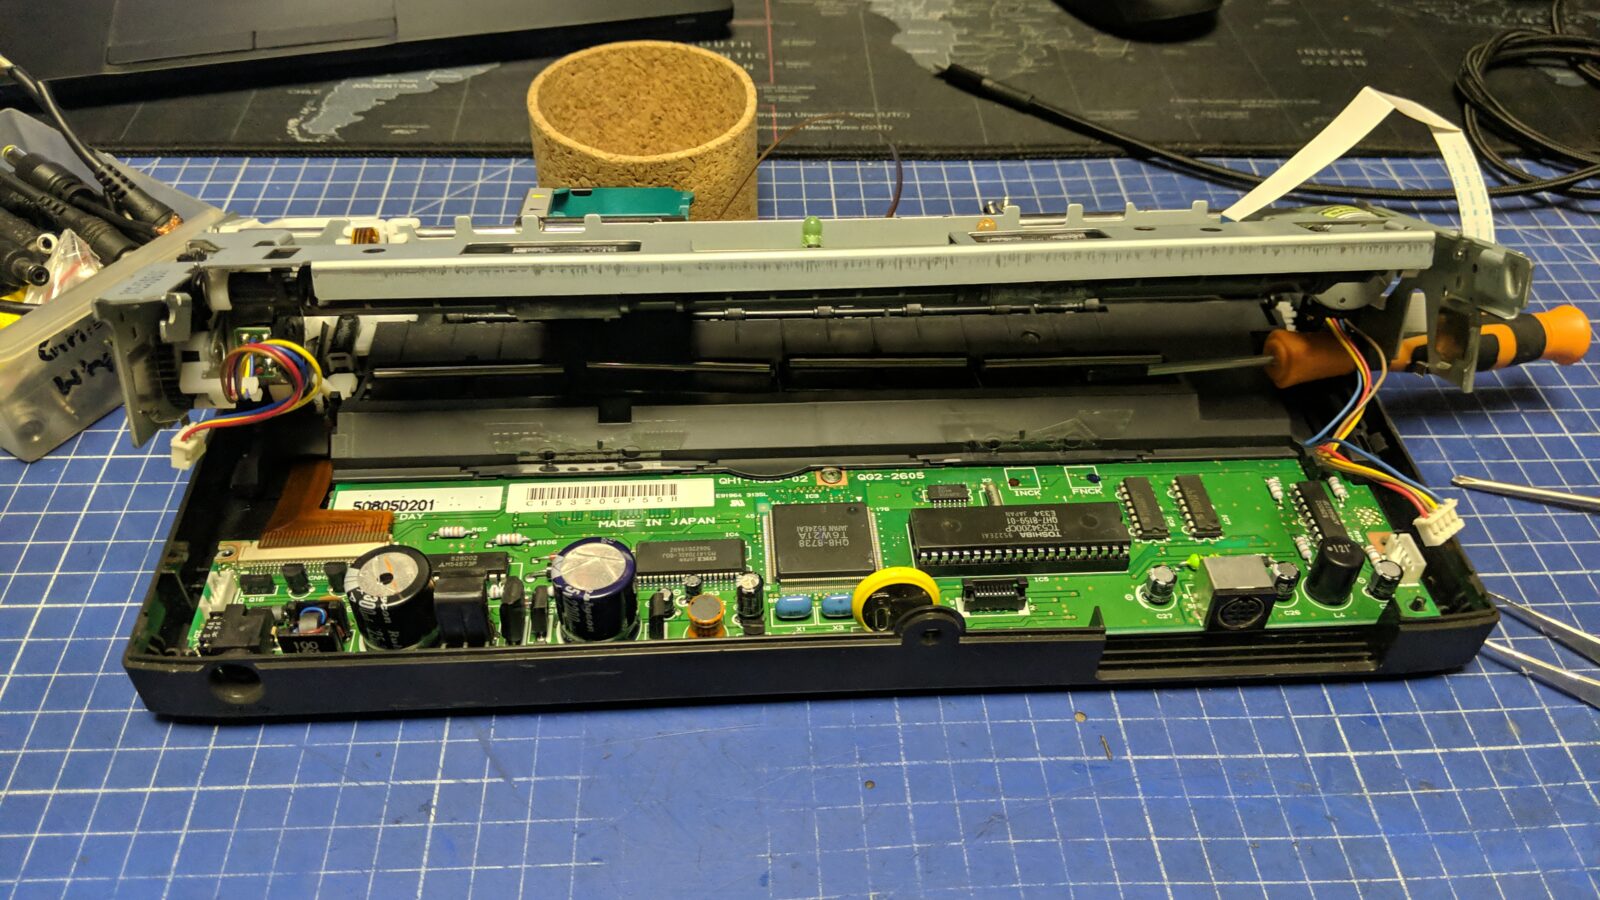
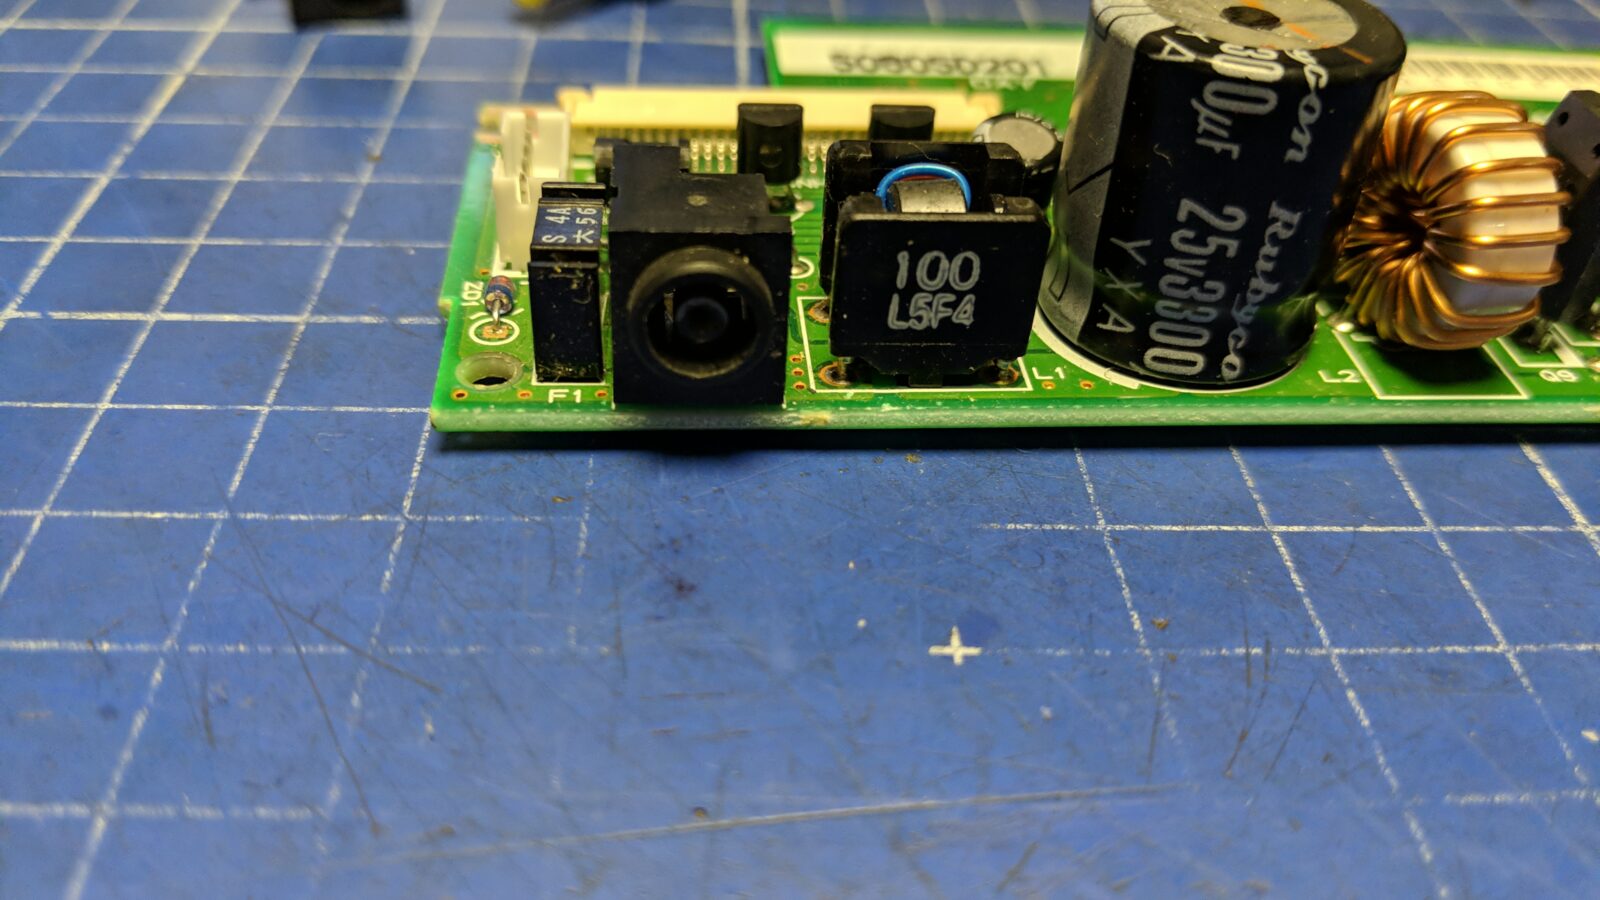
I figured that a 4A 12VDAC PSU would power this printer just fine, however, I had to replace a power socket on the PCB.

At this point, I thought this was the only problem to solve, and I didn’t know what was coming, so I assembled the printer and applied a layer of mineral oil, which rendered all scratches invisible.
Fail
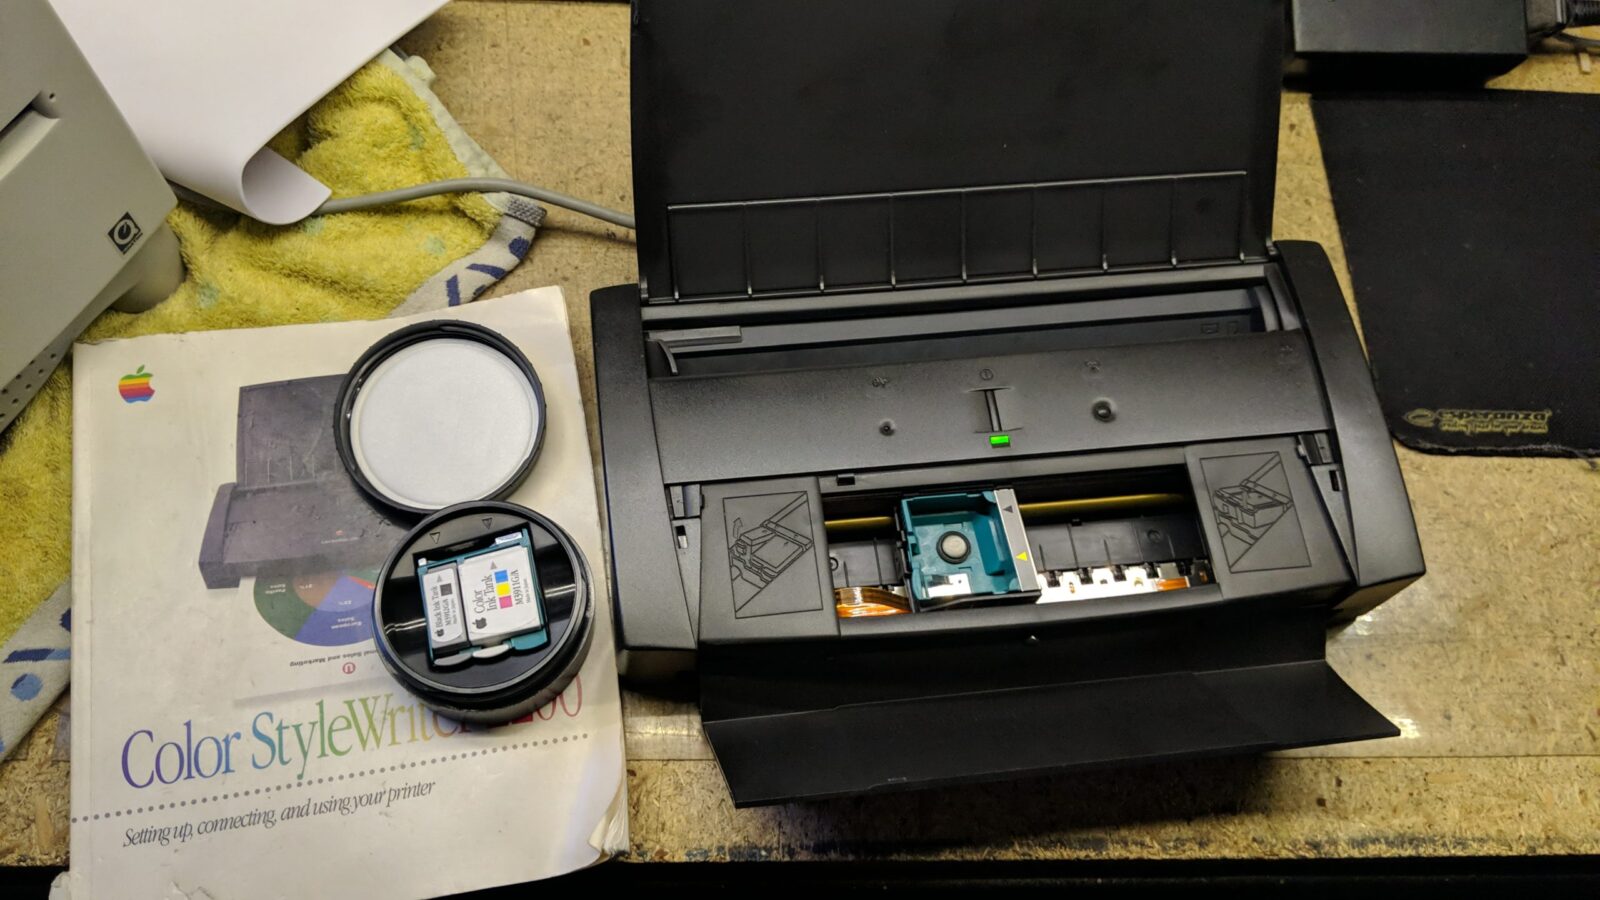
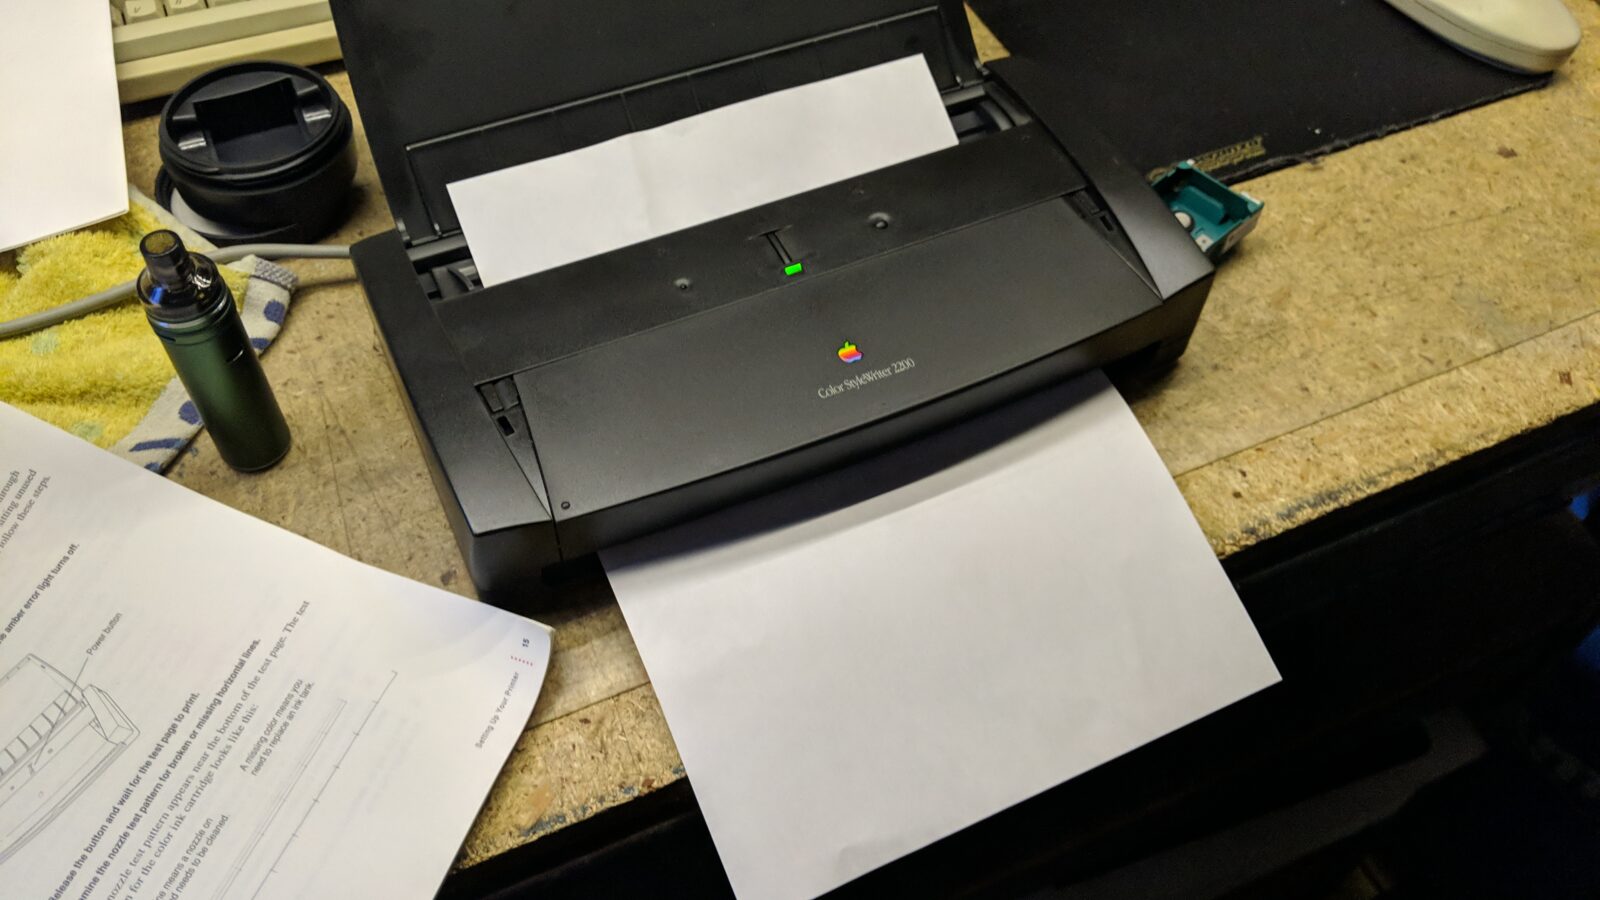
All happy and stuff, I connected the printer to a computer and started testing.
The printer started spilling …. empty sheets of paper …

I was like

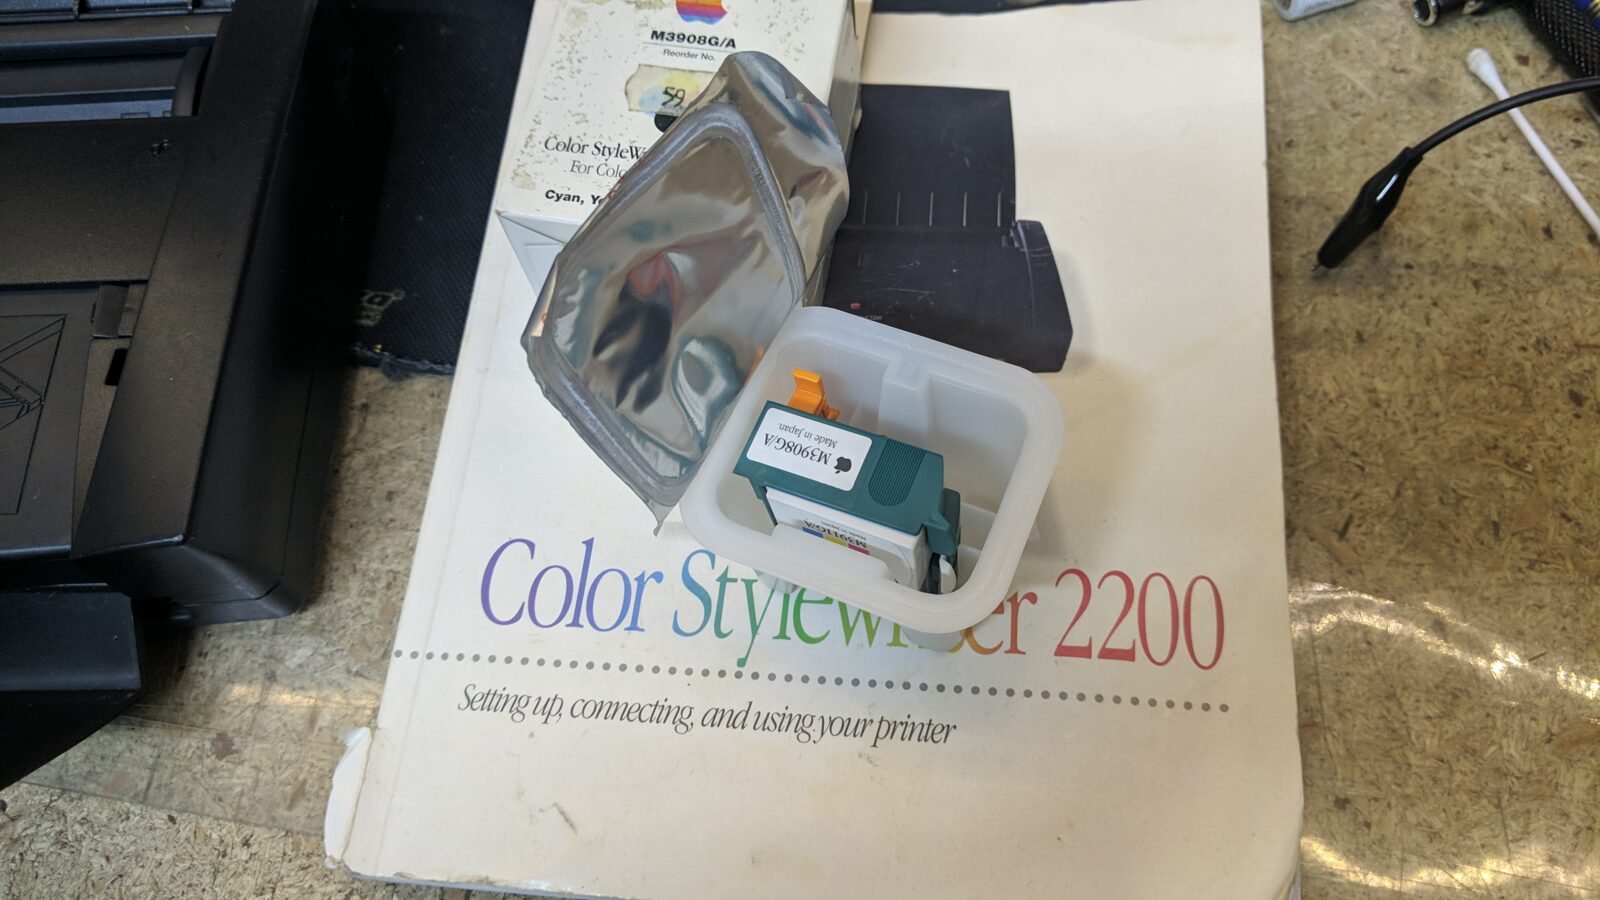
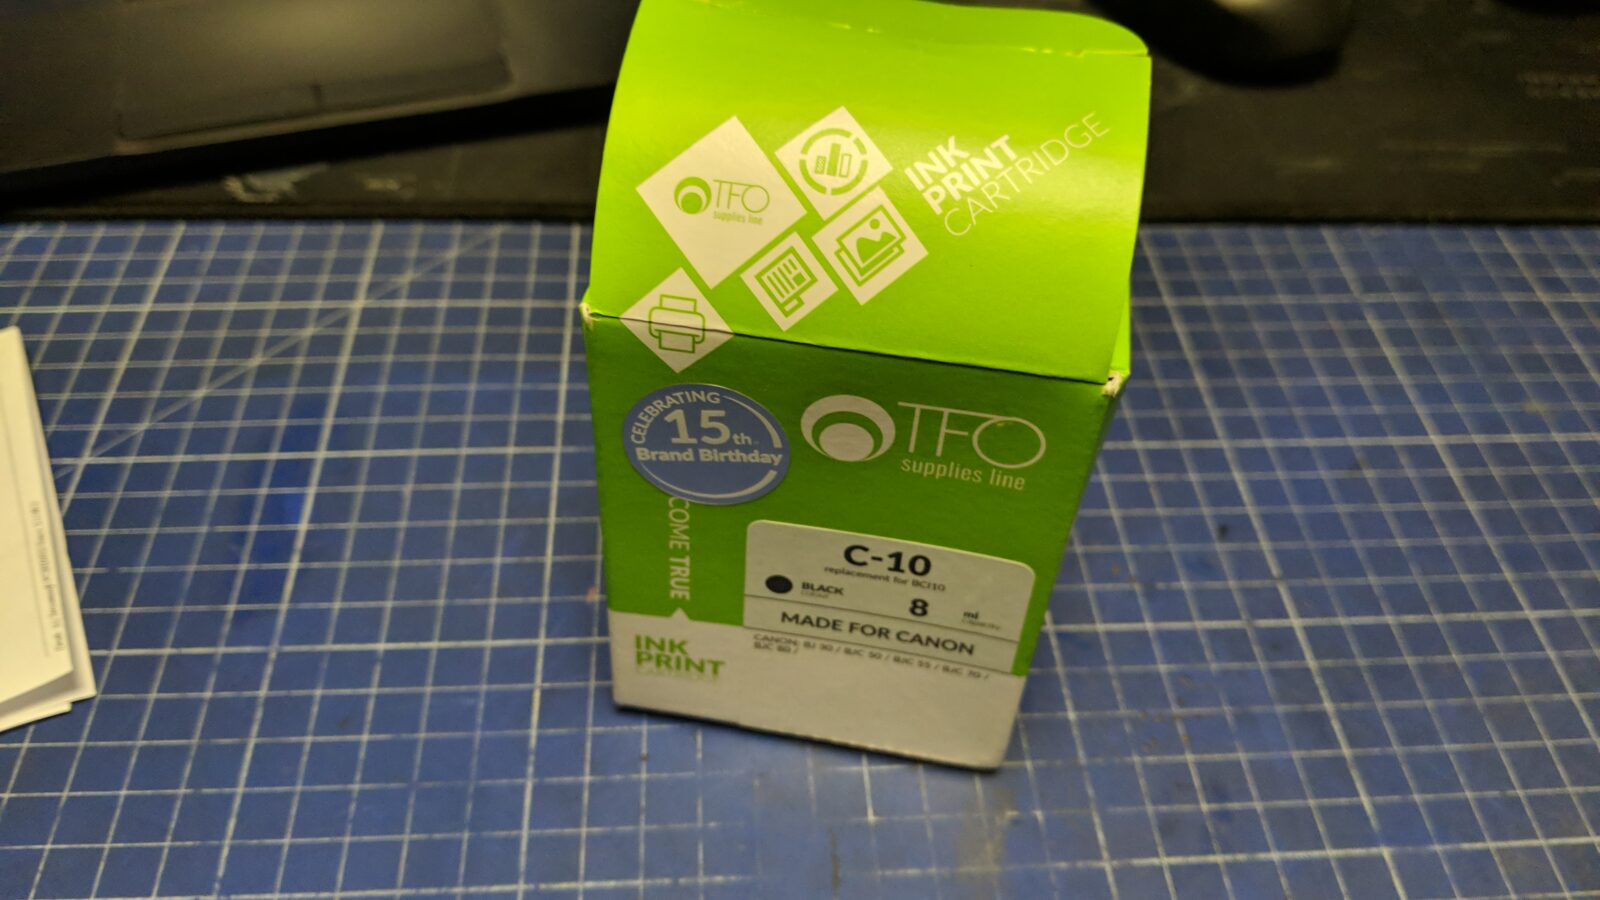
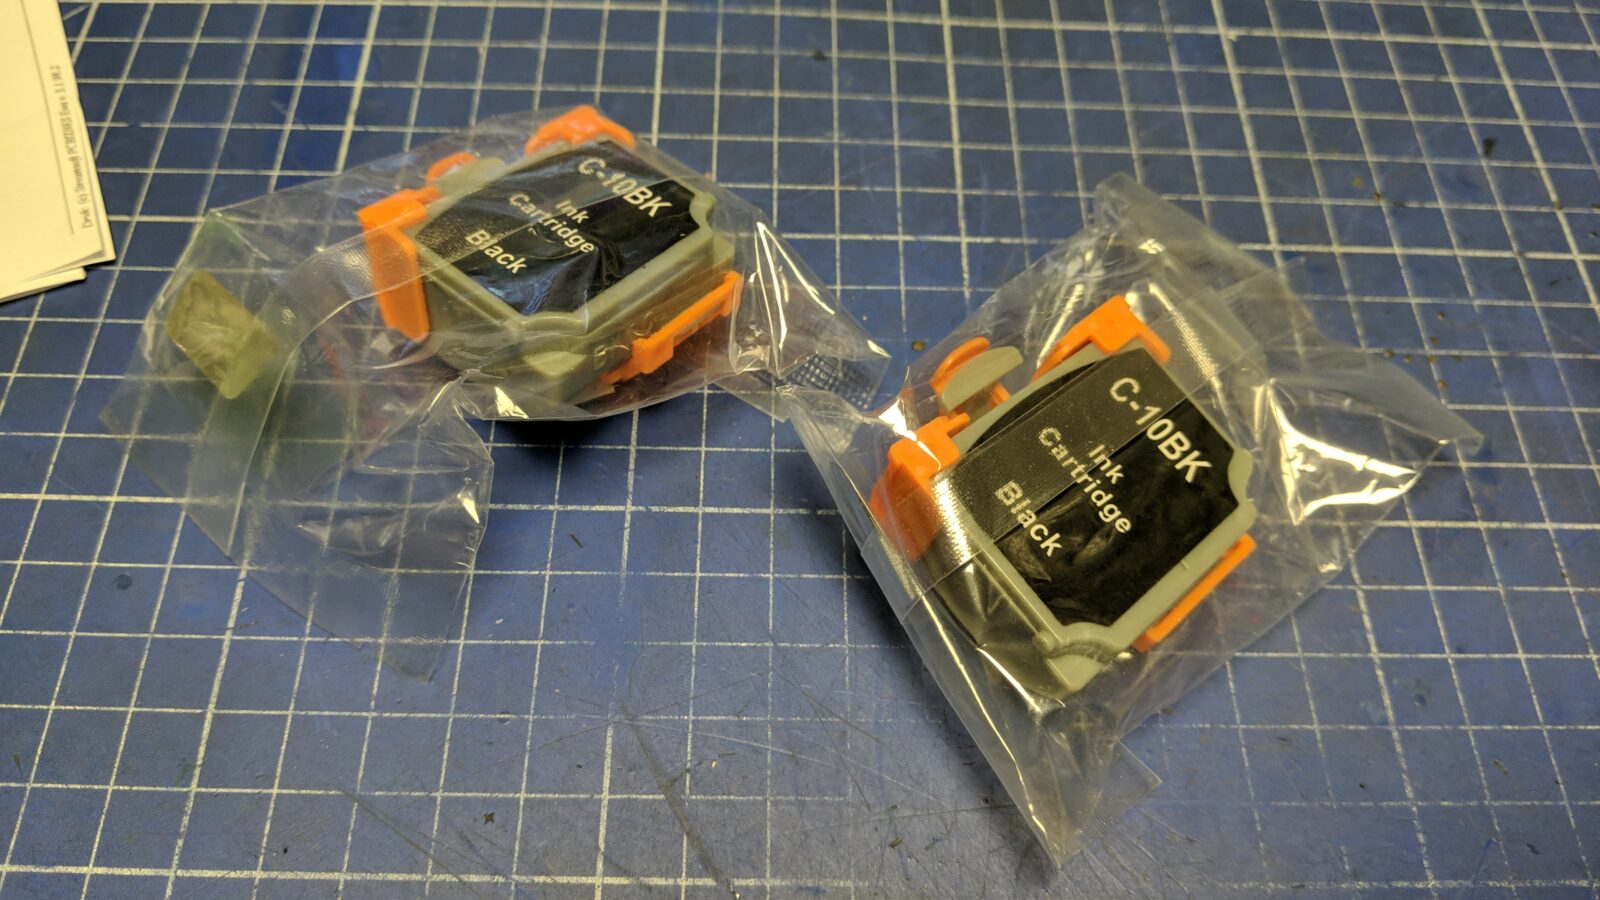
At first, I thought this was an issue with the ink cartridges so I ordered various NOS and modern carts from eBay.

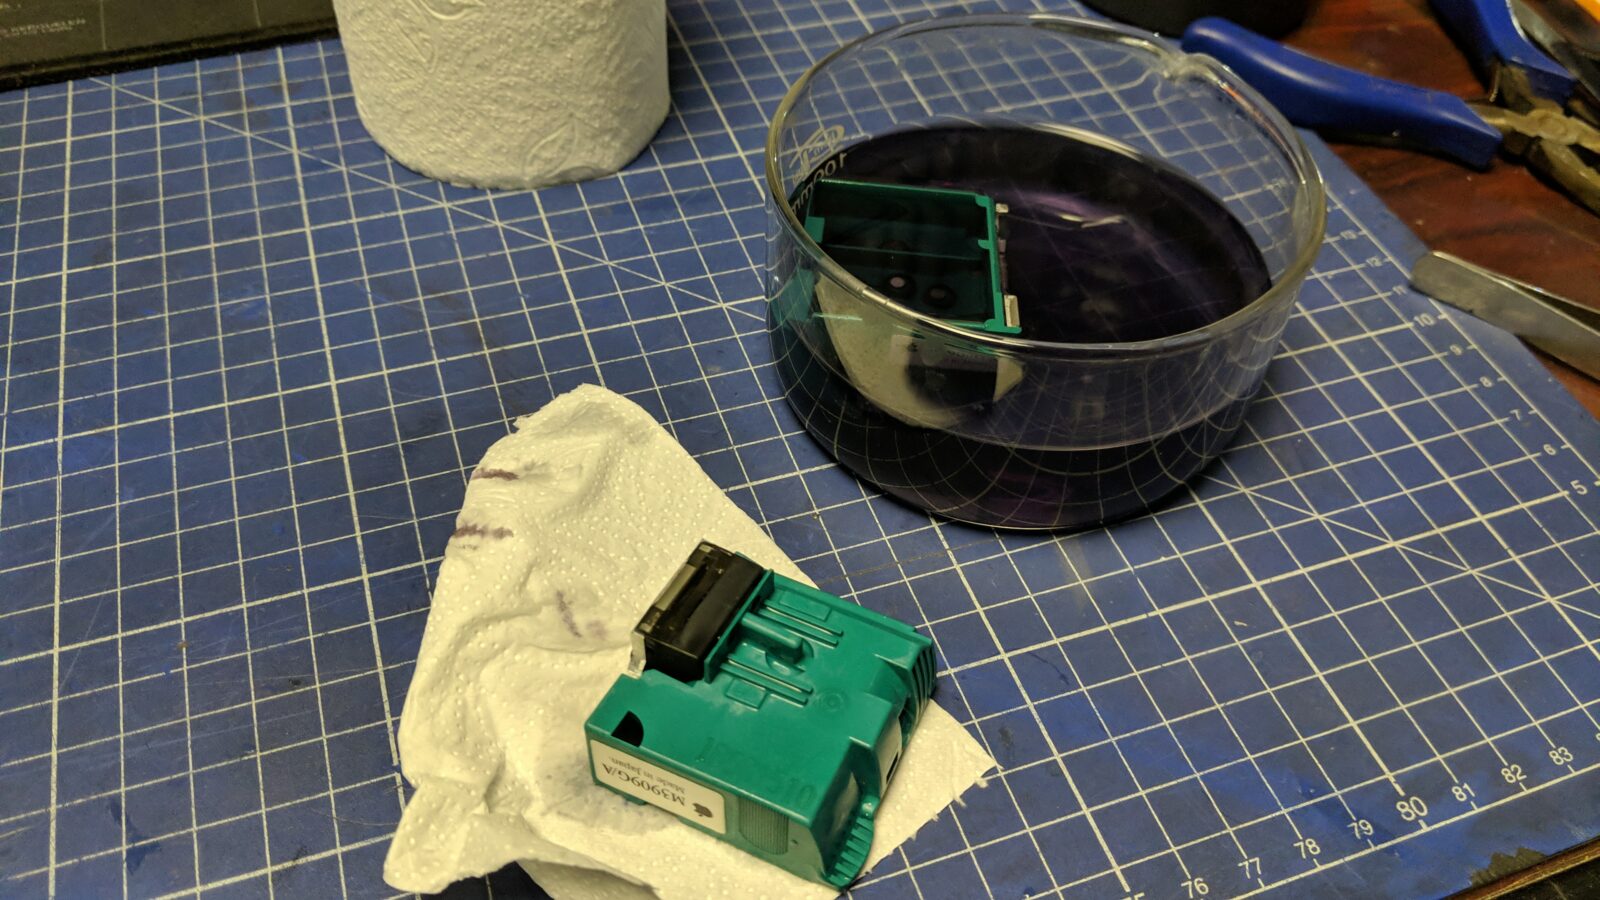
That didn’t help at all. This made me think more. What if only the carriage is clogged and not only the cartridge?
I figured I could try unclogging it by bathing it in a small ultrasonic cleaner. First, in warm water and later in IPA.

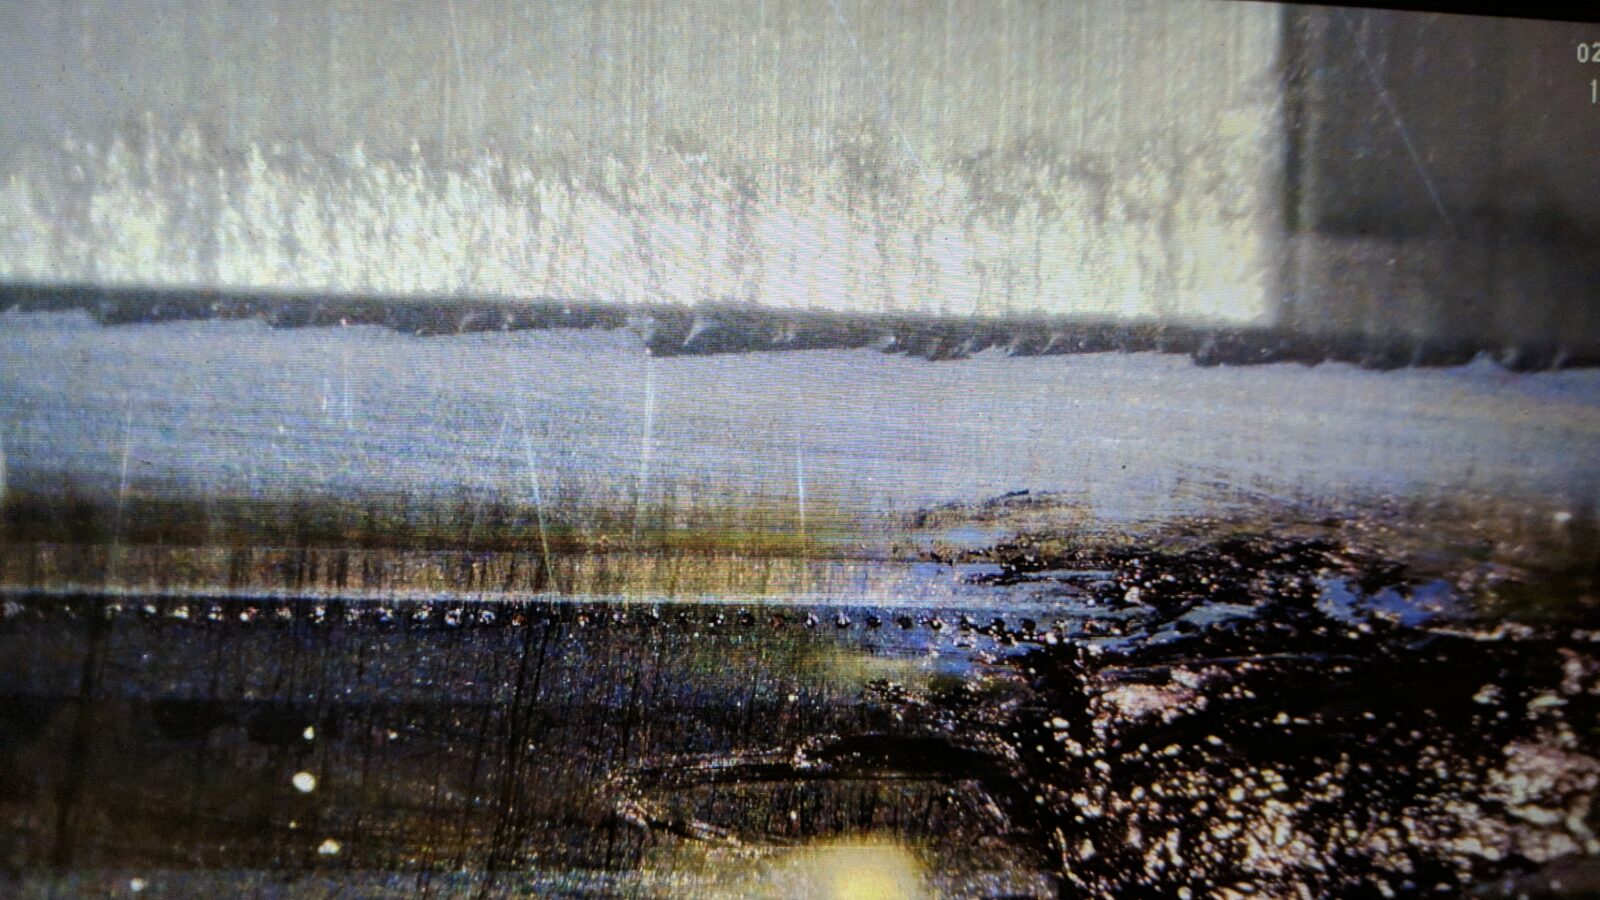
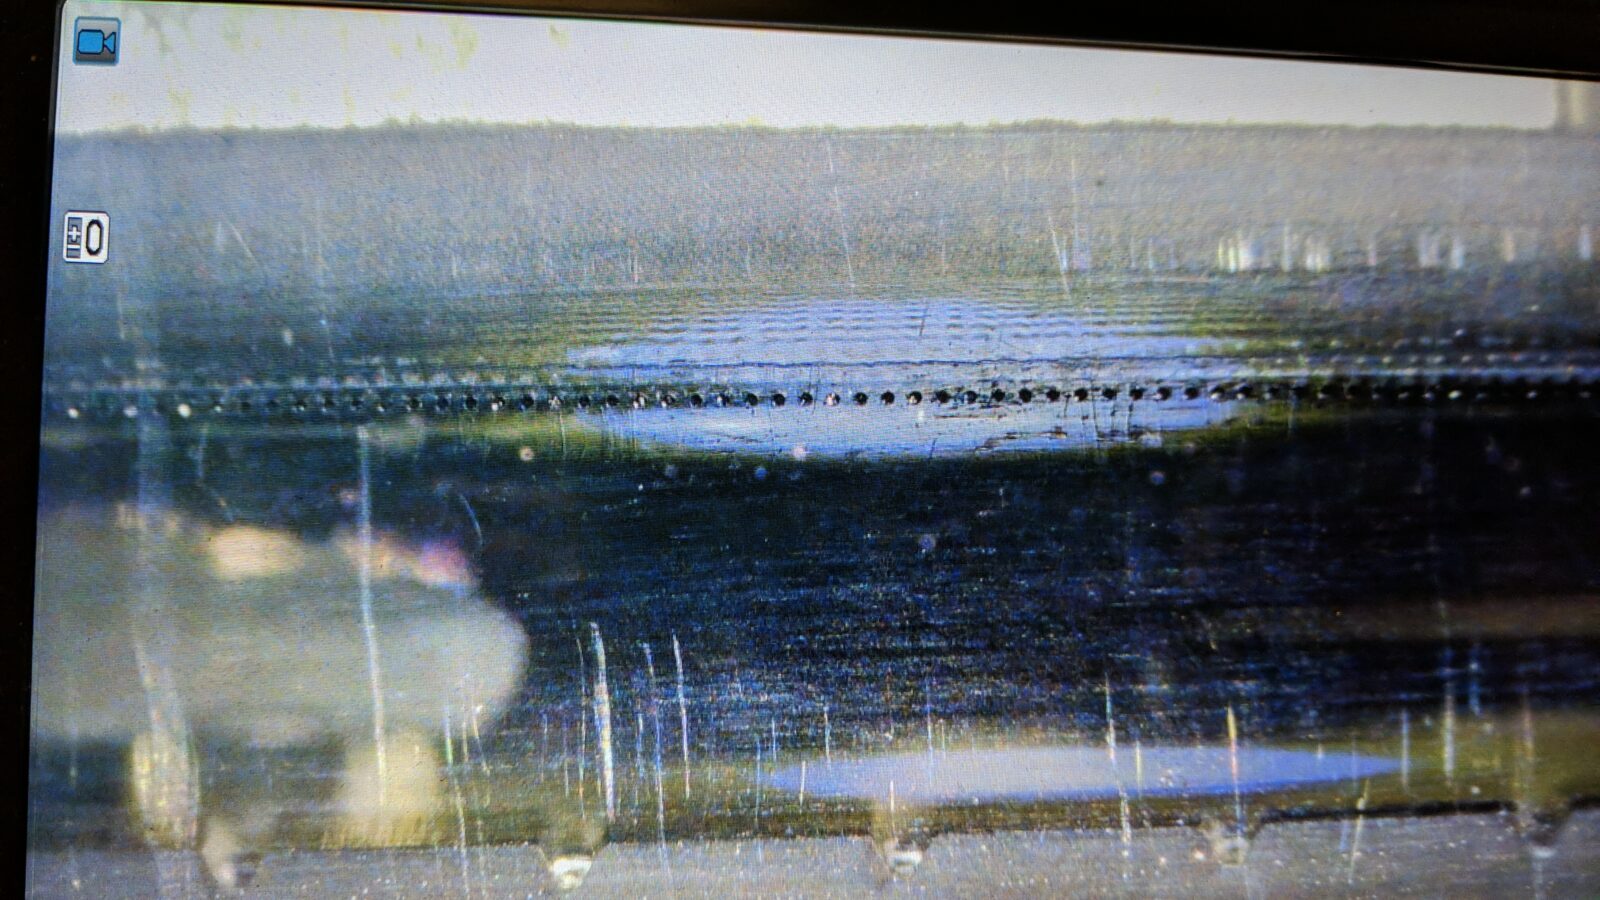
Below, are microscope shots of the head before cleaning and after it.
Diving deeper
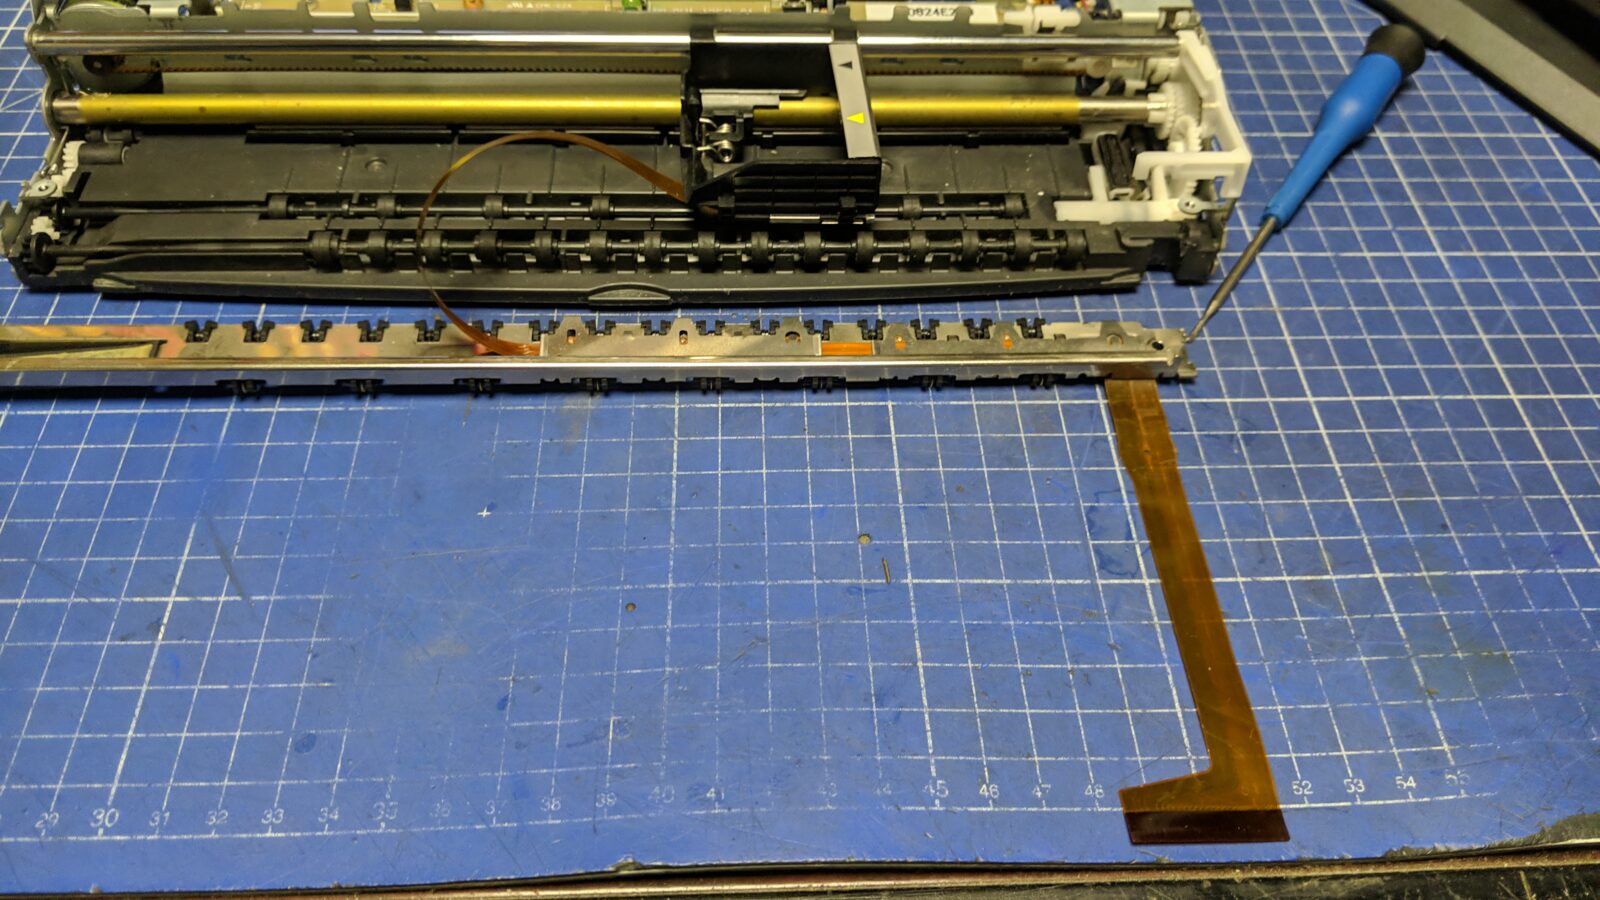
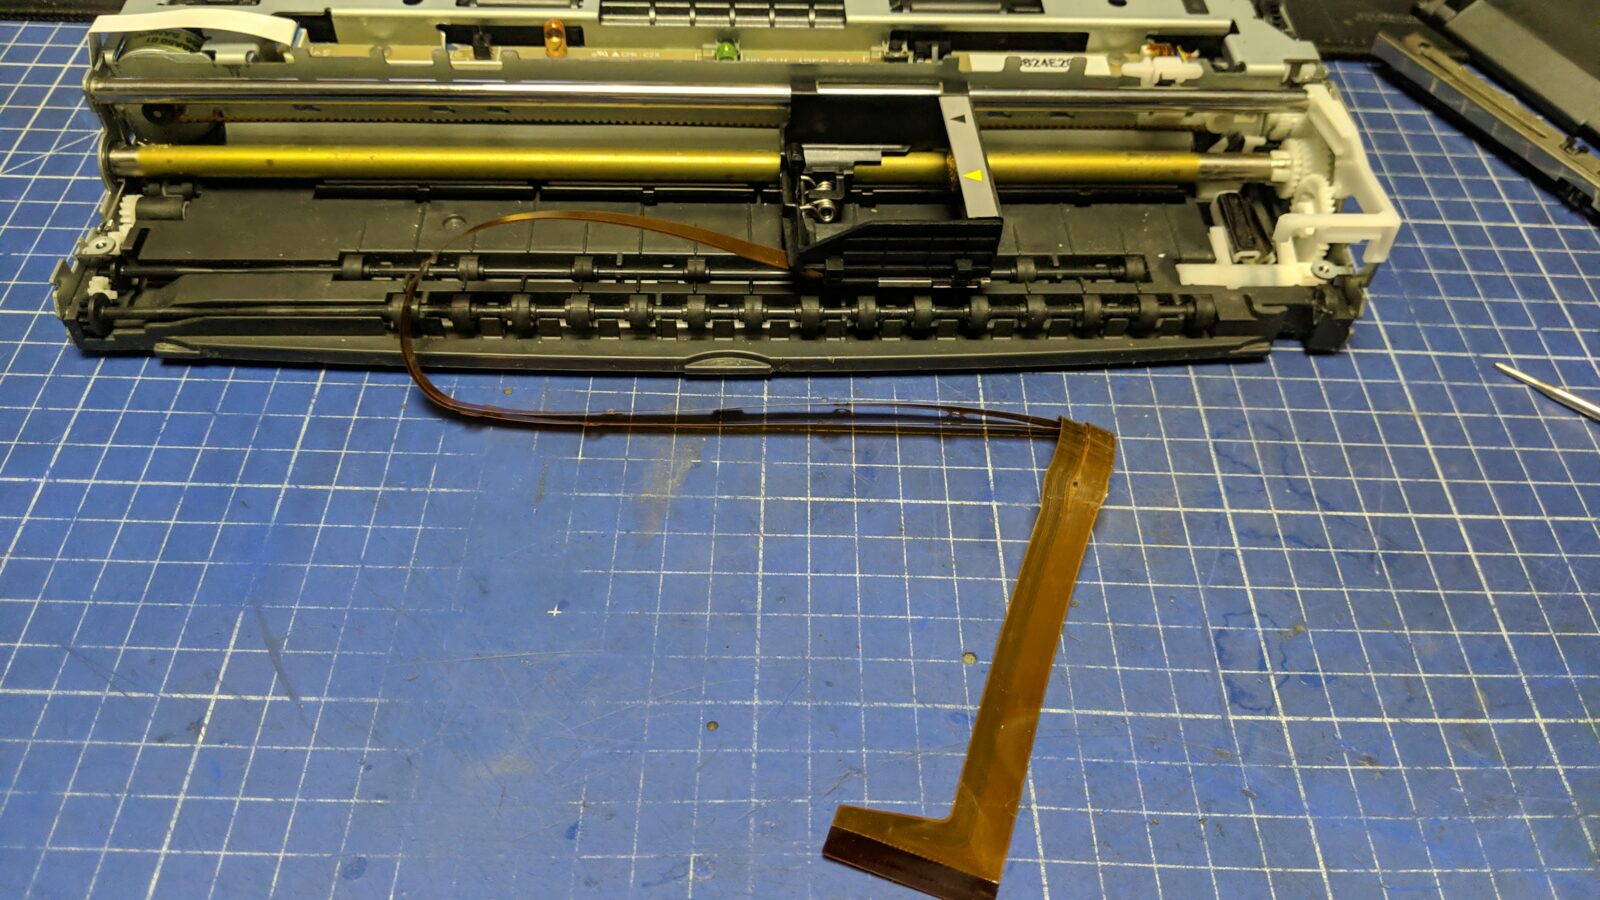
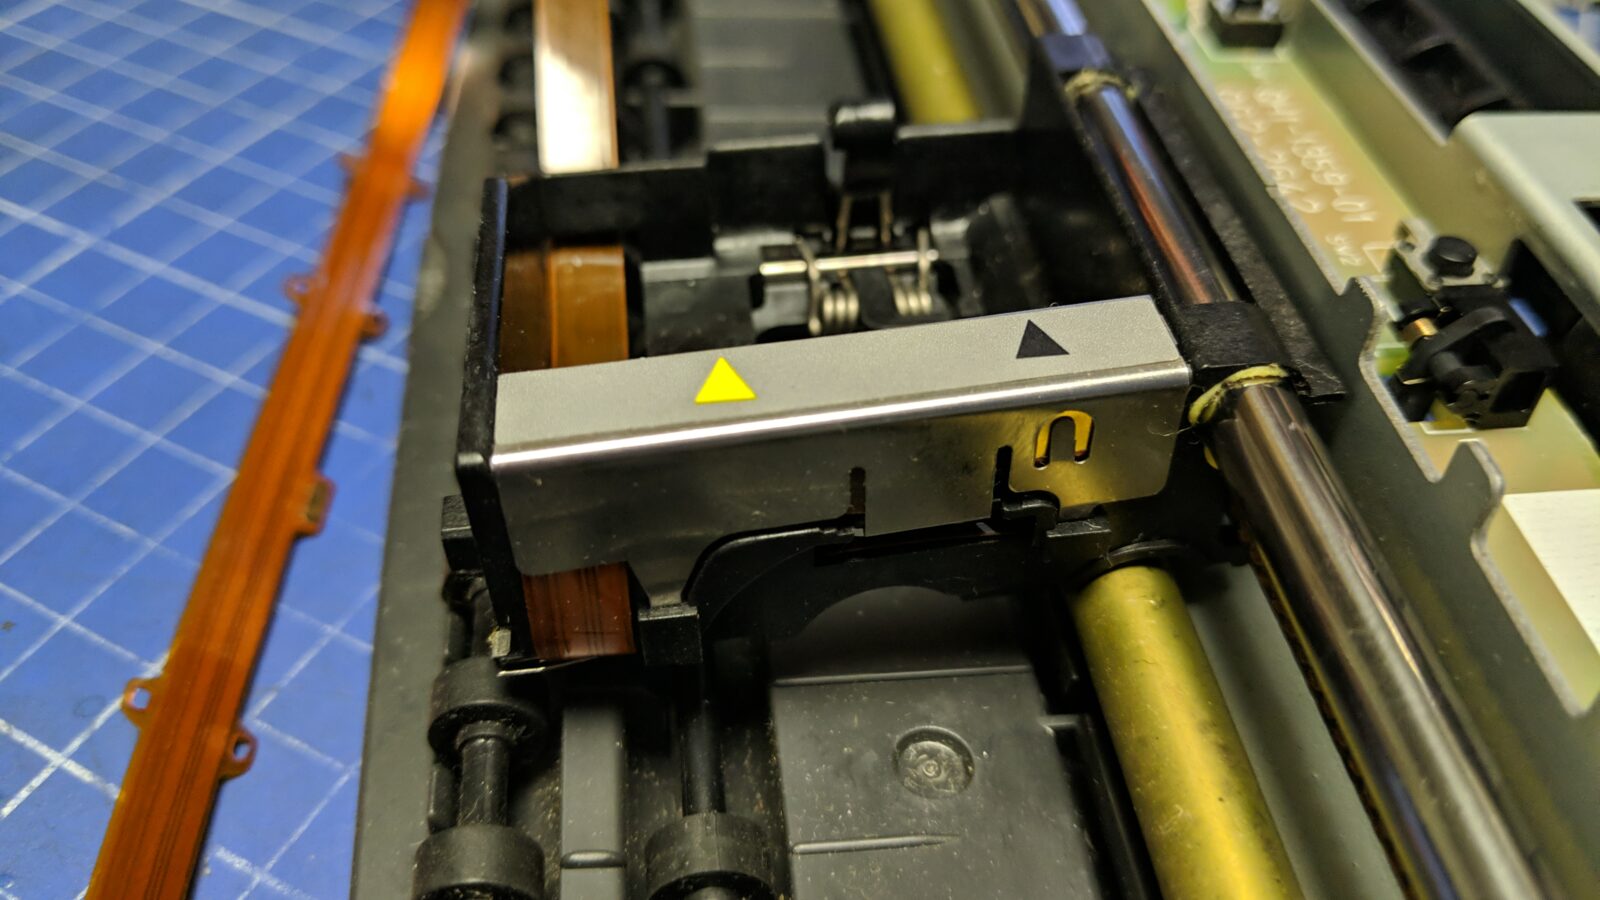
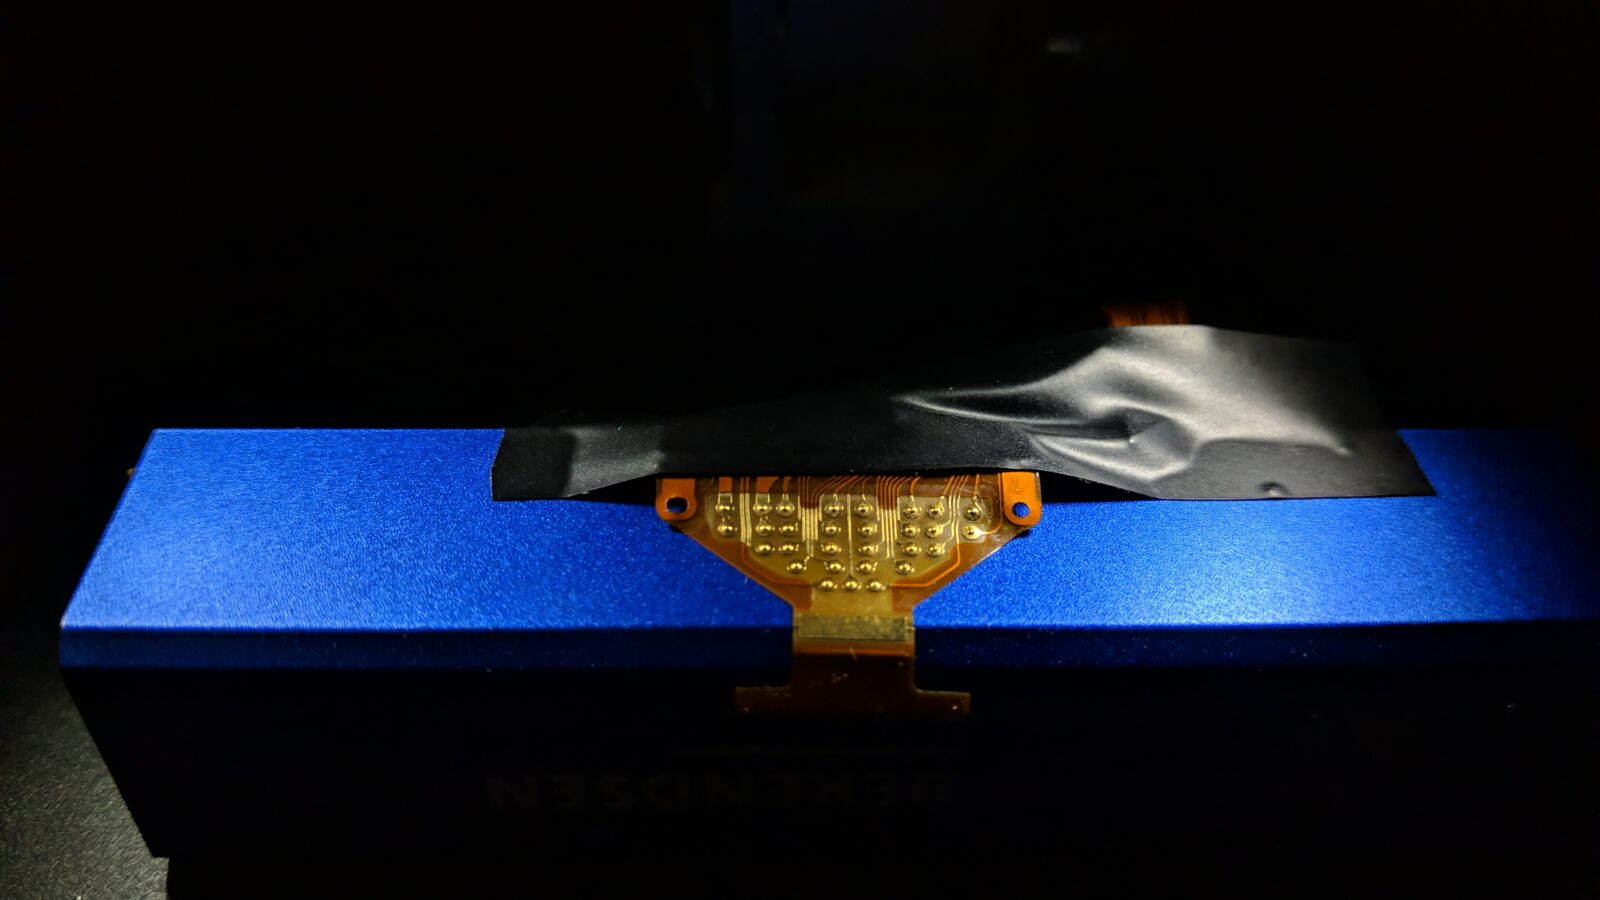
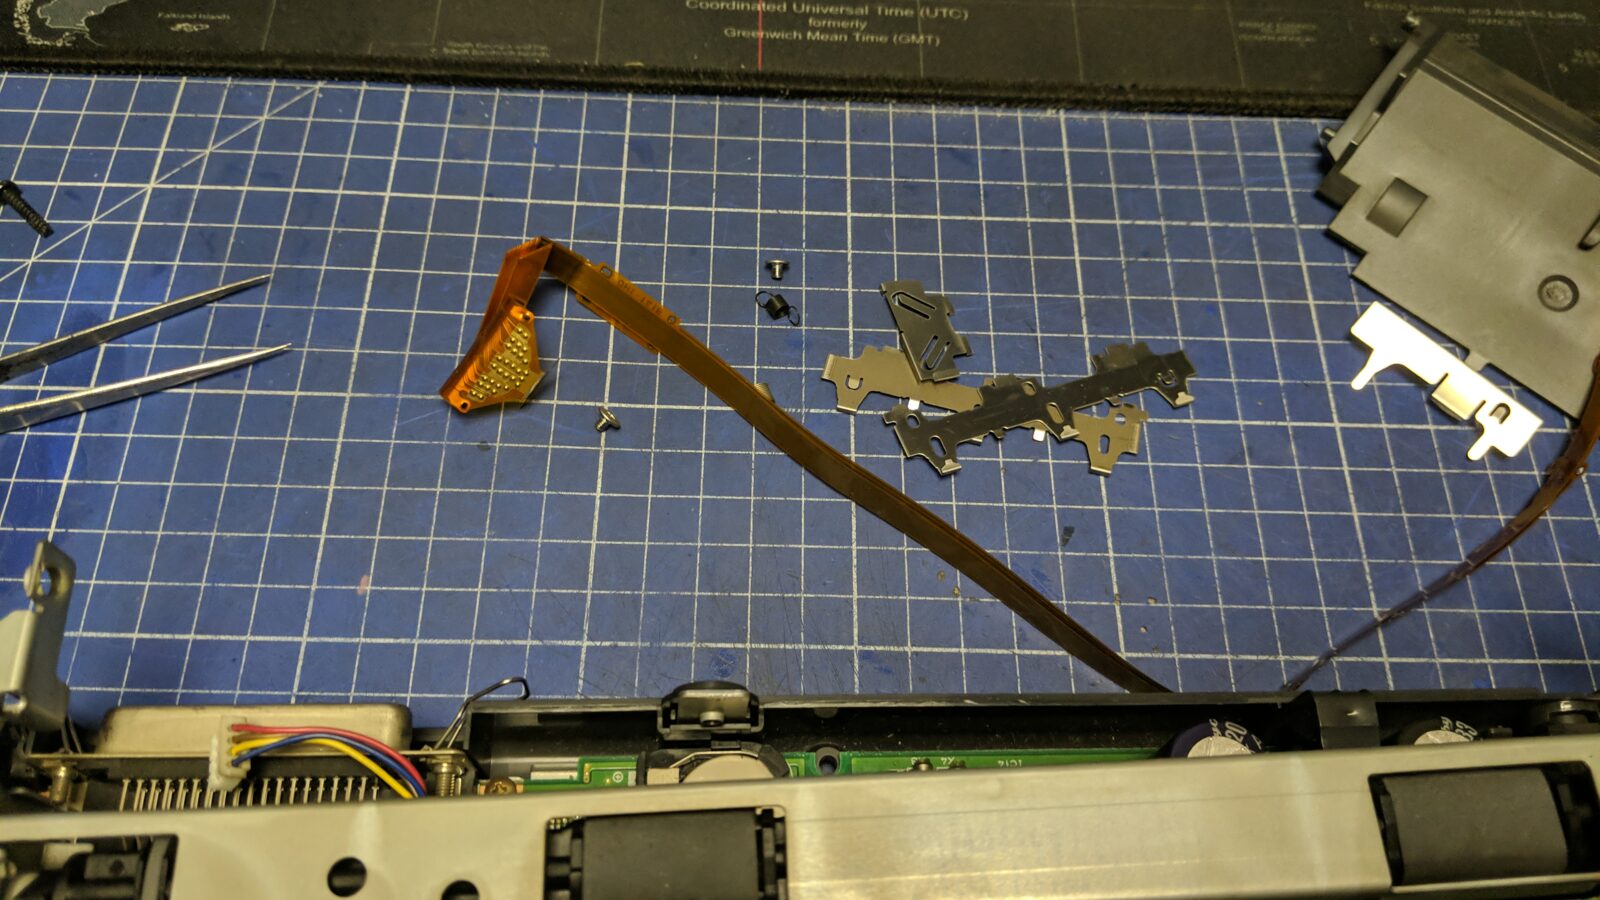
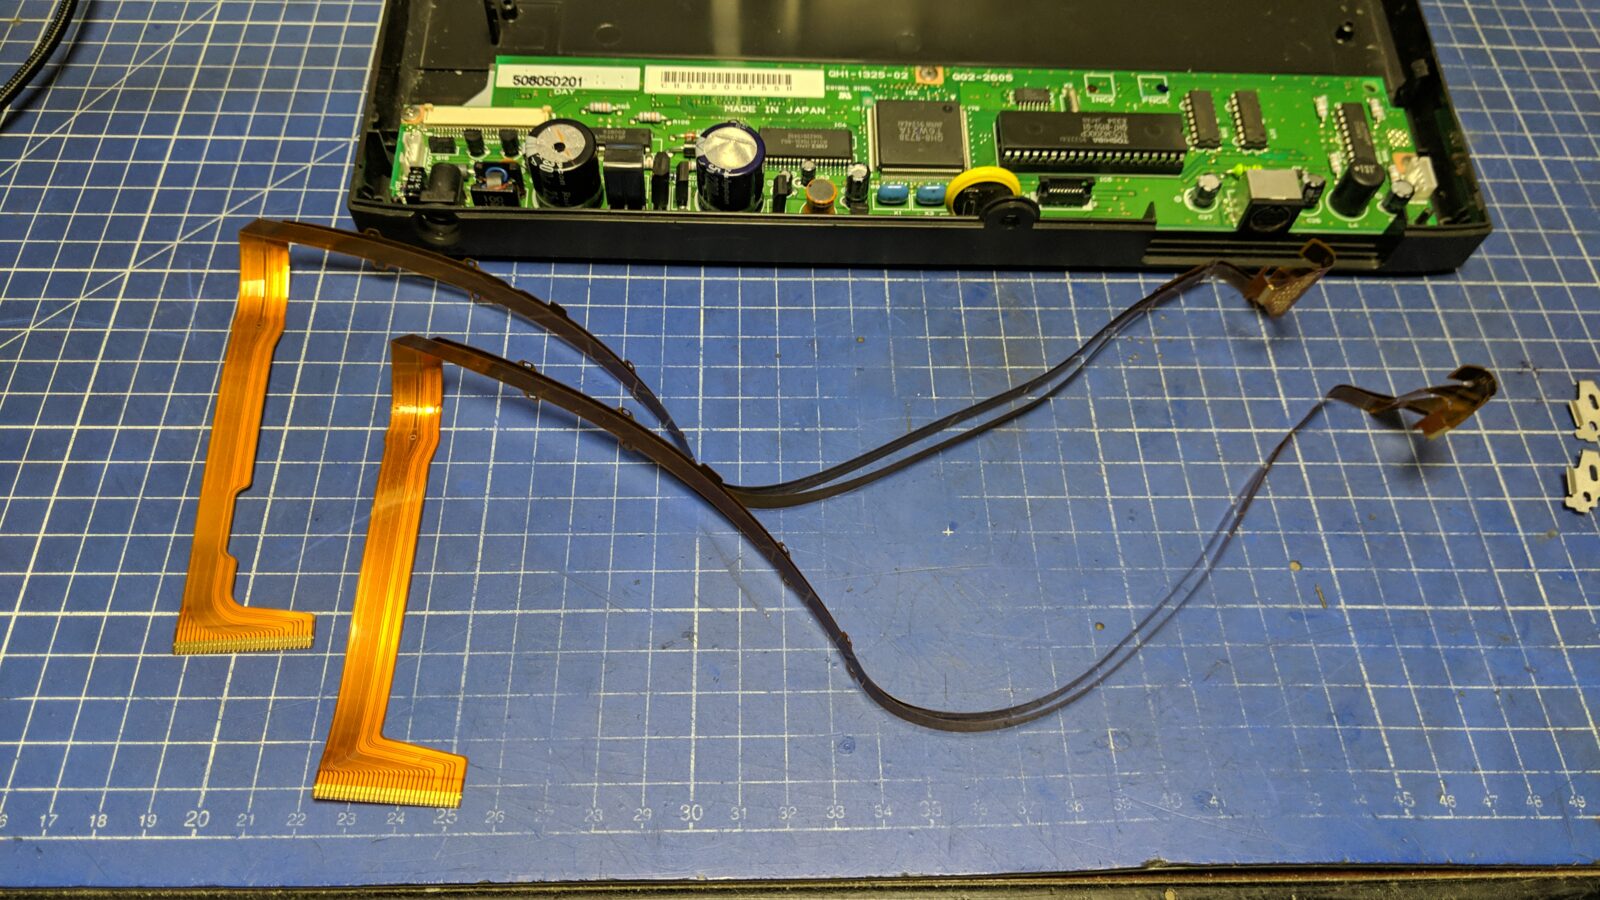
At this point I was clueless. I started to disassemble the carriage assembly hunting for another hidden problem round.
Some pics were taken while disassembling for future tinkerers.
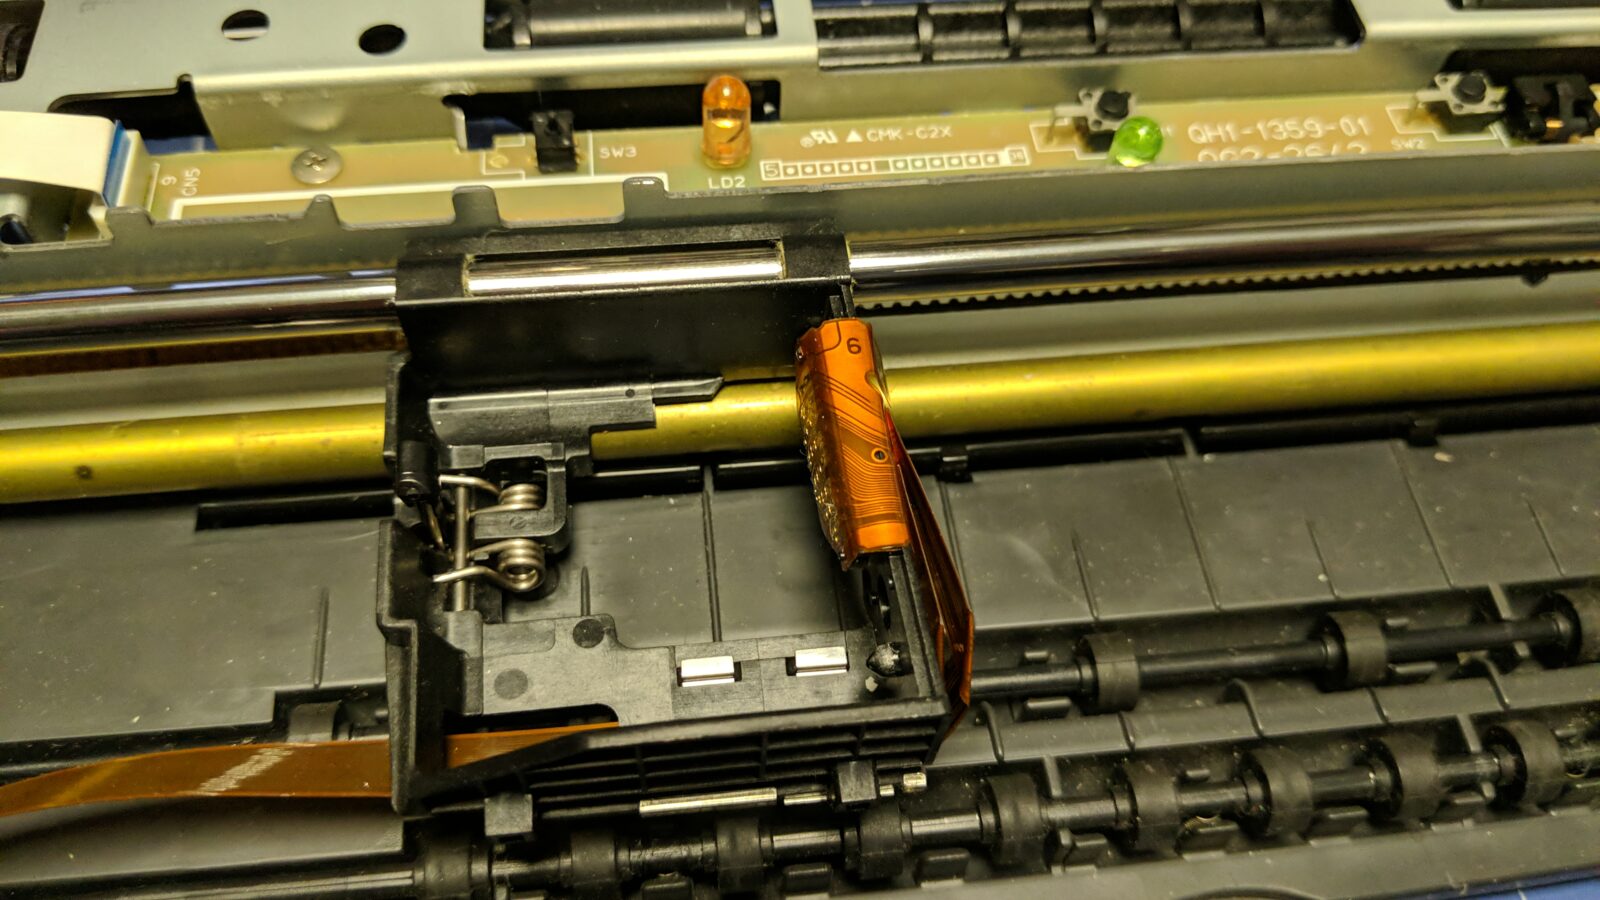
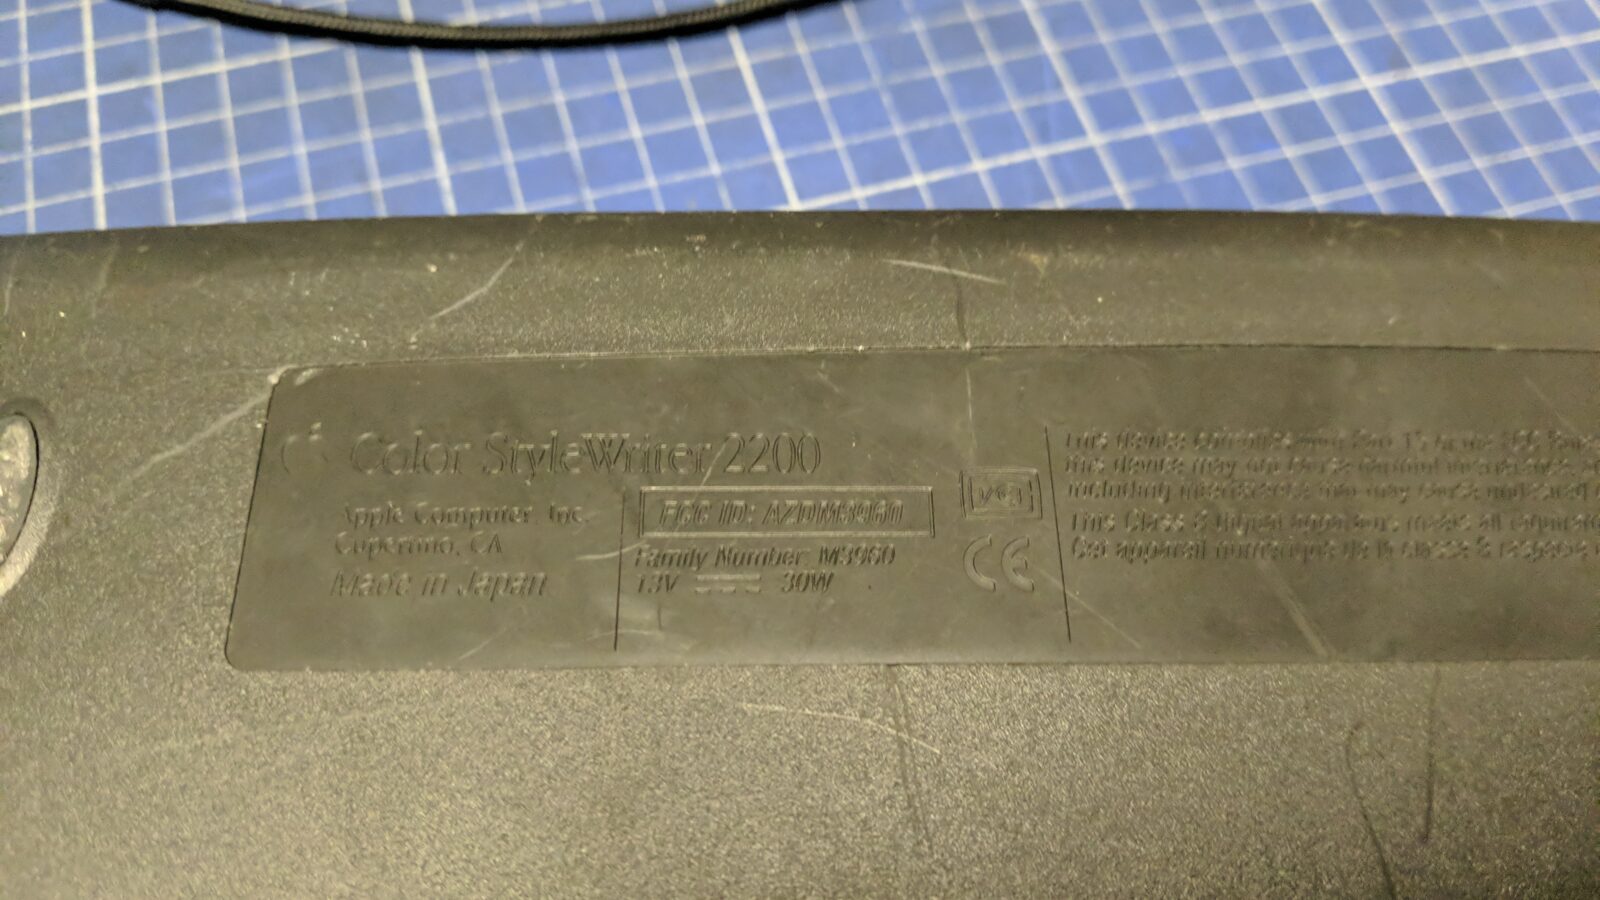
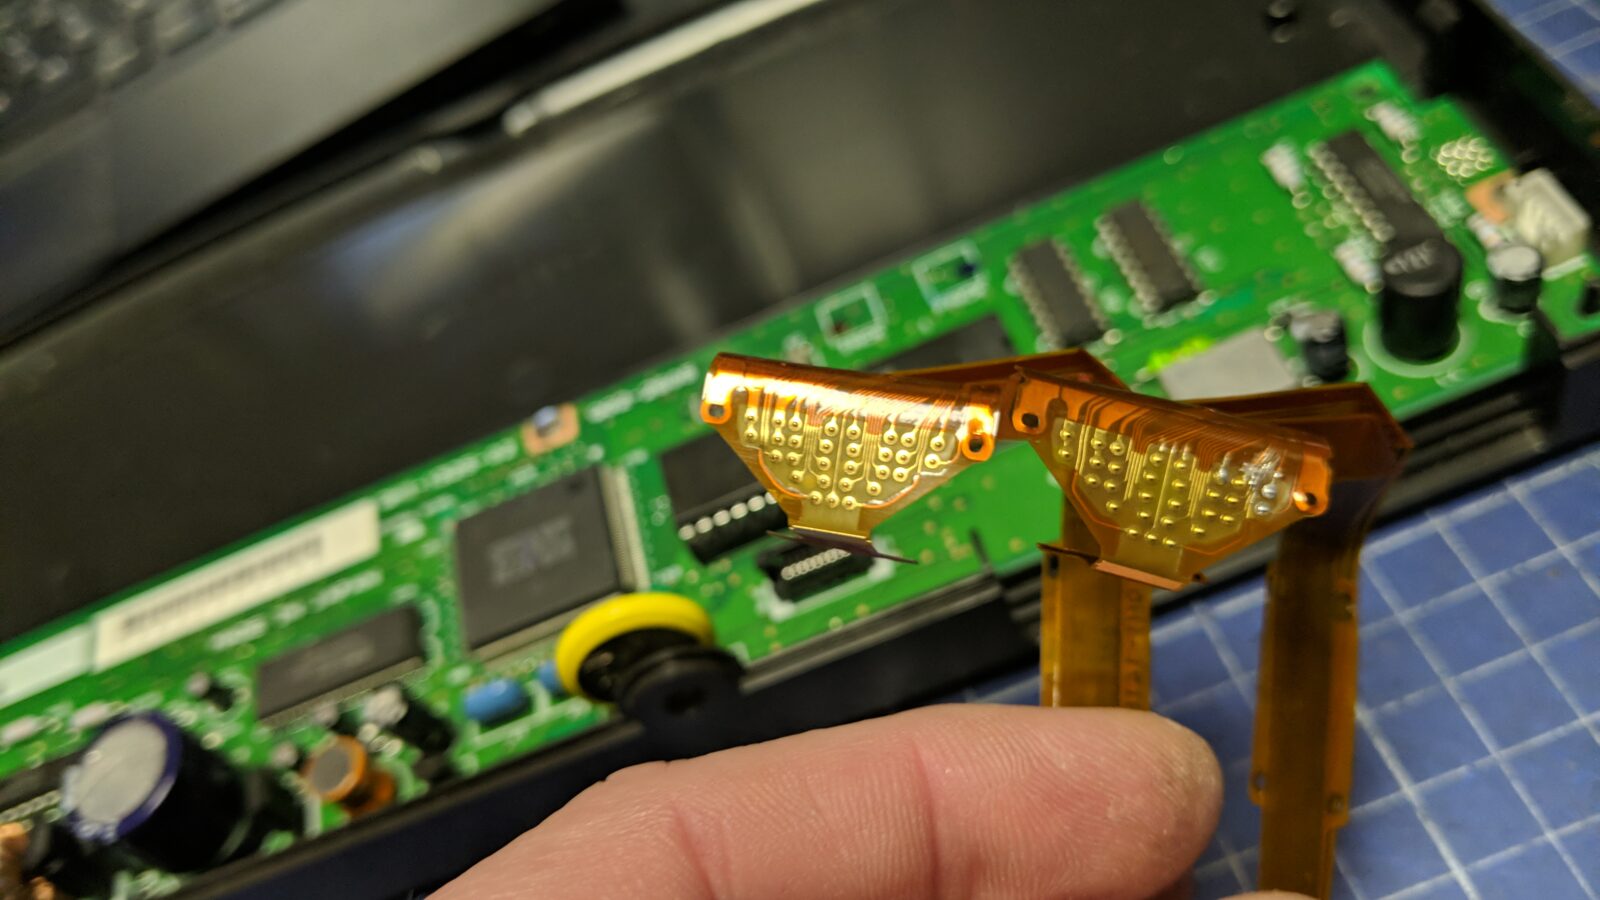
While looking for a service manual, I’ve found out that Color Style Writer 2200 is a re-branded Canon BJC-80 printer.
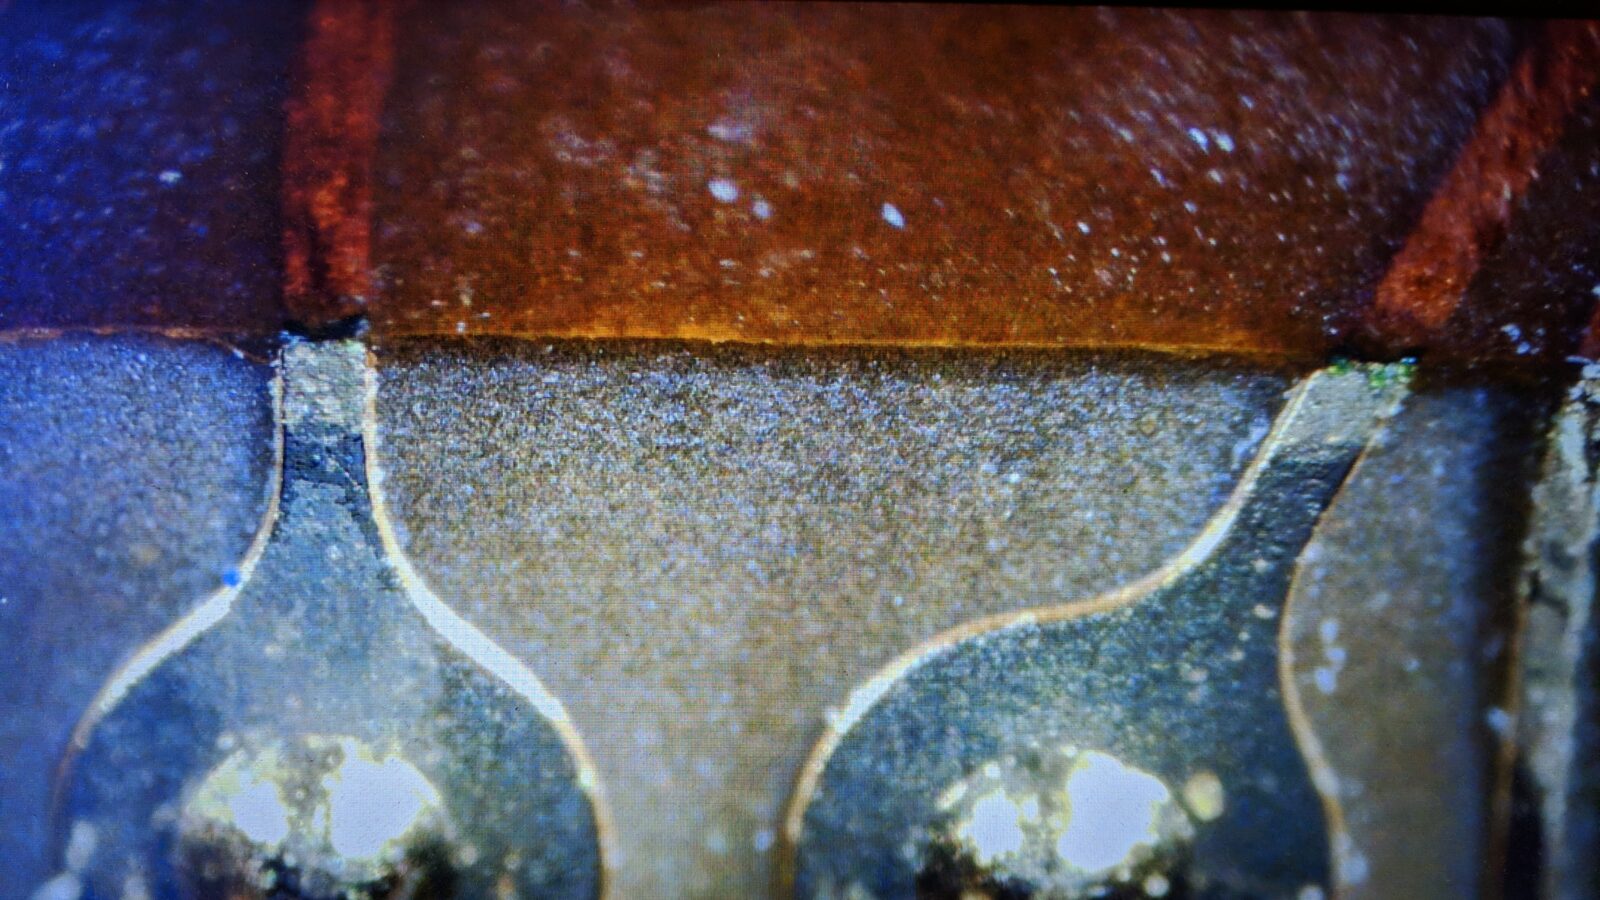
This is crucial info as it is way easier to find some info or a service manual for the latter one. After getting a service manual for BJC-80, I figured I could test for continuity of that flex, ribbon wire.

Surely enough, there were issues 😀
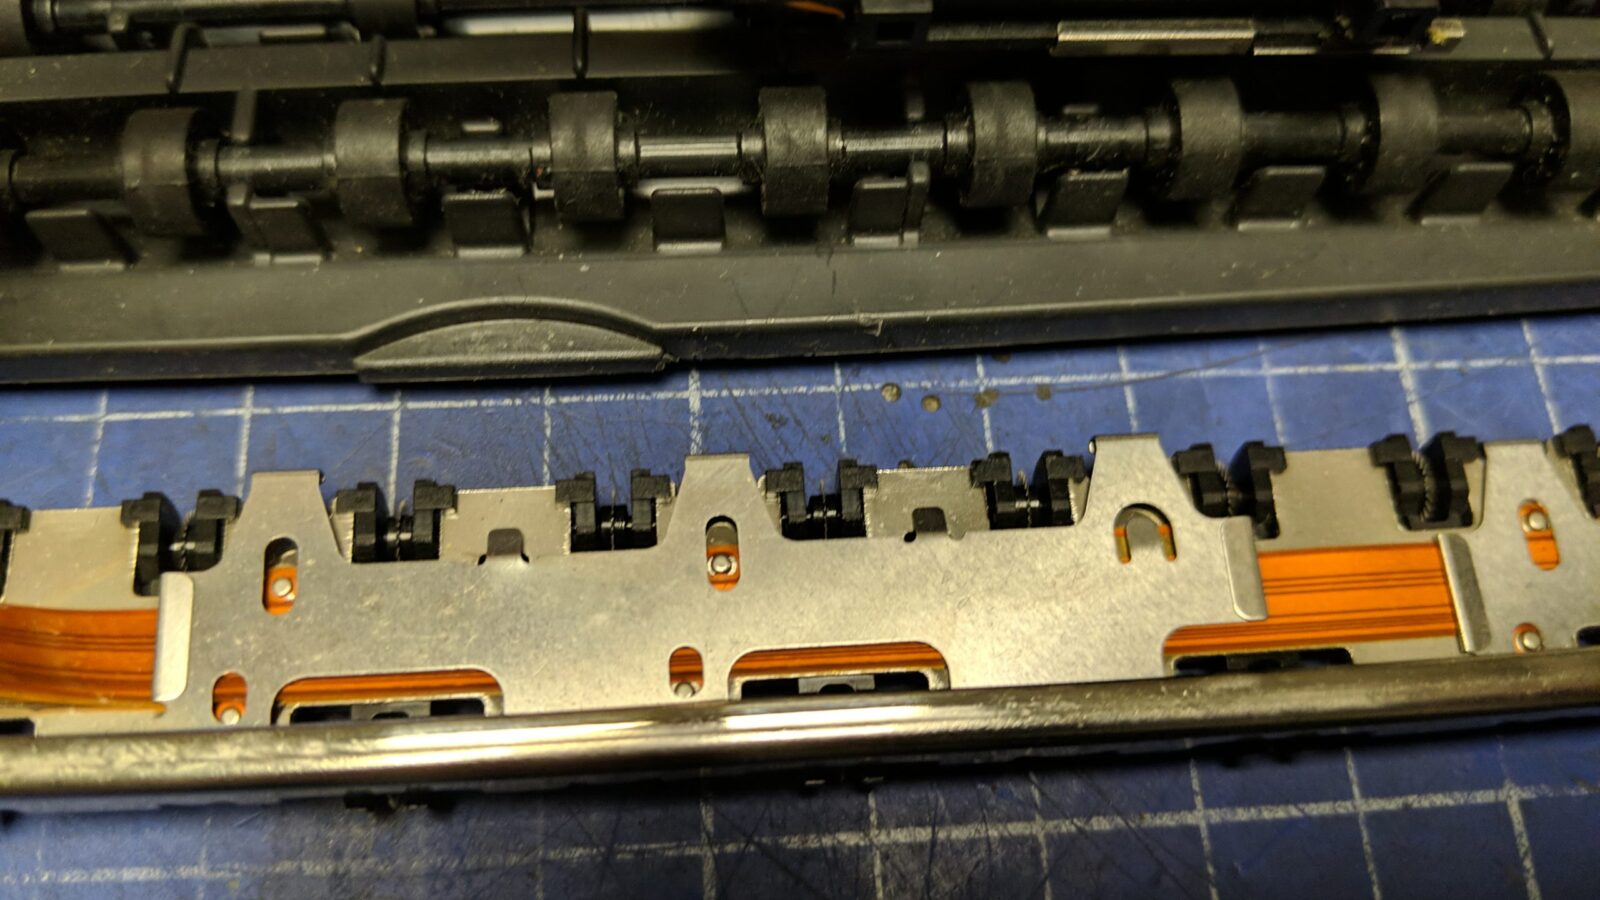
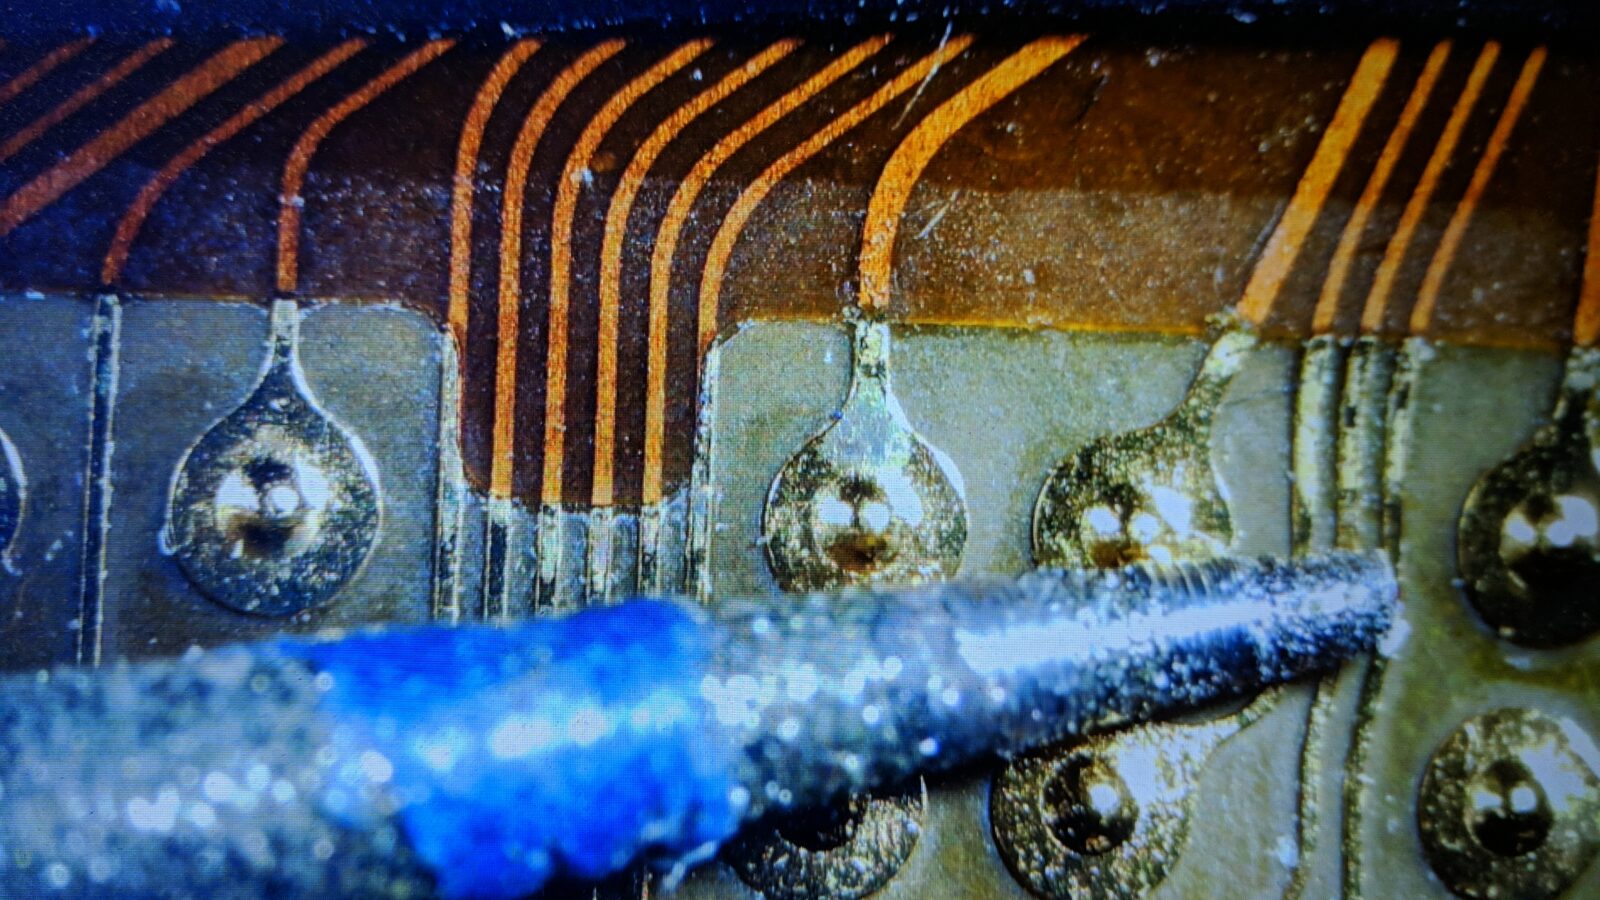
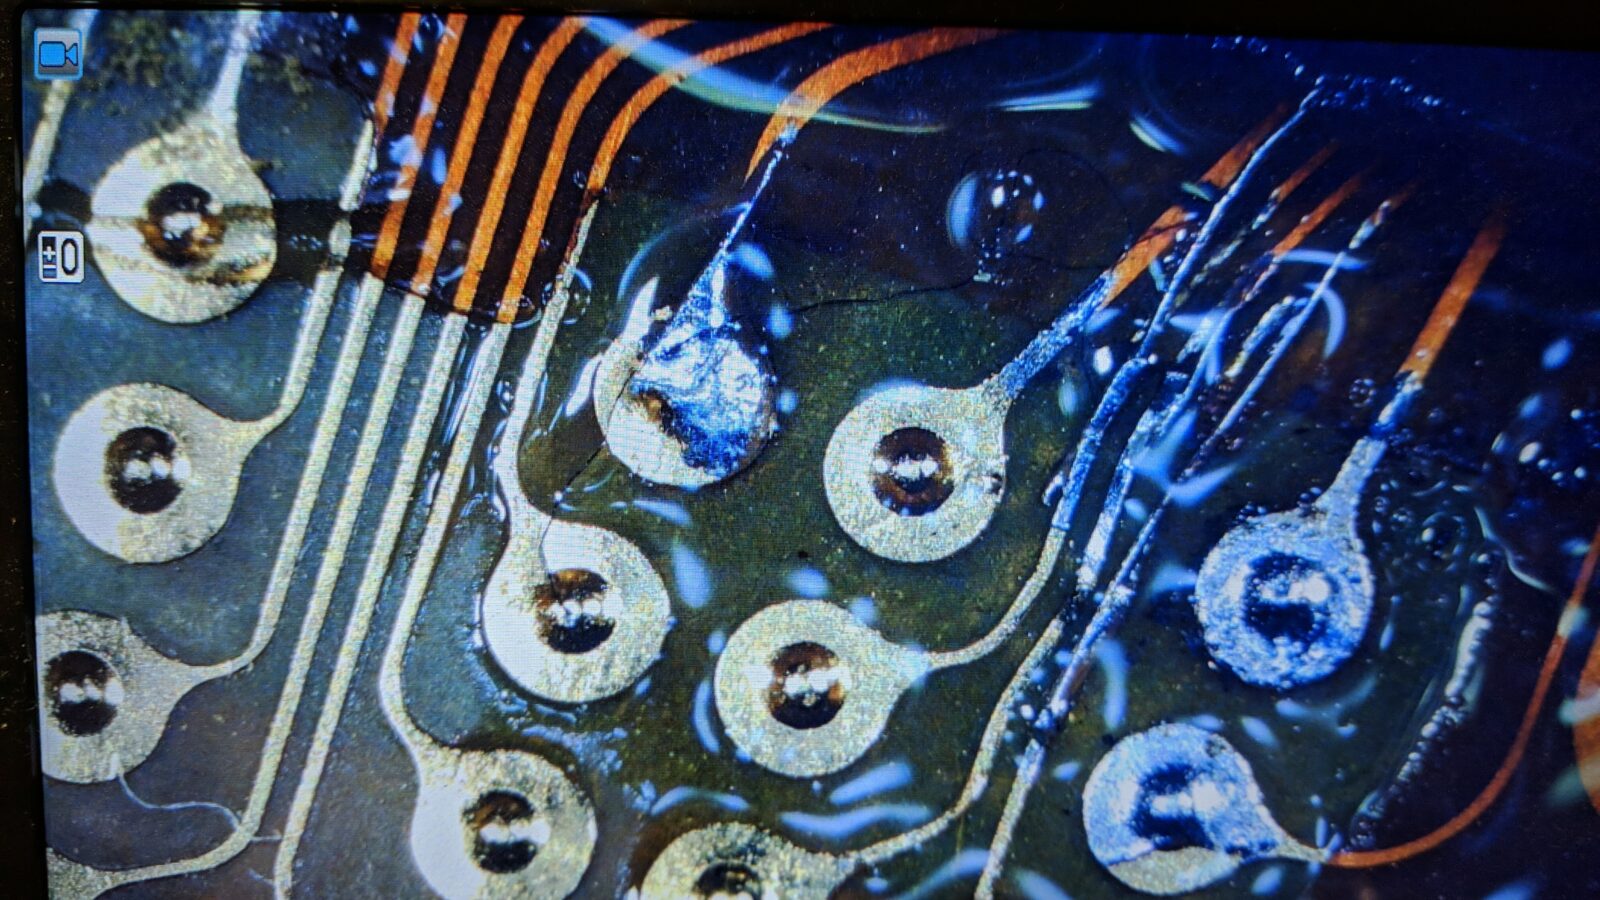
Turned out that somehow, there was corrosion on the very edge of the exposed contacts. Not that obvious at first look.
Some close-ups show the problem.

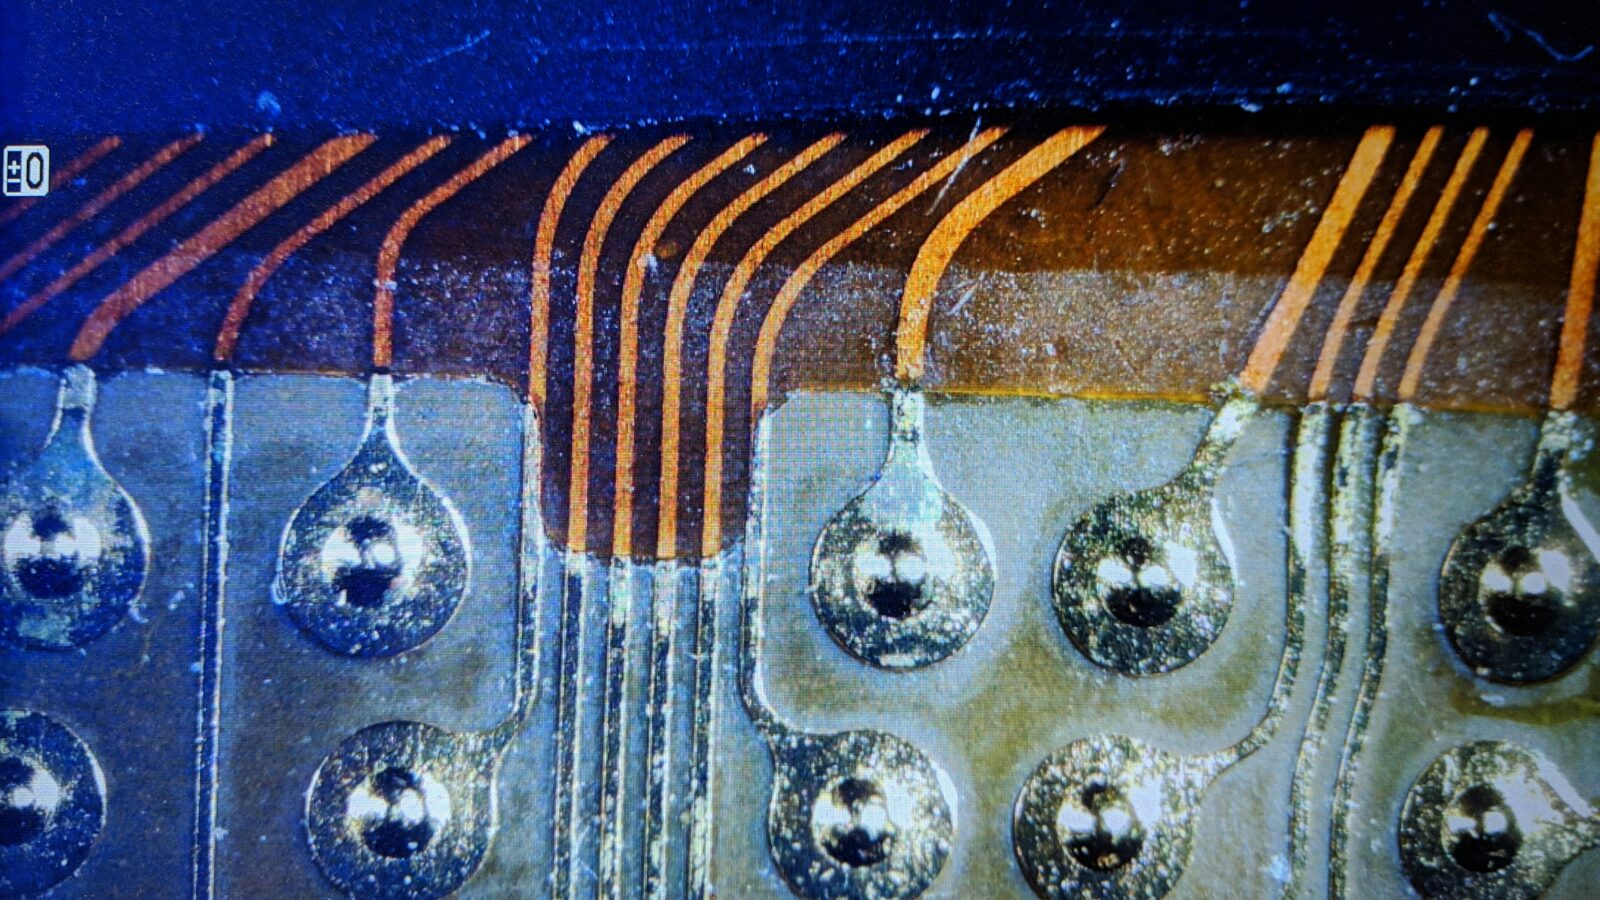
Notice the green gooey.
Failed attempt
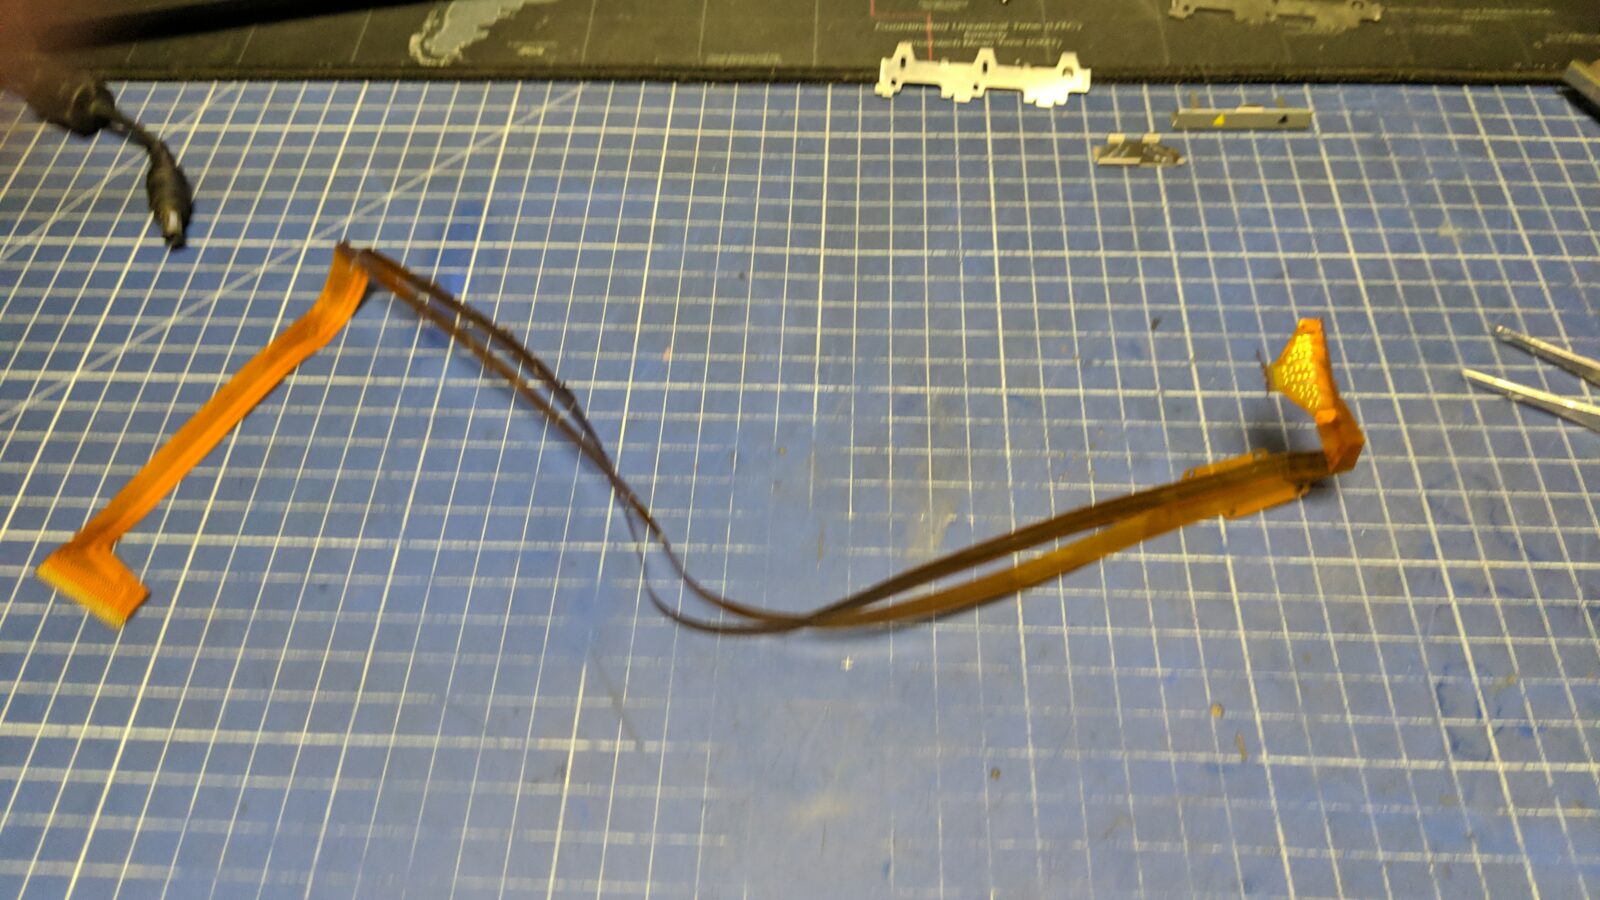
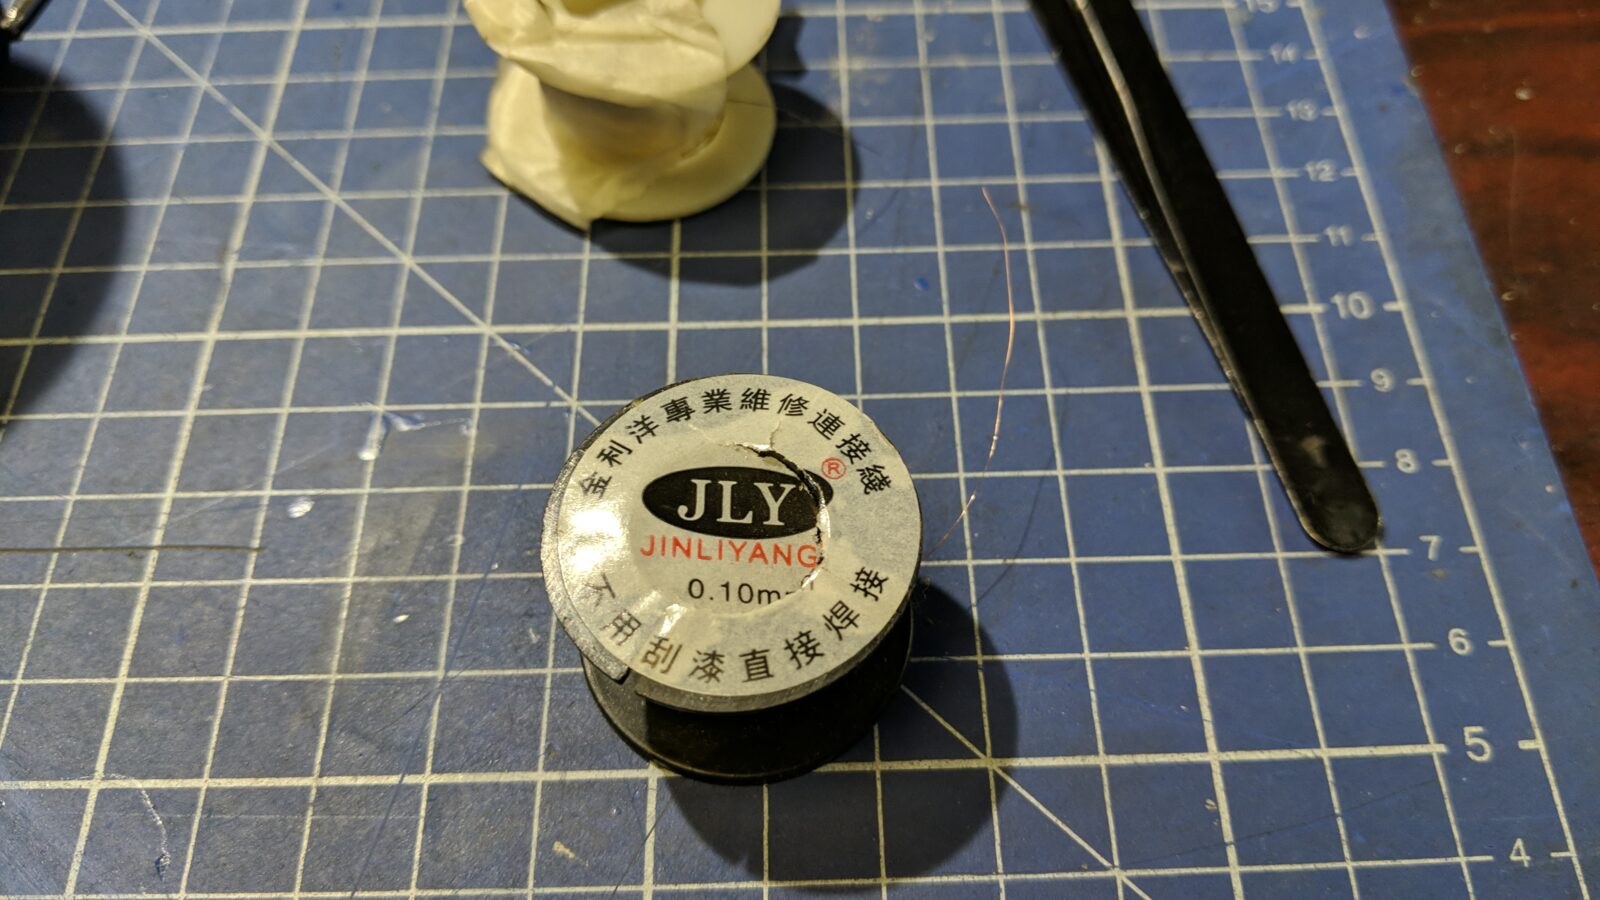
I was like … Hey! It might be fixable!
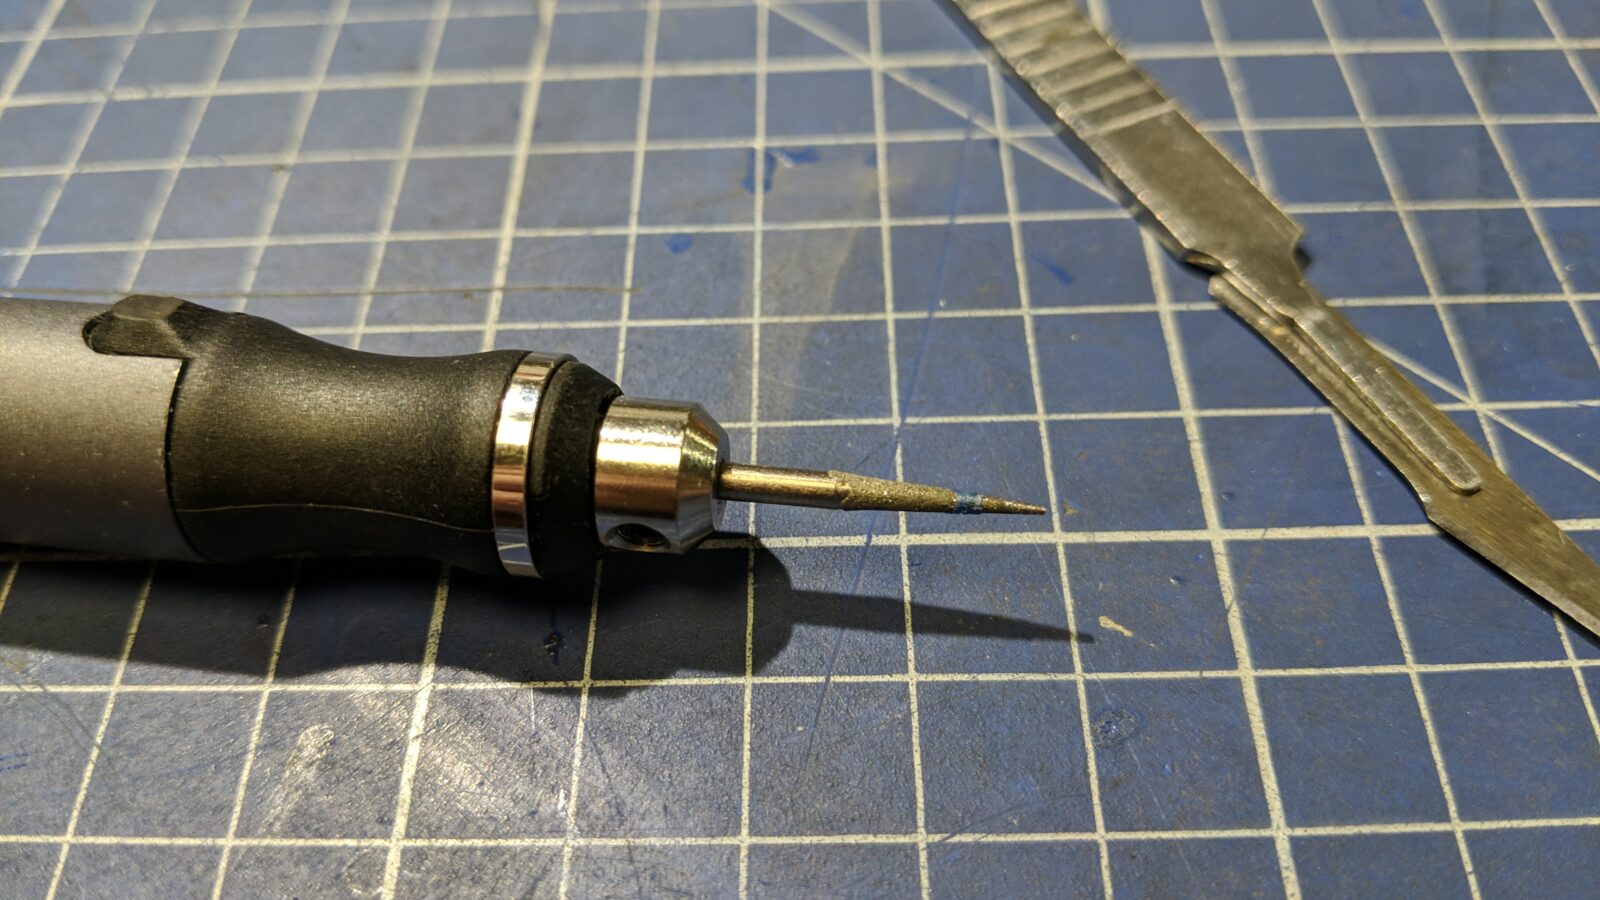
The plan was to gently remove the top kapton layer and connect the eaten traces with a 0.1mm wire. All were done under a microscope with 1mm Dremmel tip and 1mm soldering tip.
Below you can see a slightly cut and super boring video of that failed (as it turned out) repair attempt. It also looks messy as hell. Well, at least I tried 😀
Here is the result for those who don’t want to watch that lame video 😀
As mentioned earlier, that was a failed attempt, and after assembly, the printer still spilled out empty paper 🙁
Most probably, my soldering fix was too stiff and didn’t last long after the carriage started moving.
The actual fix
Knowing that this is a rebranded Cannon printer, I started looking for a BJC-80 on eBay, and to my surprise, there was a cheap and broken unit. I decided I’ll give it try and ordered it.
Turned out that the flex ribbon wire is pretty much the same. Yay!
From that point, it was just a matter of swapping the wires.
And finally, after all this, it started working like a charm!
Outro
That’s all in this post. Consider subscribing if you want to get an email notification about fresh blog posts.
See you in the next post


What an incredible dedication, I am amazed.
Thank you sir!
I like You work! Keep going and don’t change it!
Thank you sir! Will do 🙂