…or did I NOT pimp it at all?!
Intro
If you read my blog a bit longer, then you might remember that some time ago, I’ve started Pimp my Ami series.
So far, only one such post was written -> Pimp my Ami #1 – Fluo <- you will find the general idea behind it, in that exact post.
Today, though, we are doing something different. Initially, I planned something flashy, but Sachy gently reminded me that the BooM party is coming up this year!
This is going to be an awesome party with lots of cool C64 and Amiga 500 productions. Go to the website, register, and meet us there!
Here is the relevant website -> https://www.boom-party.c64.fun/index-en.php
The party is in July, which leaves me little time to prepare prizes.
Yup, that’s correct!, The Amiga 500 that I will cover today will go to one of the compo winners… but with a twist 🙂
The Plan
I’ve spoken to Sachy about it, and we’ve decided that the computer should be in good and stock condition. I know that the blog post series is about pimping but this time this is going to be a vanilla A500 without any mods at all … not even retr0brighted. This time, it’s a post for purists!
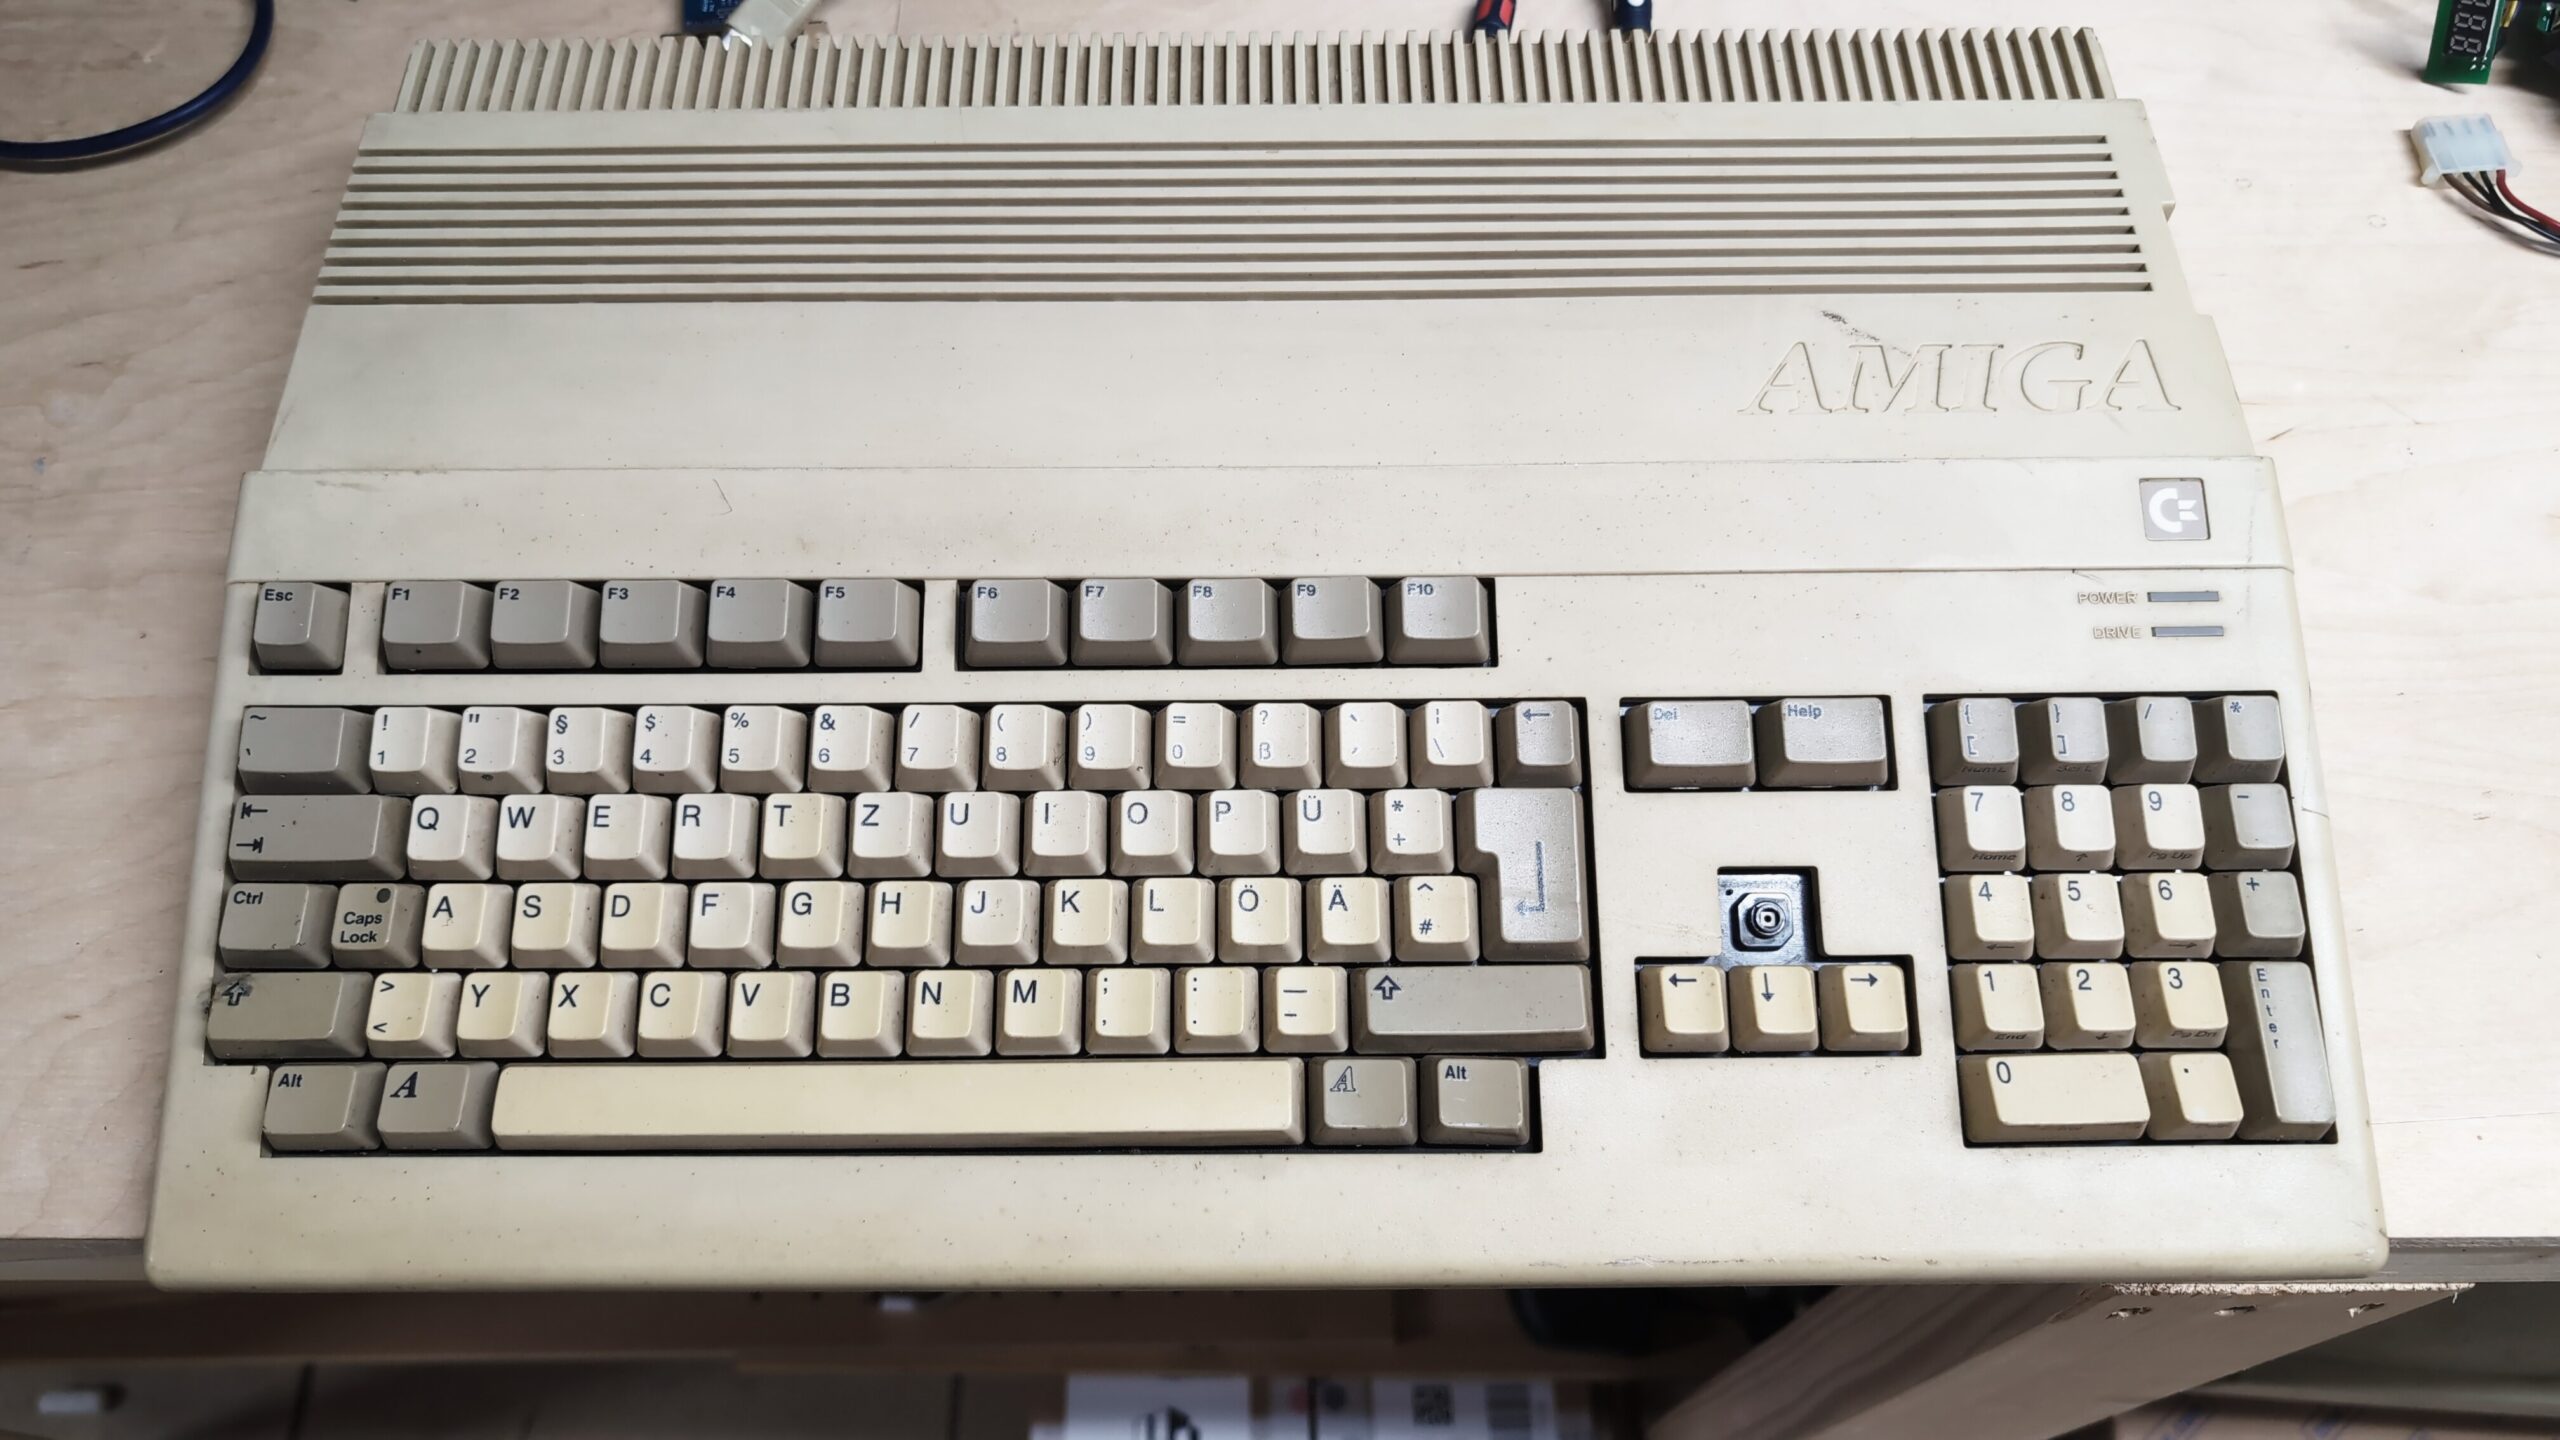
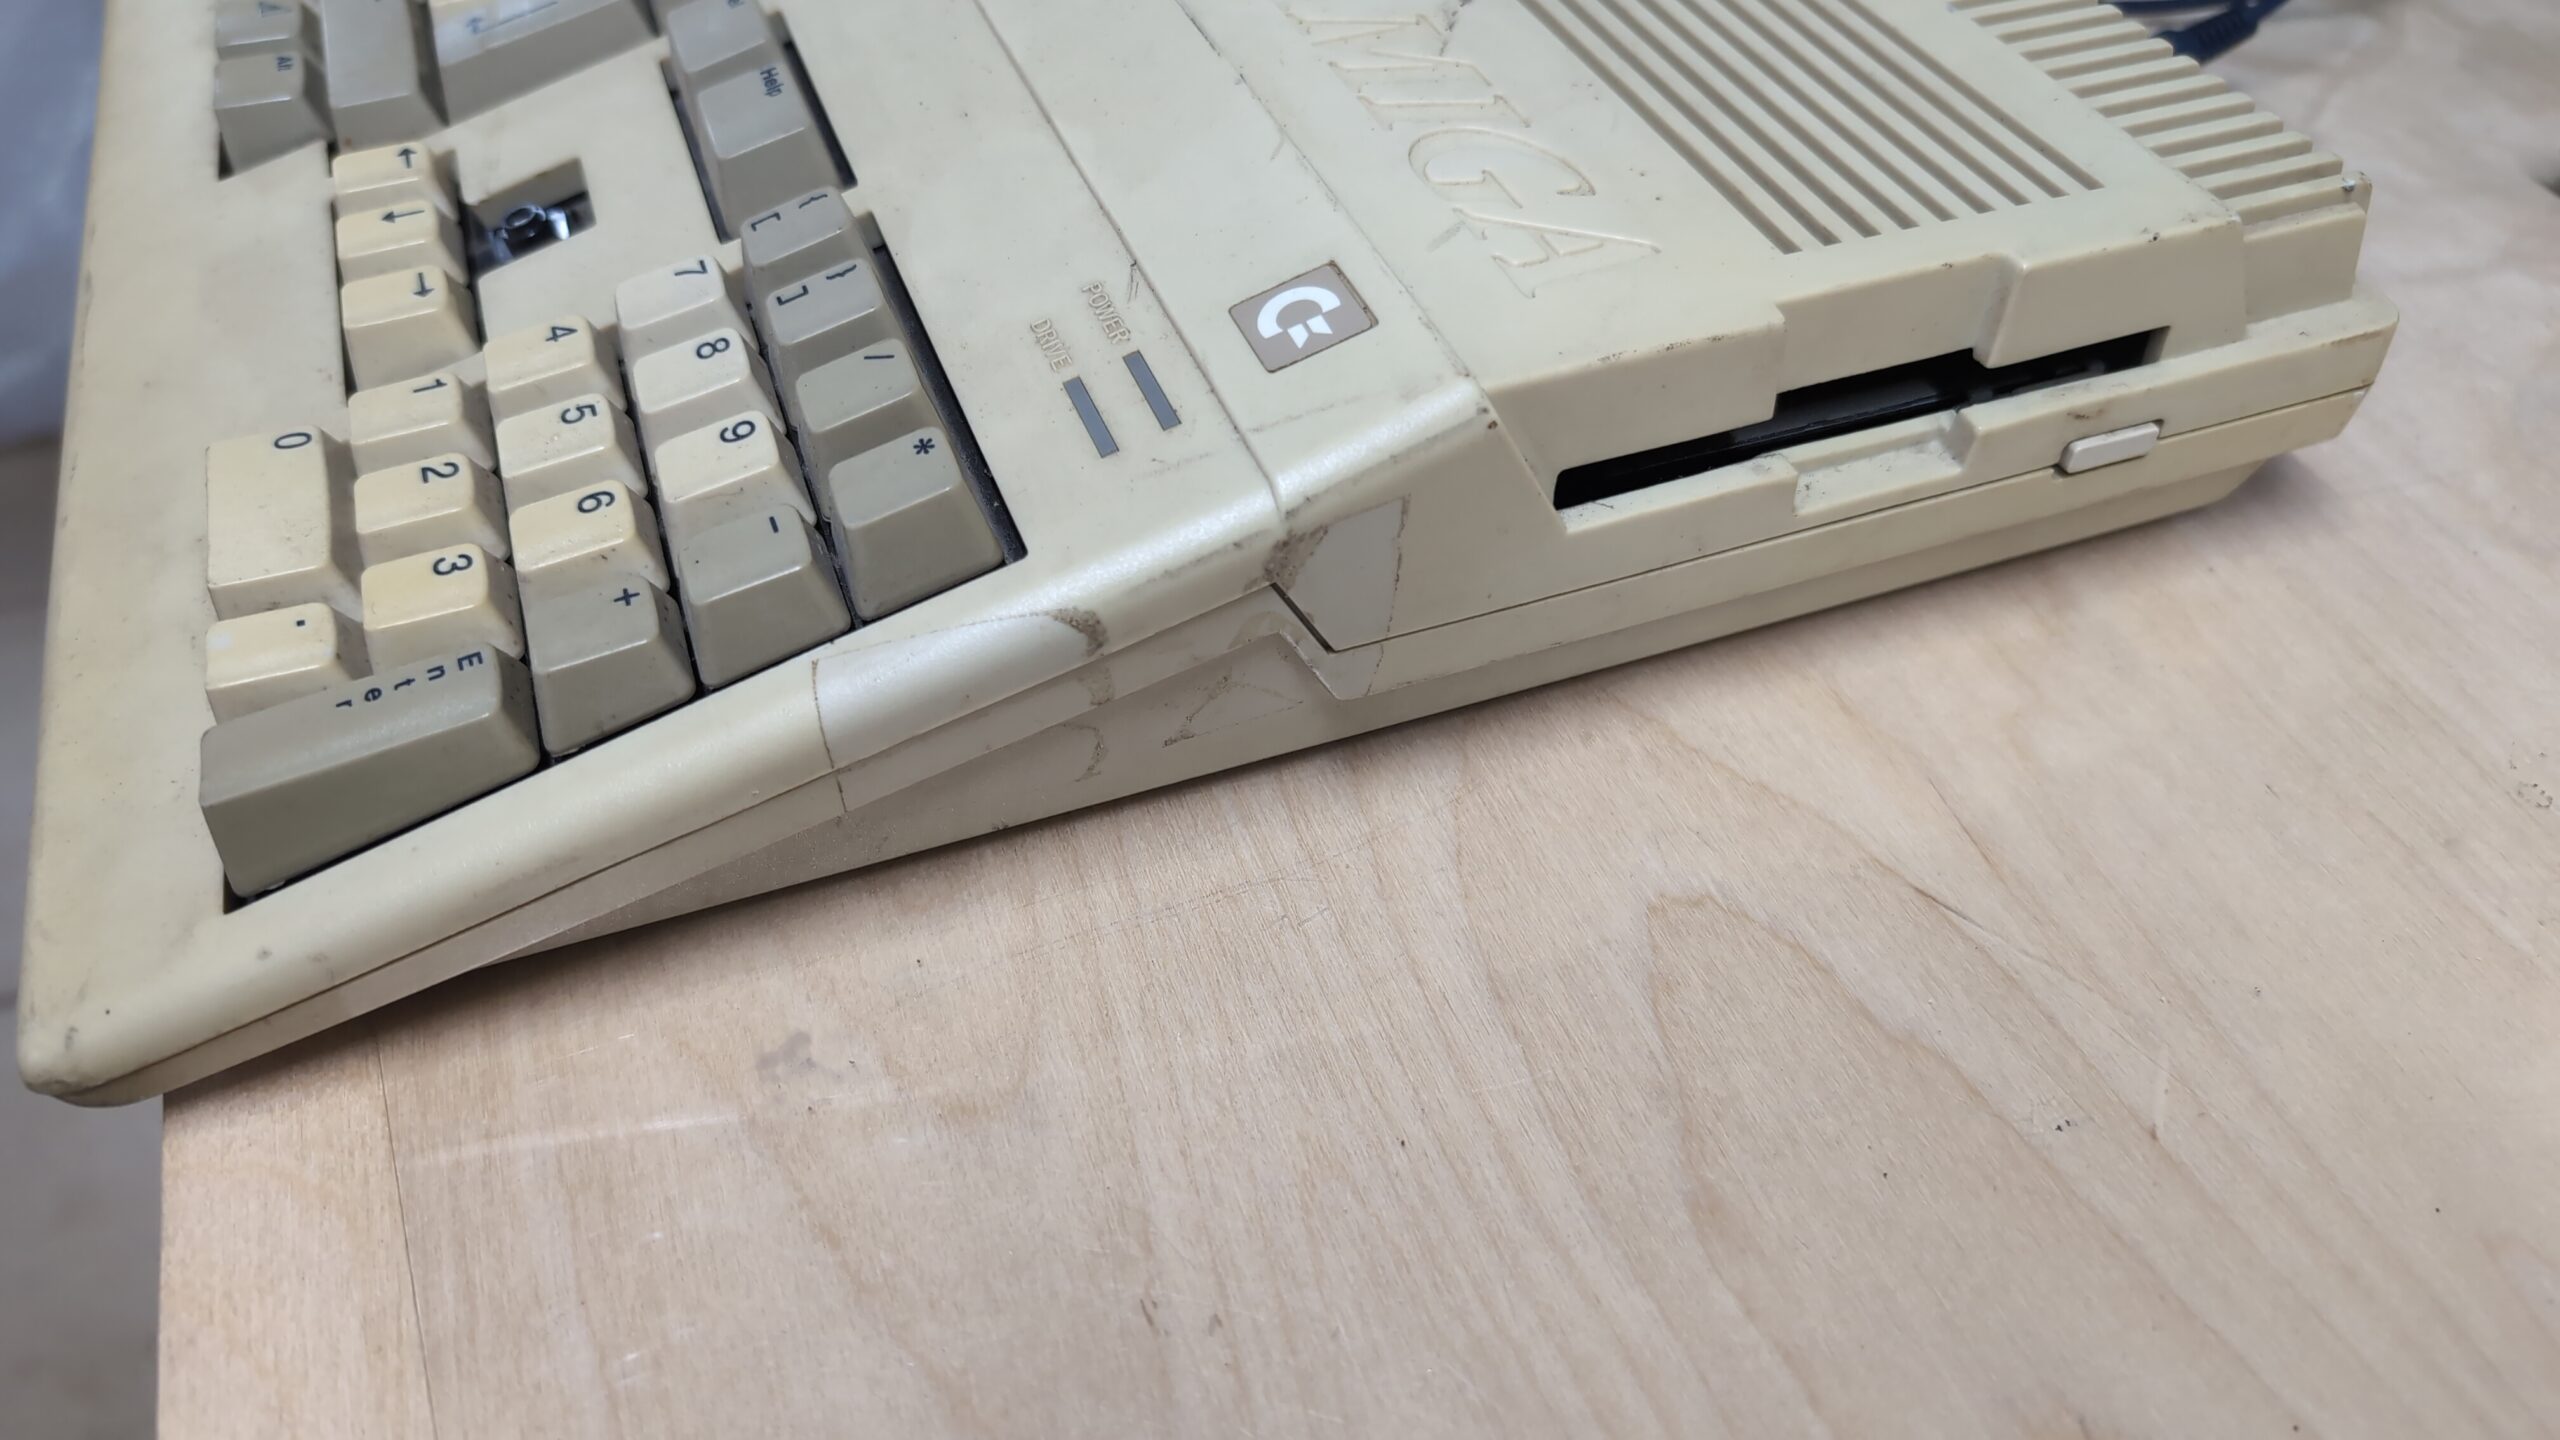
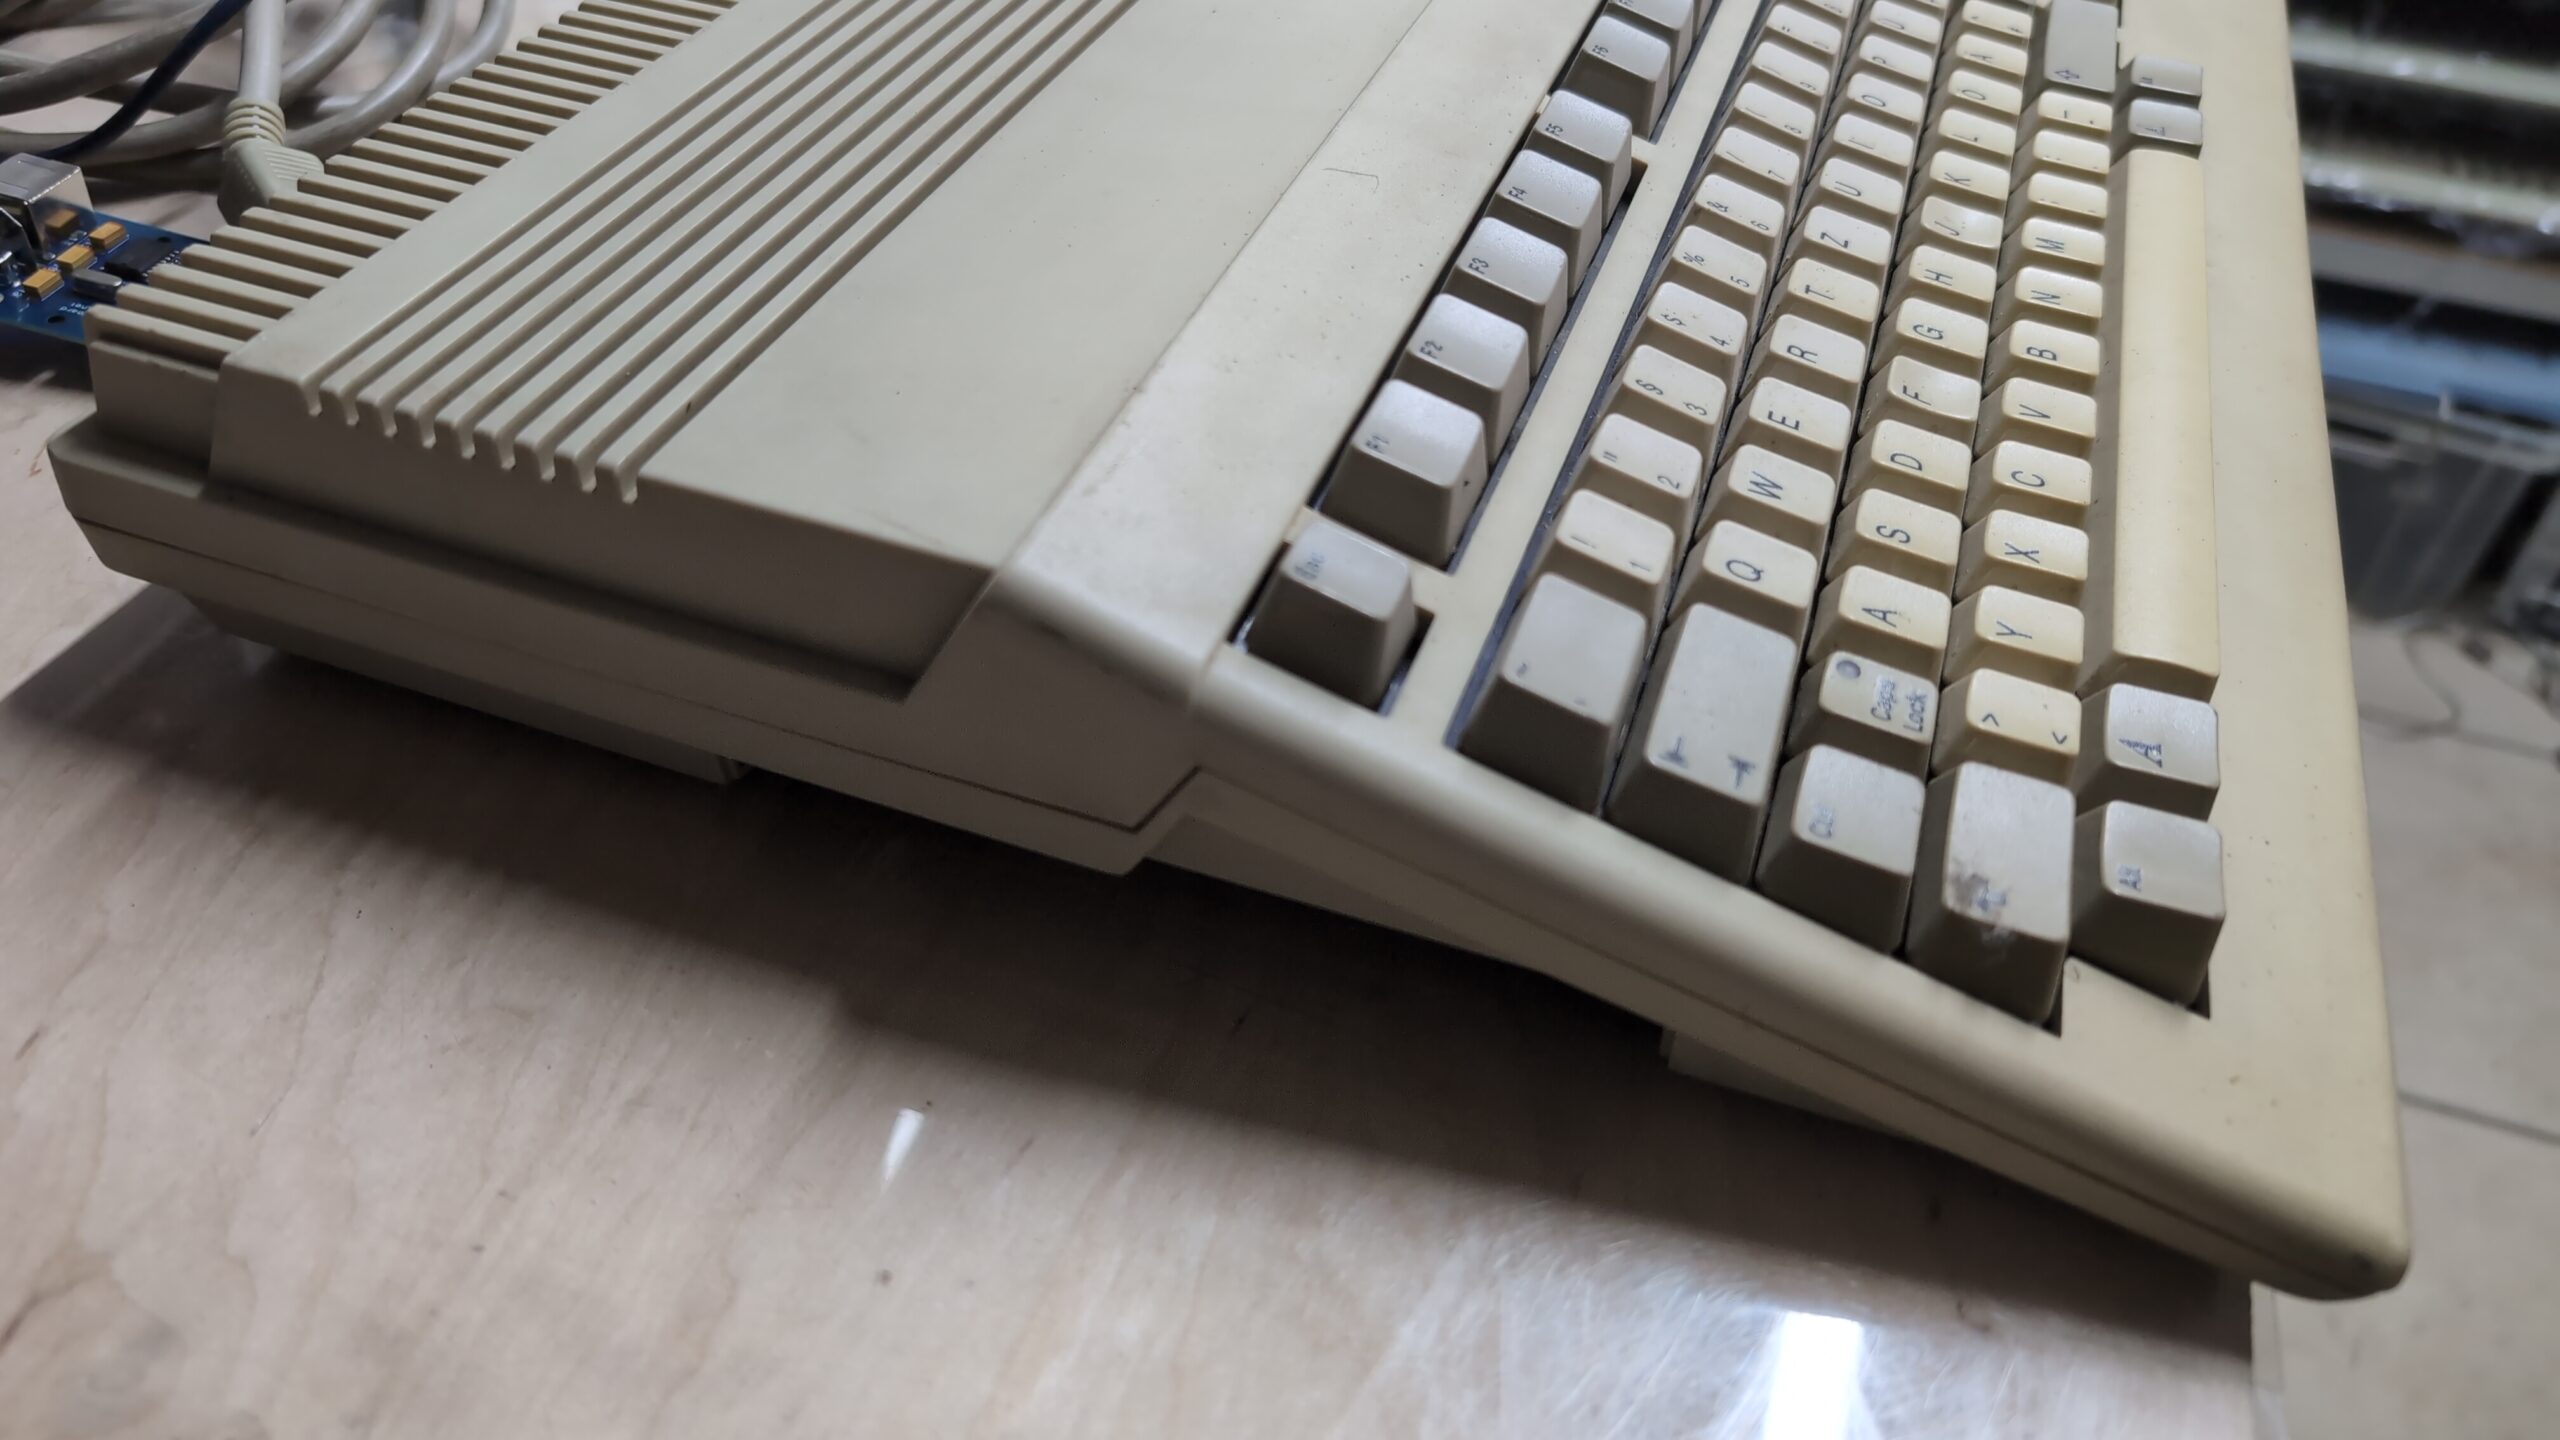
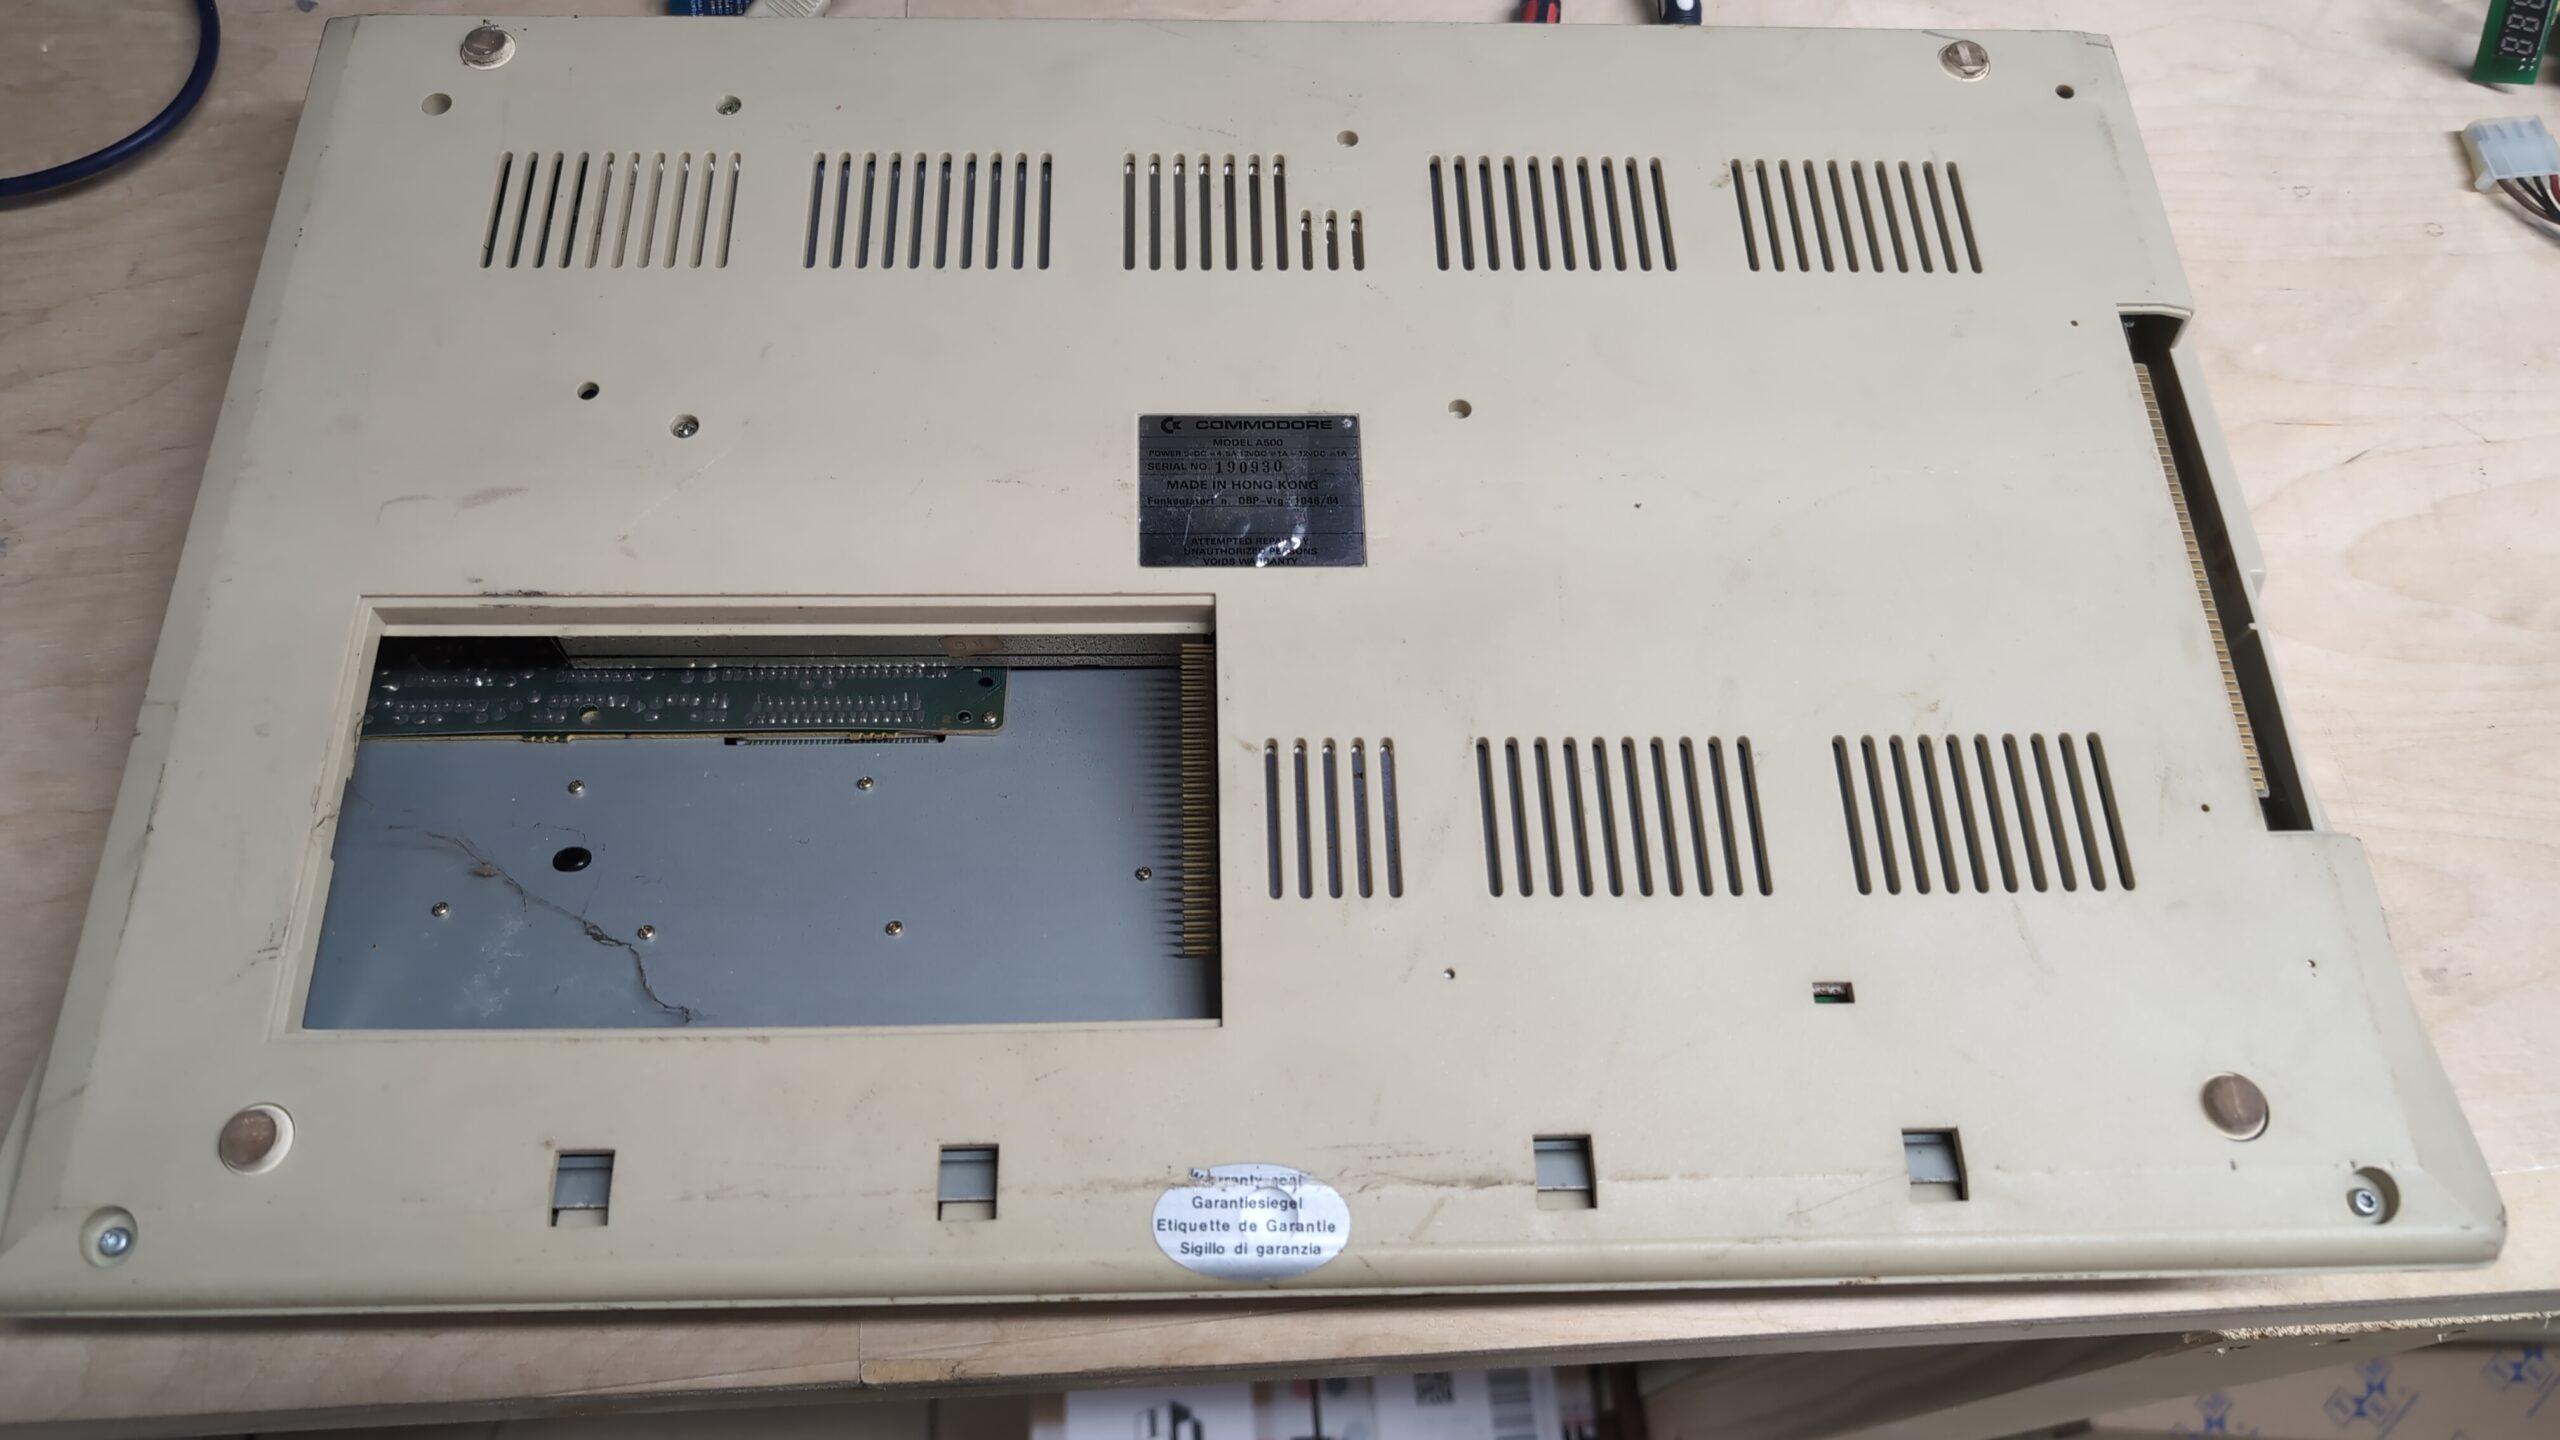
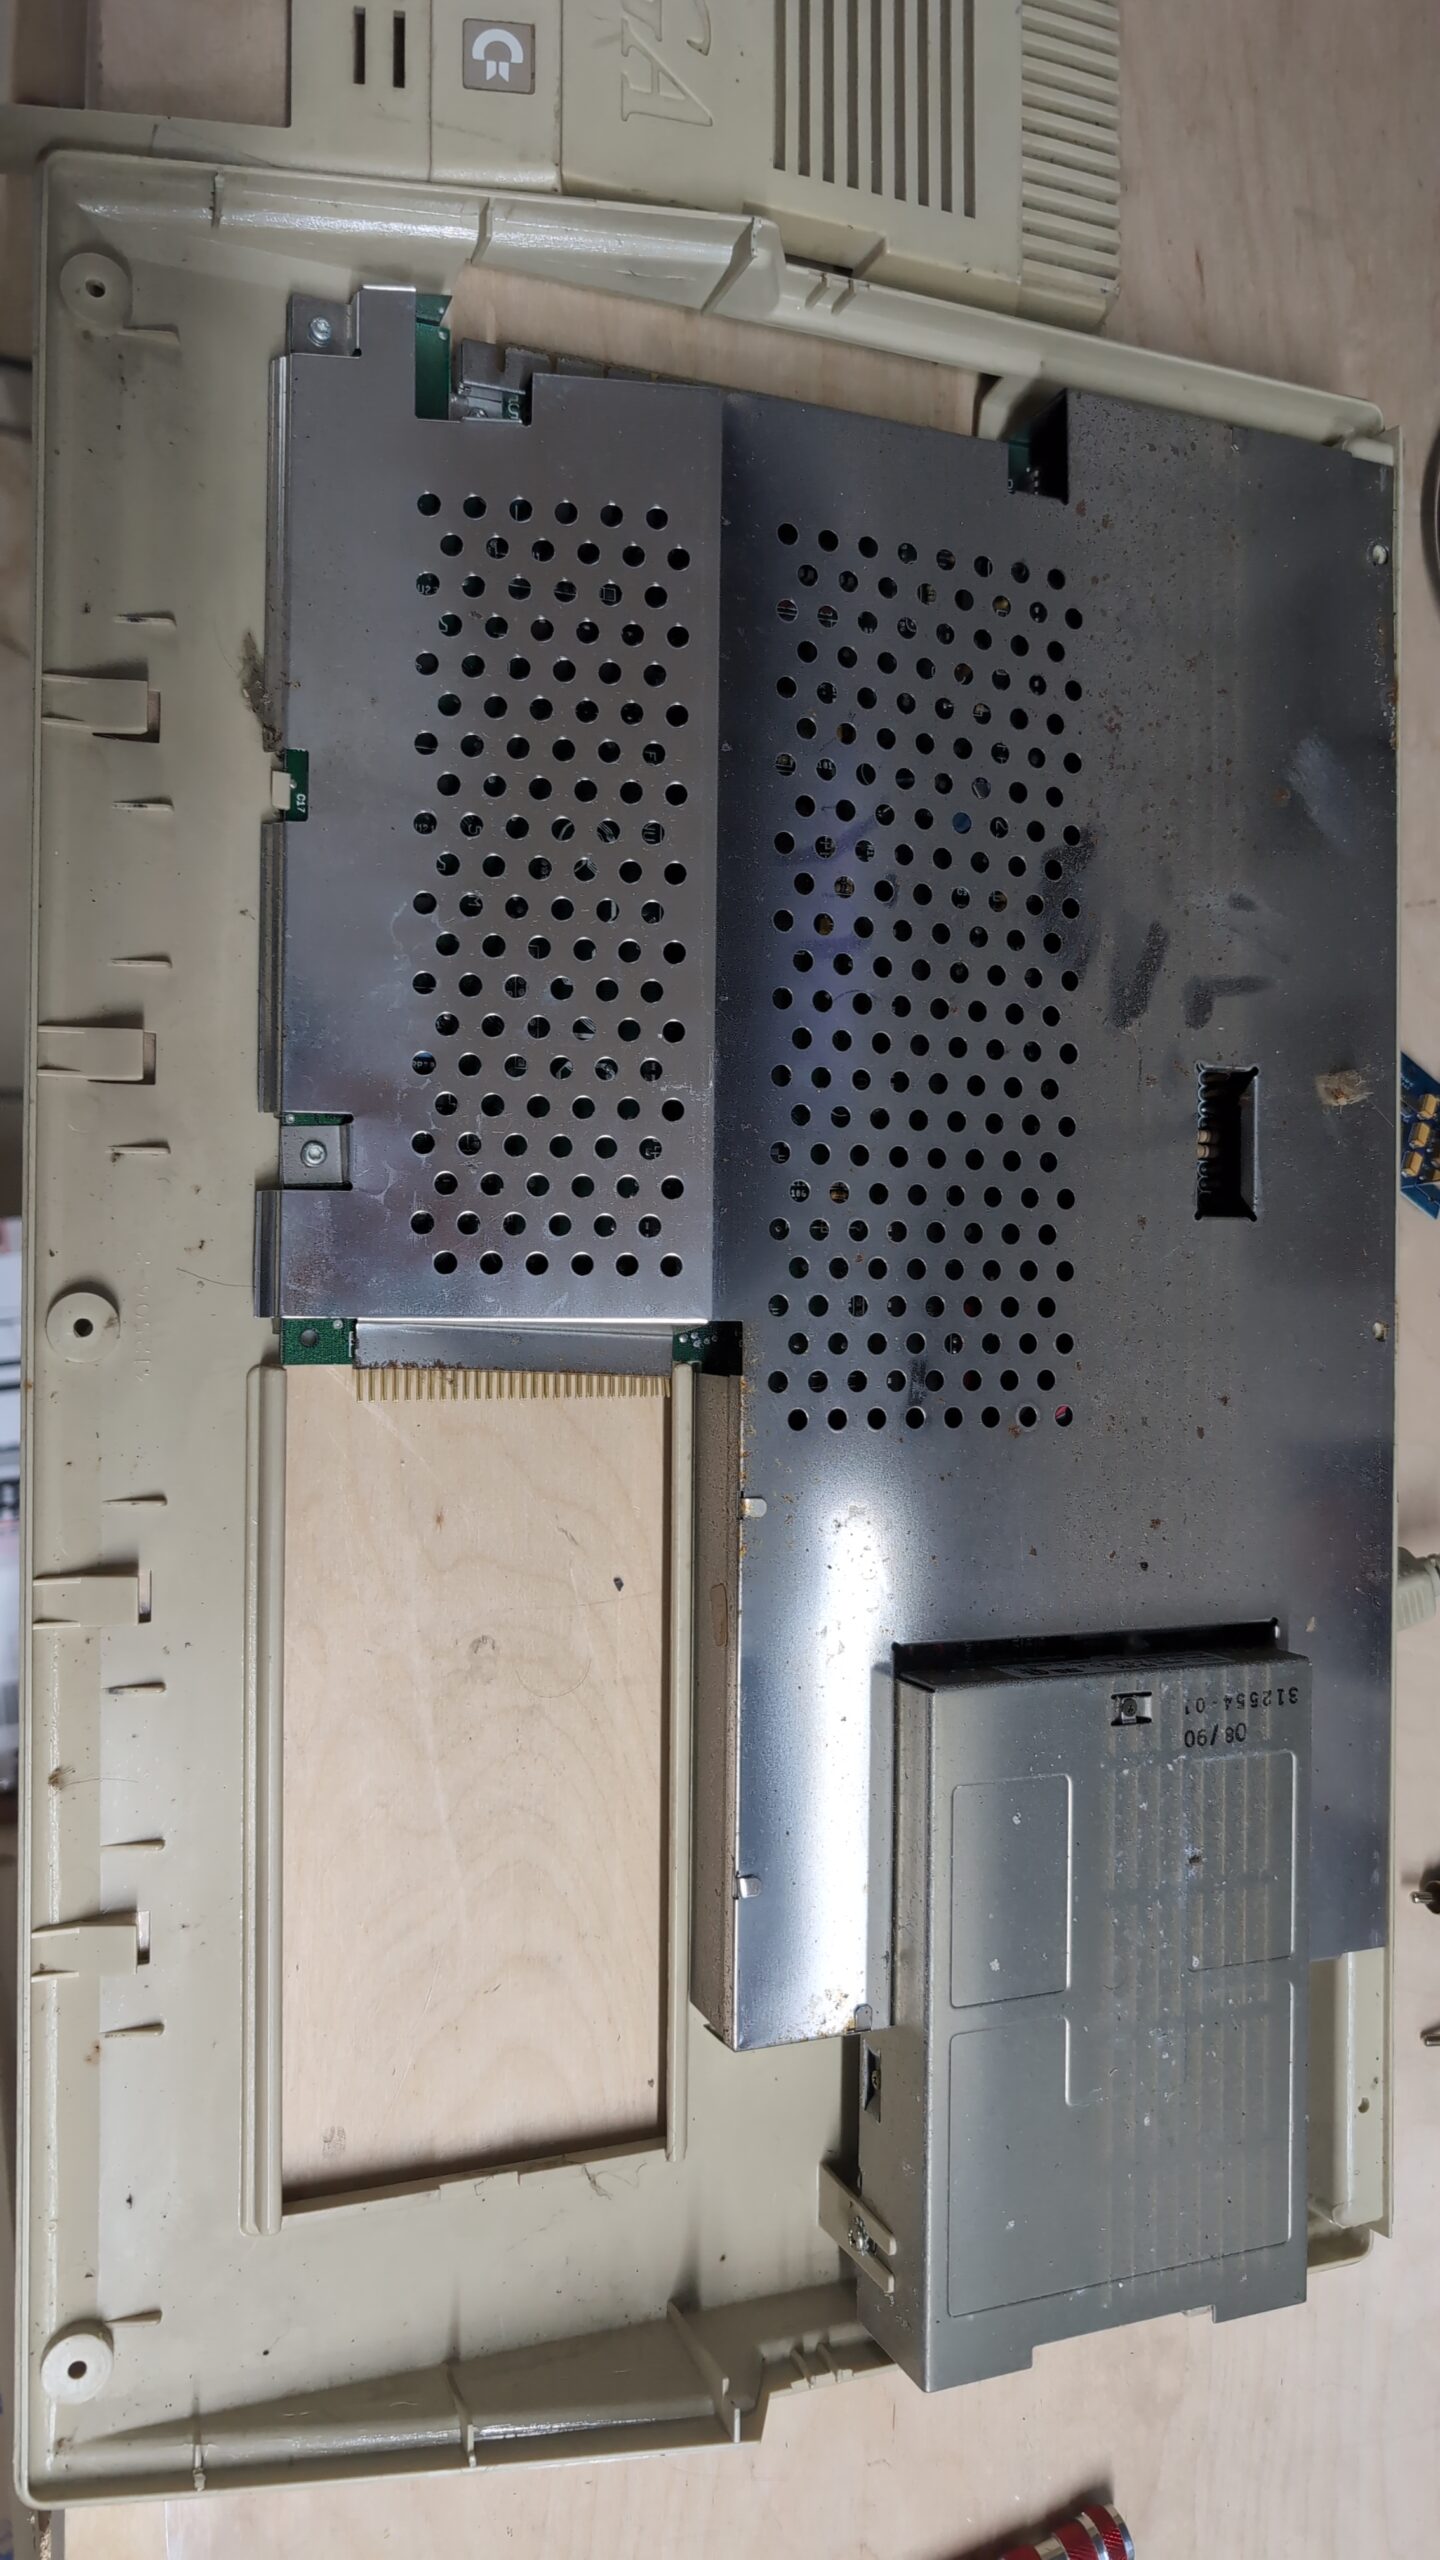
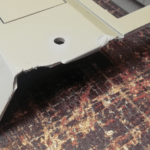
First, I had to pick the right machine out of the remaining 19 units that I have on the shelf. Here is what I’ve picked.
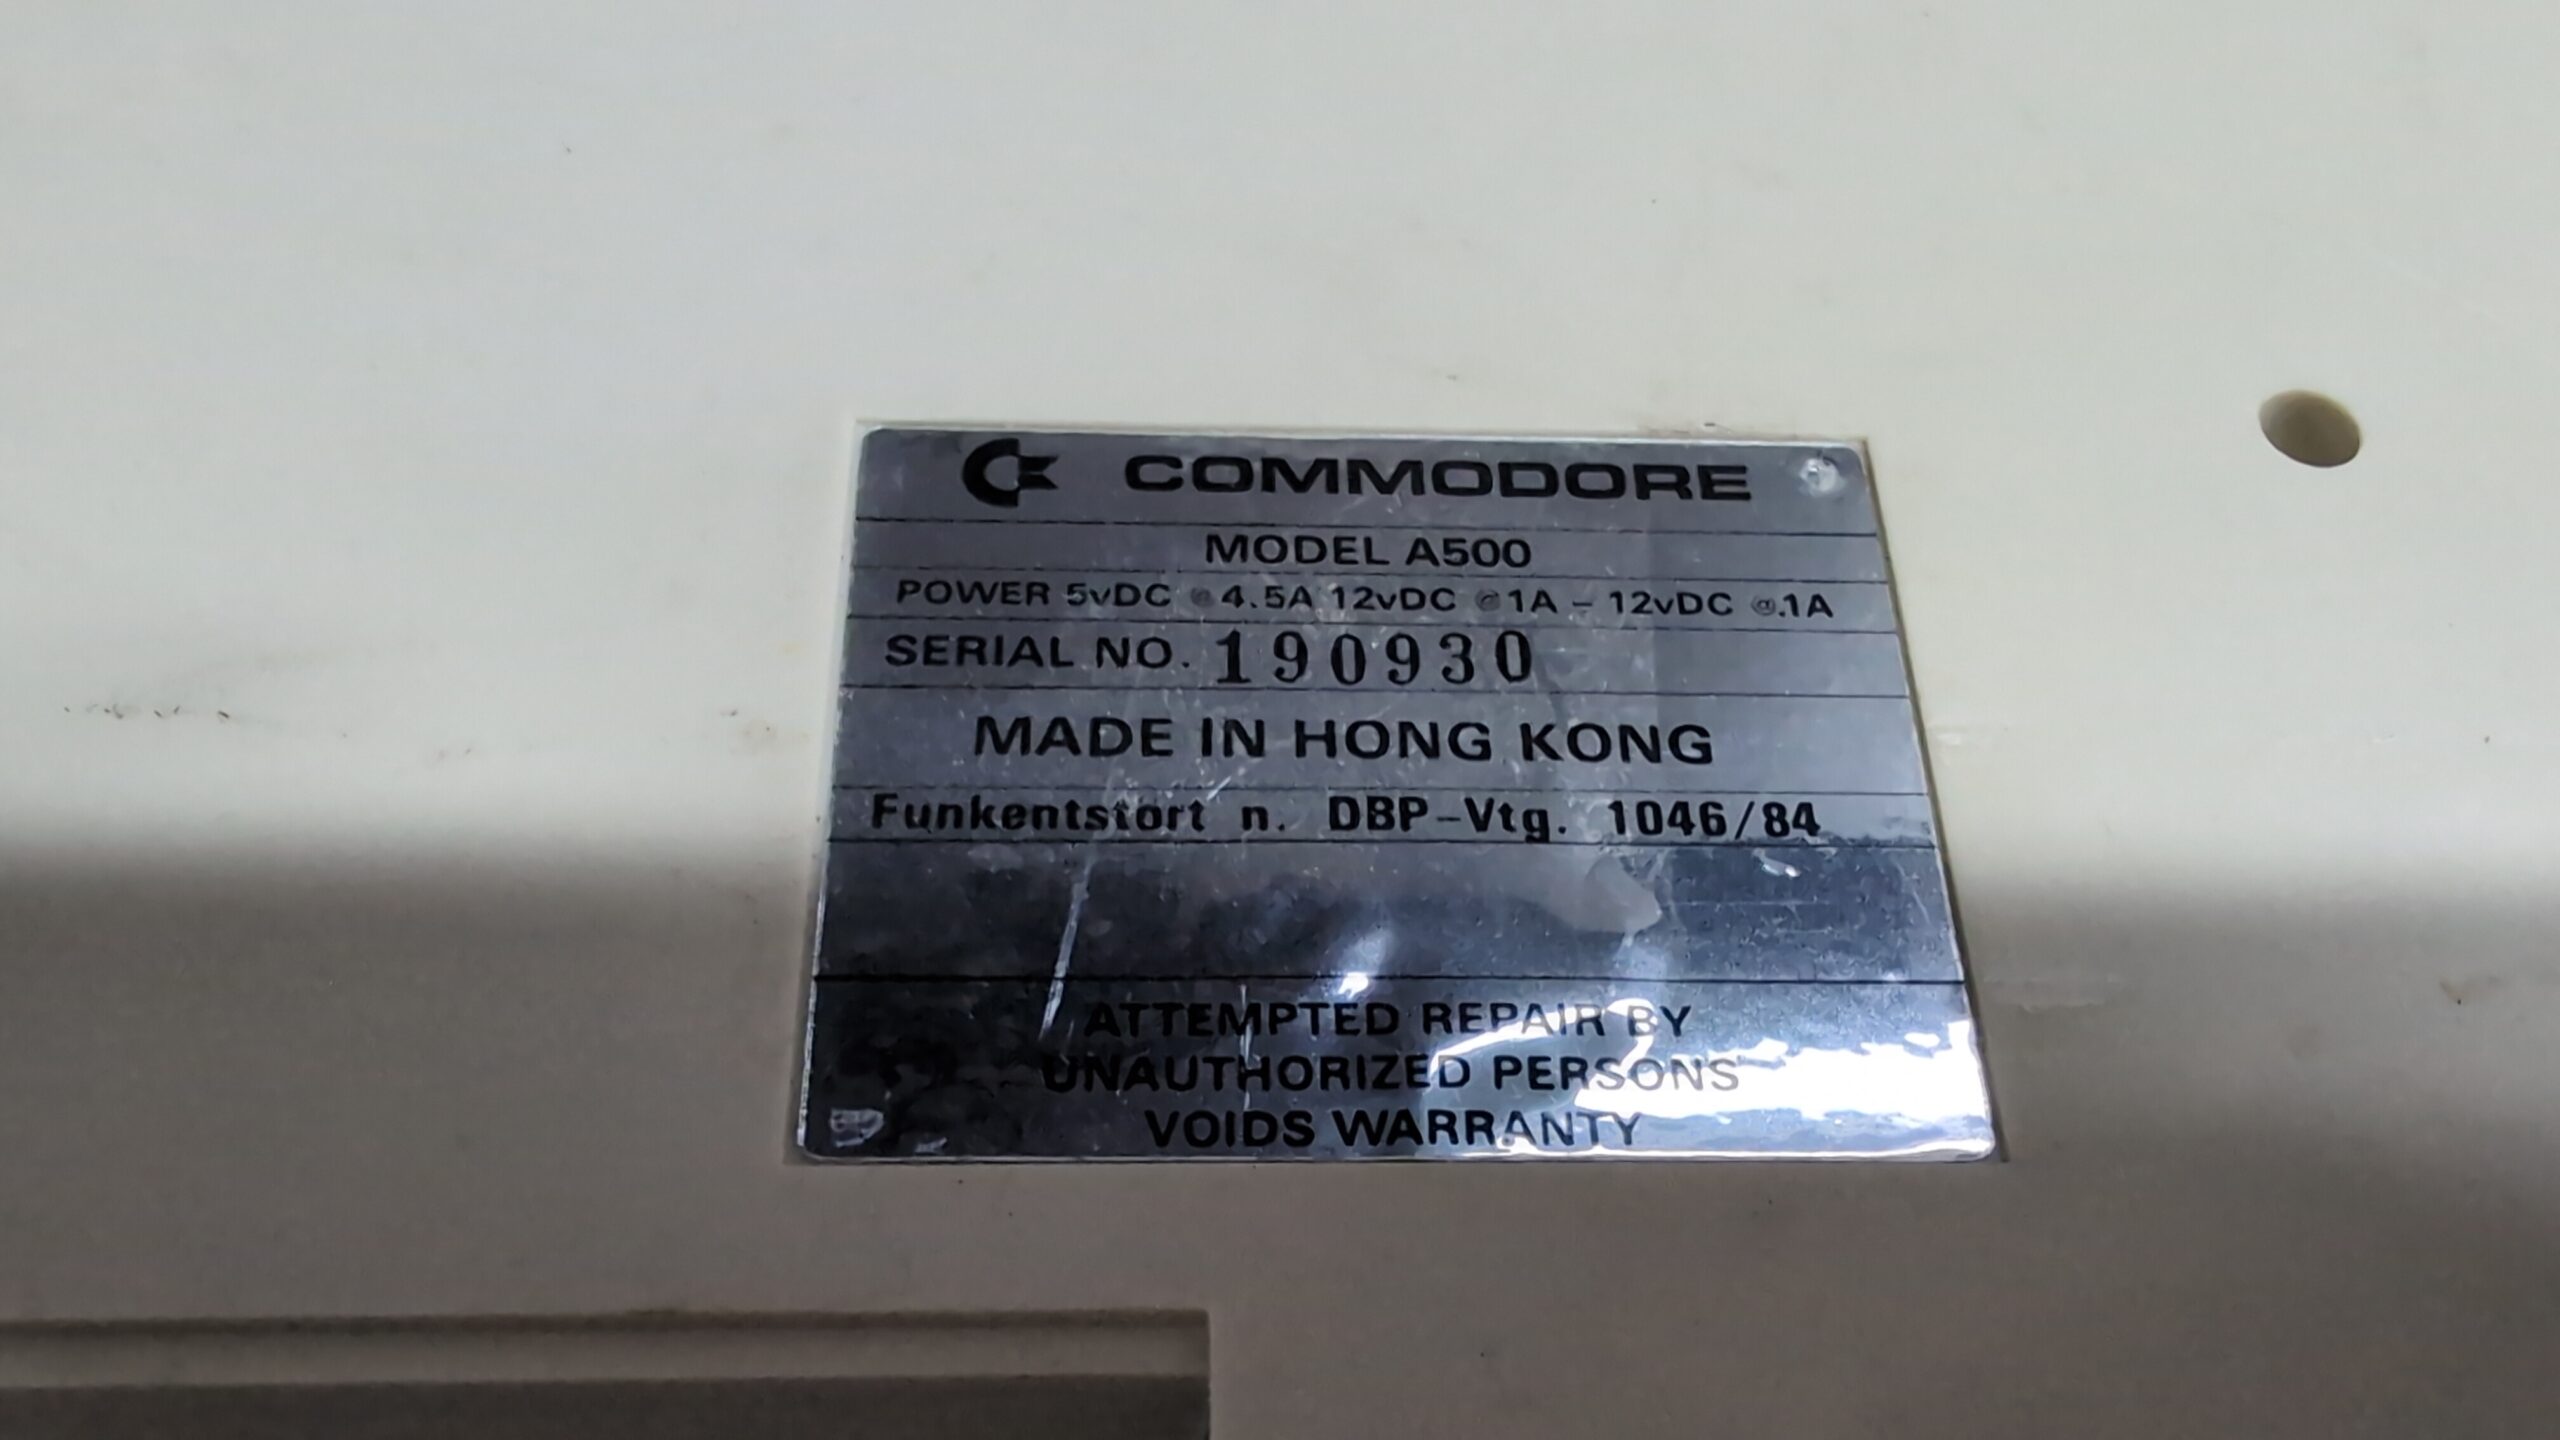
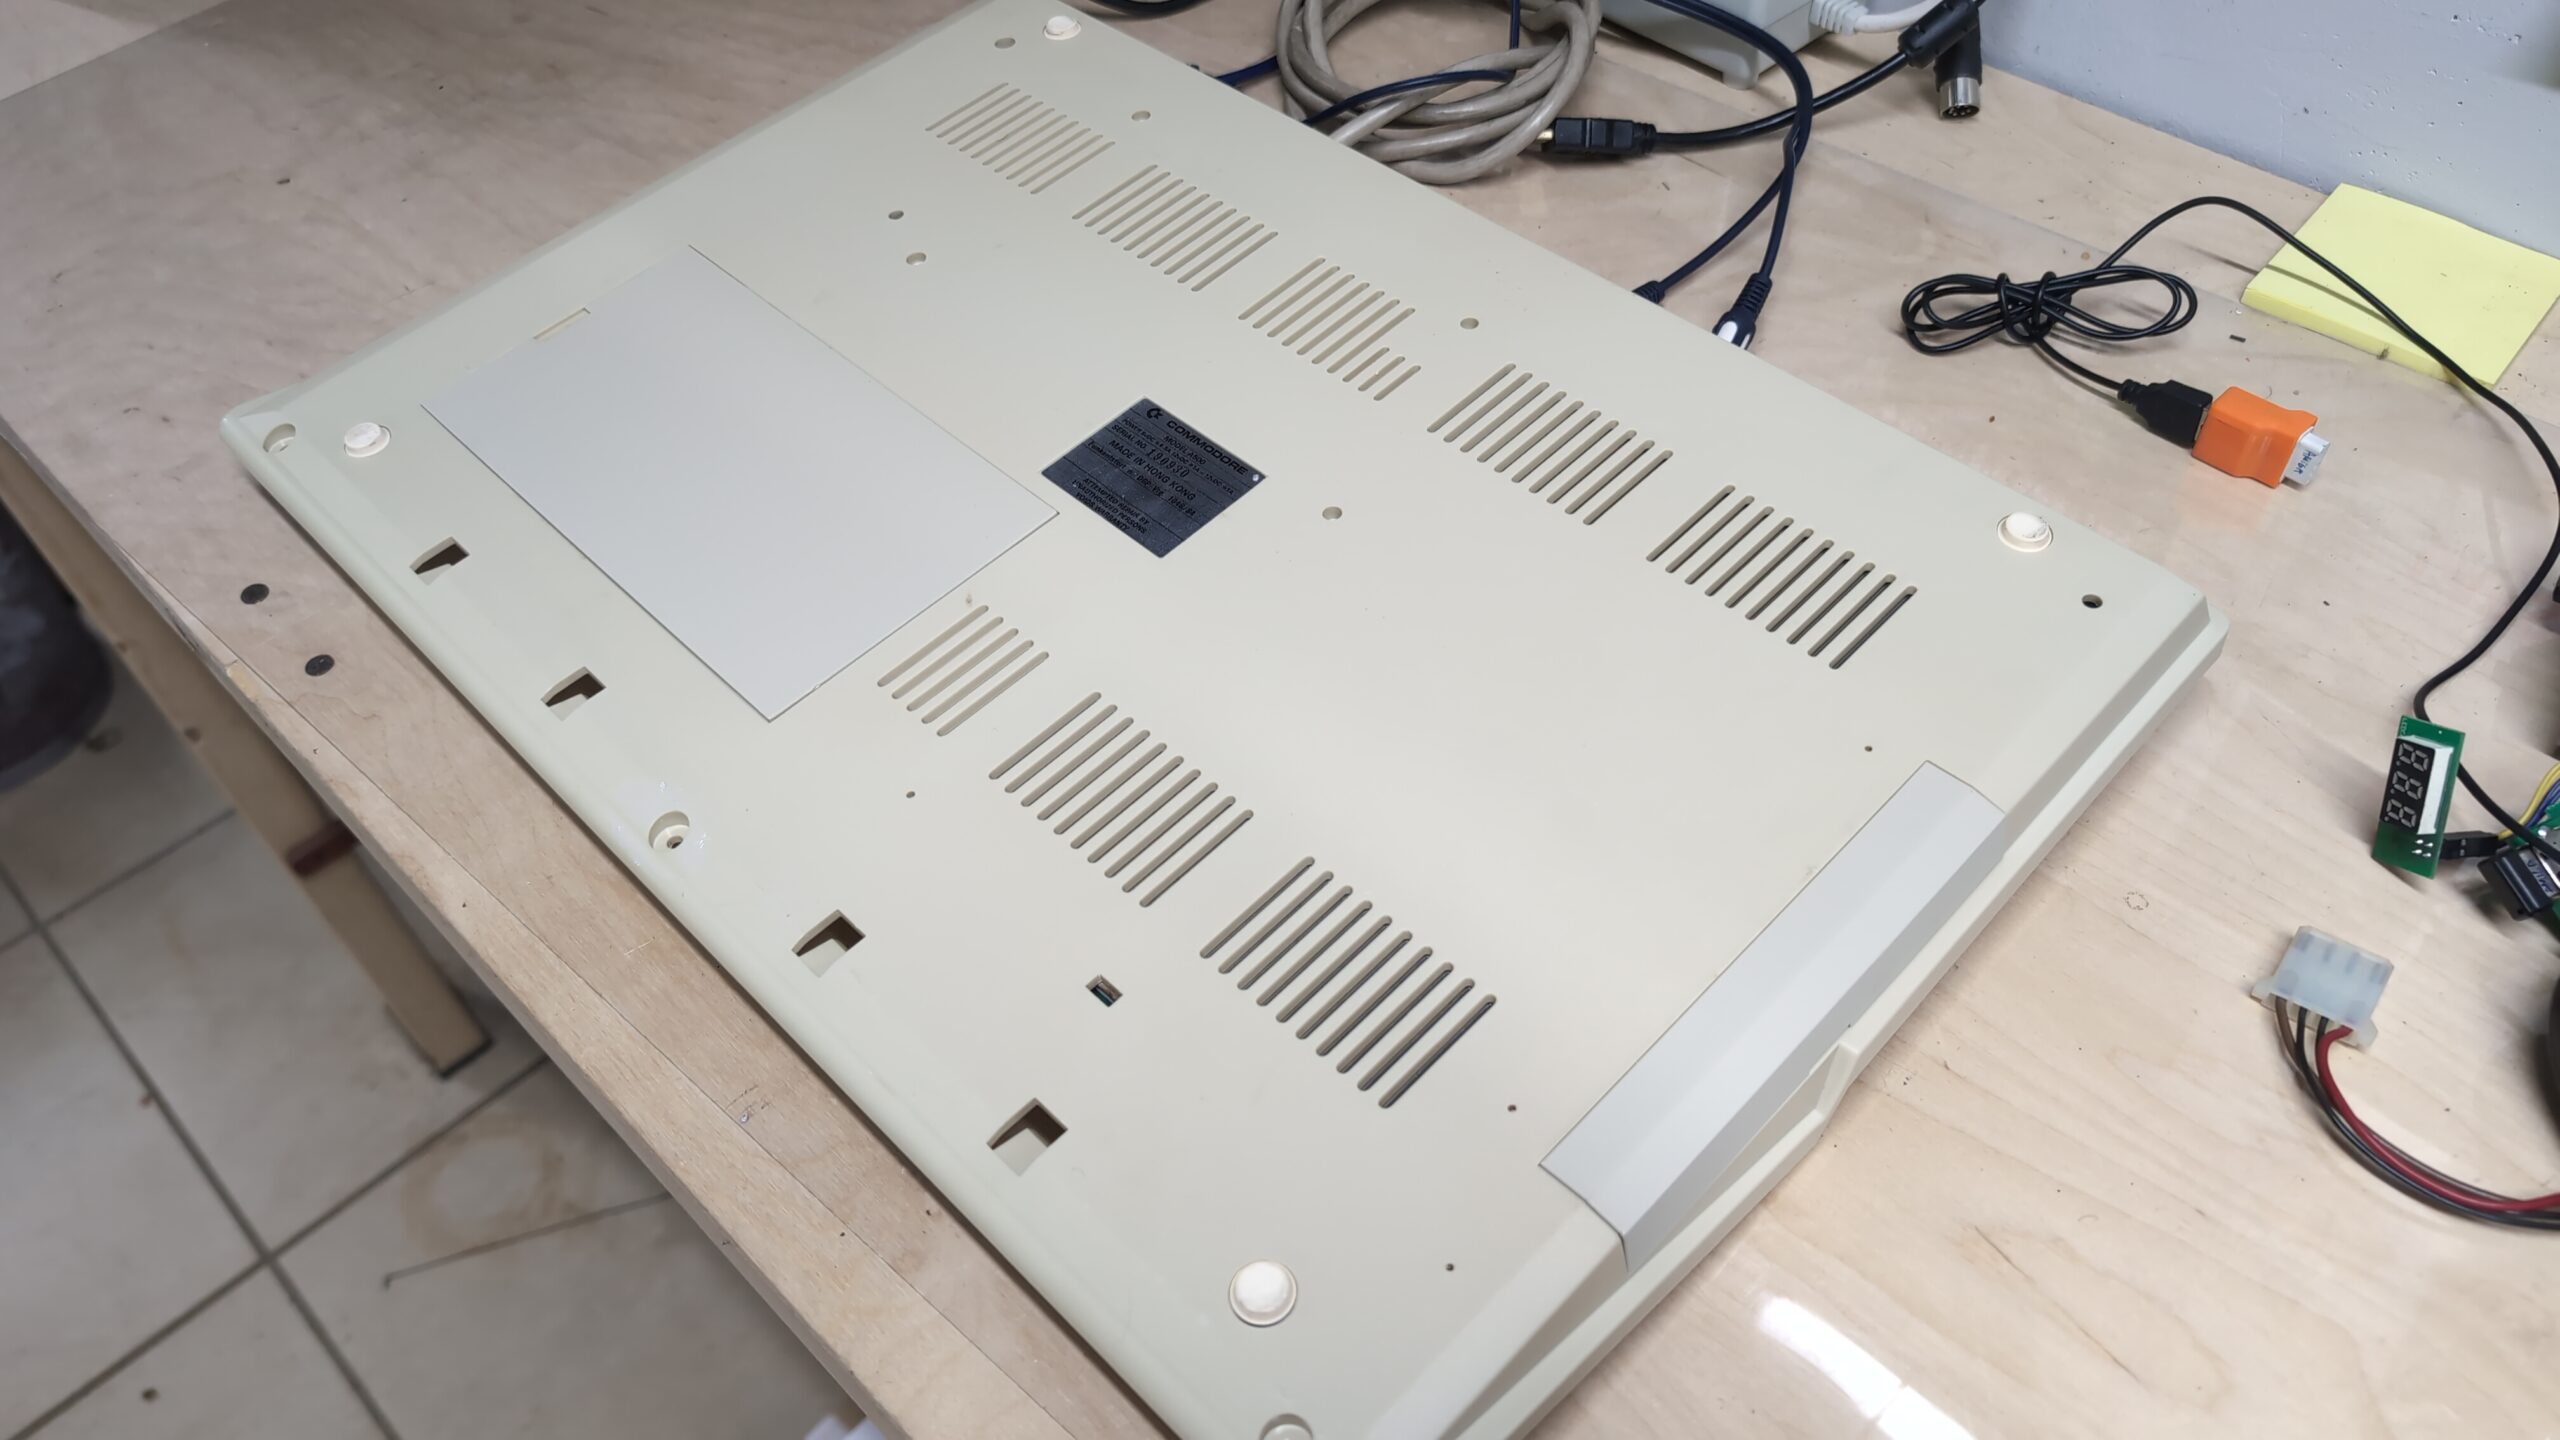
A slightly yellowed and dirty A500 with a 6A mobo inside and missing dummy covers.
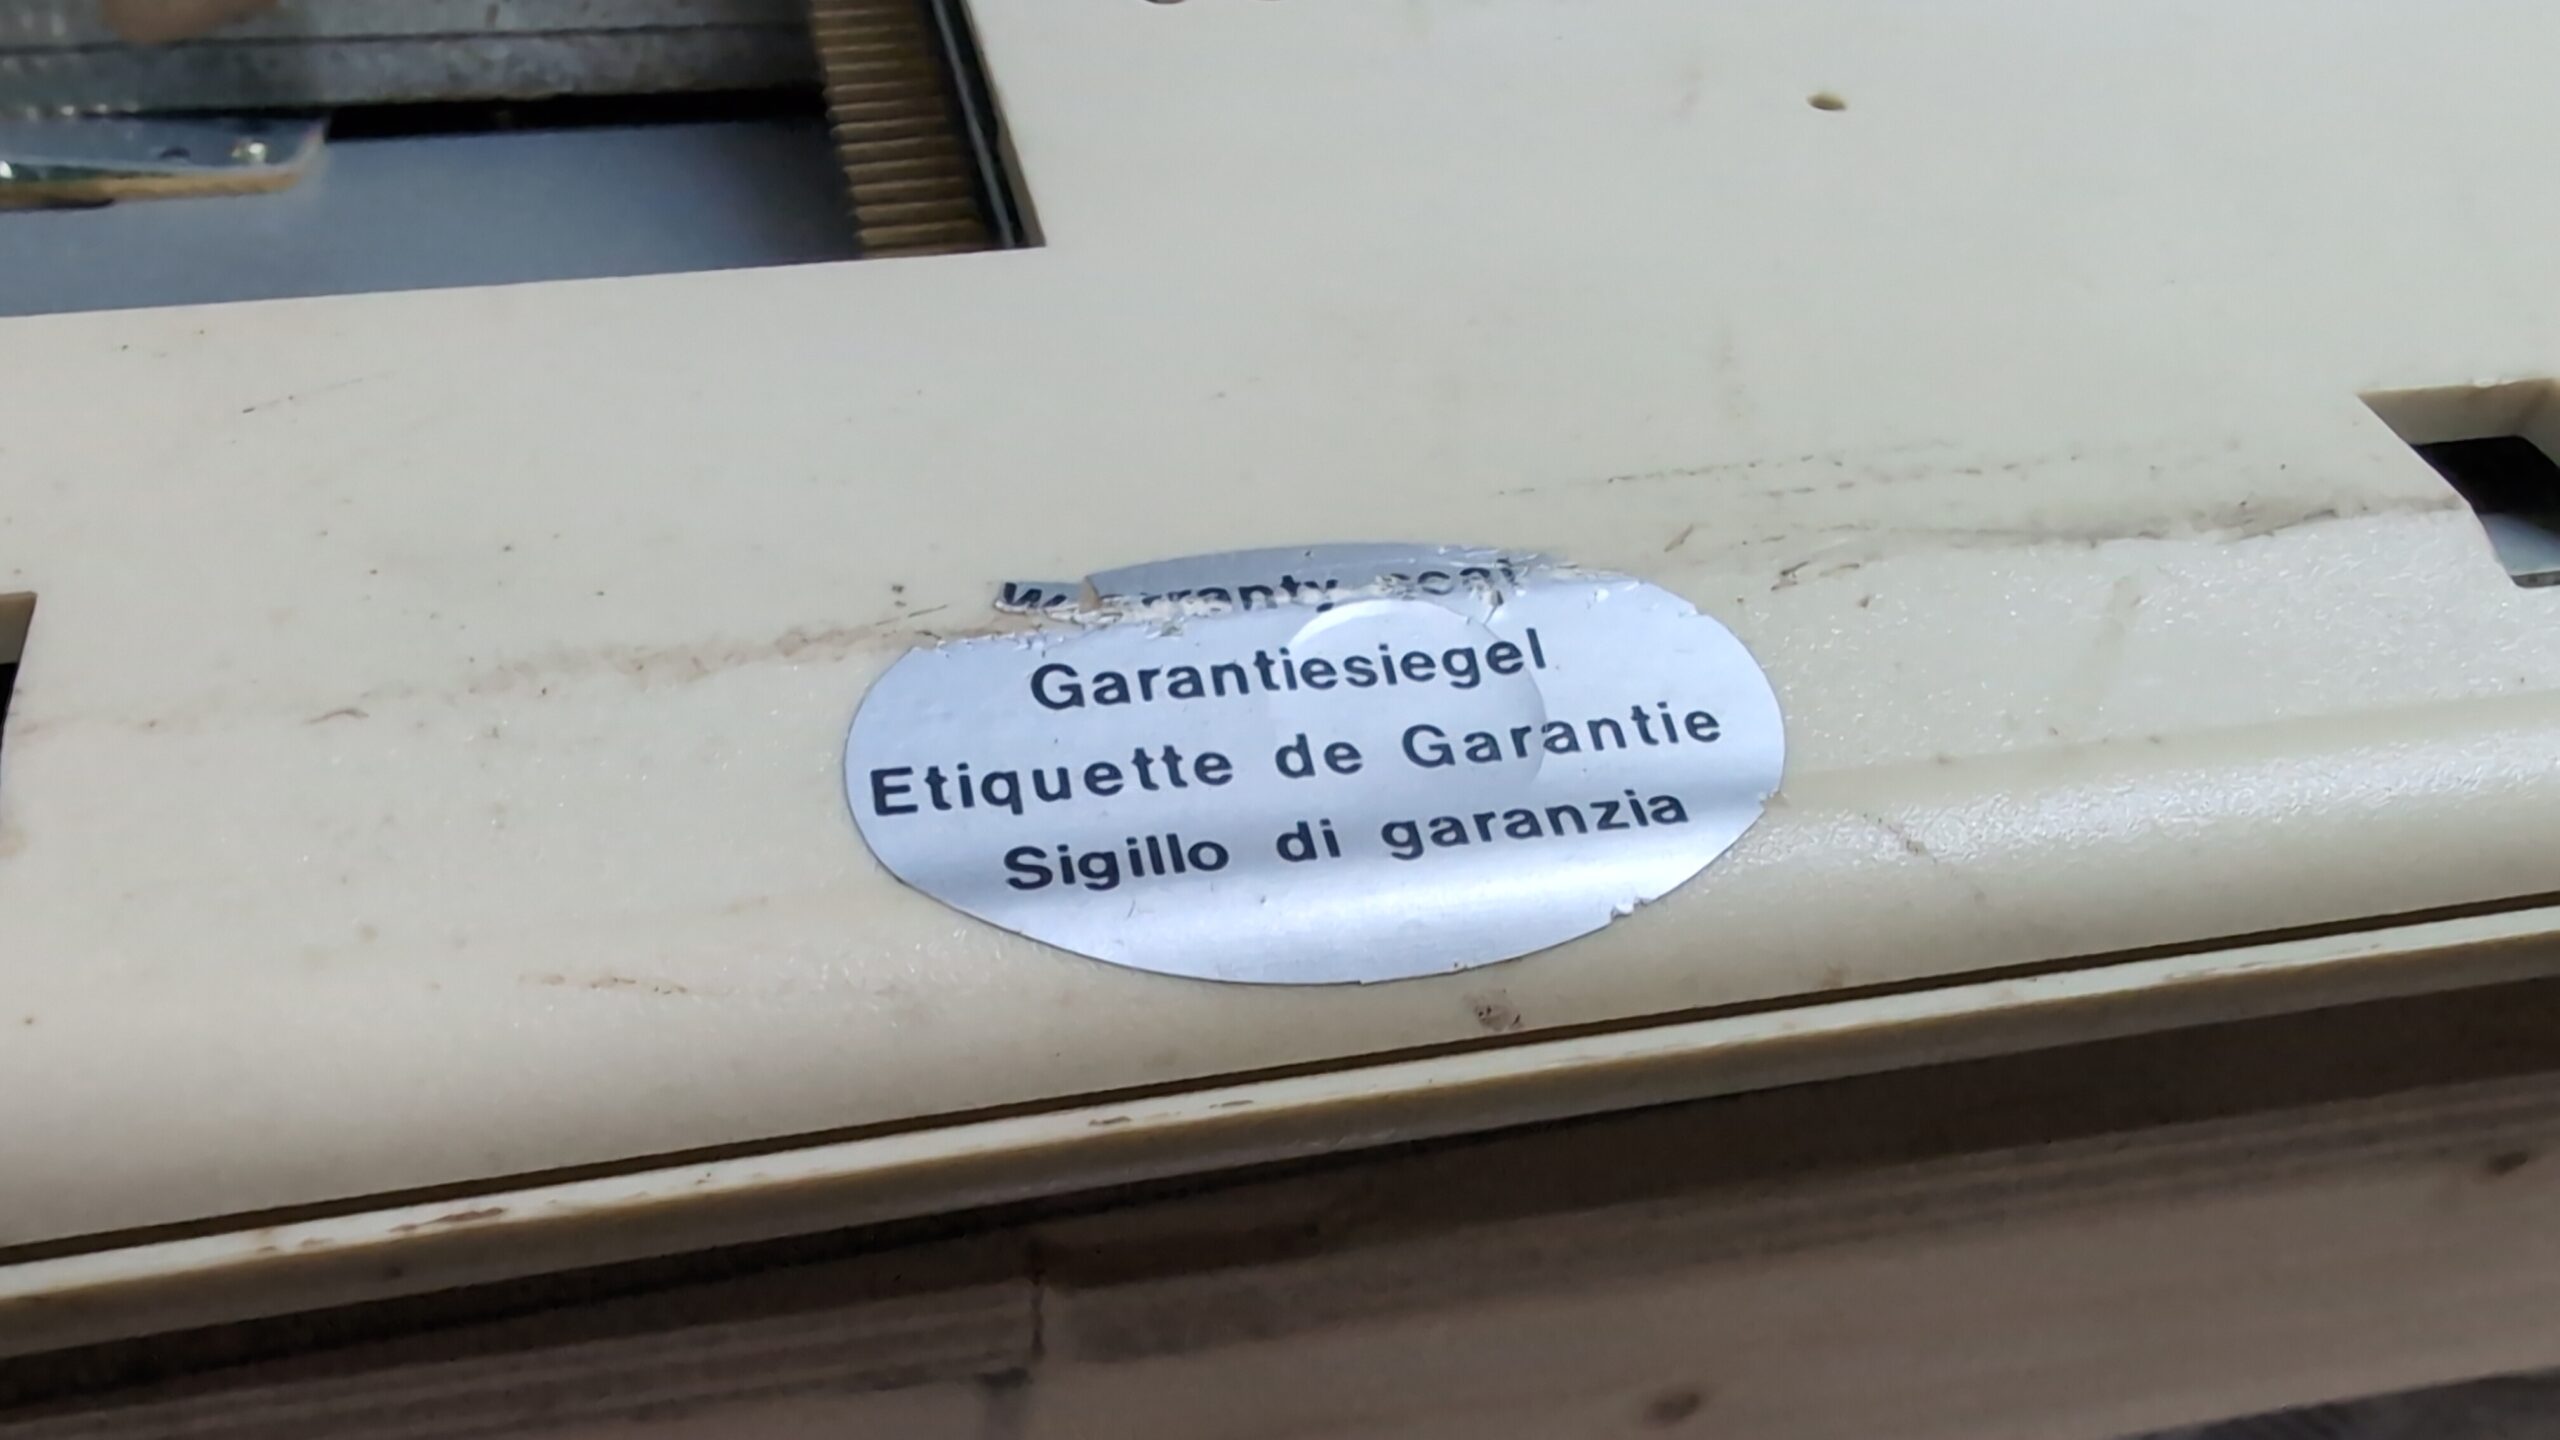
It still had the original warranty sticker.
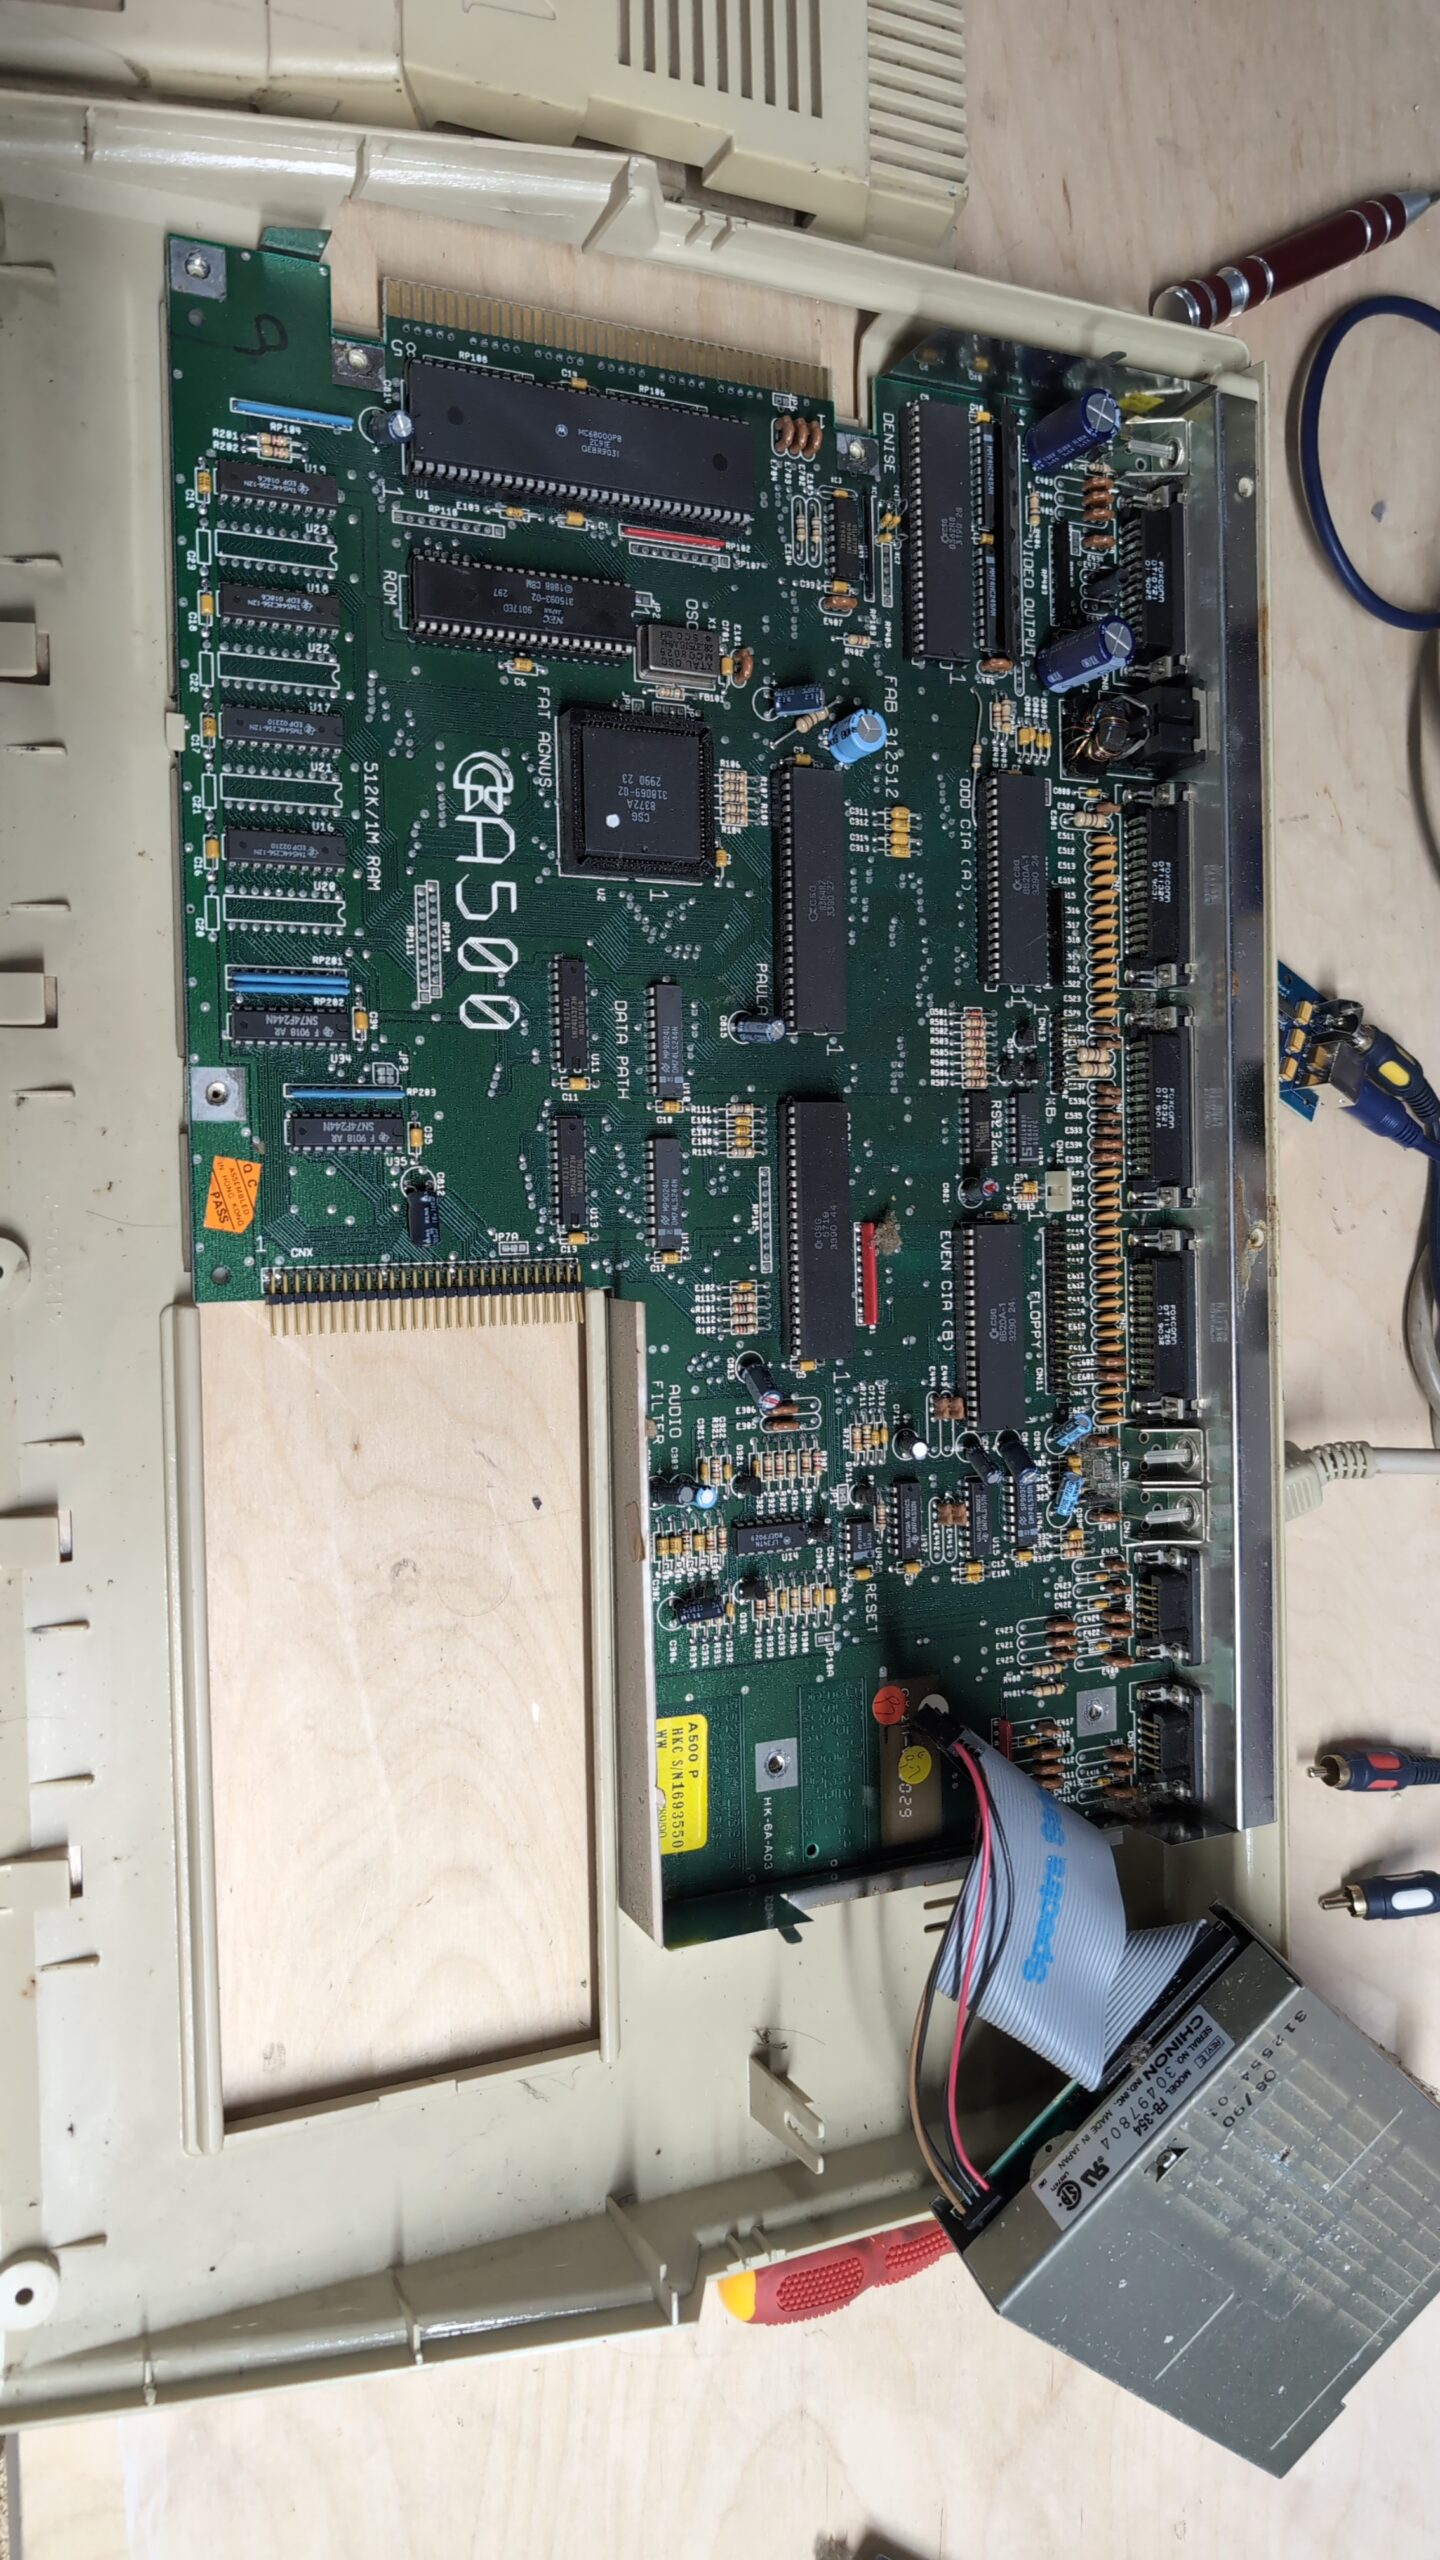
Disassembly and cleaning
The usual disassembly followed.
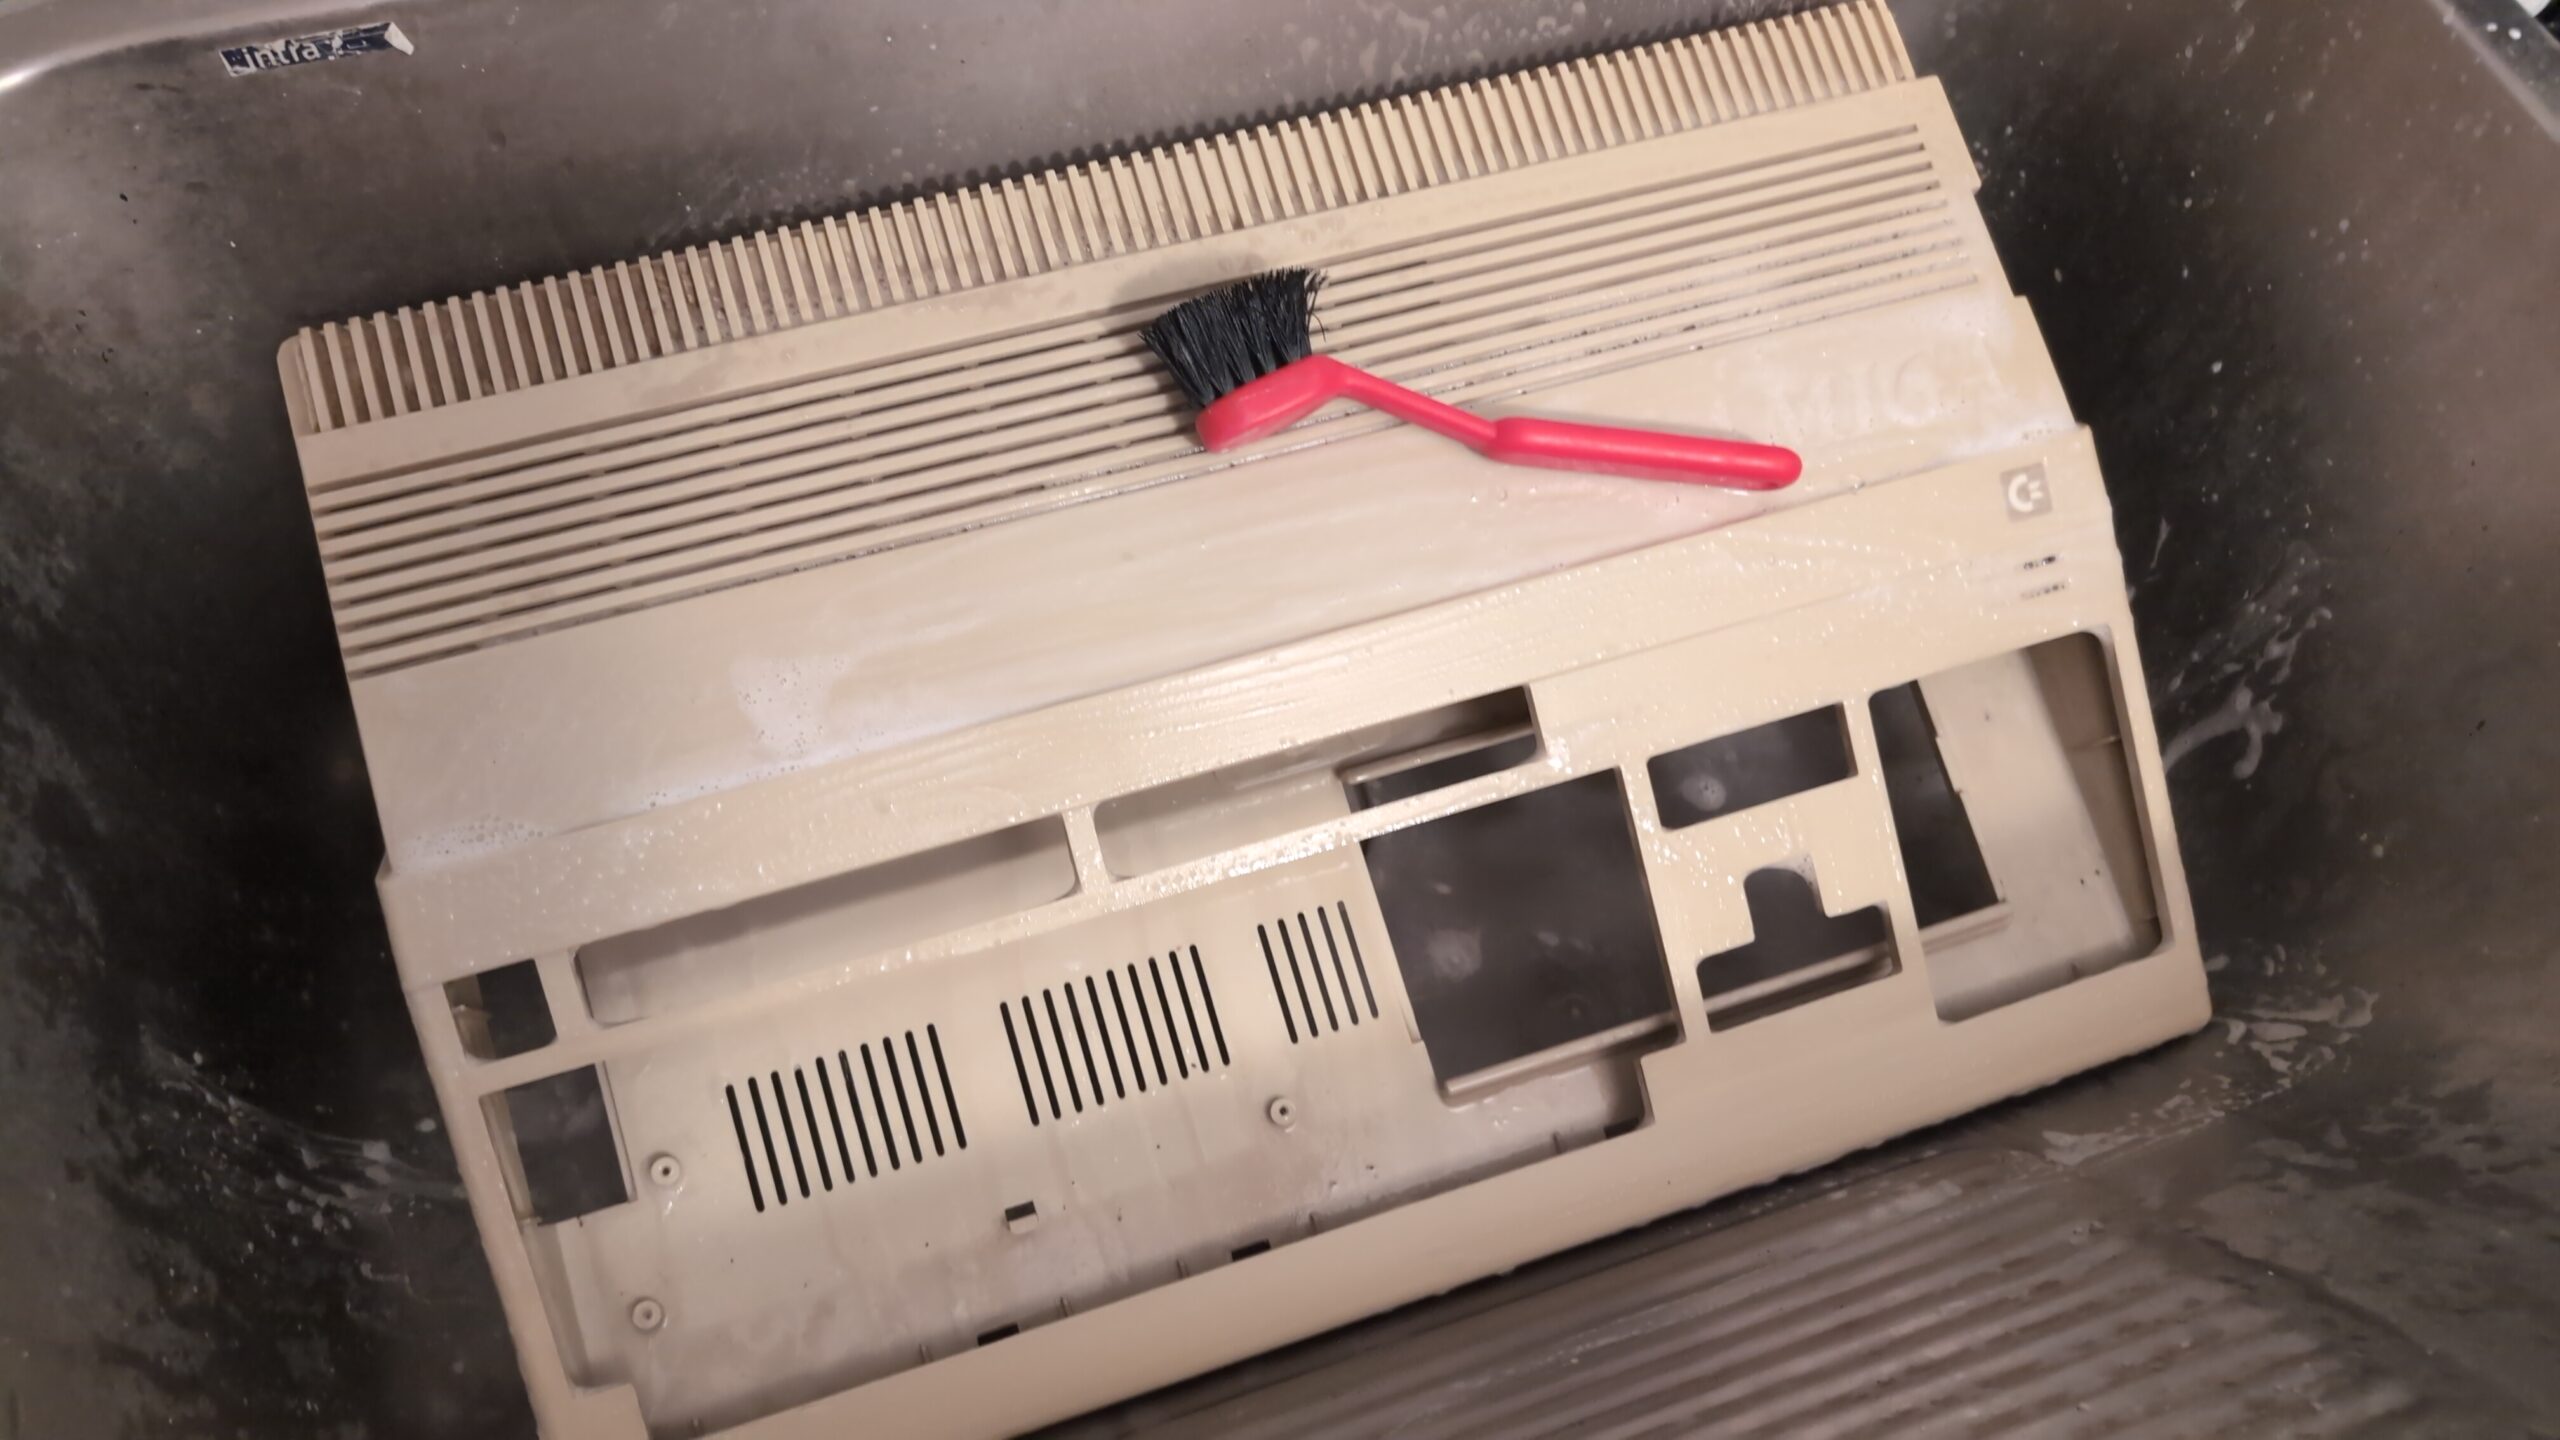
After removing all the internals, the case entered the SPA room.
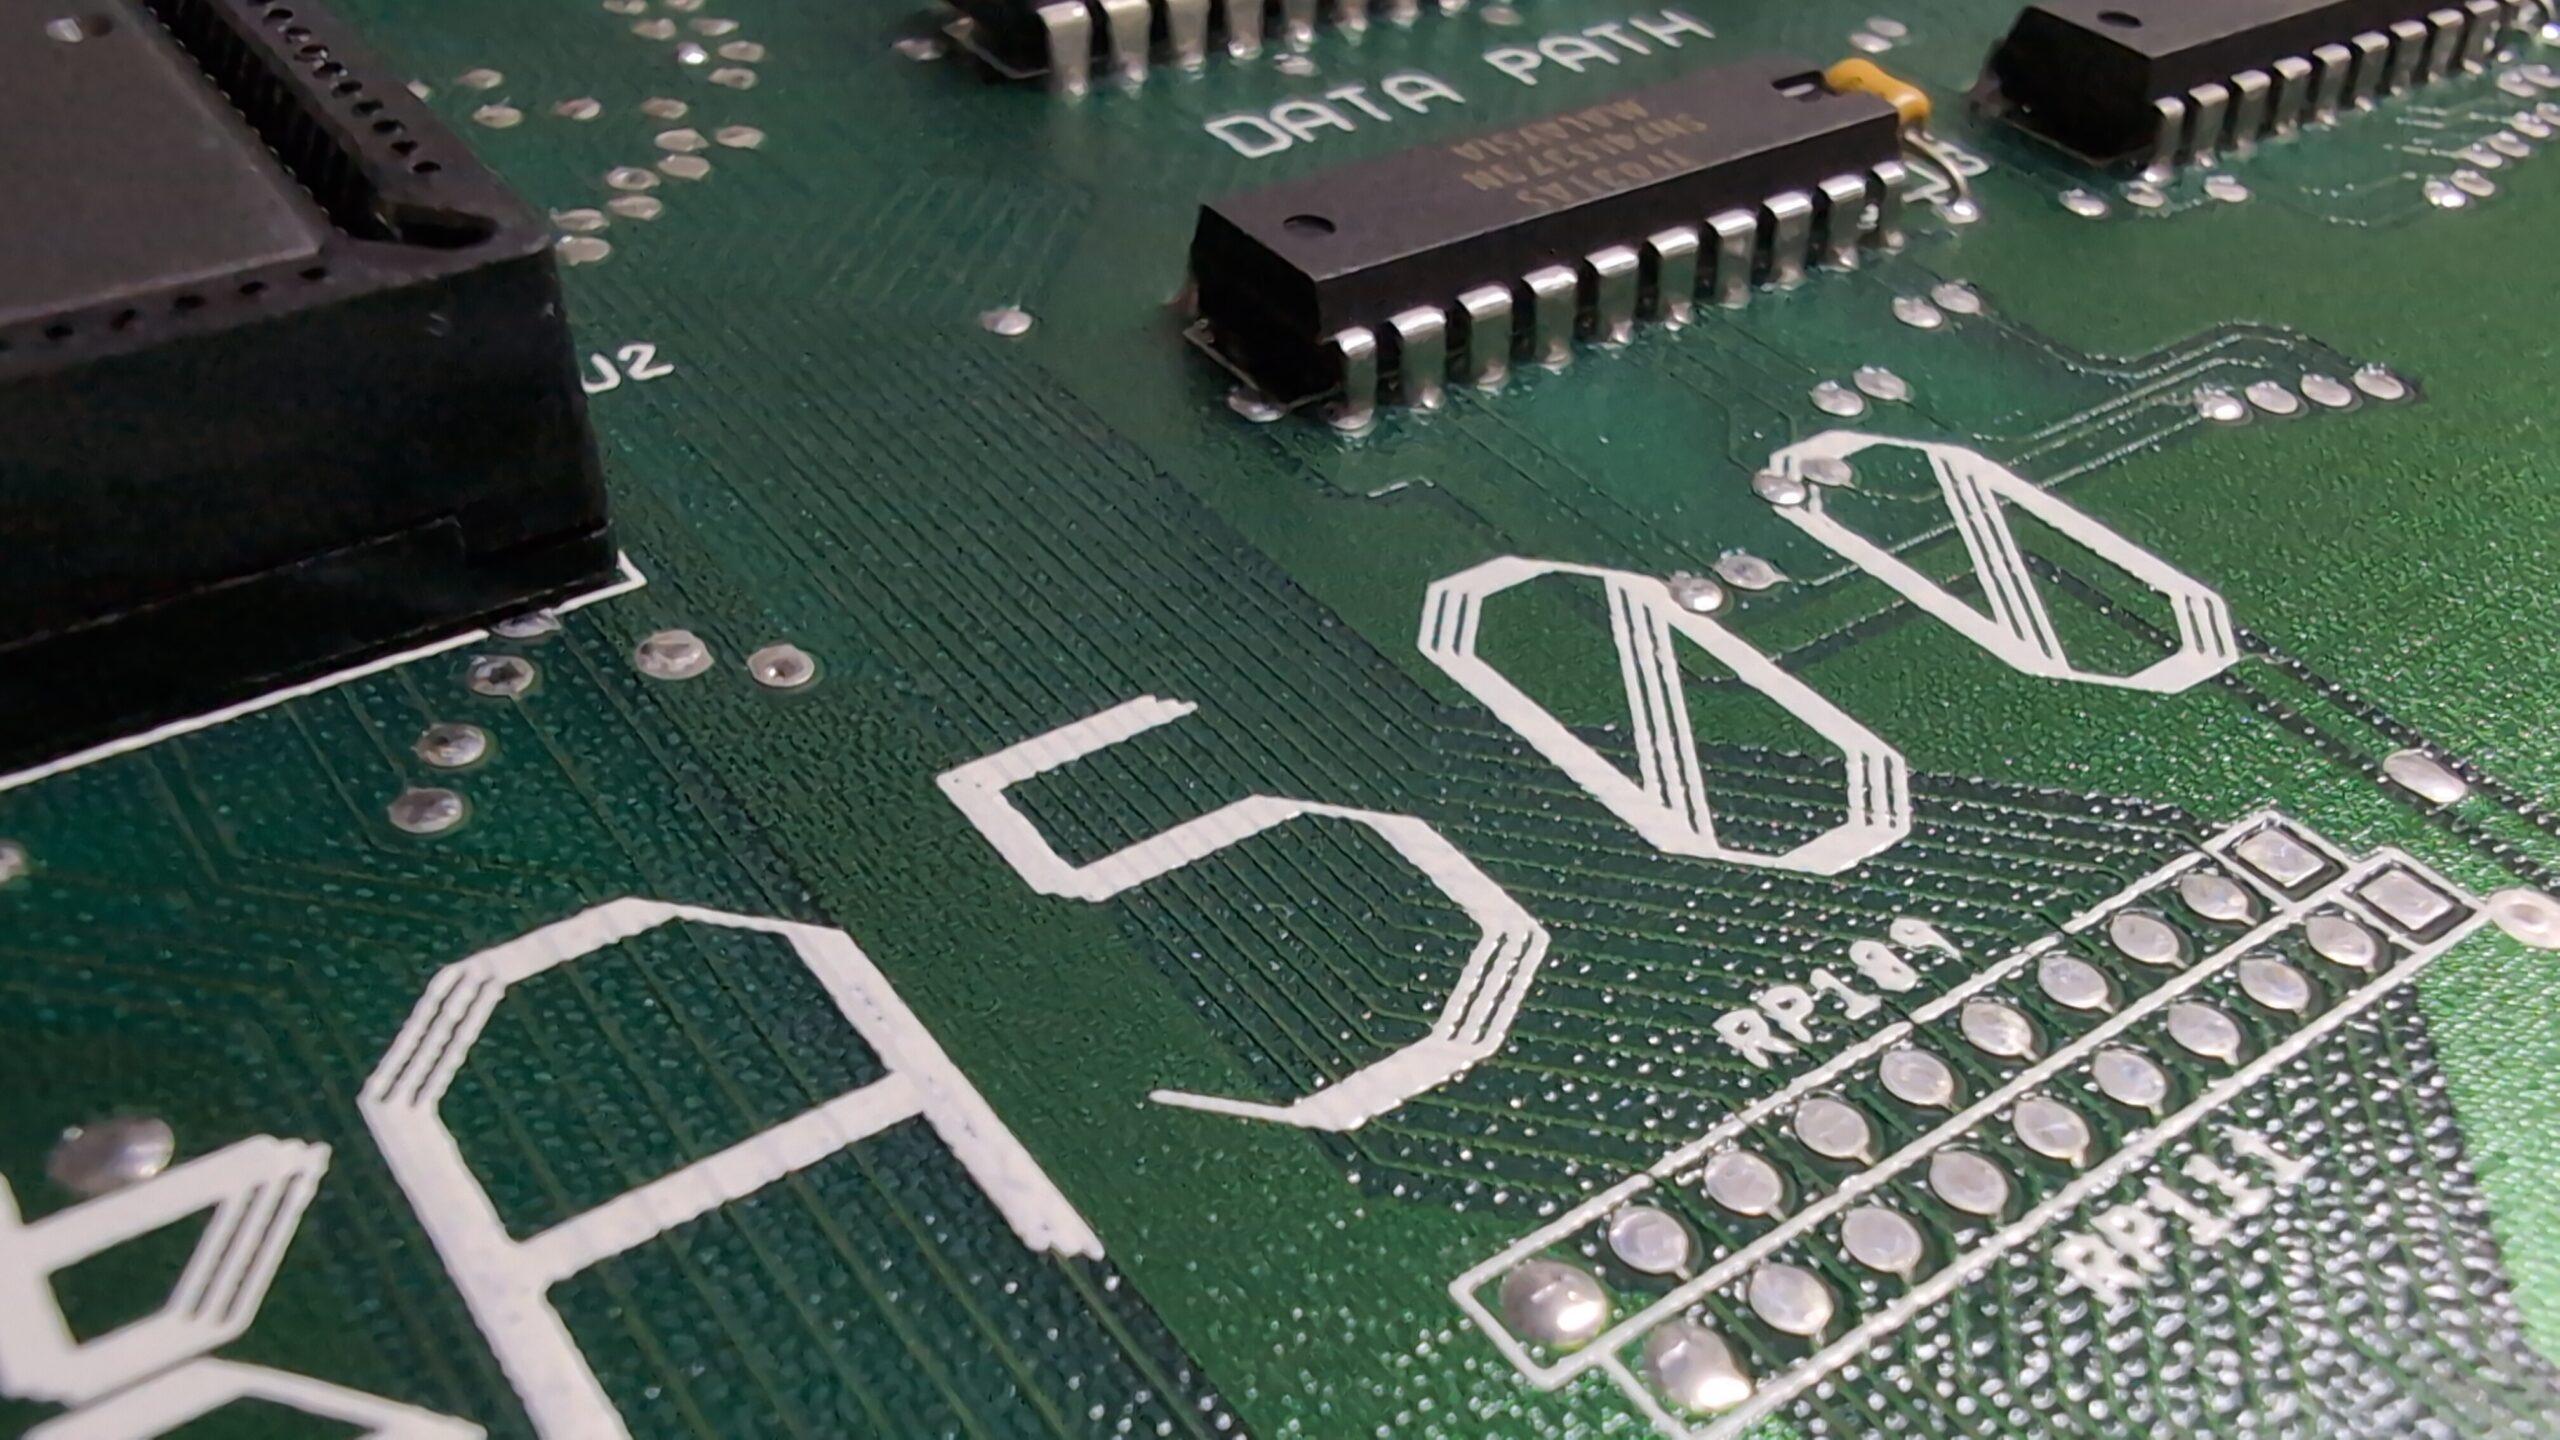
Meanwhile, the PCB landed inside the ultrasonic cleaner.
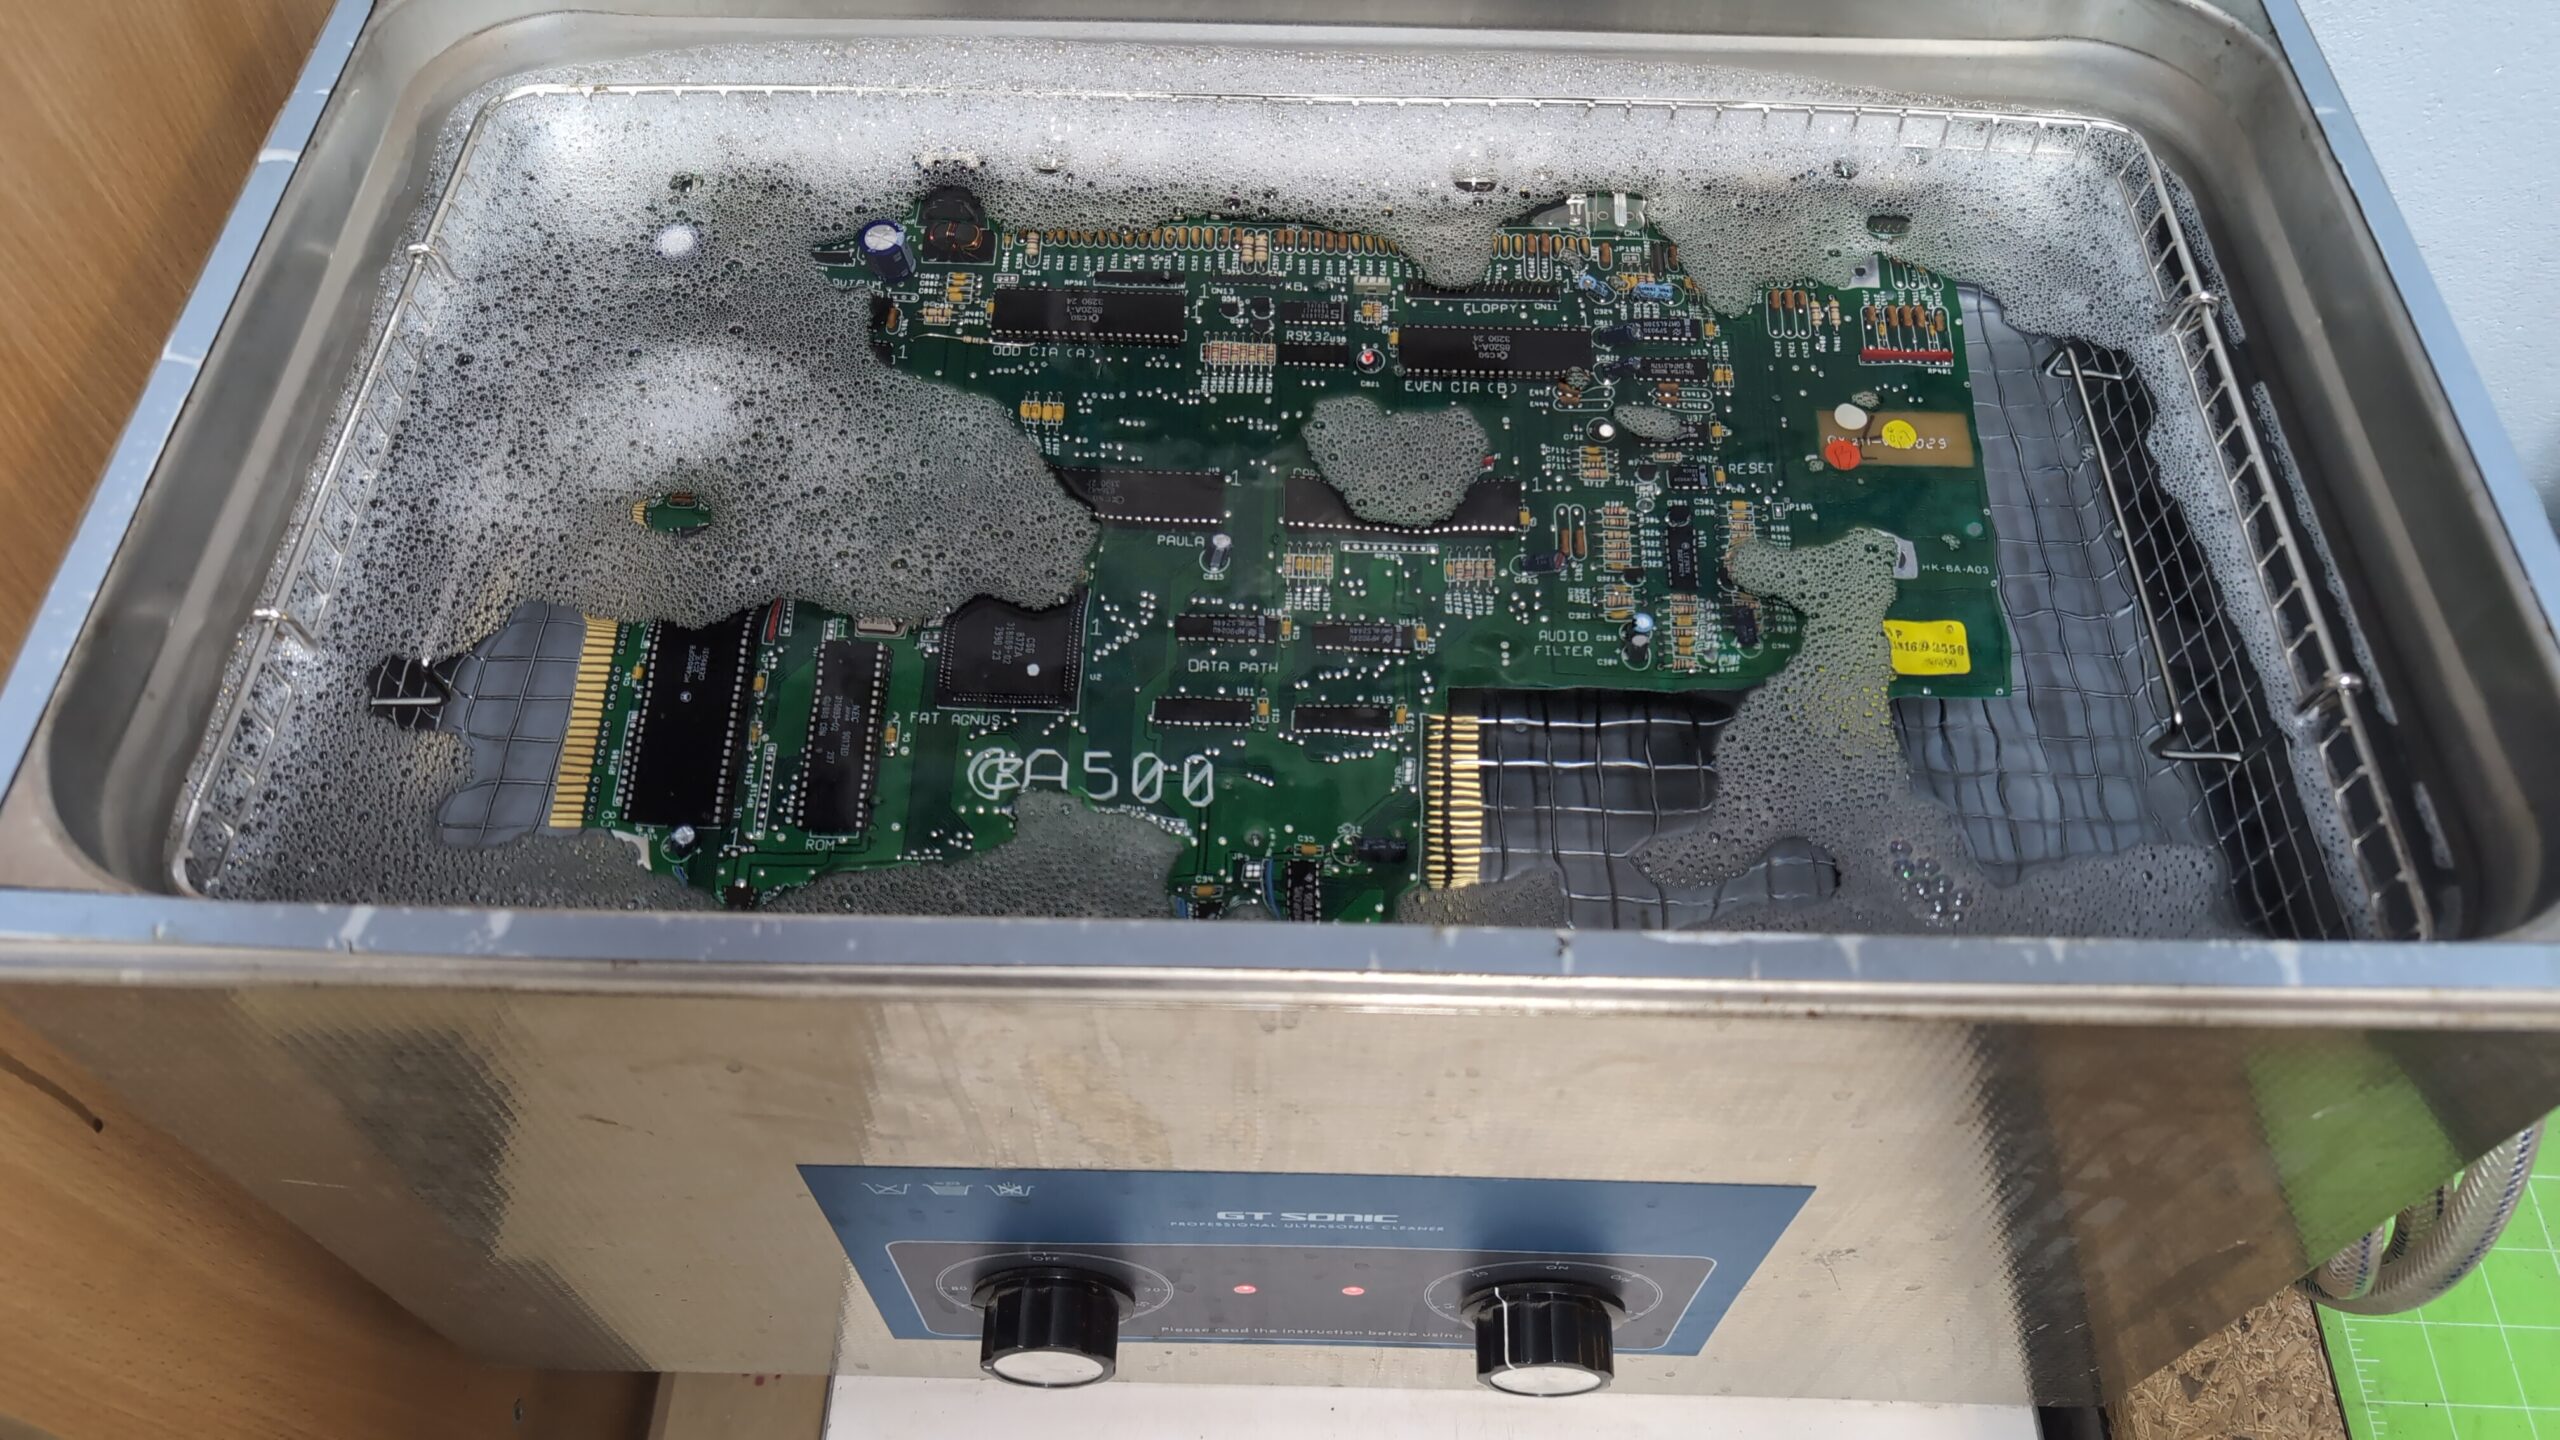
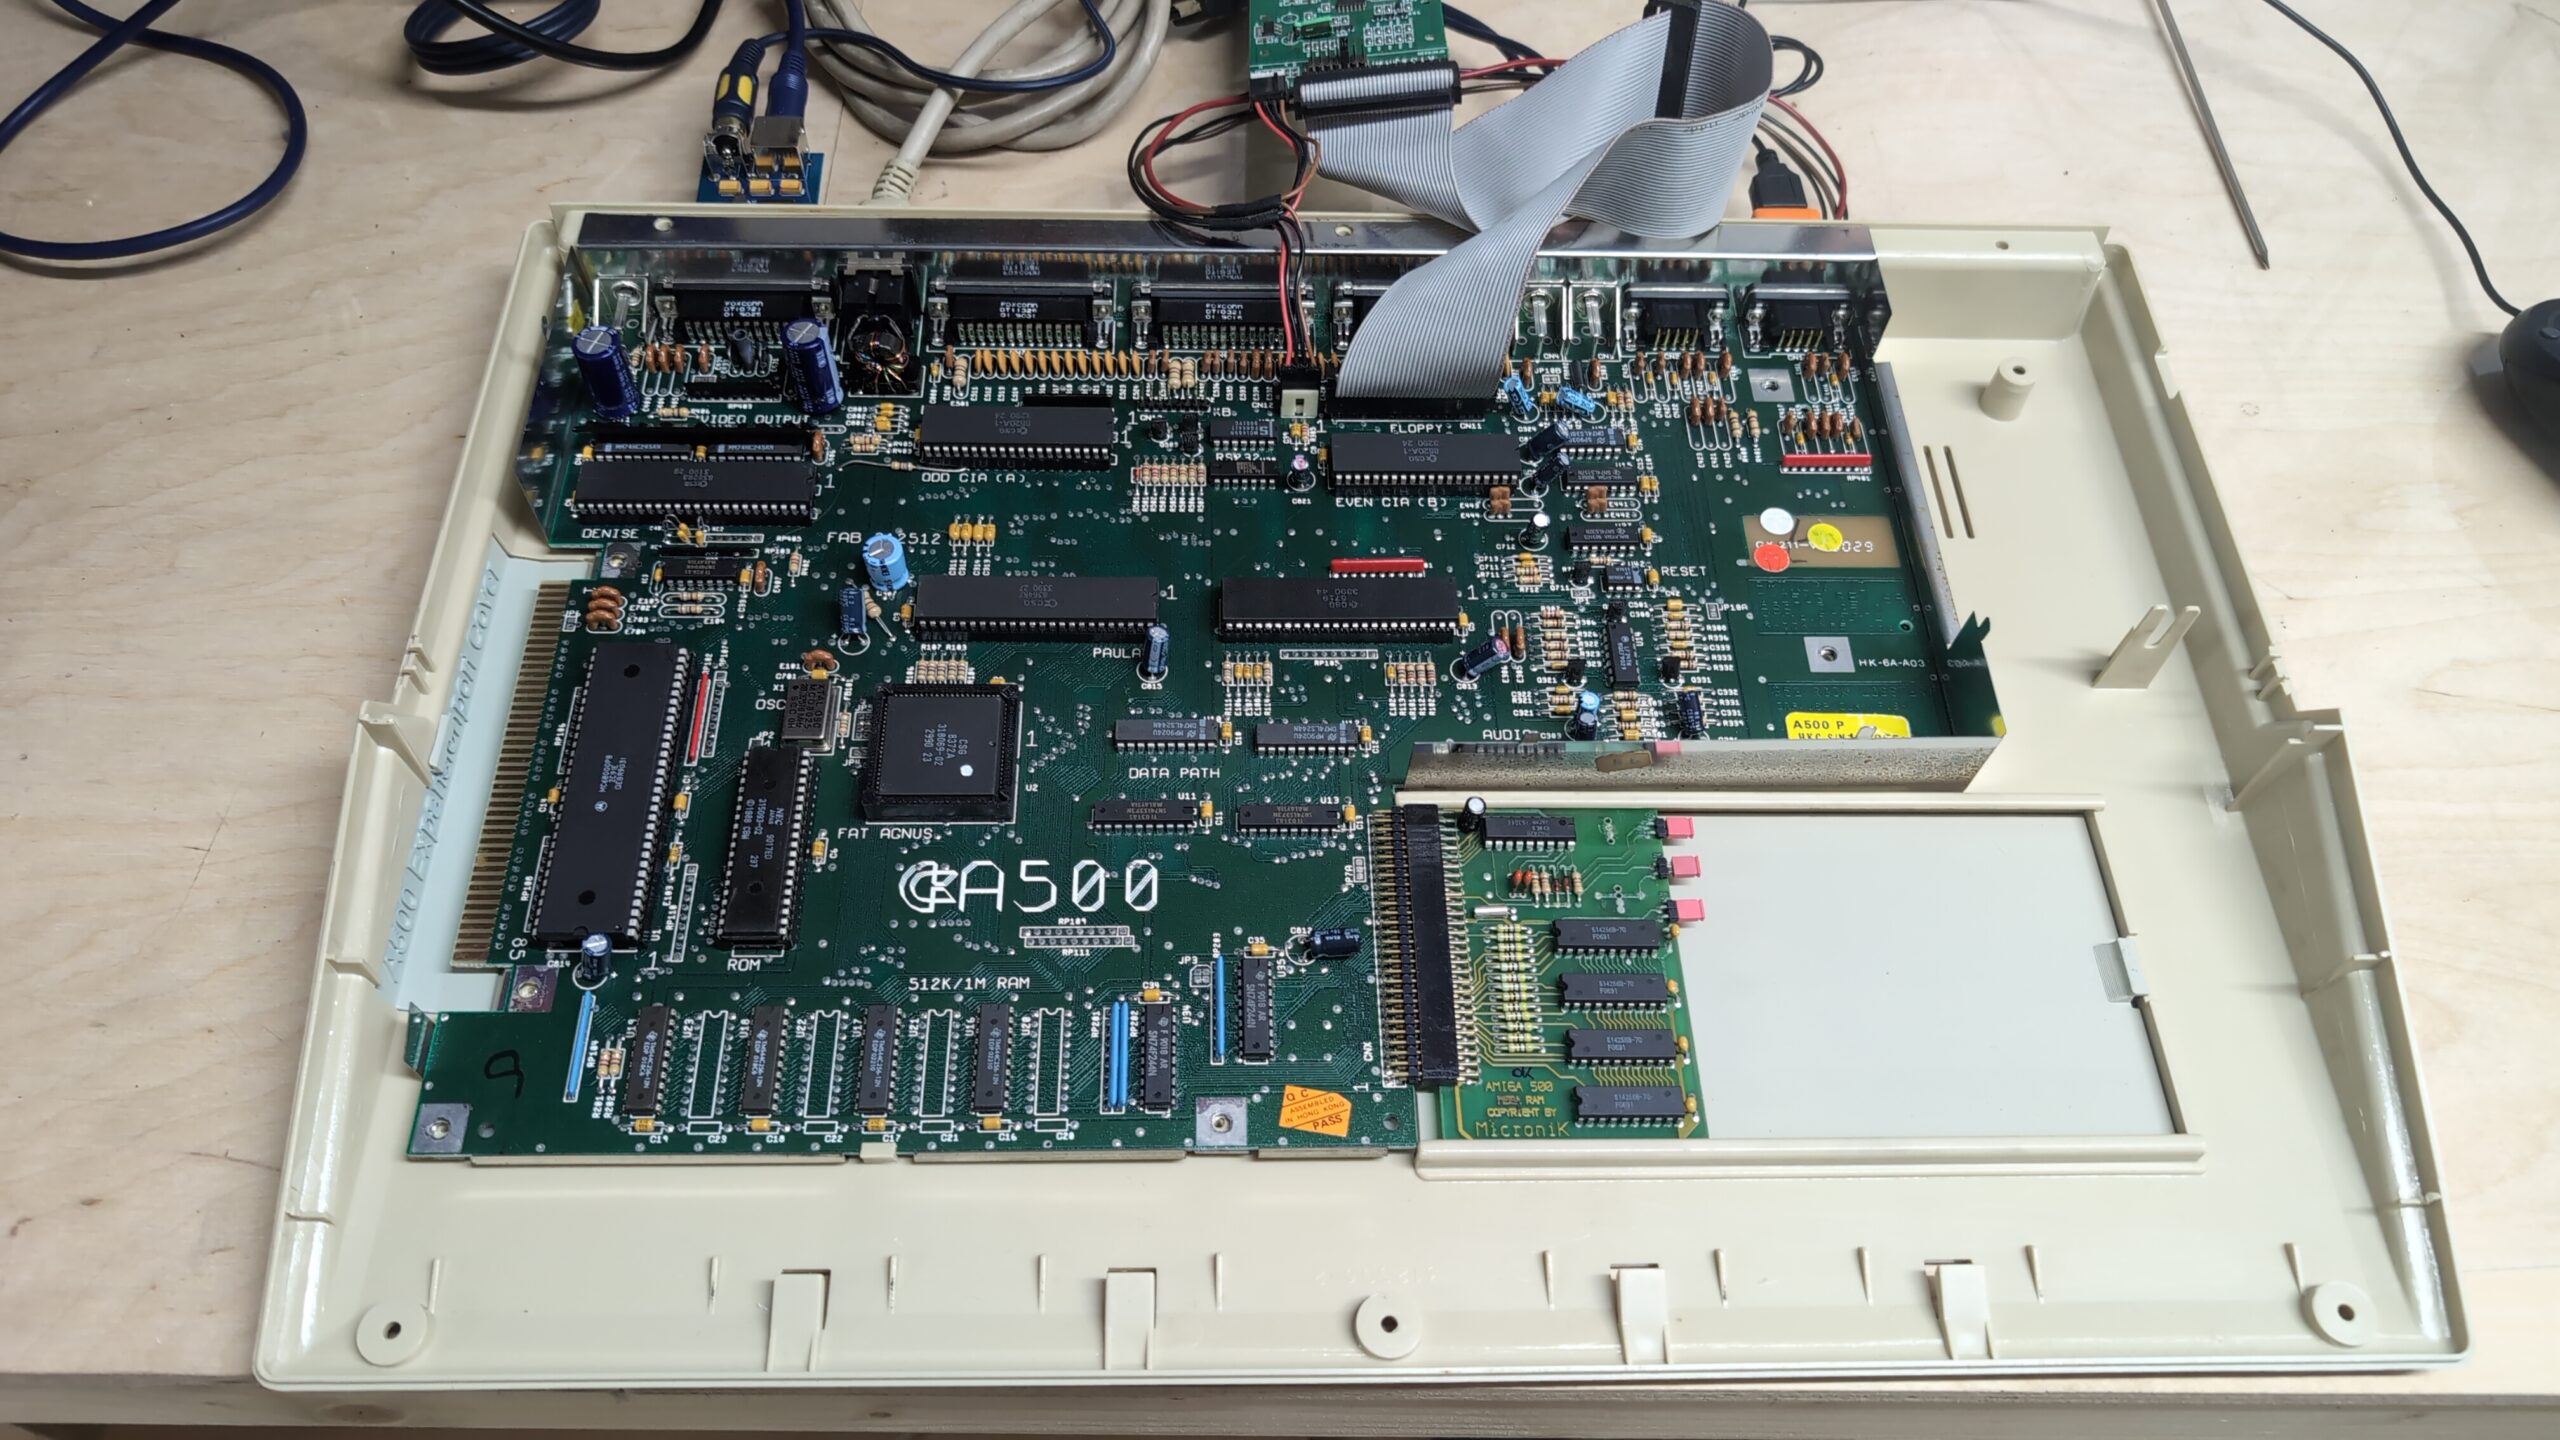
Below is a PCB after cleaning.
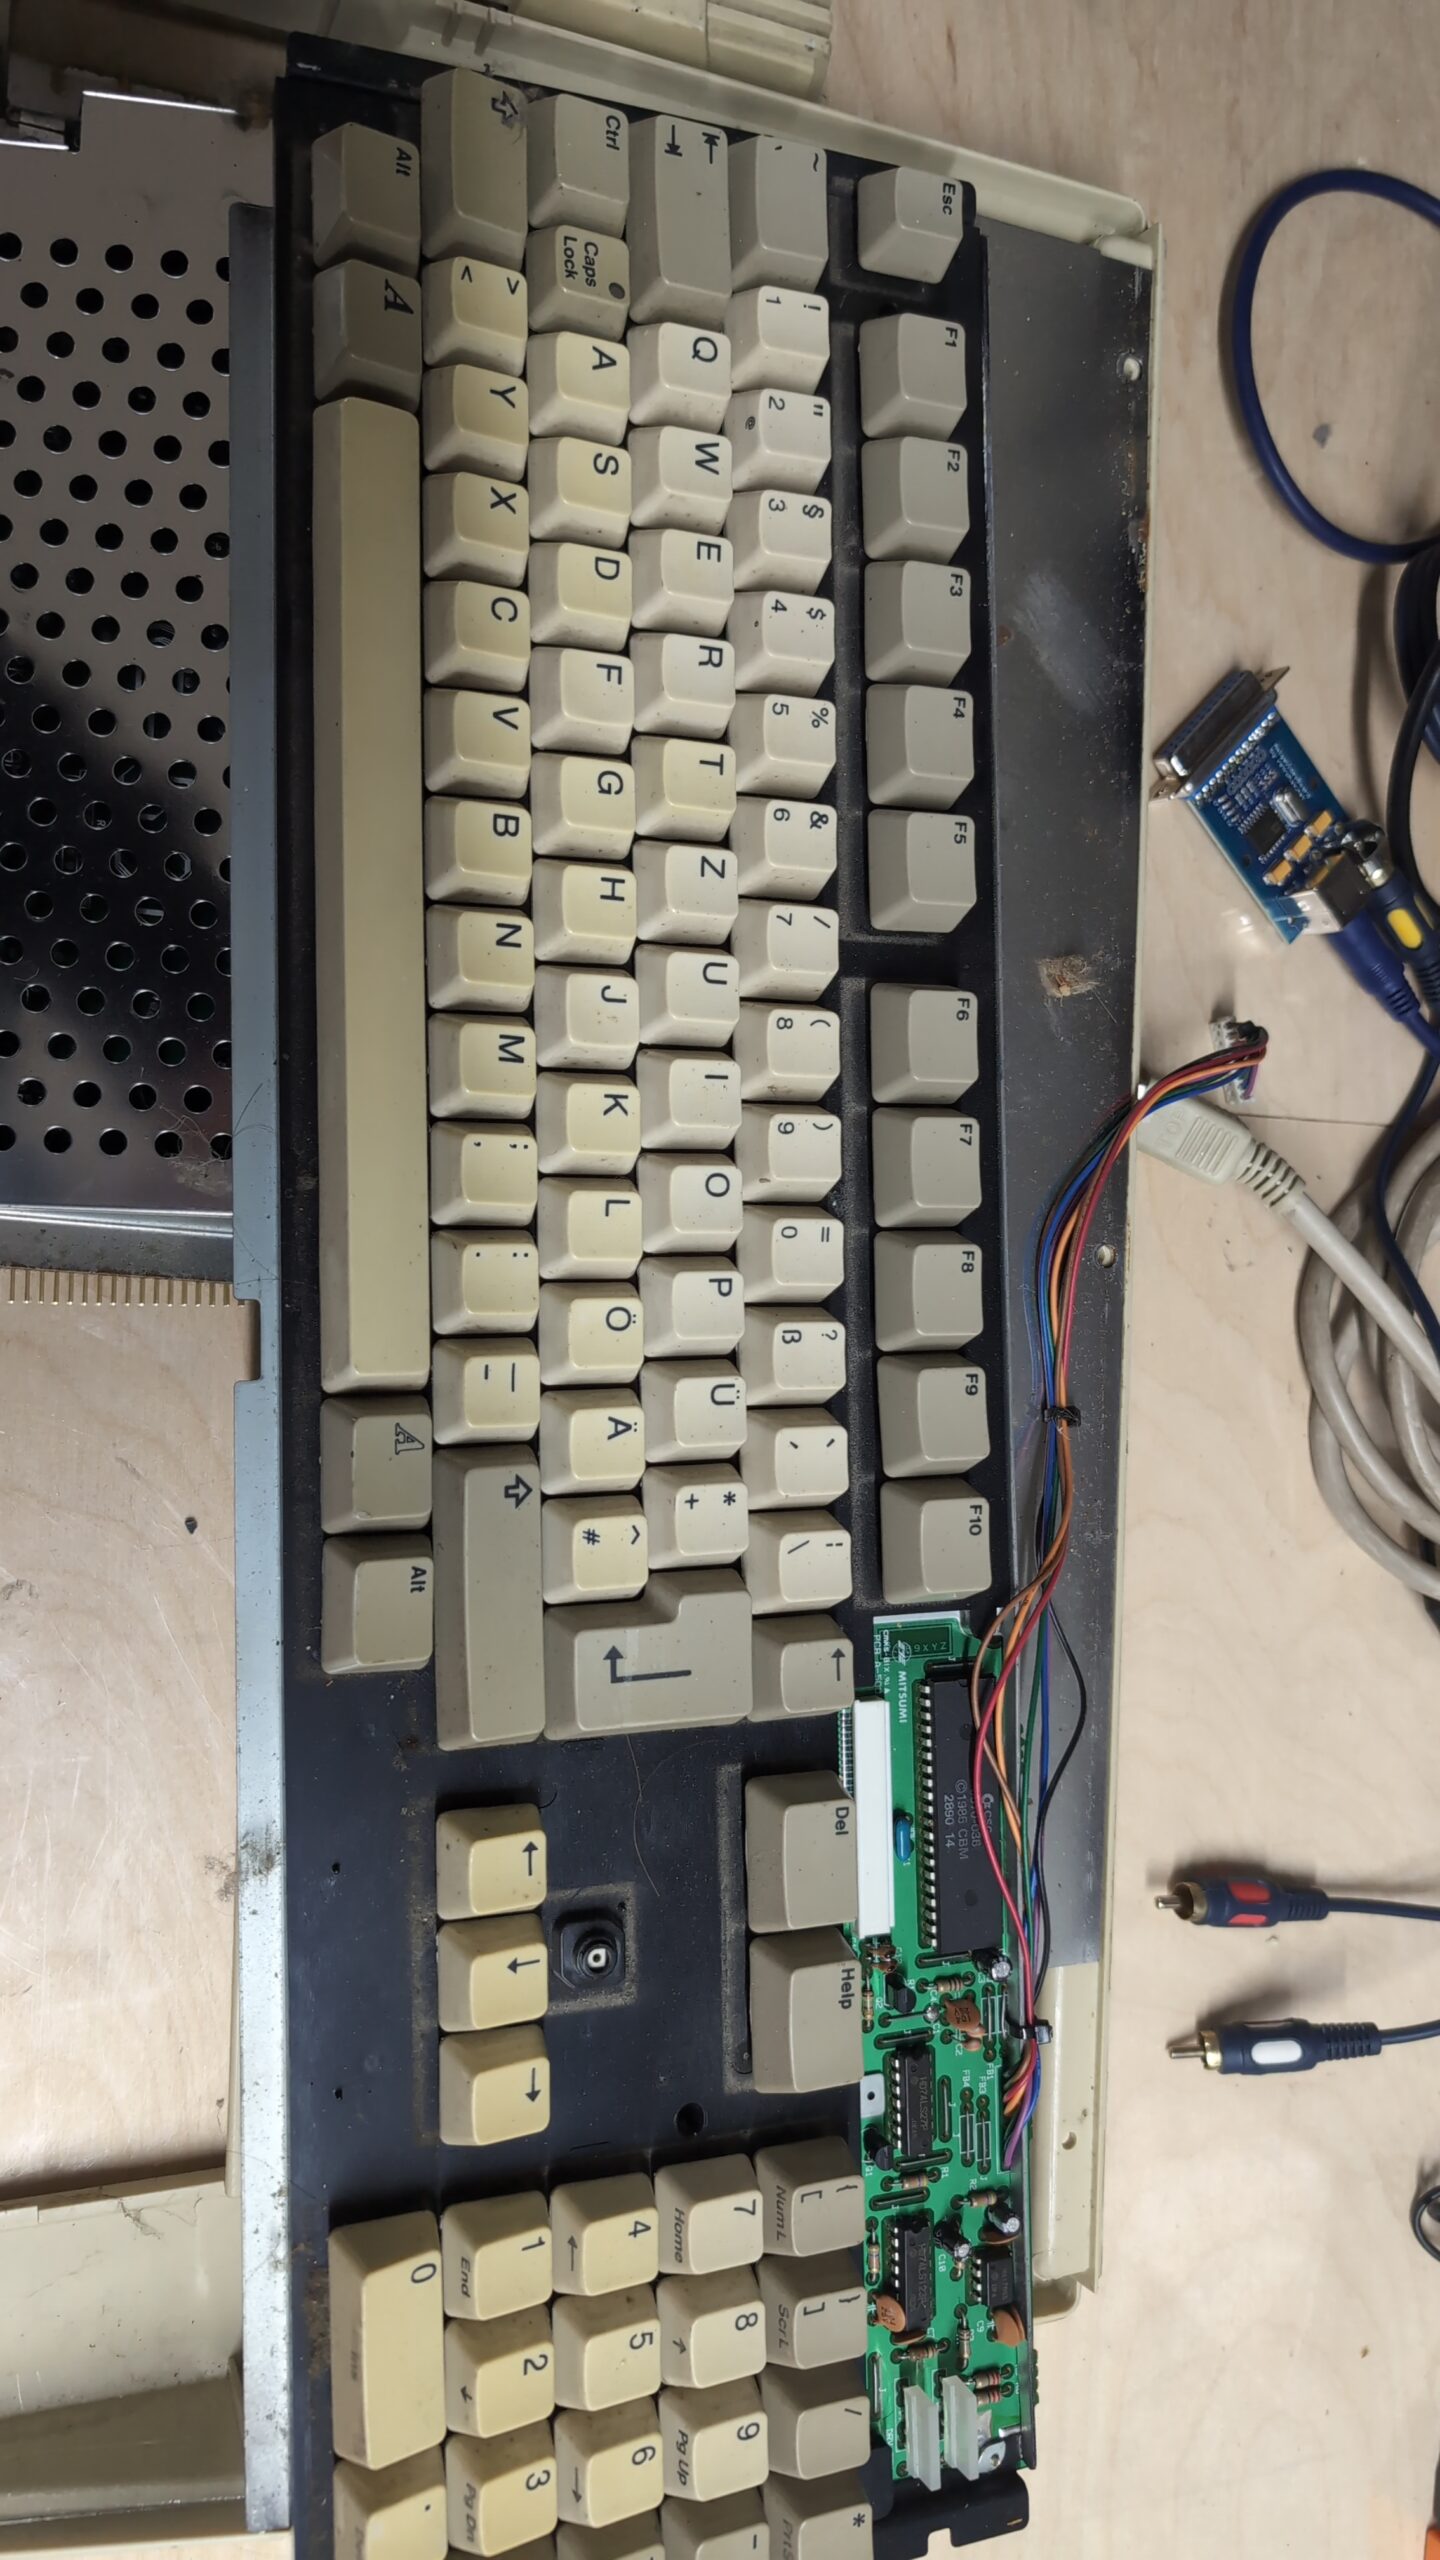
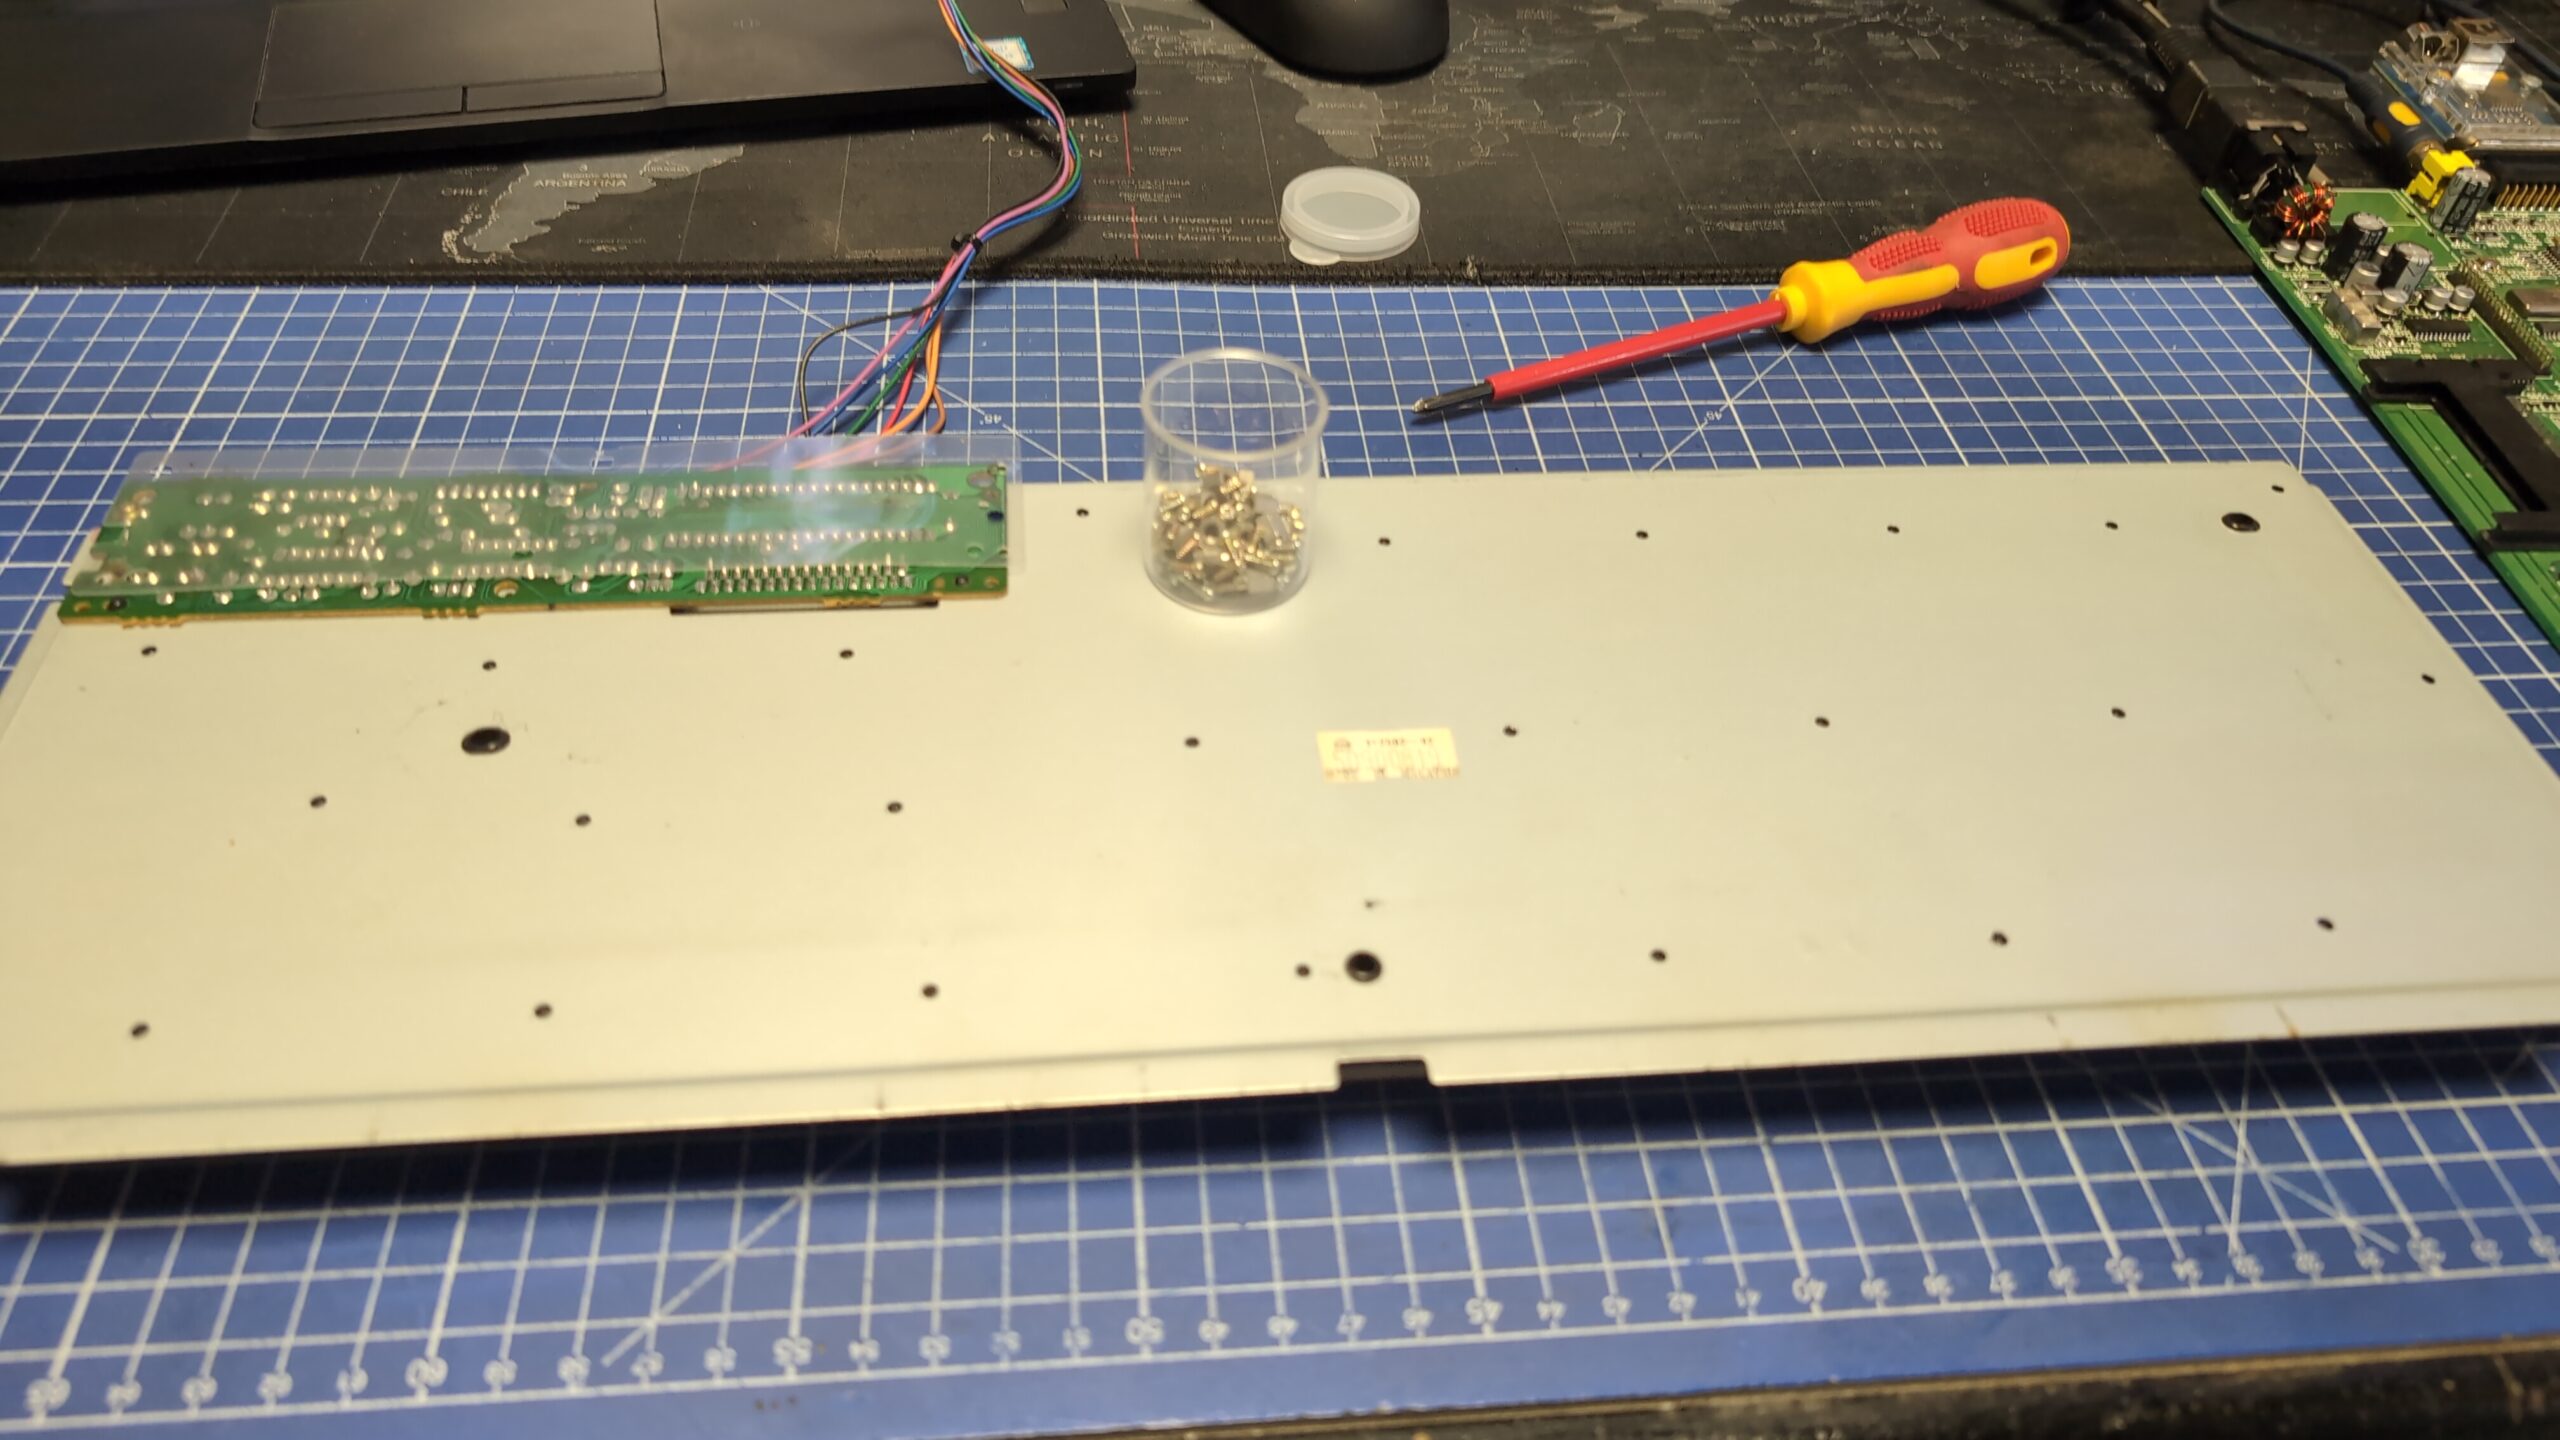
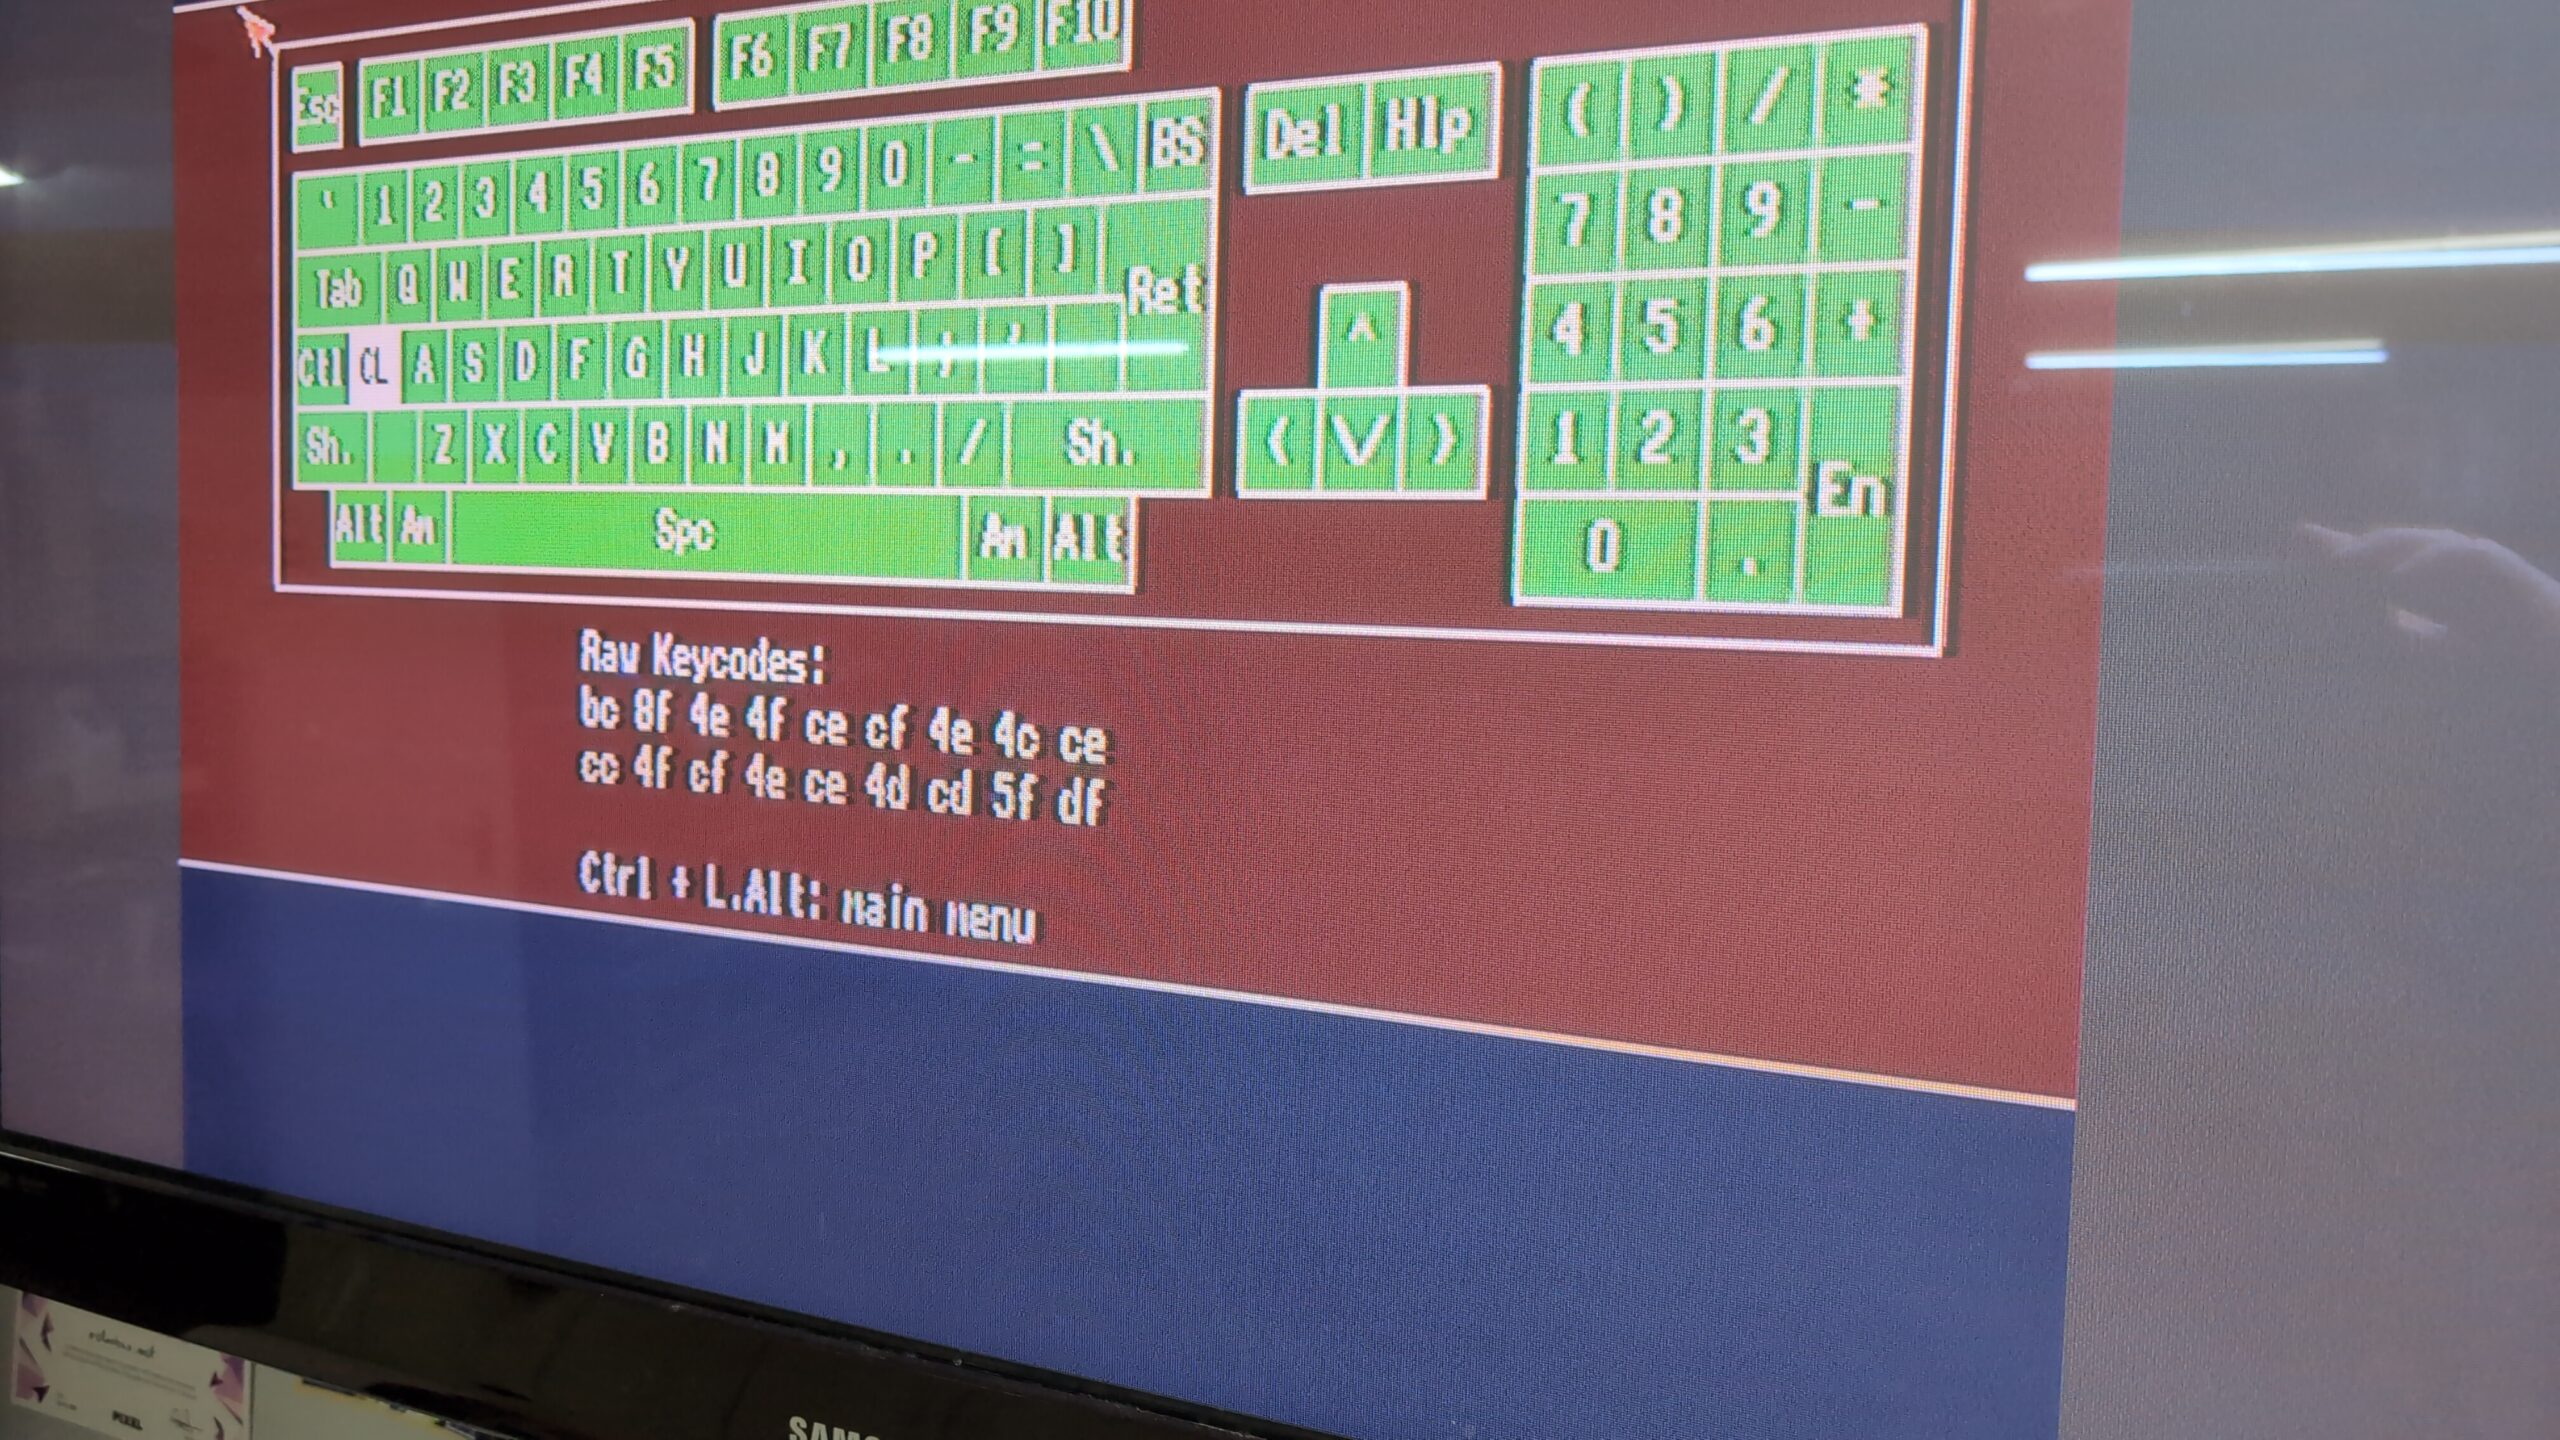
I also disassembled the keyboard and cleaned it afterward. Yes, I am not like YouTubers, and I do not add dramaturgy by cleaning every single keycap separately LOL.

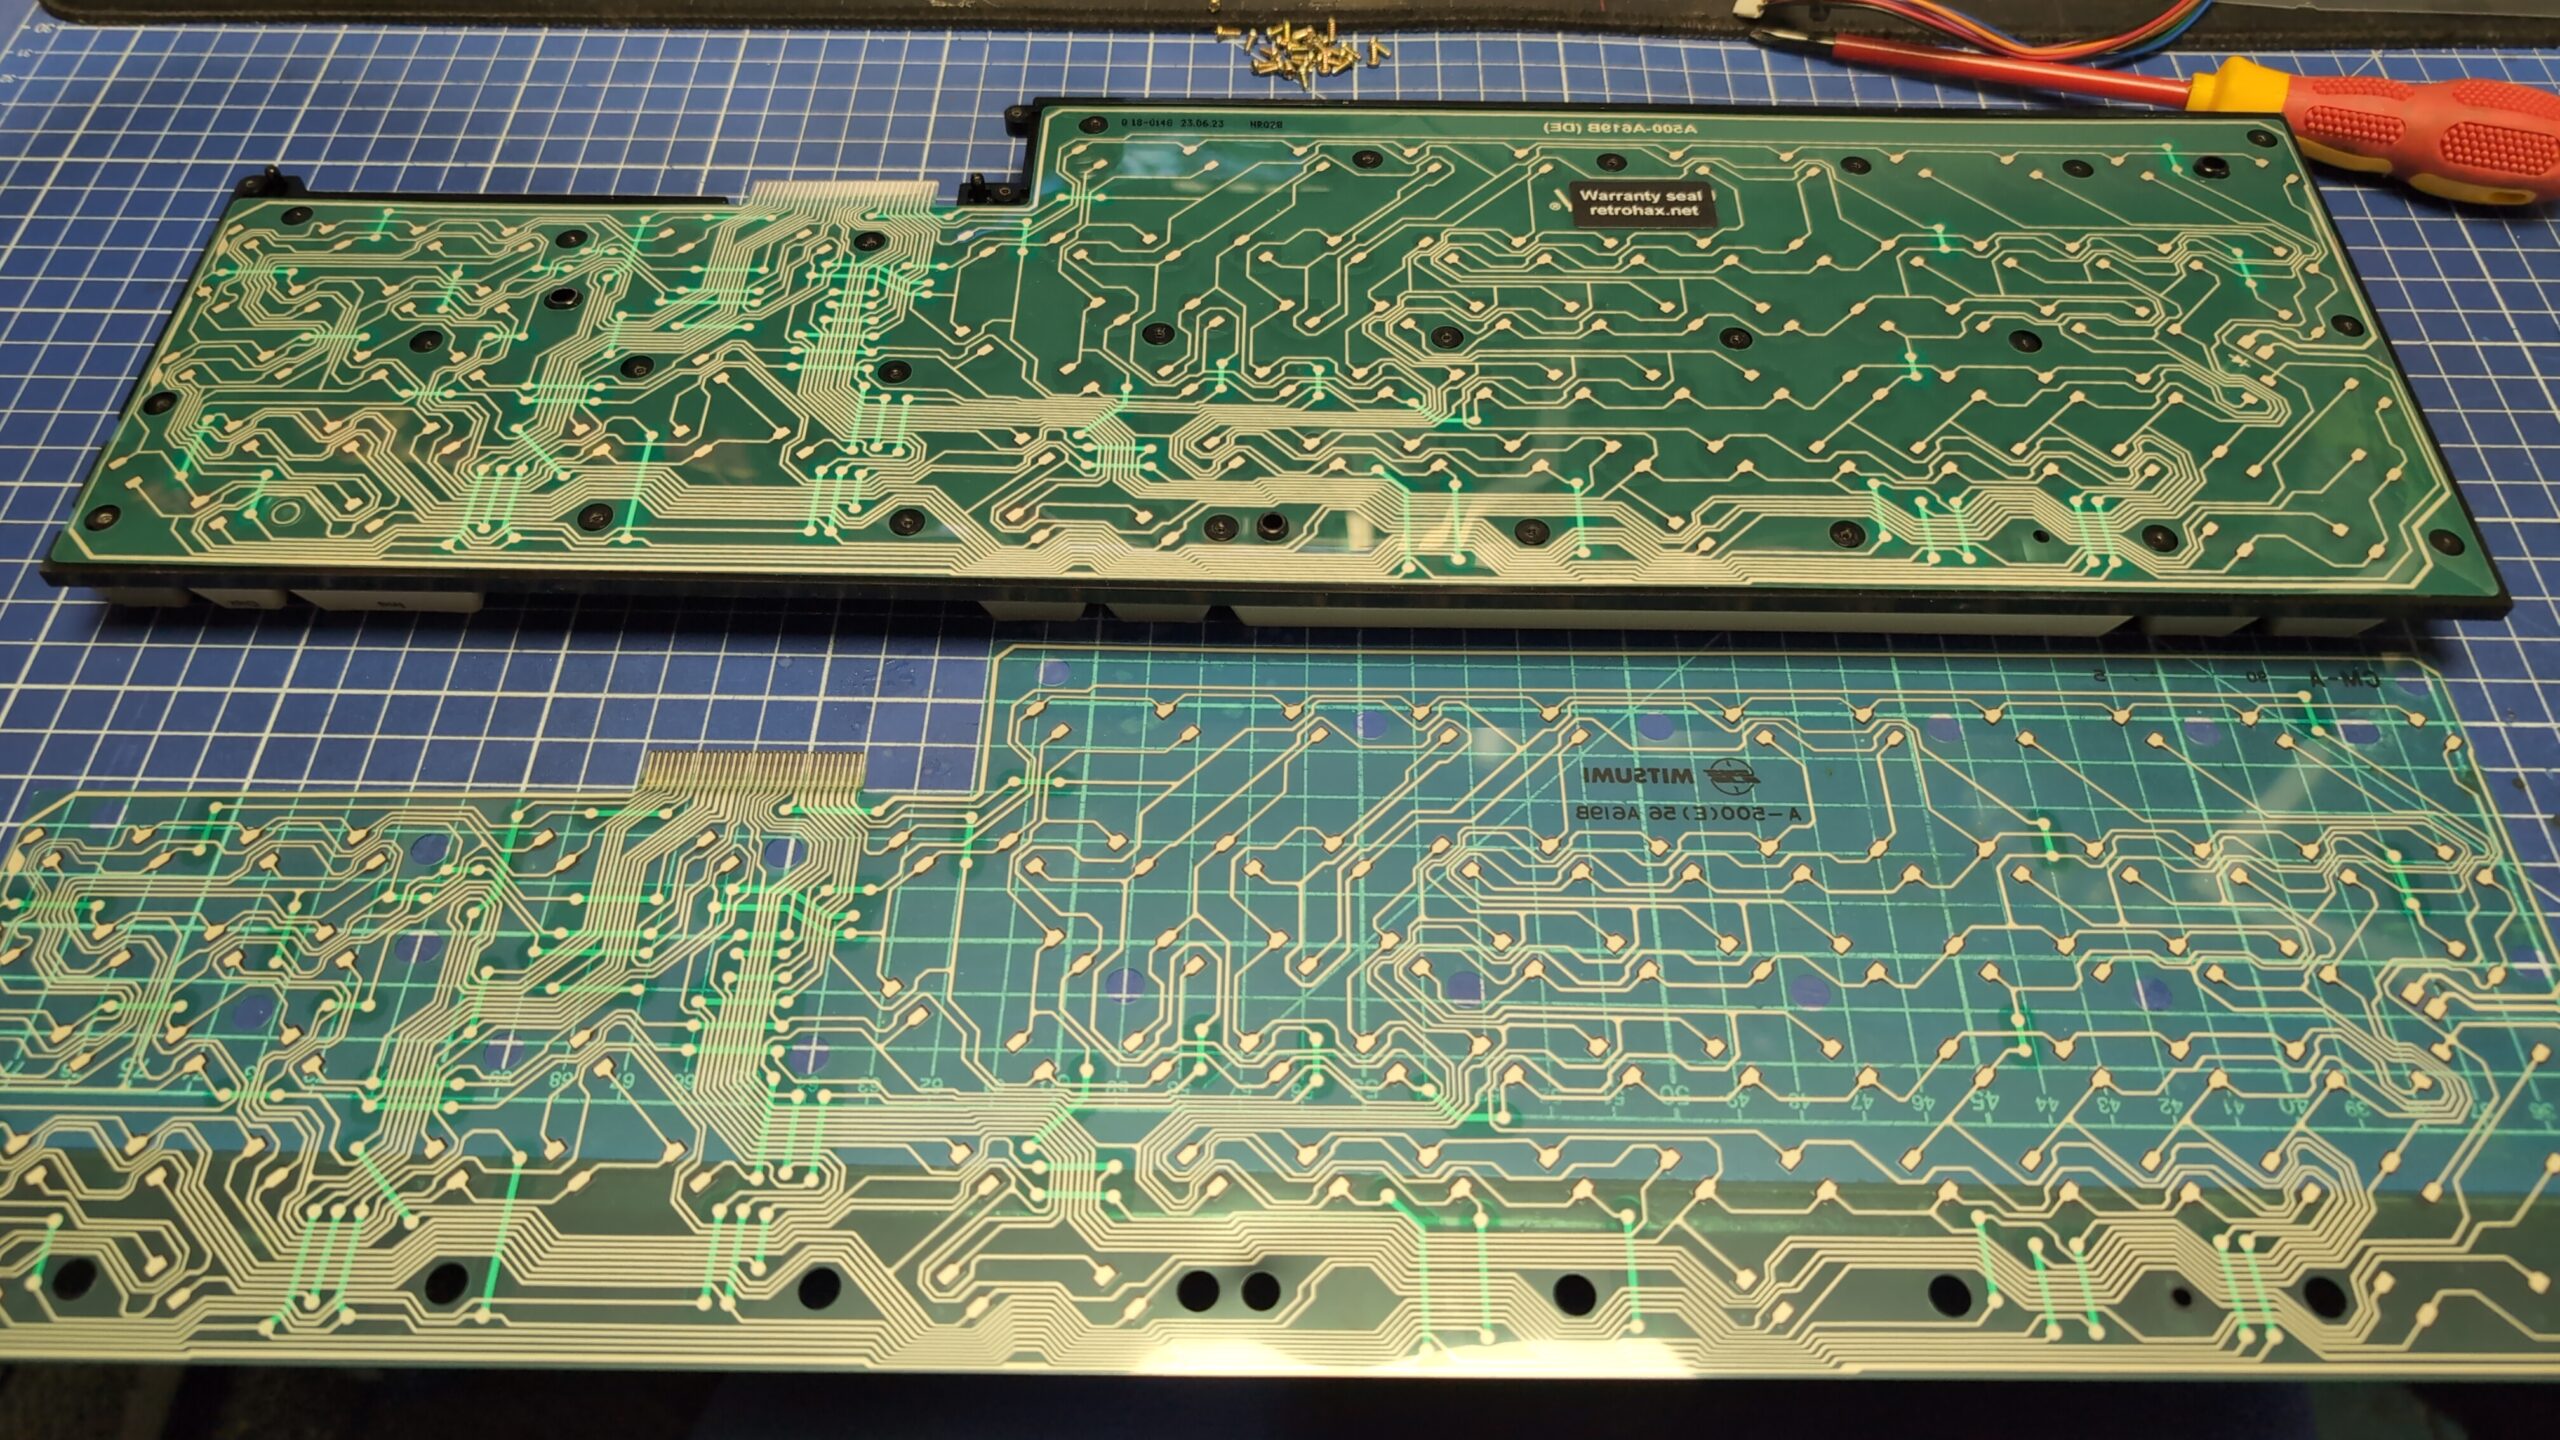
While at it, I could replace some broken keycap hammers. I also had to replace the keyboard membrane (Mitsumi) with a new one that I manufactured. The original had some broken traces because of oxidation. You can spot it easily as the oxidation results in slightly darker traces. In the picture below, a knife points at such a trace.

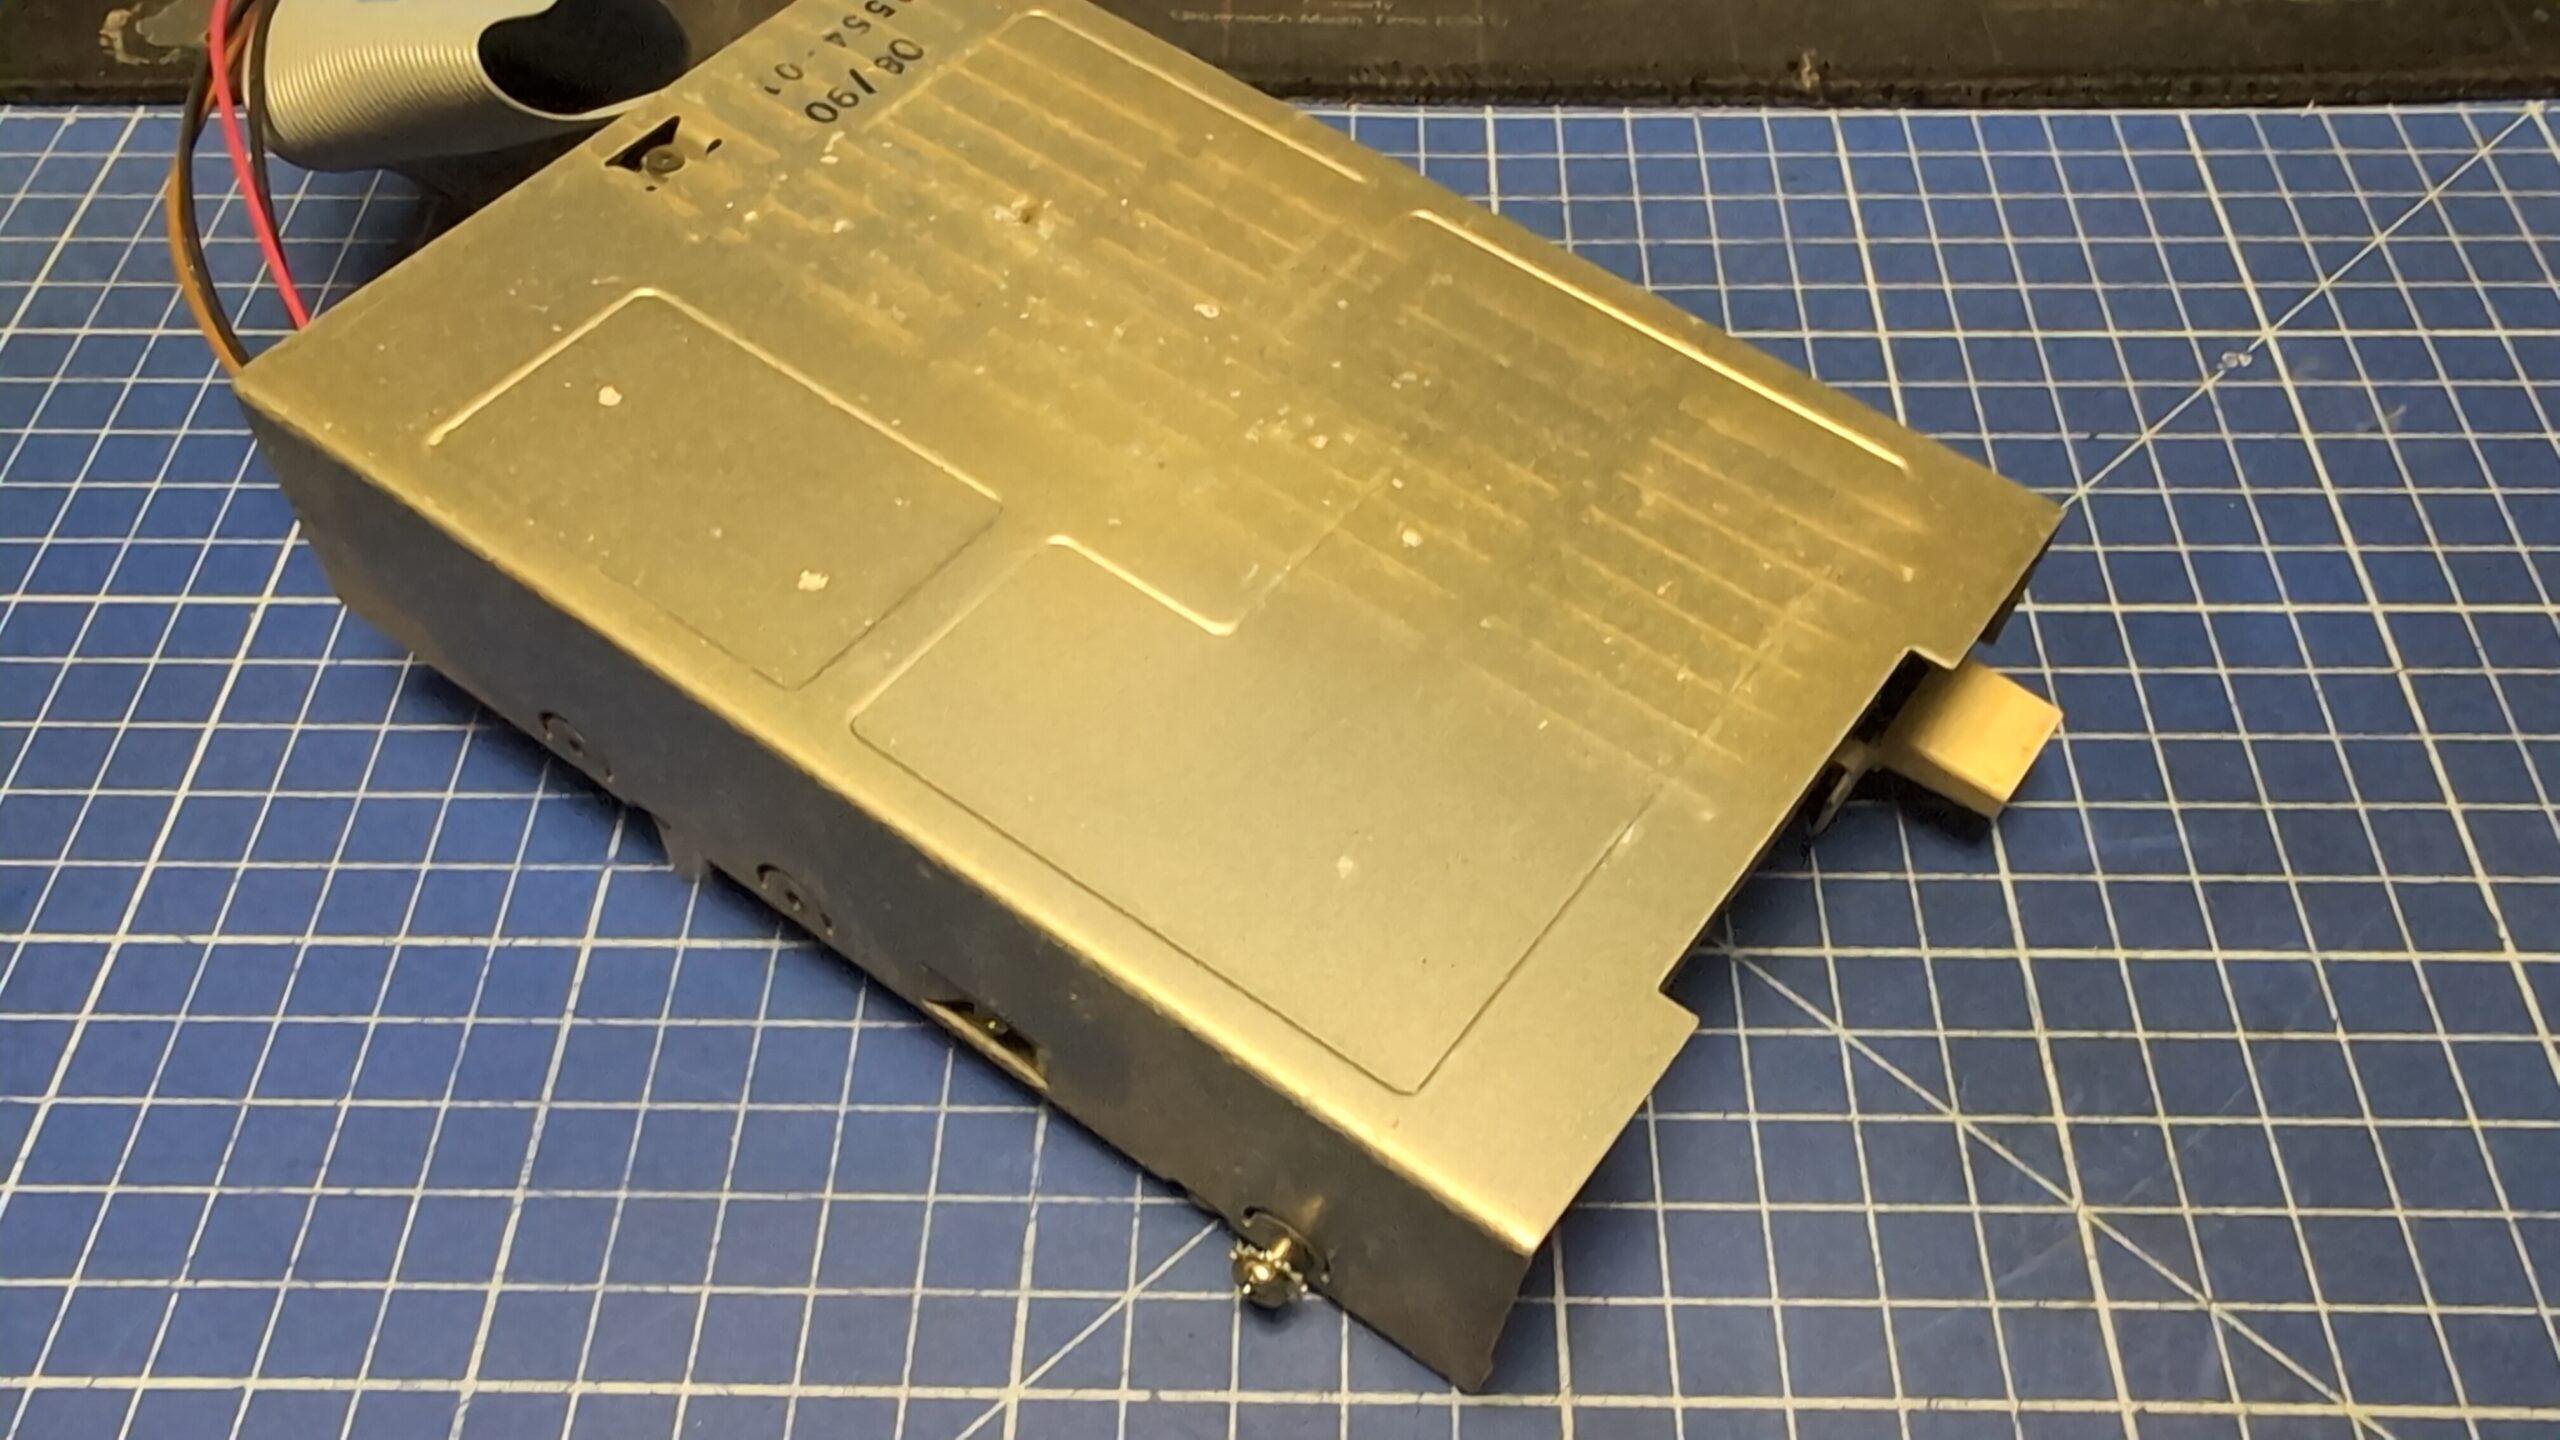
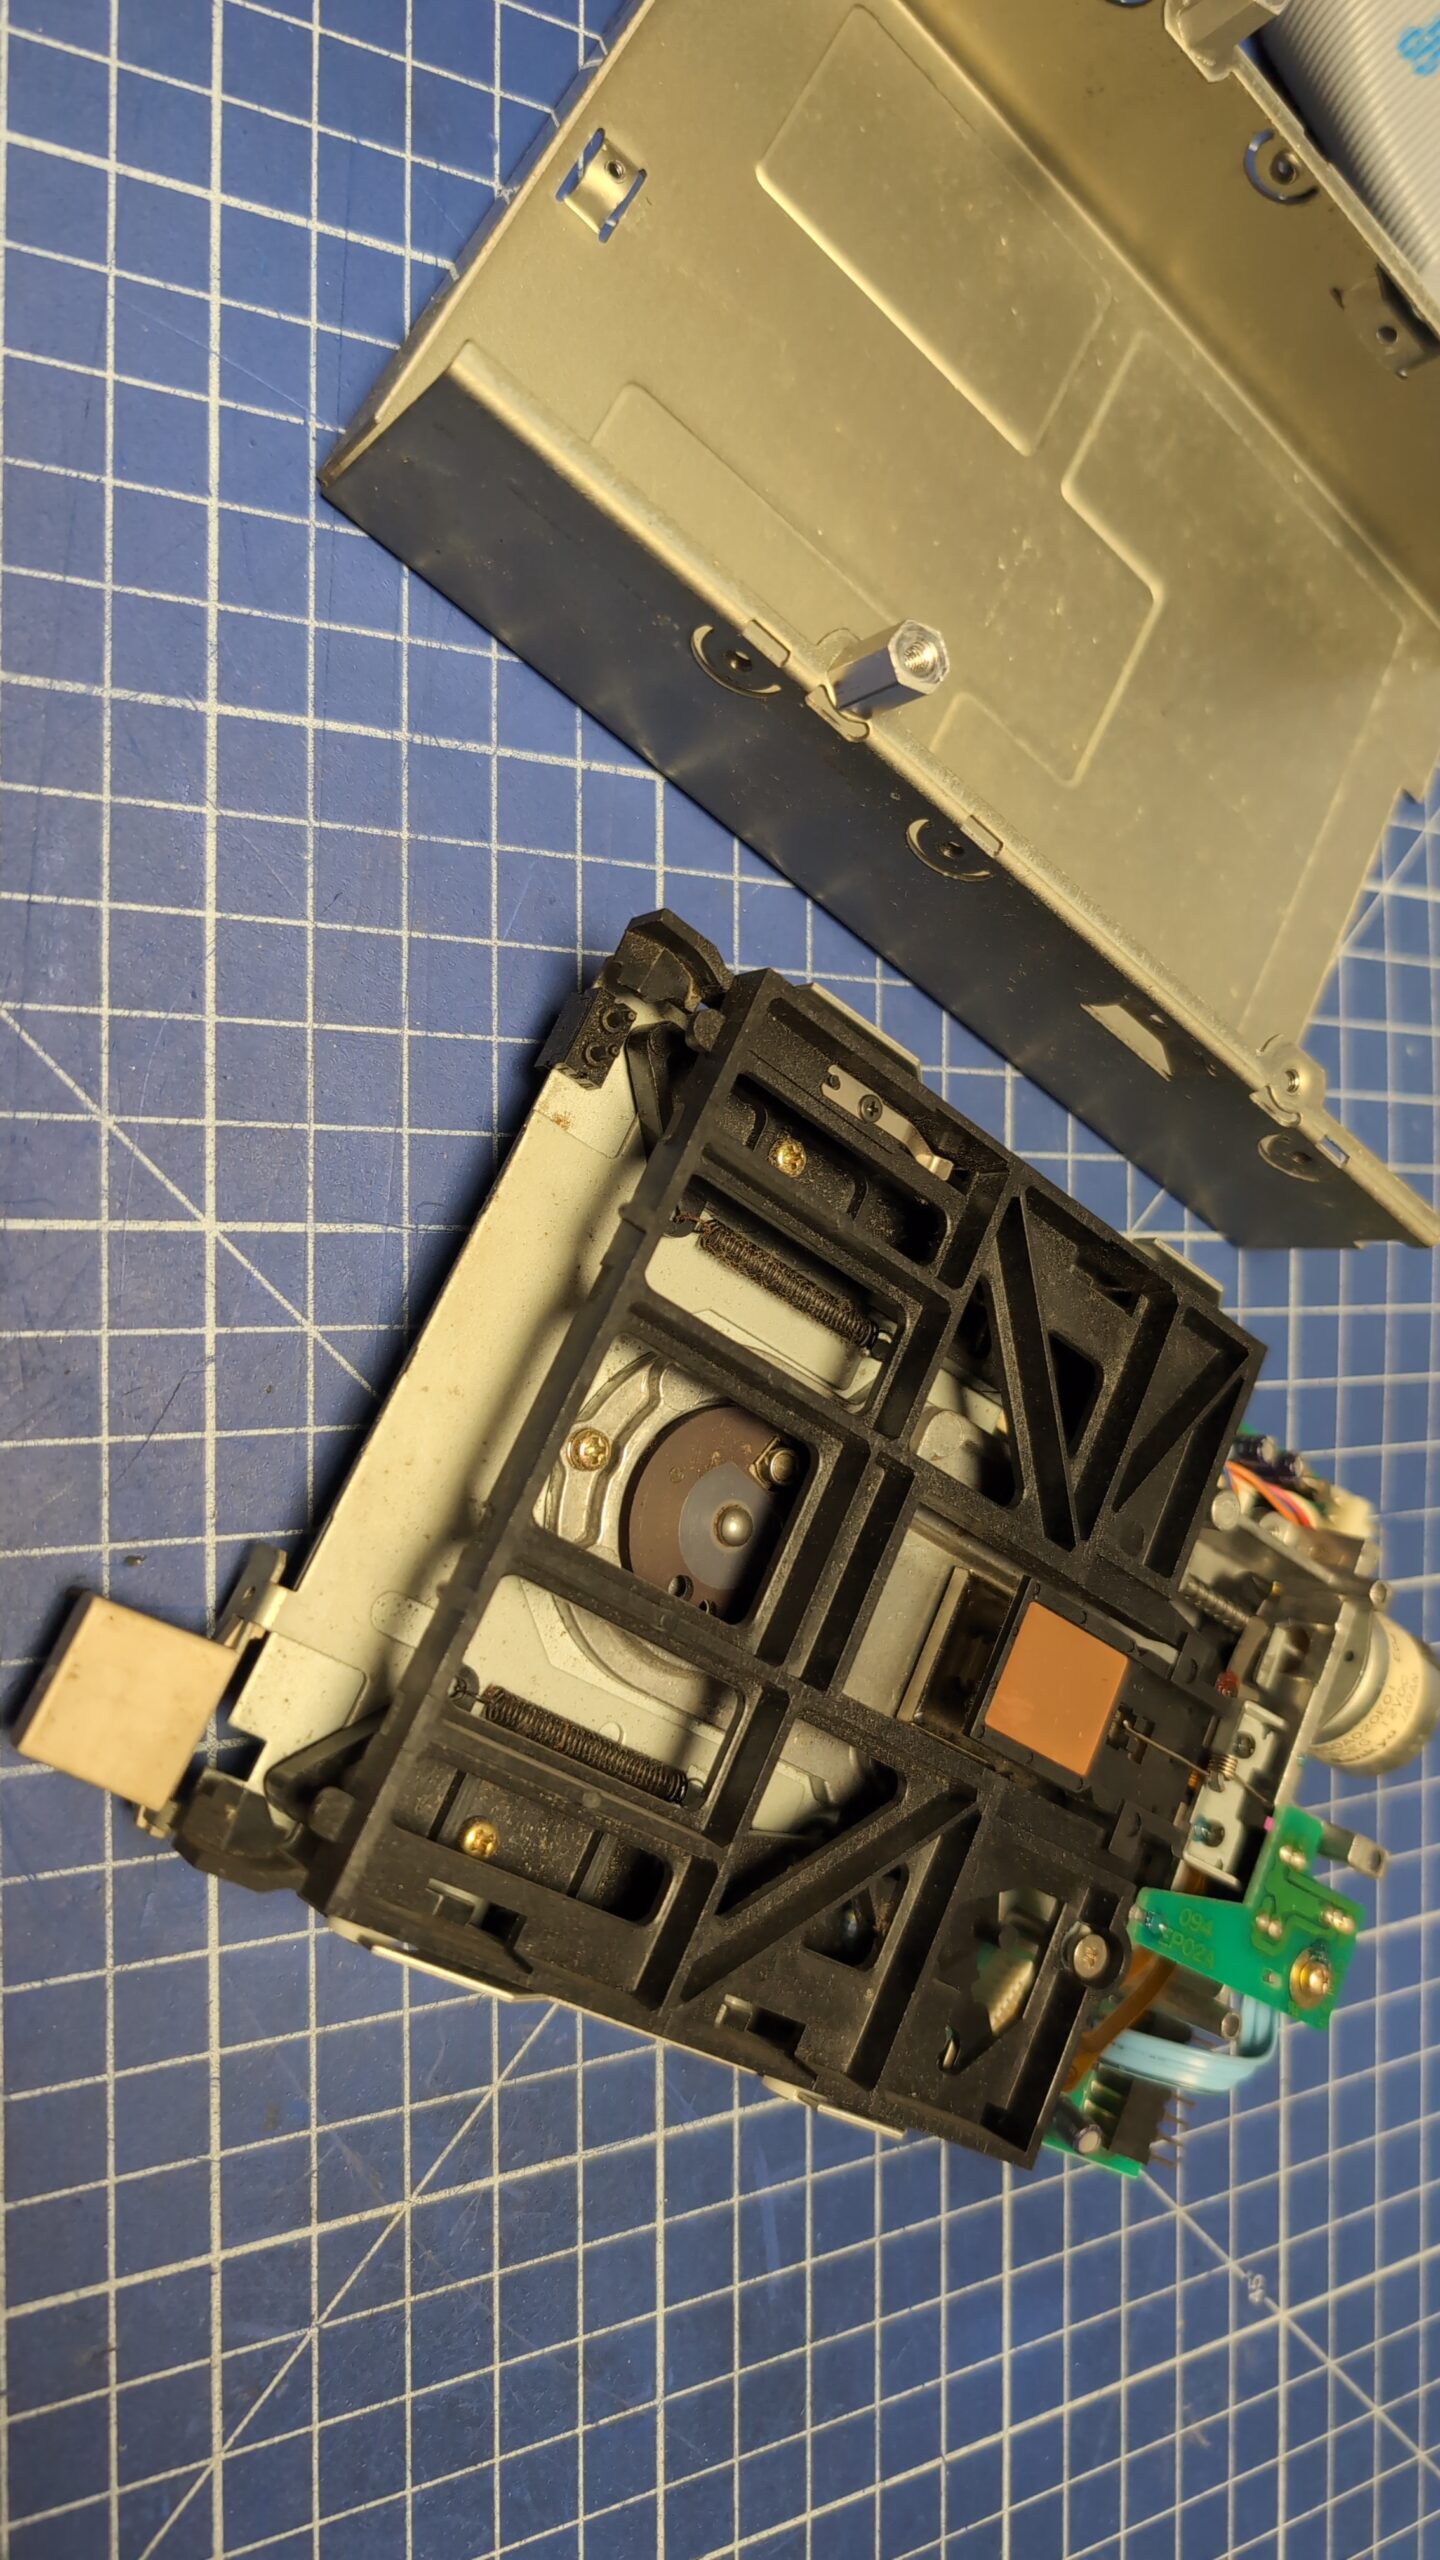
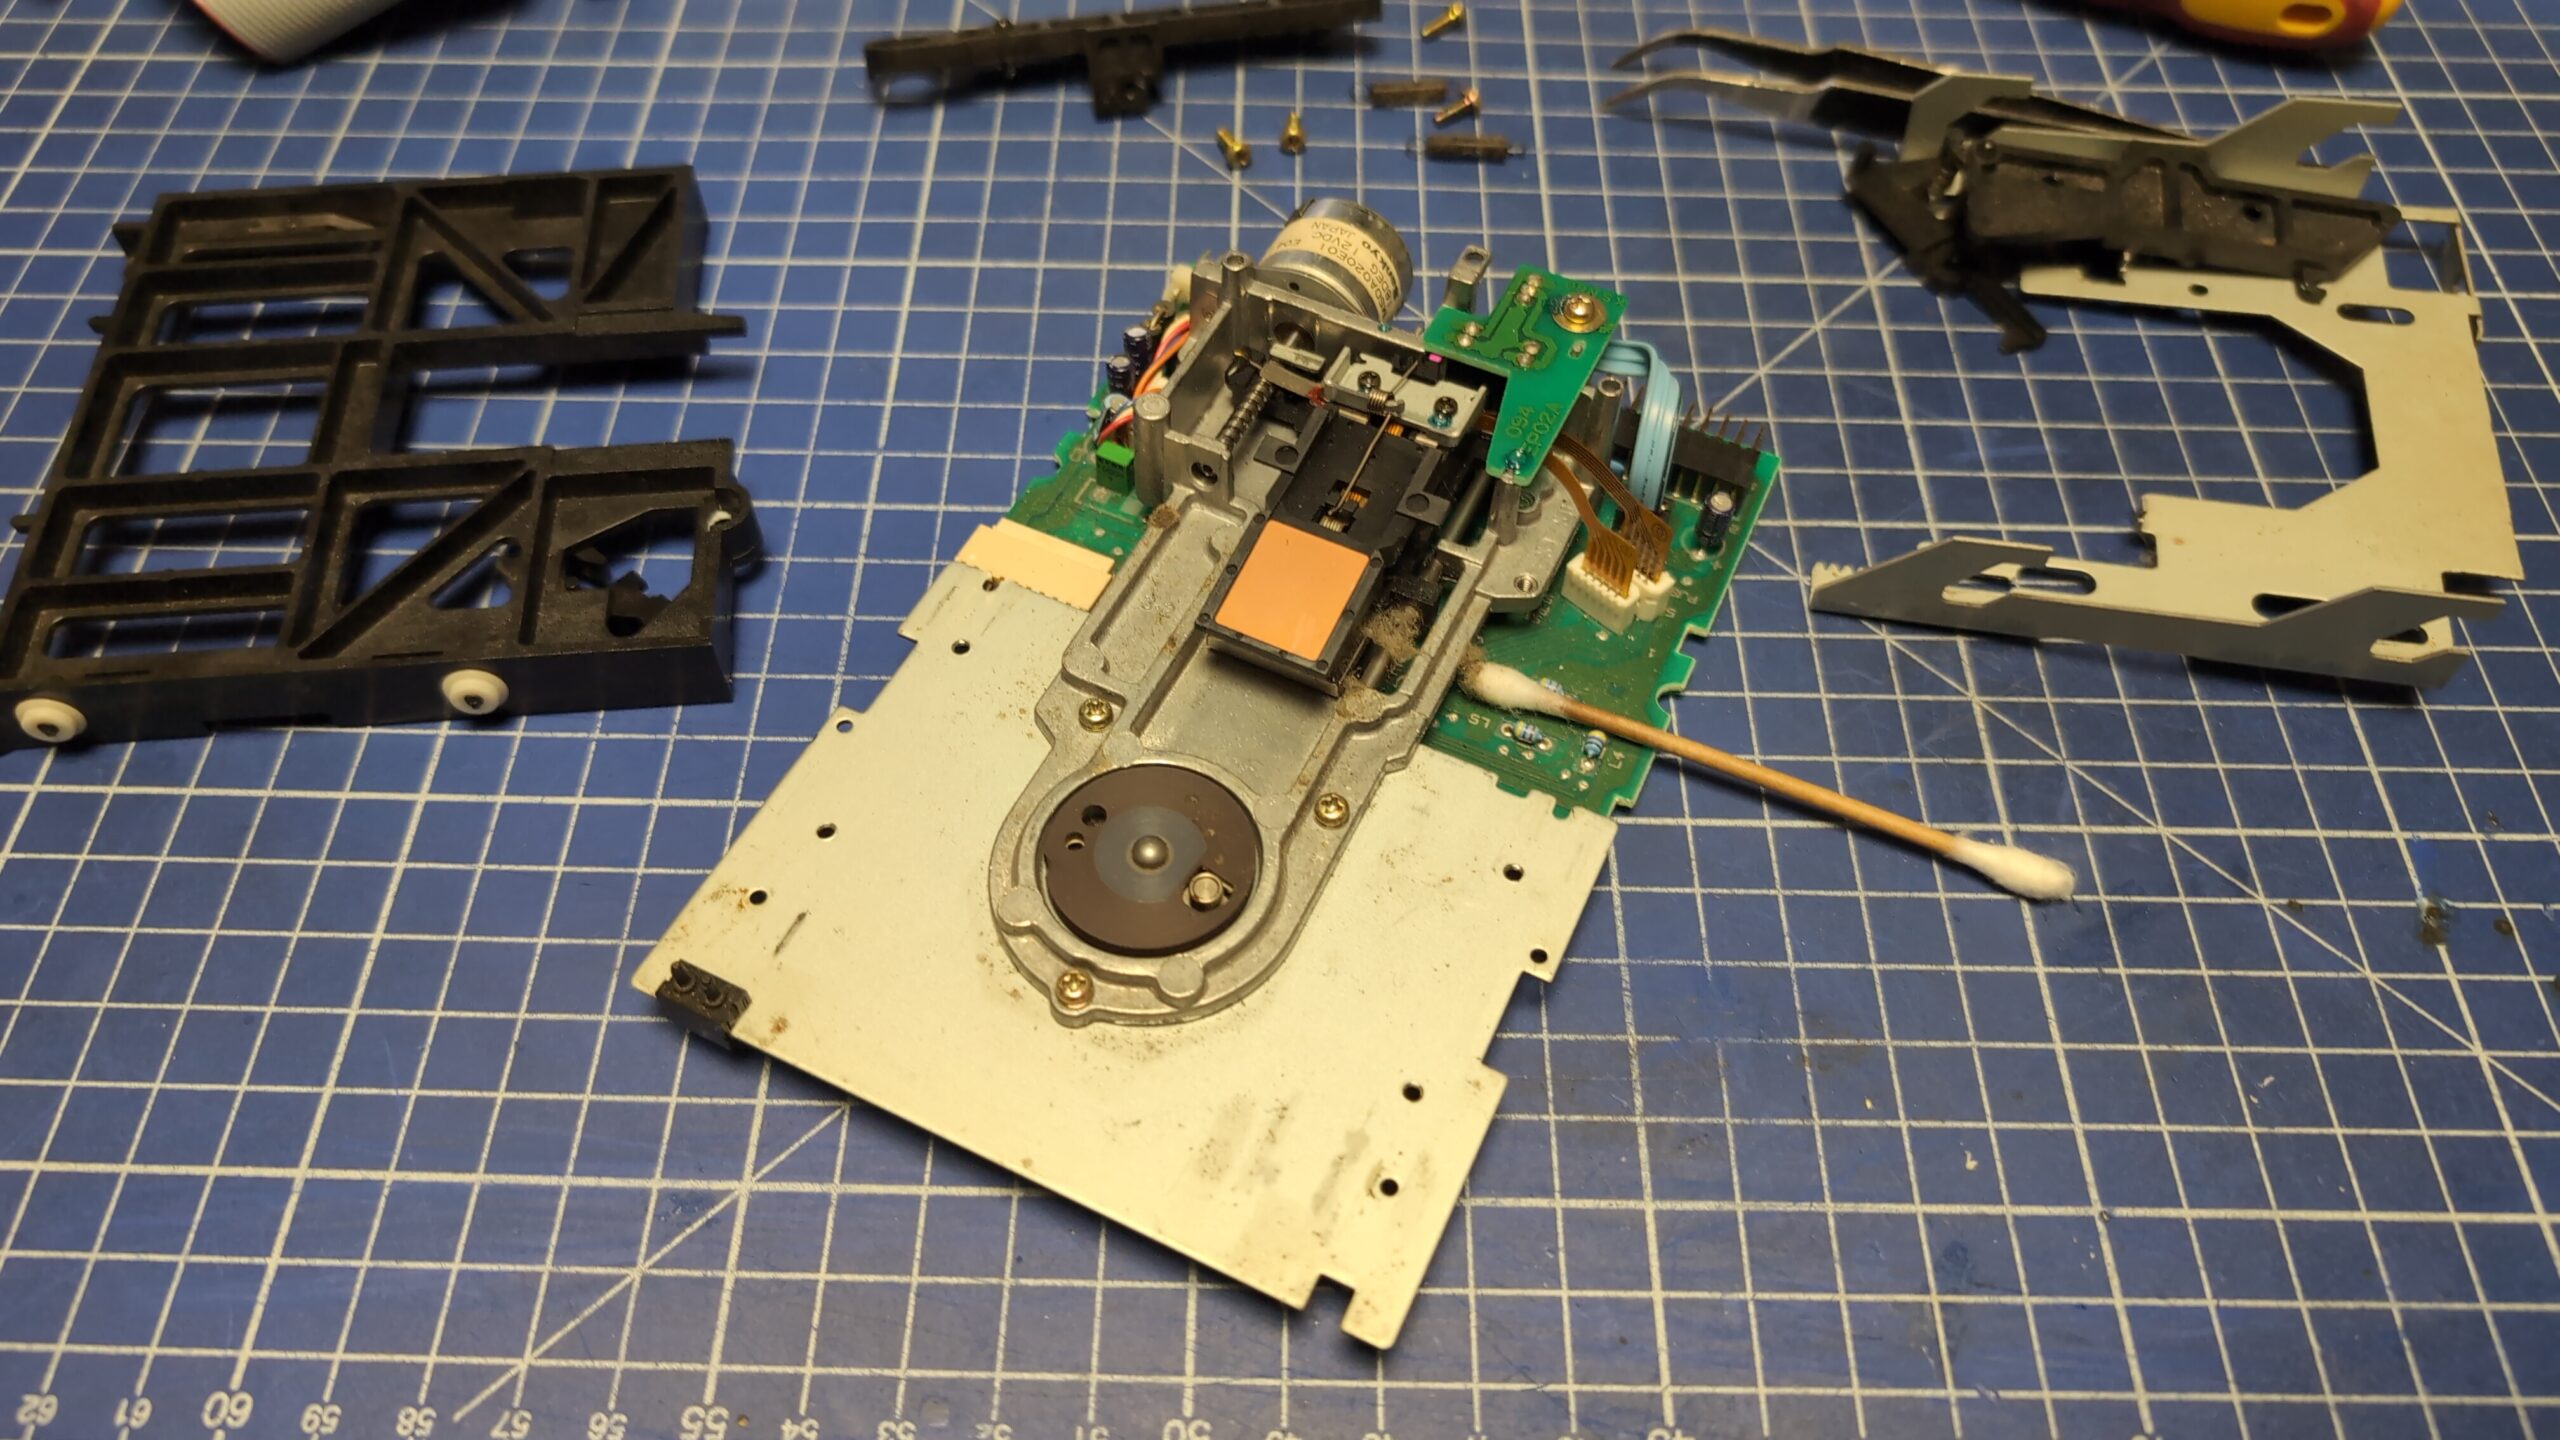
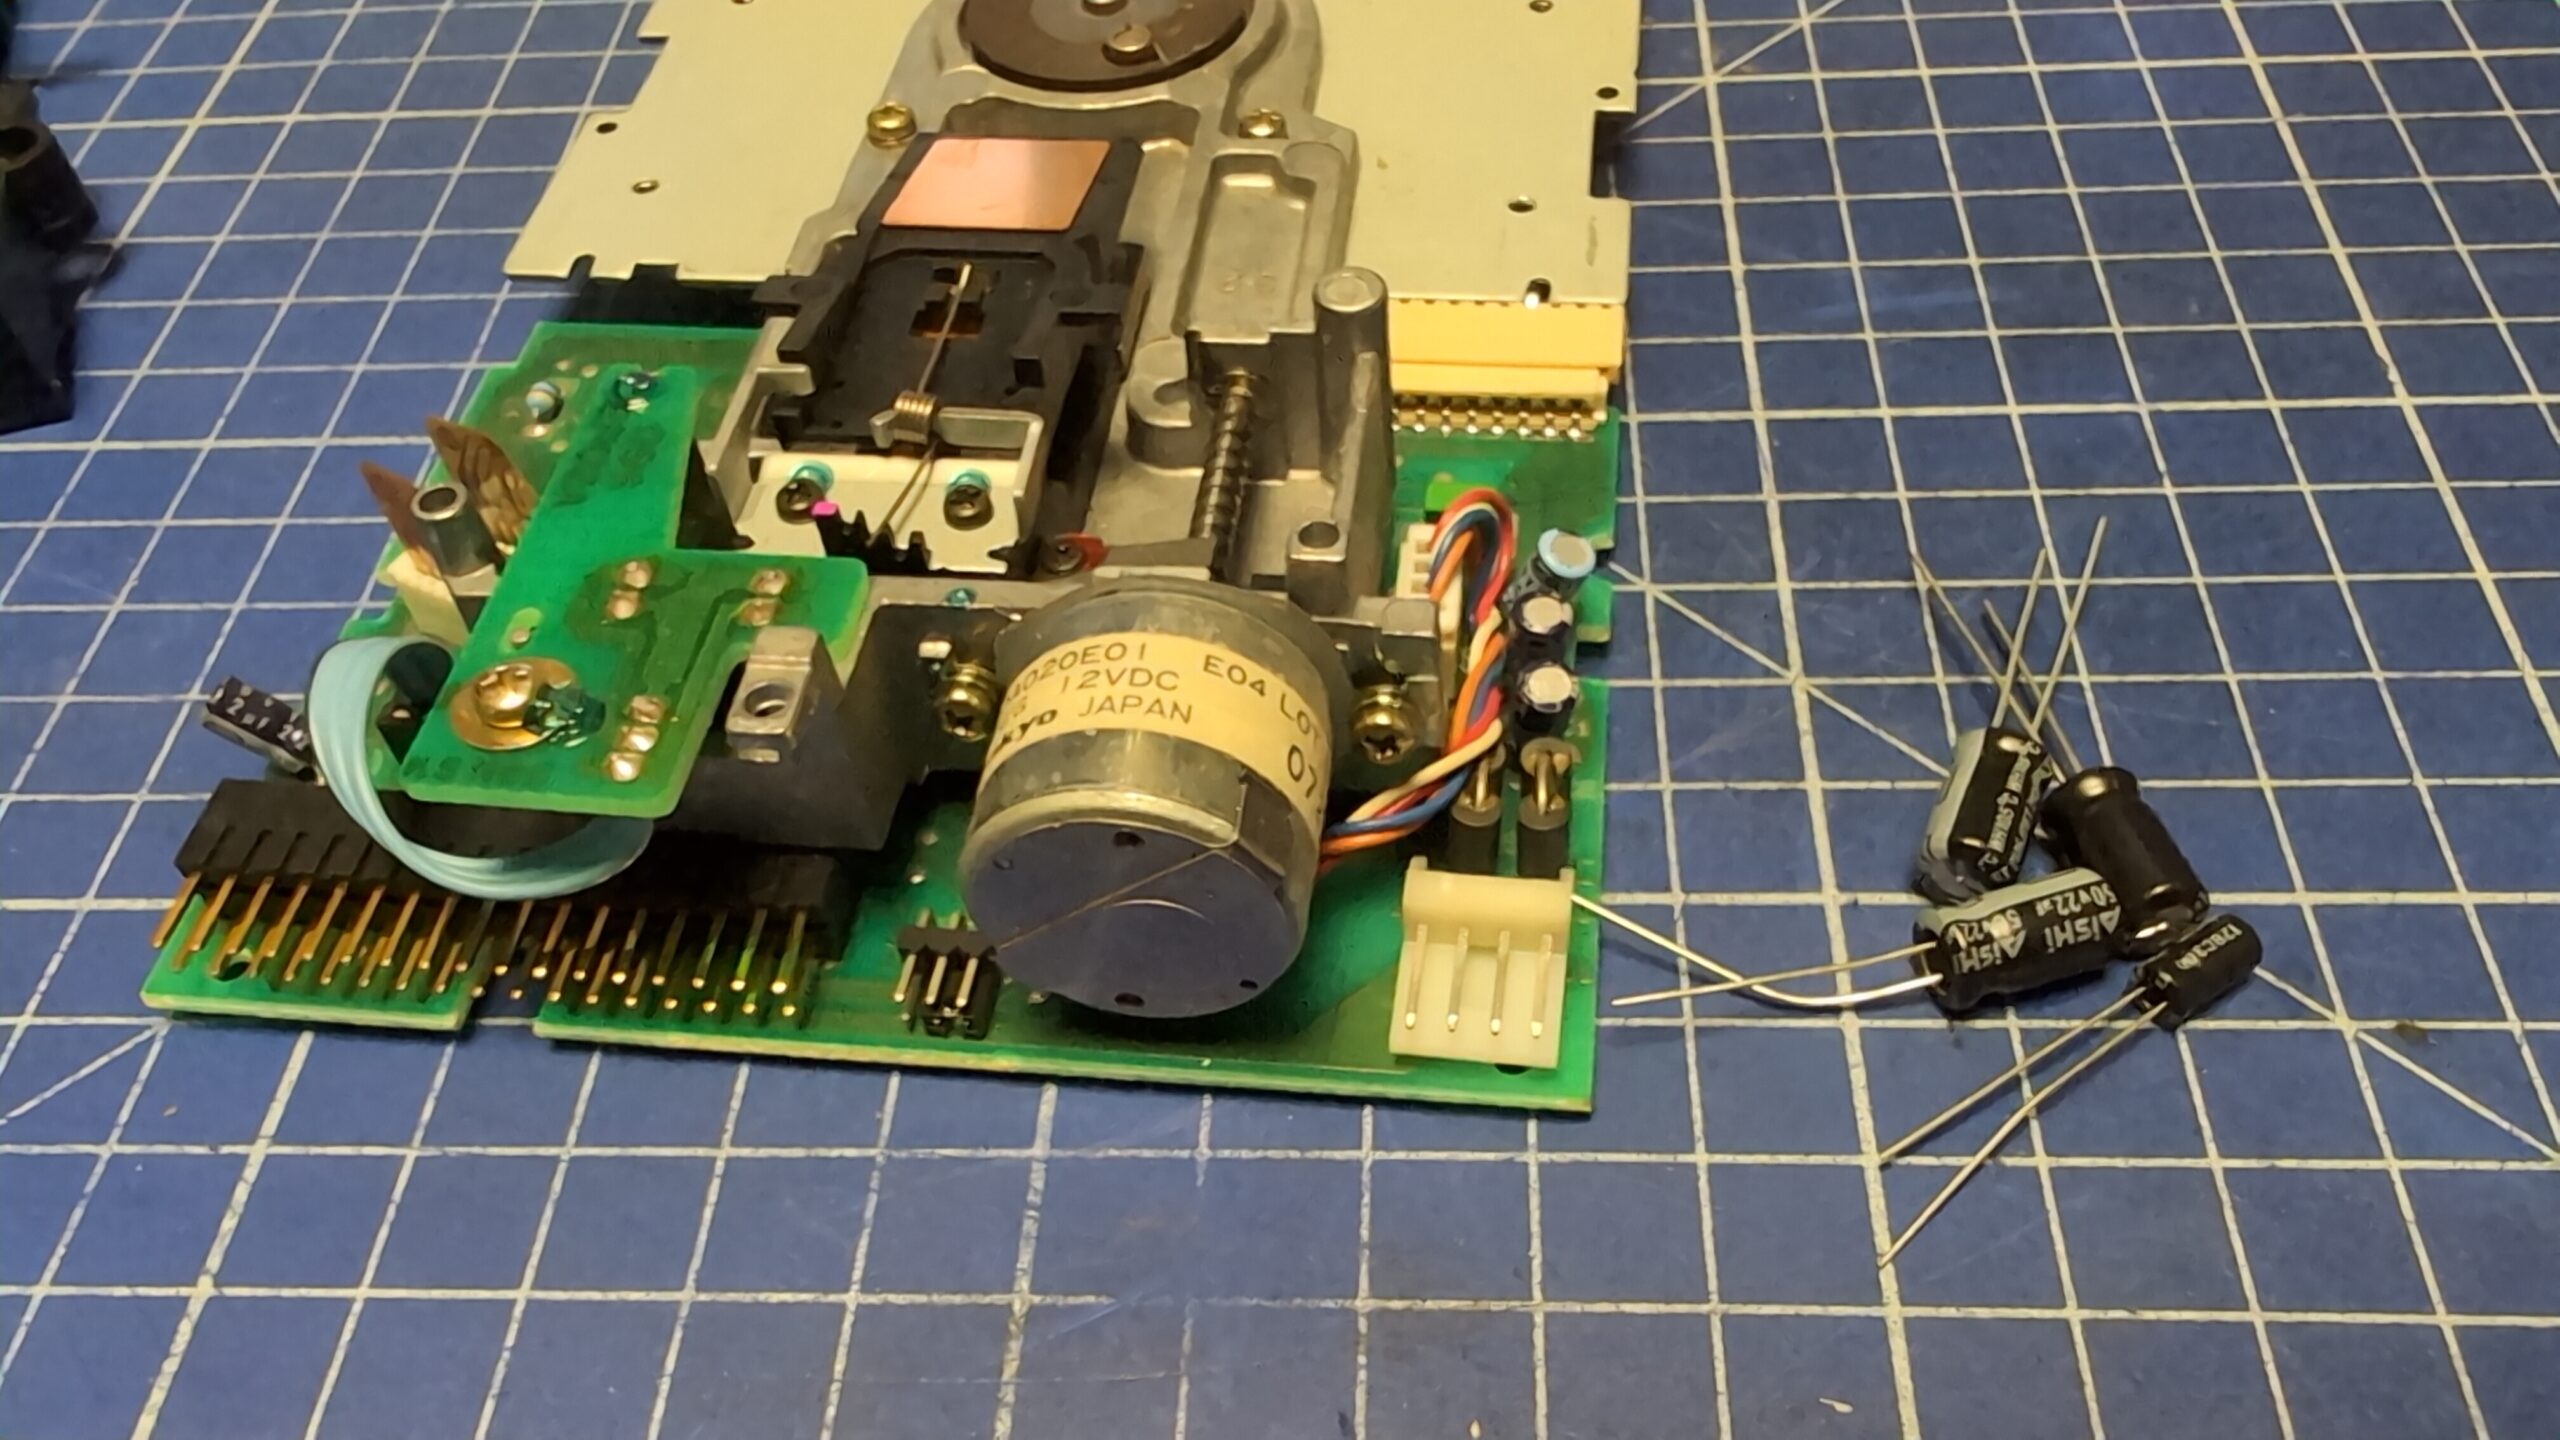
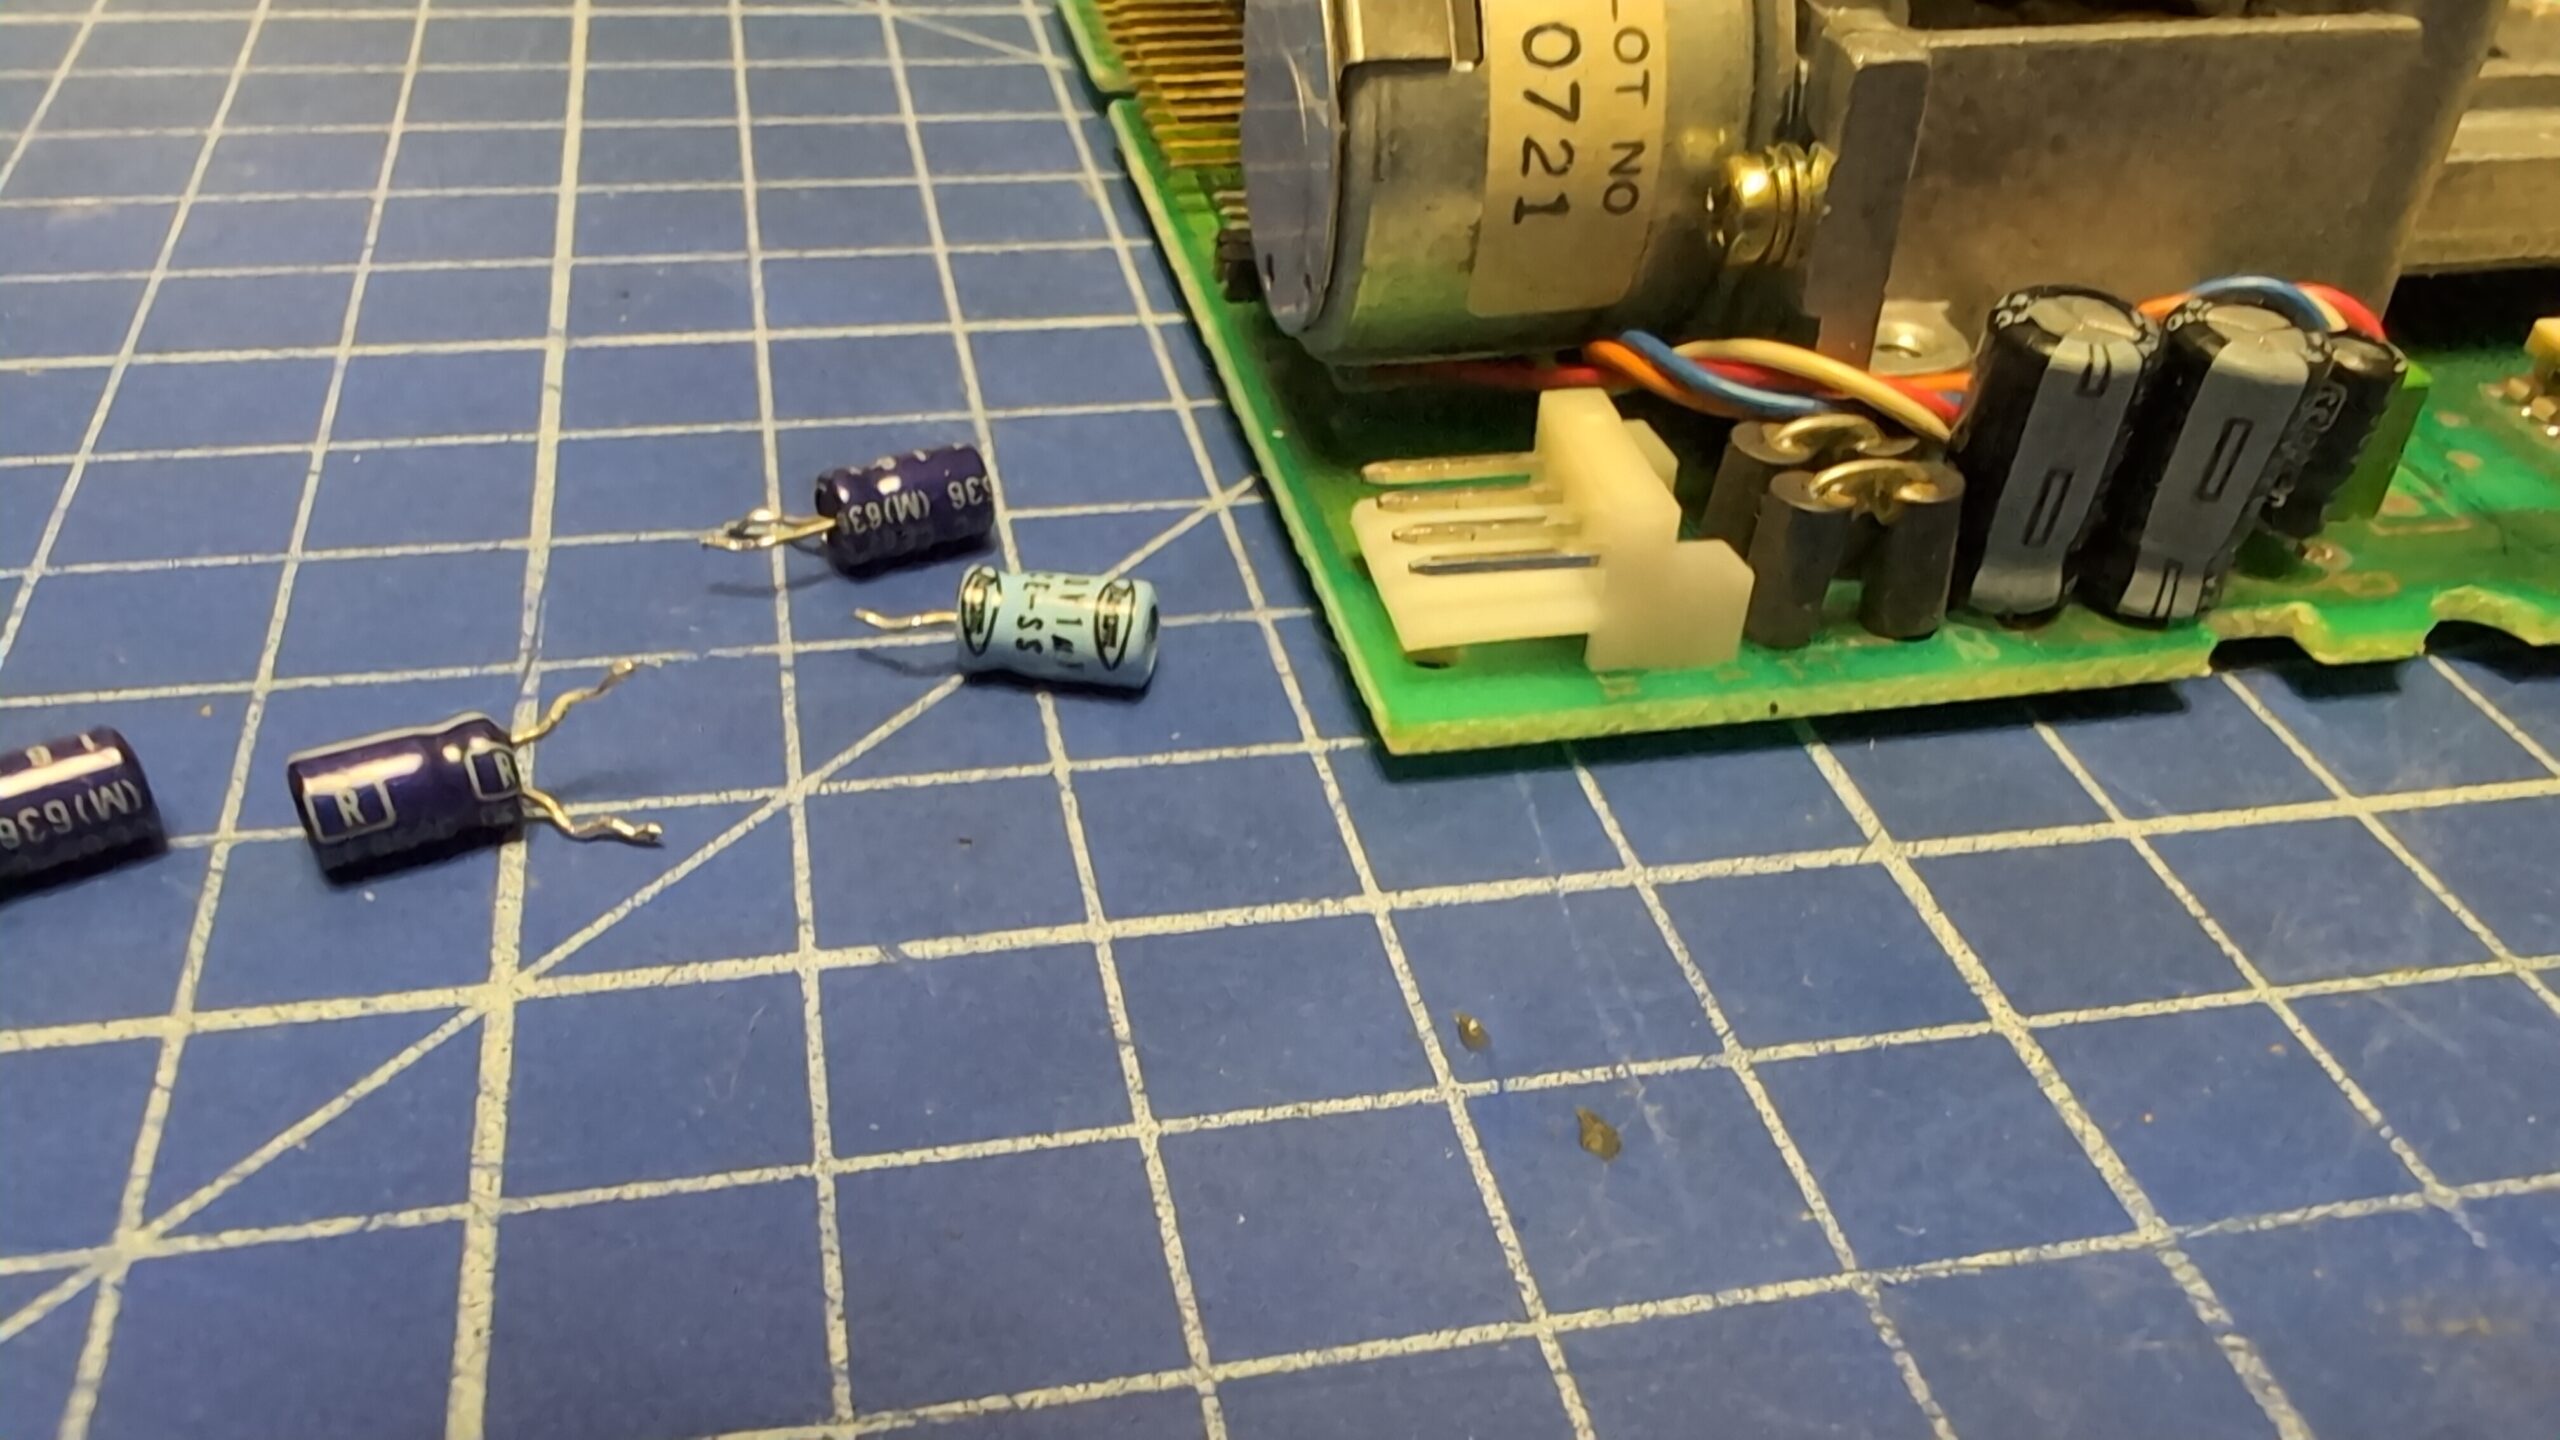
Next, the floppy drive was cleaned, lubricated, and re-capped.
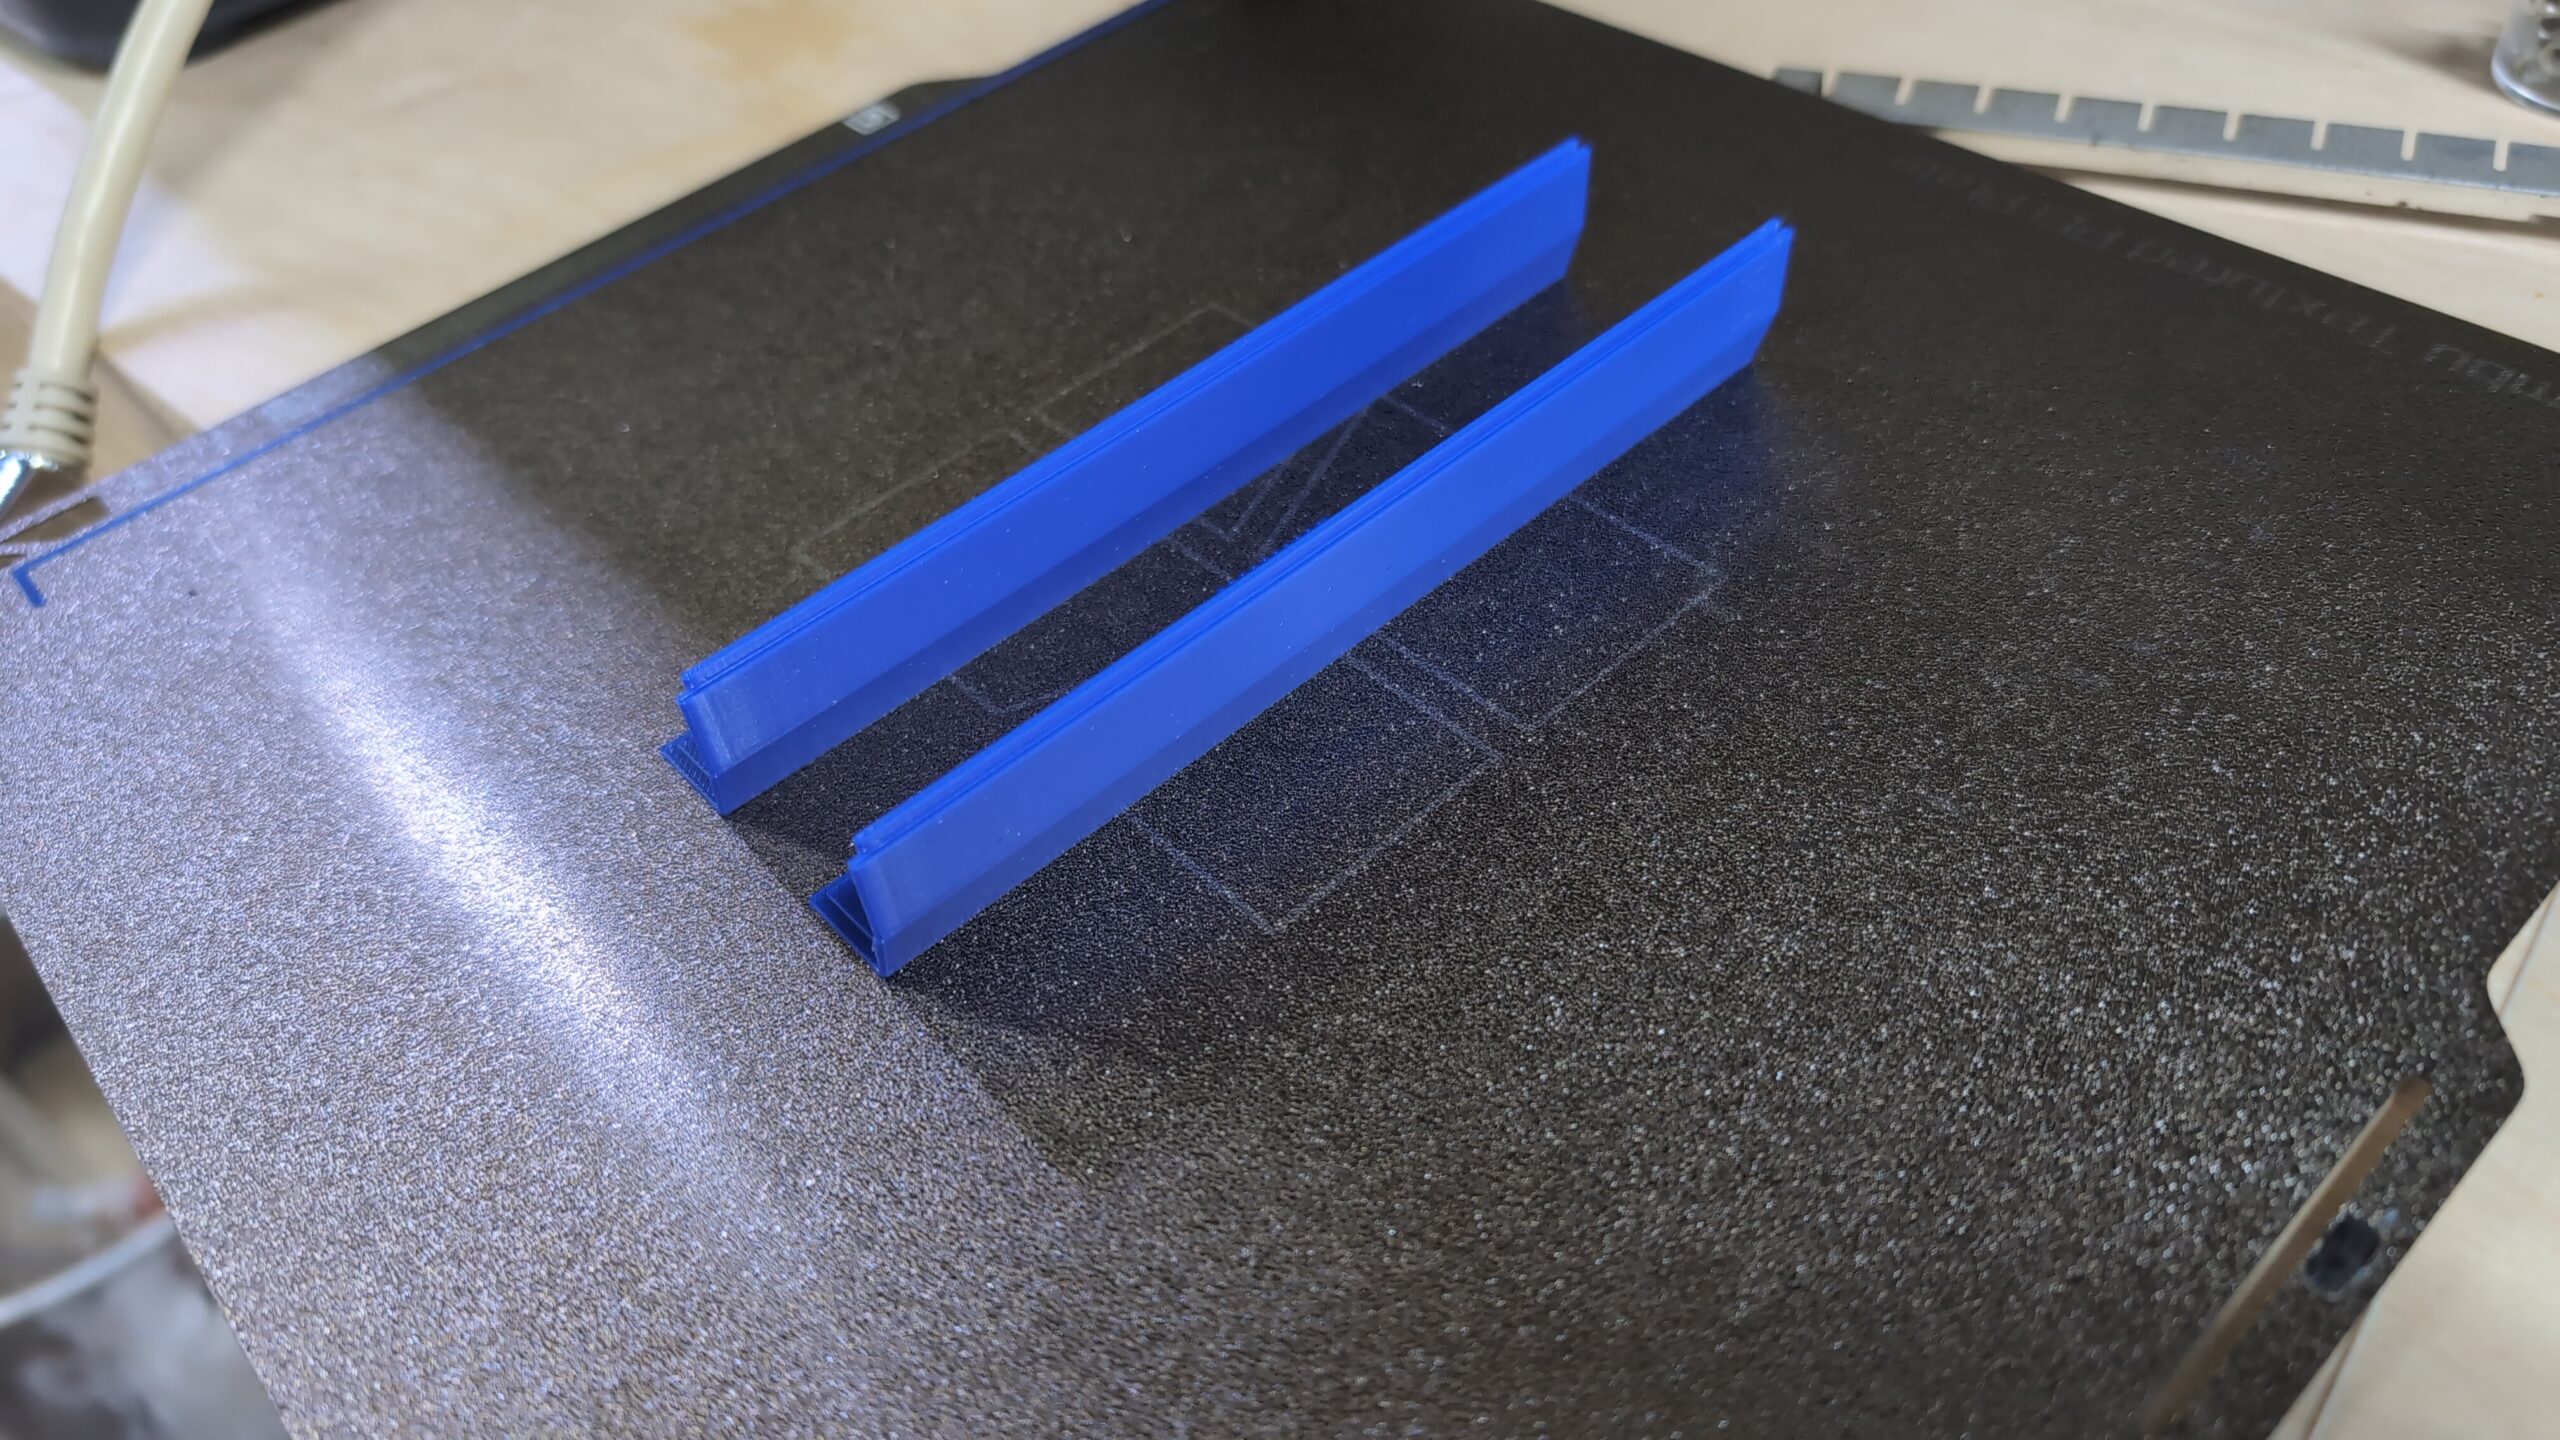
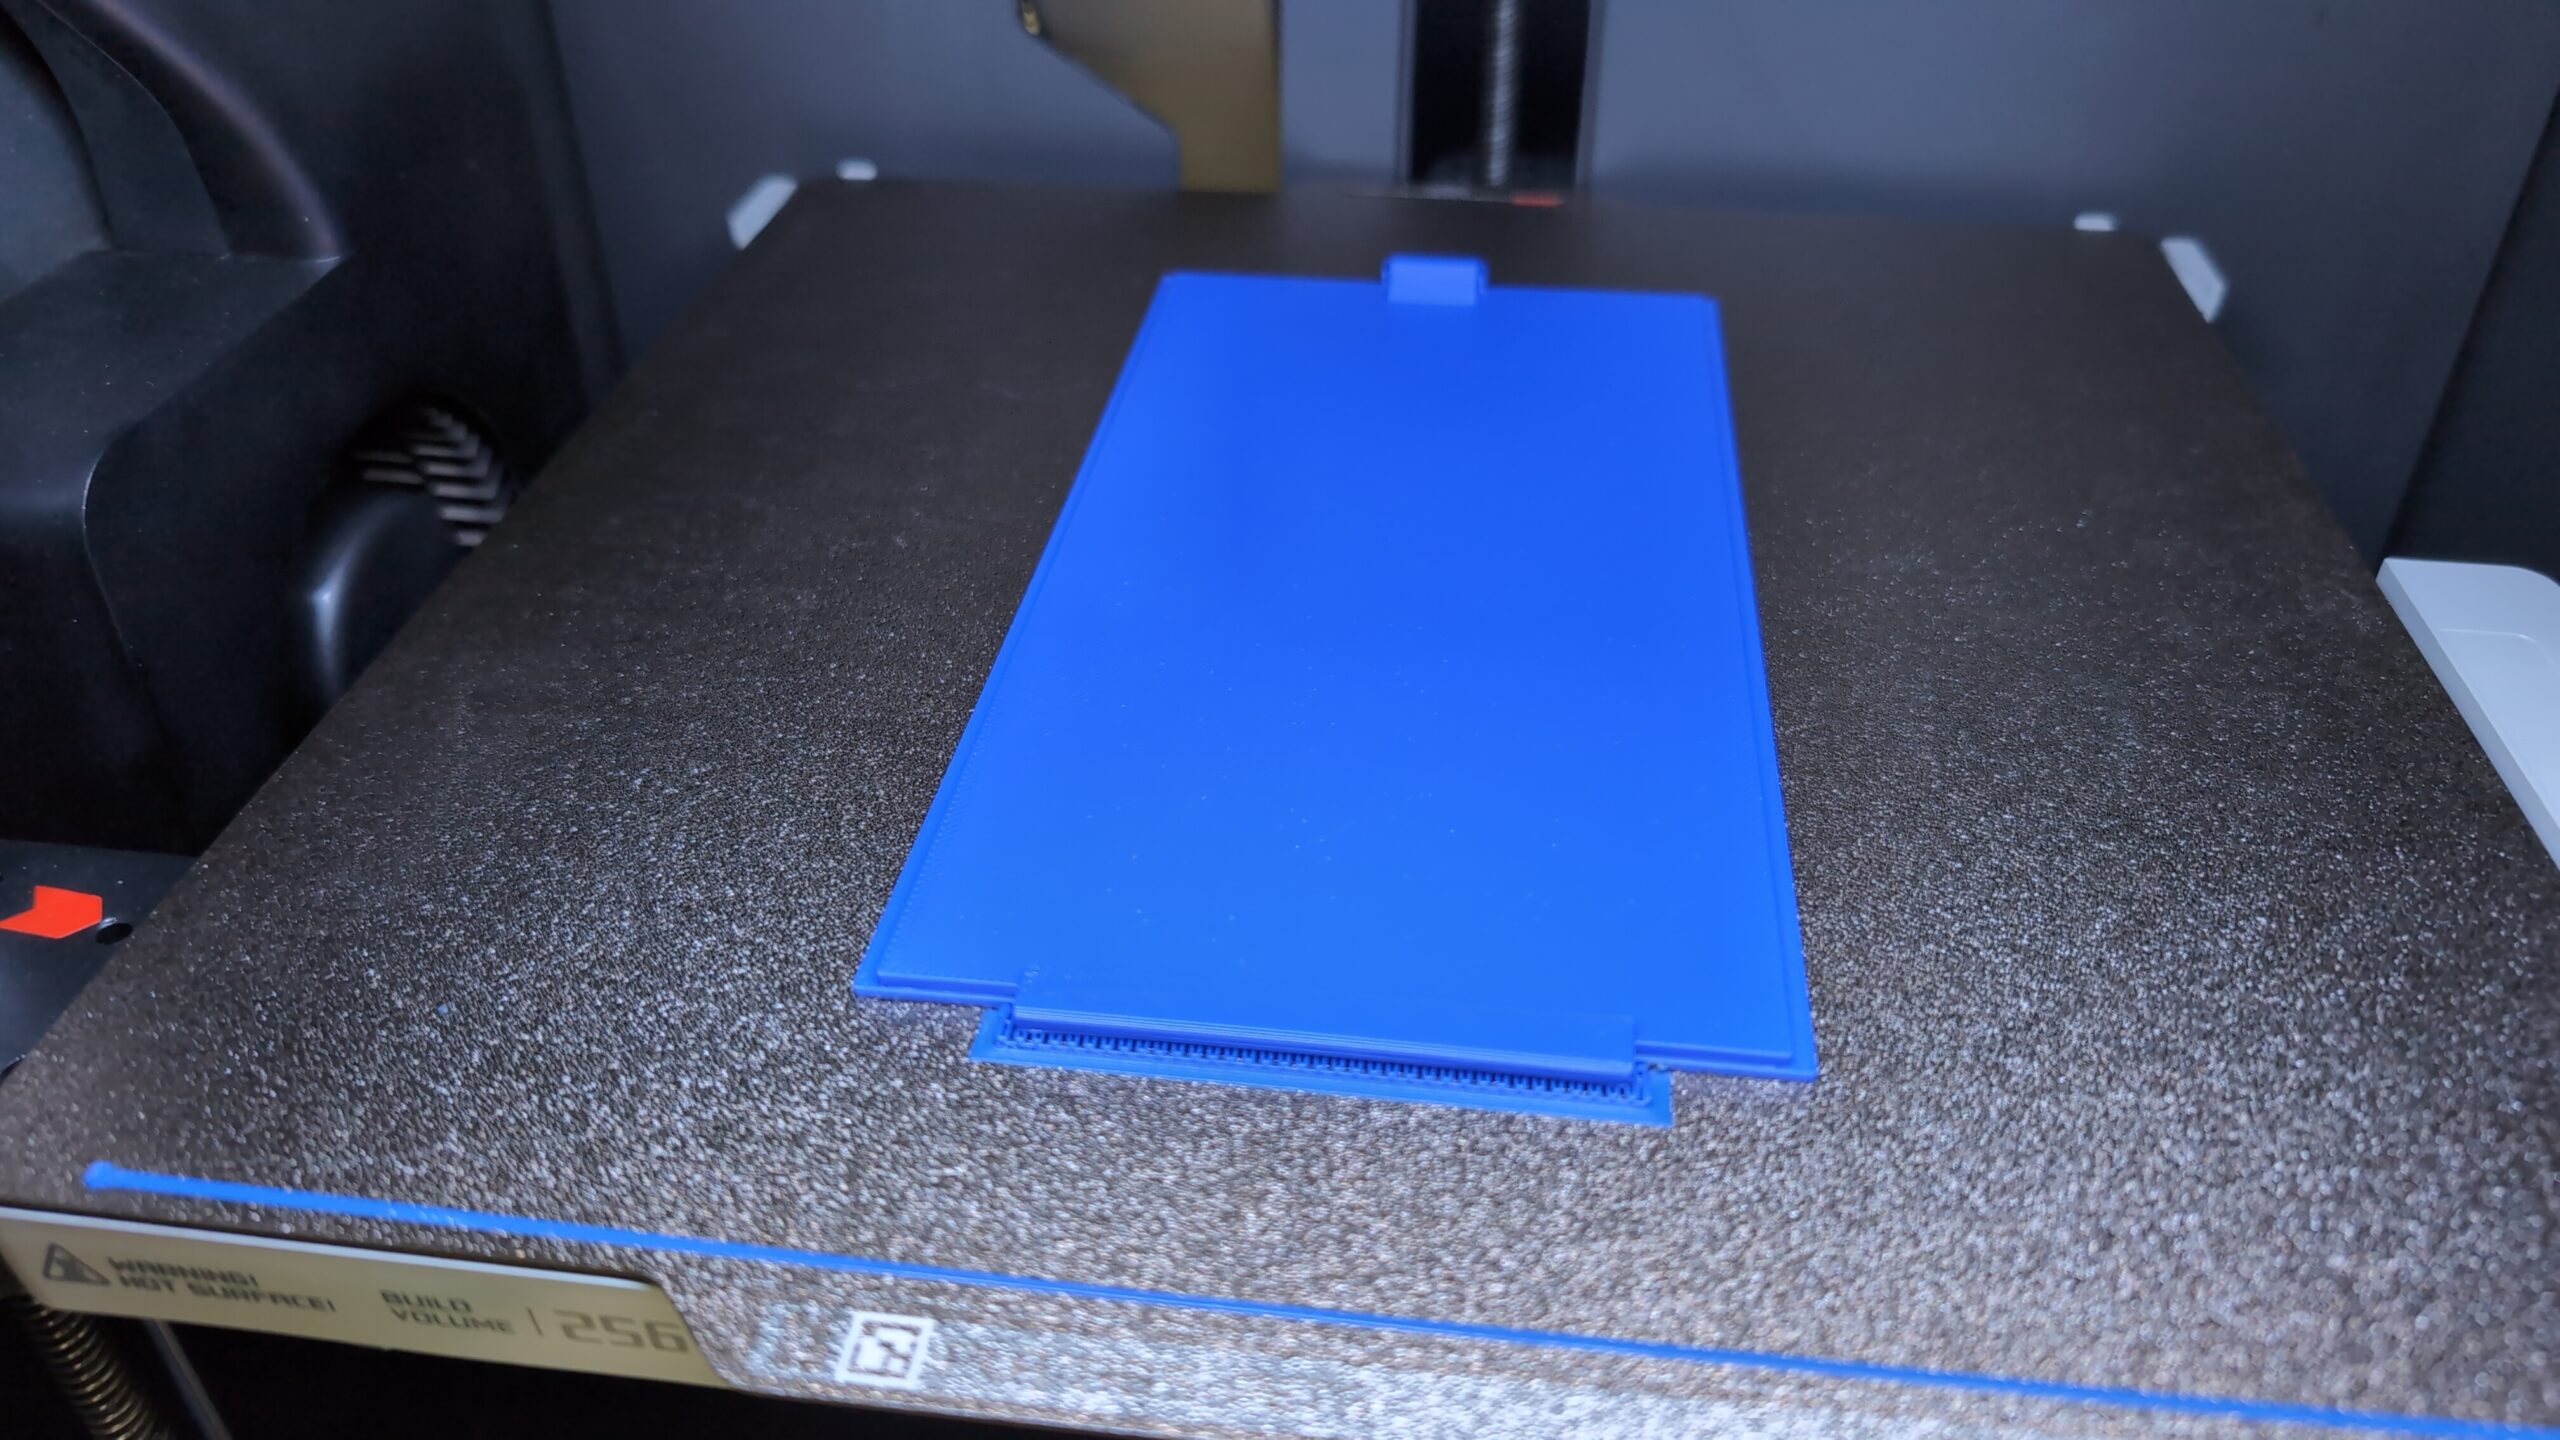
3D printed covers
While I was working on internals, my 3D printer spewed some covers that had to be post-processed and painted with one layer of filler and two layers of paint.
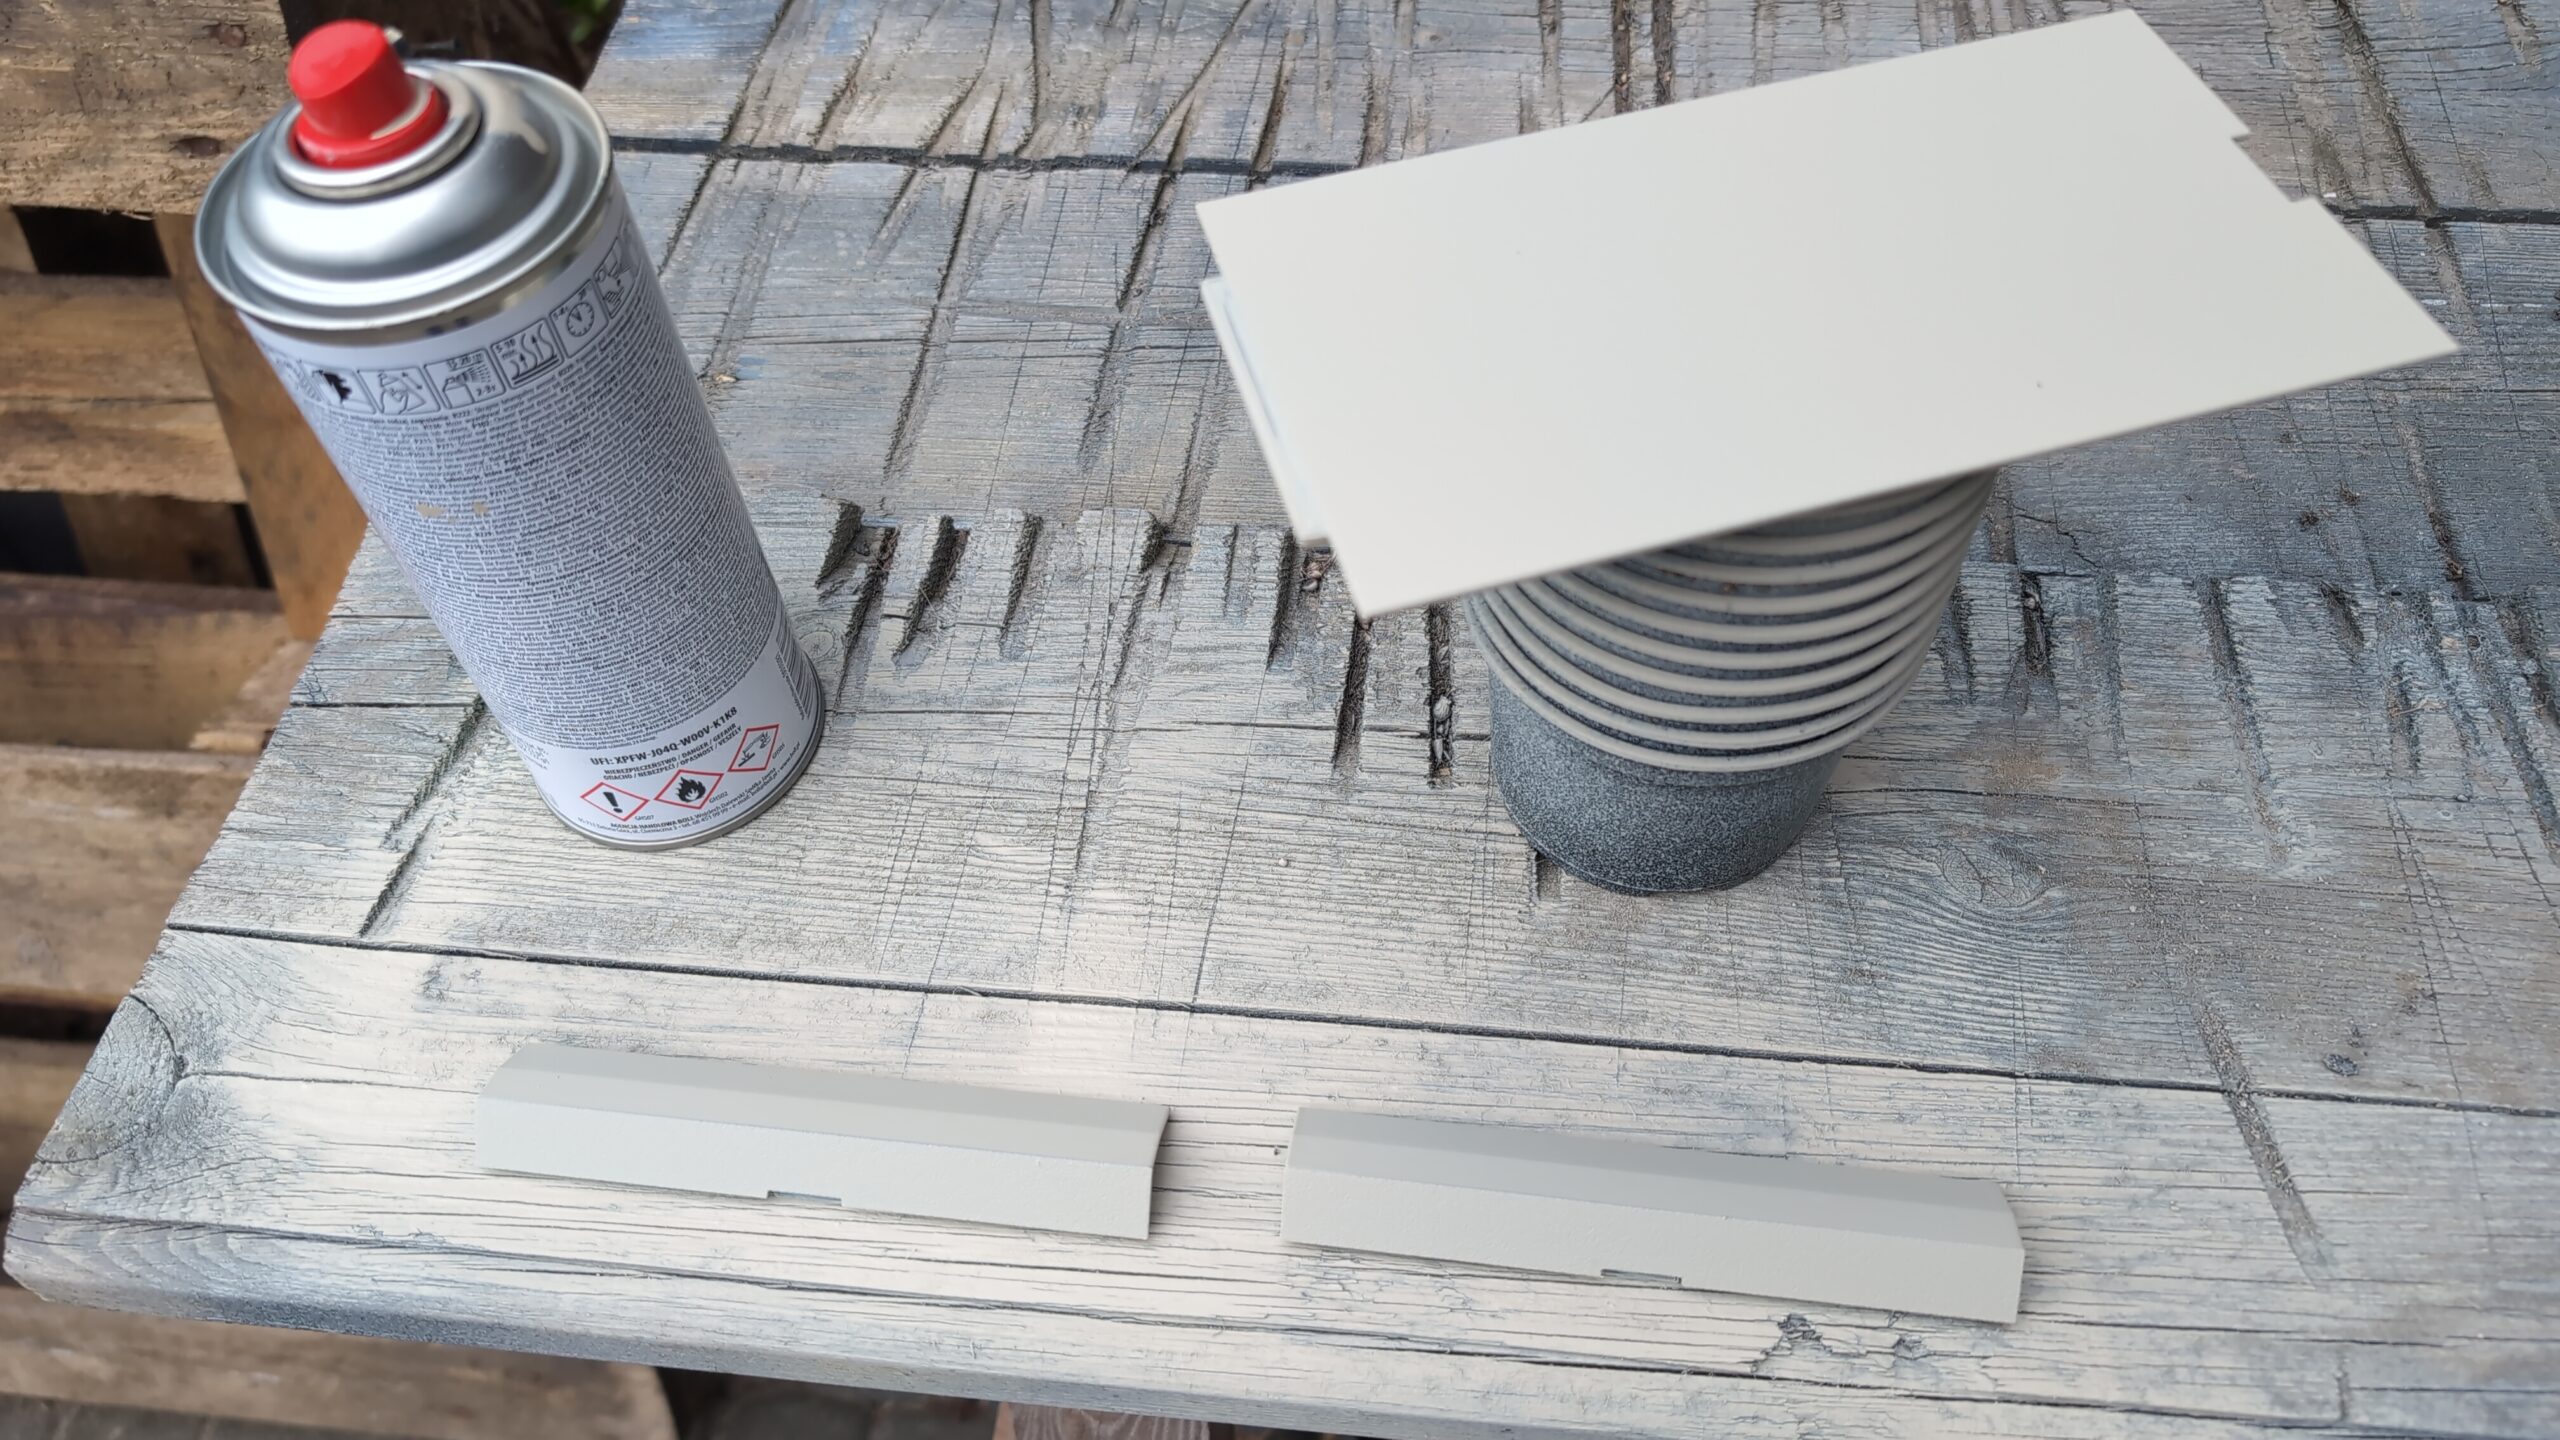
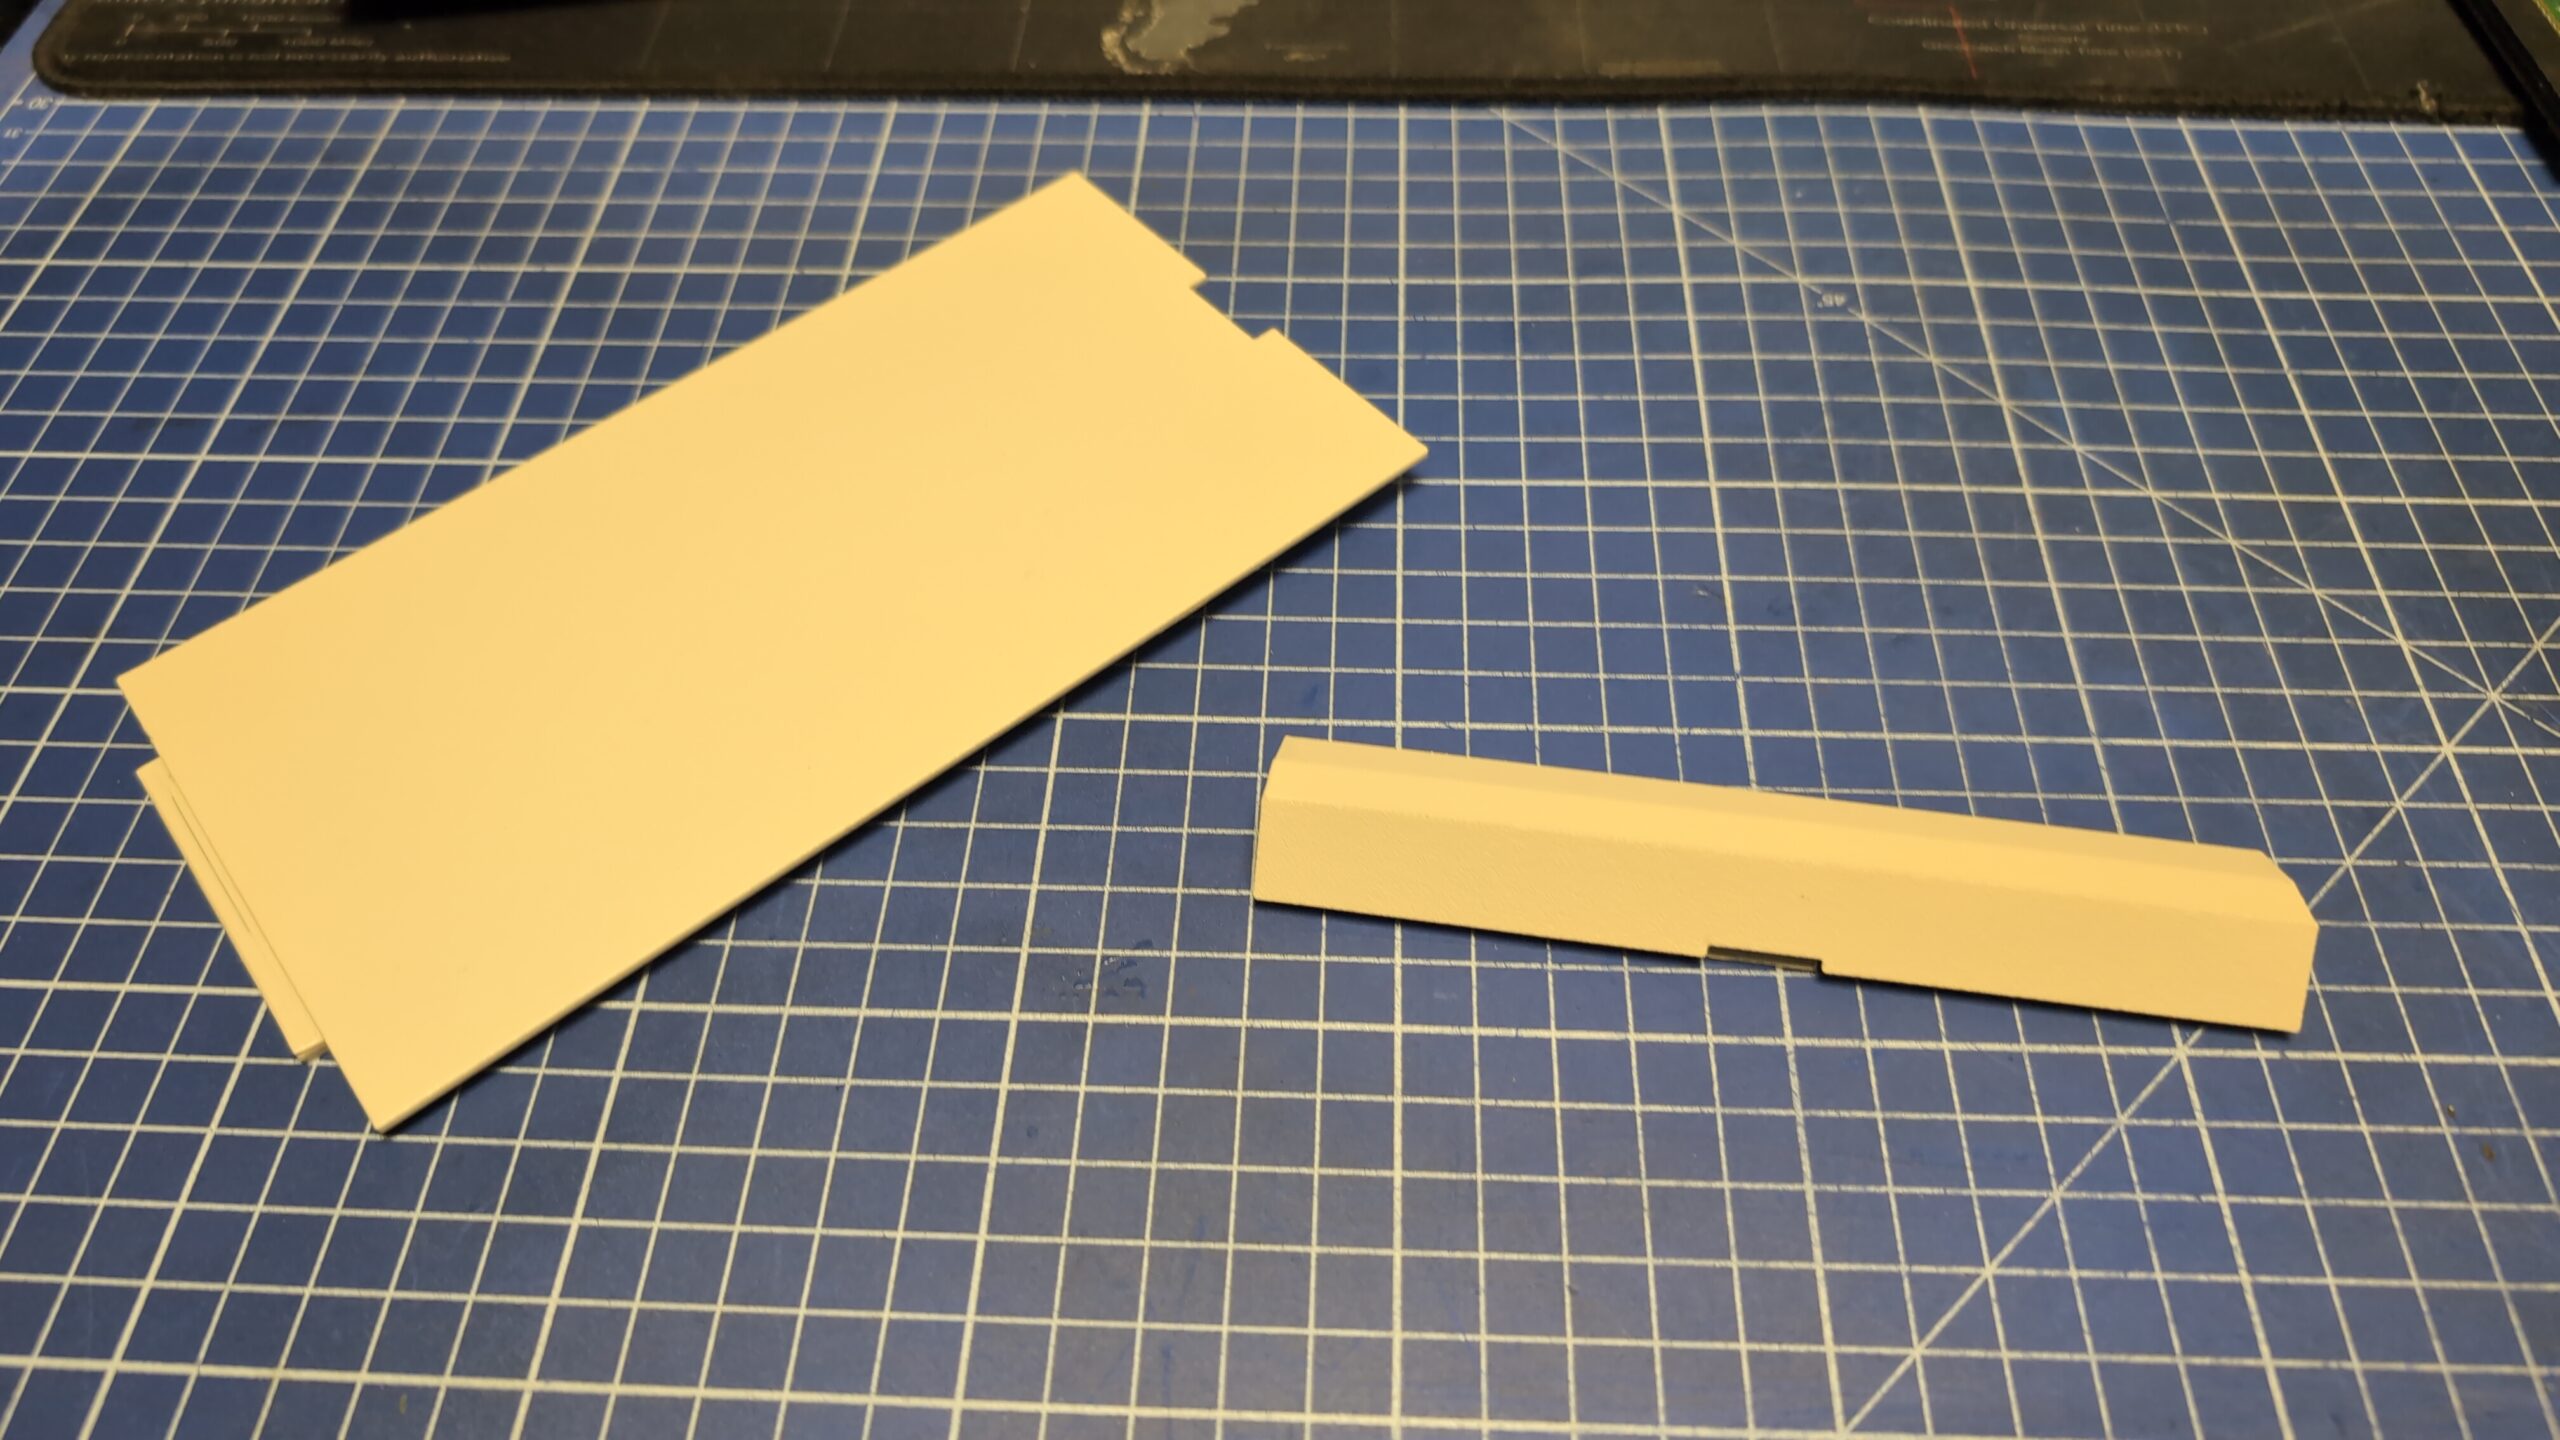
Not a 100% color match, but remember that the case was not retr0brighted.
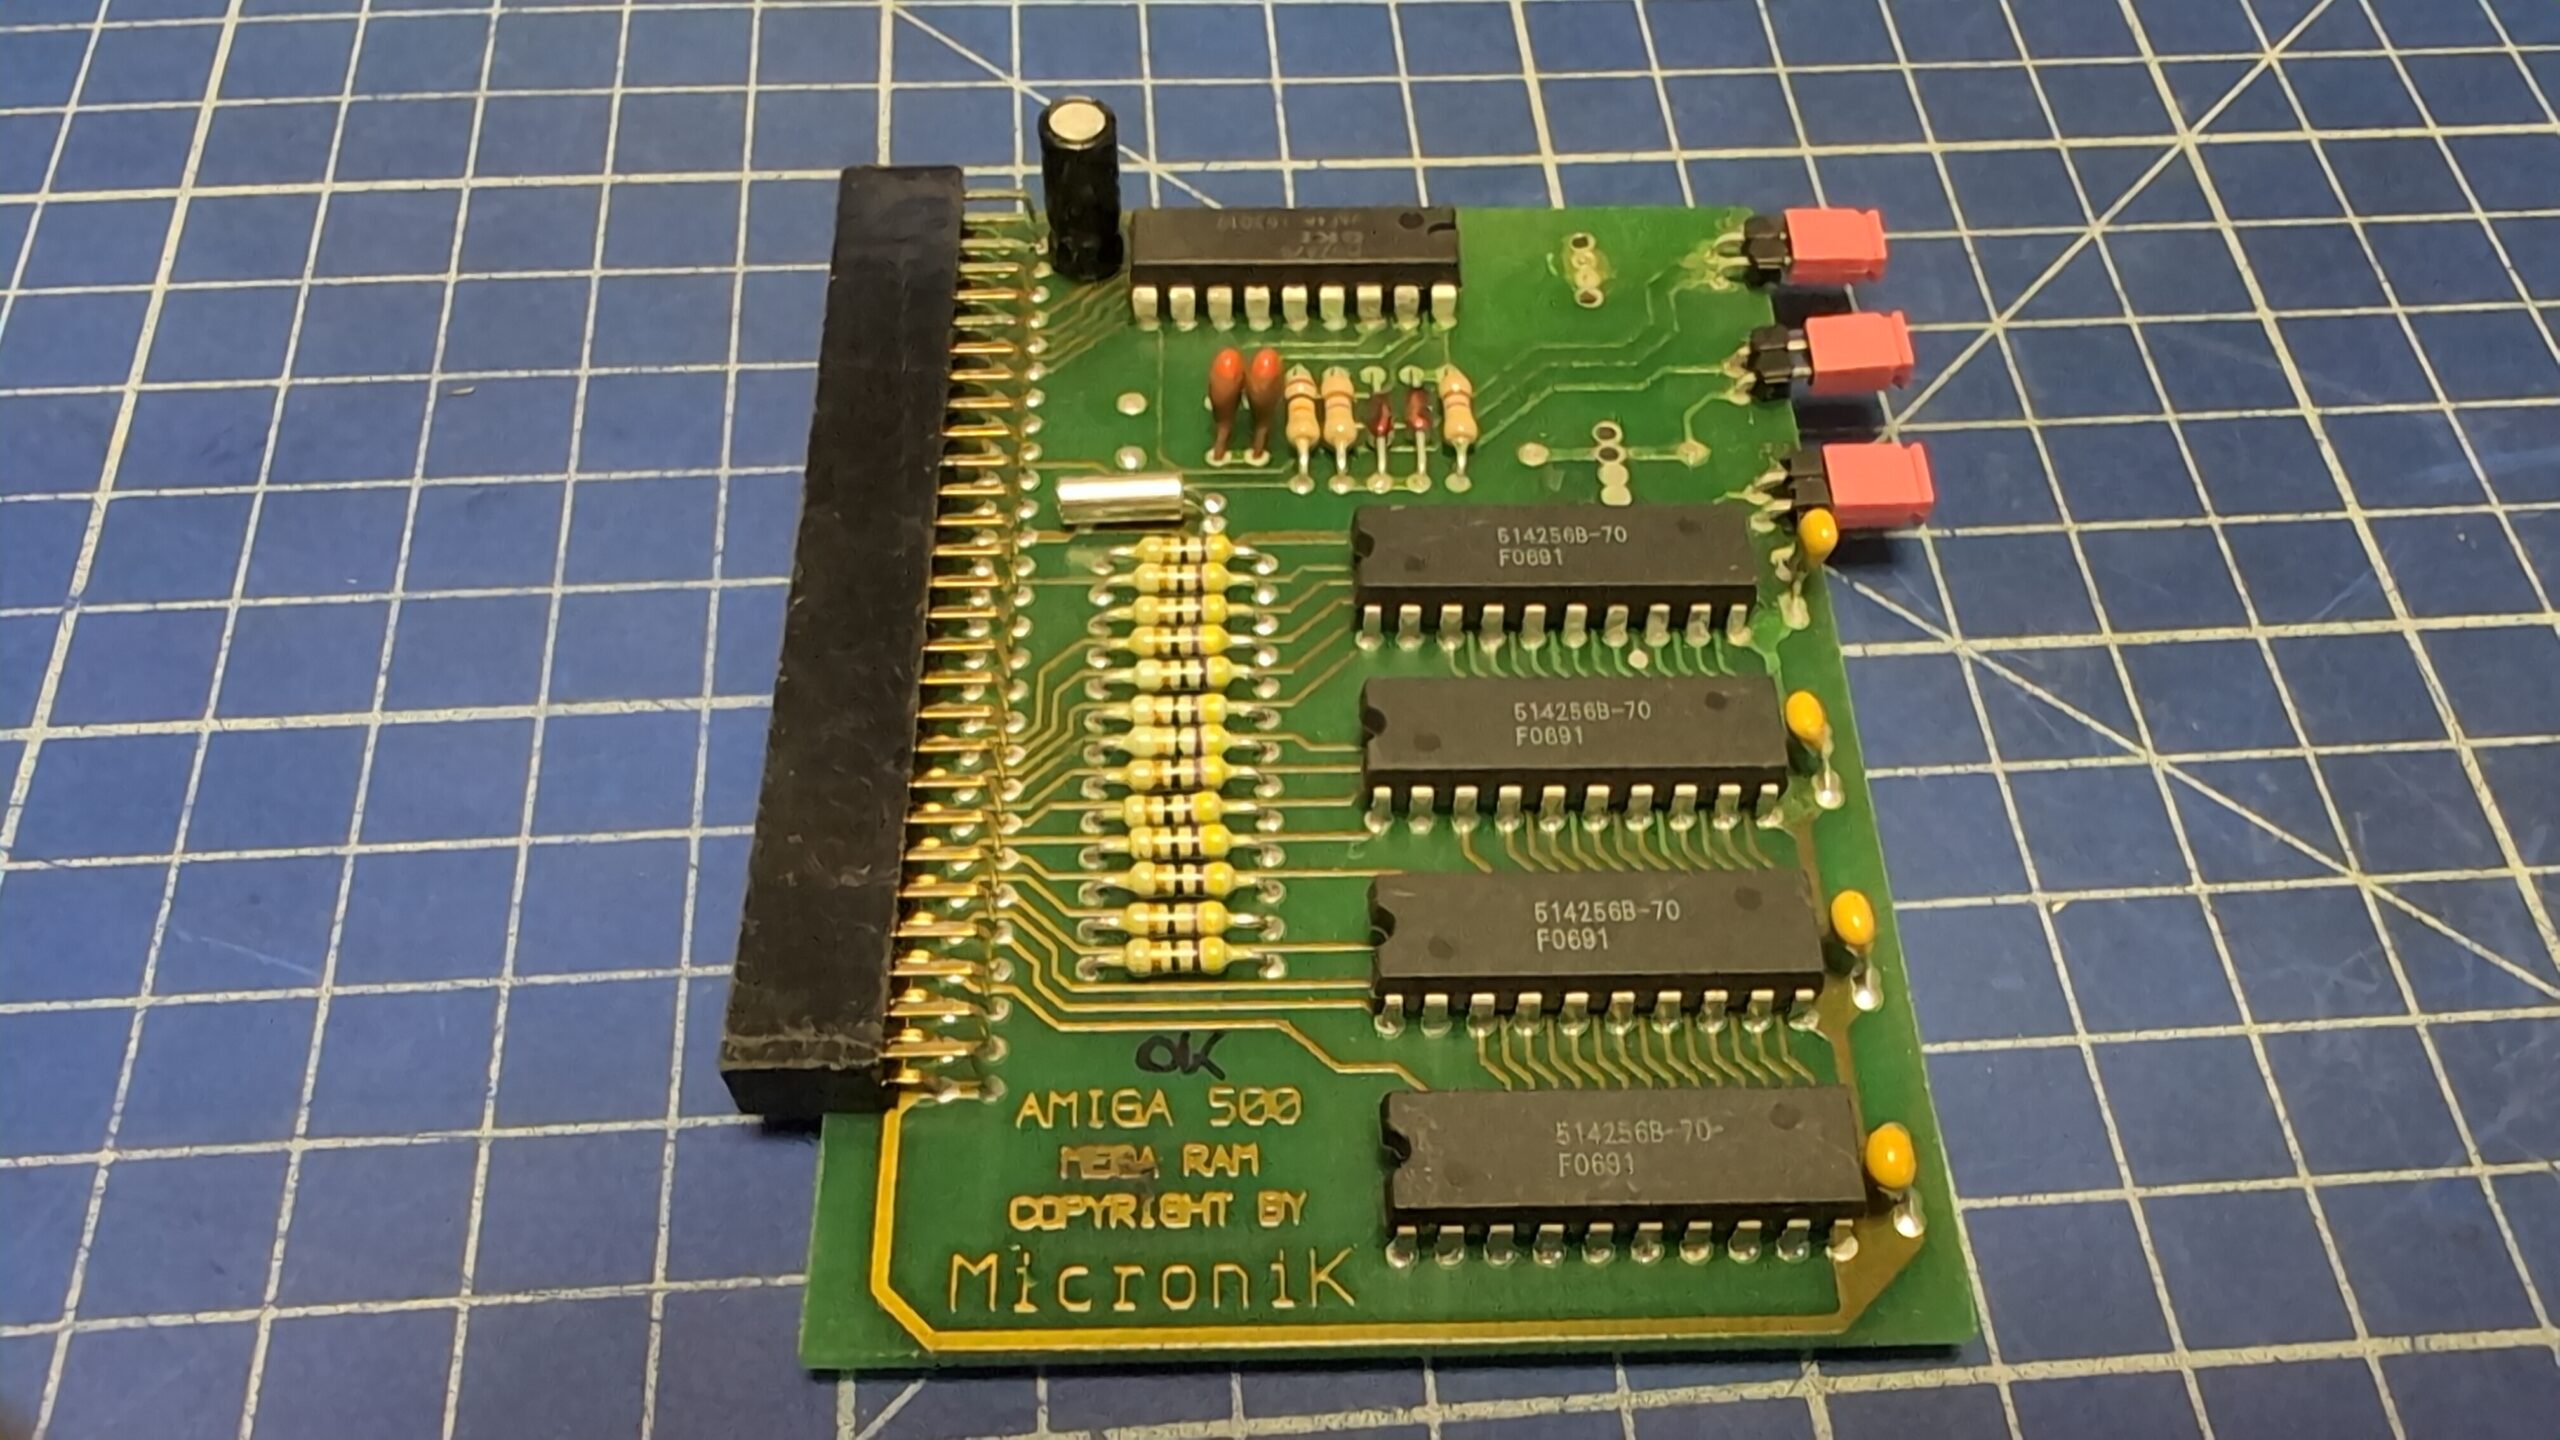
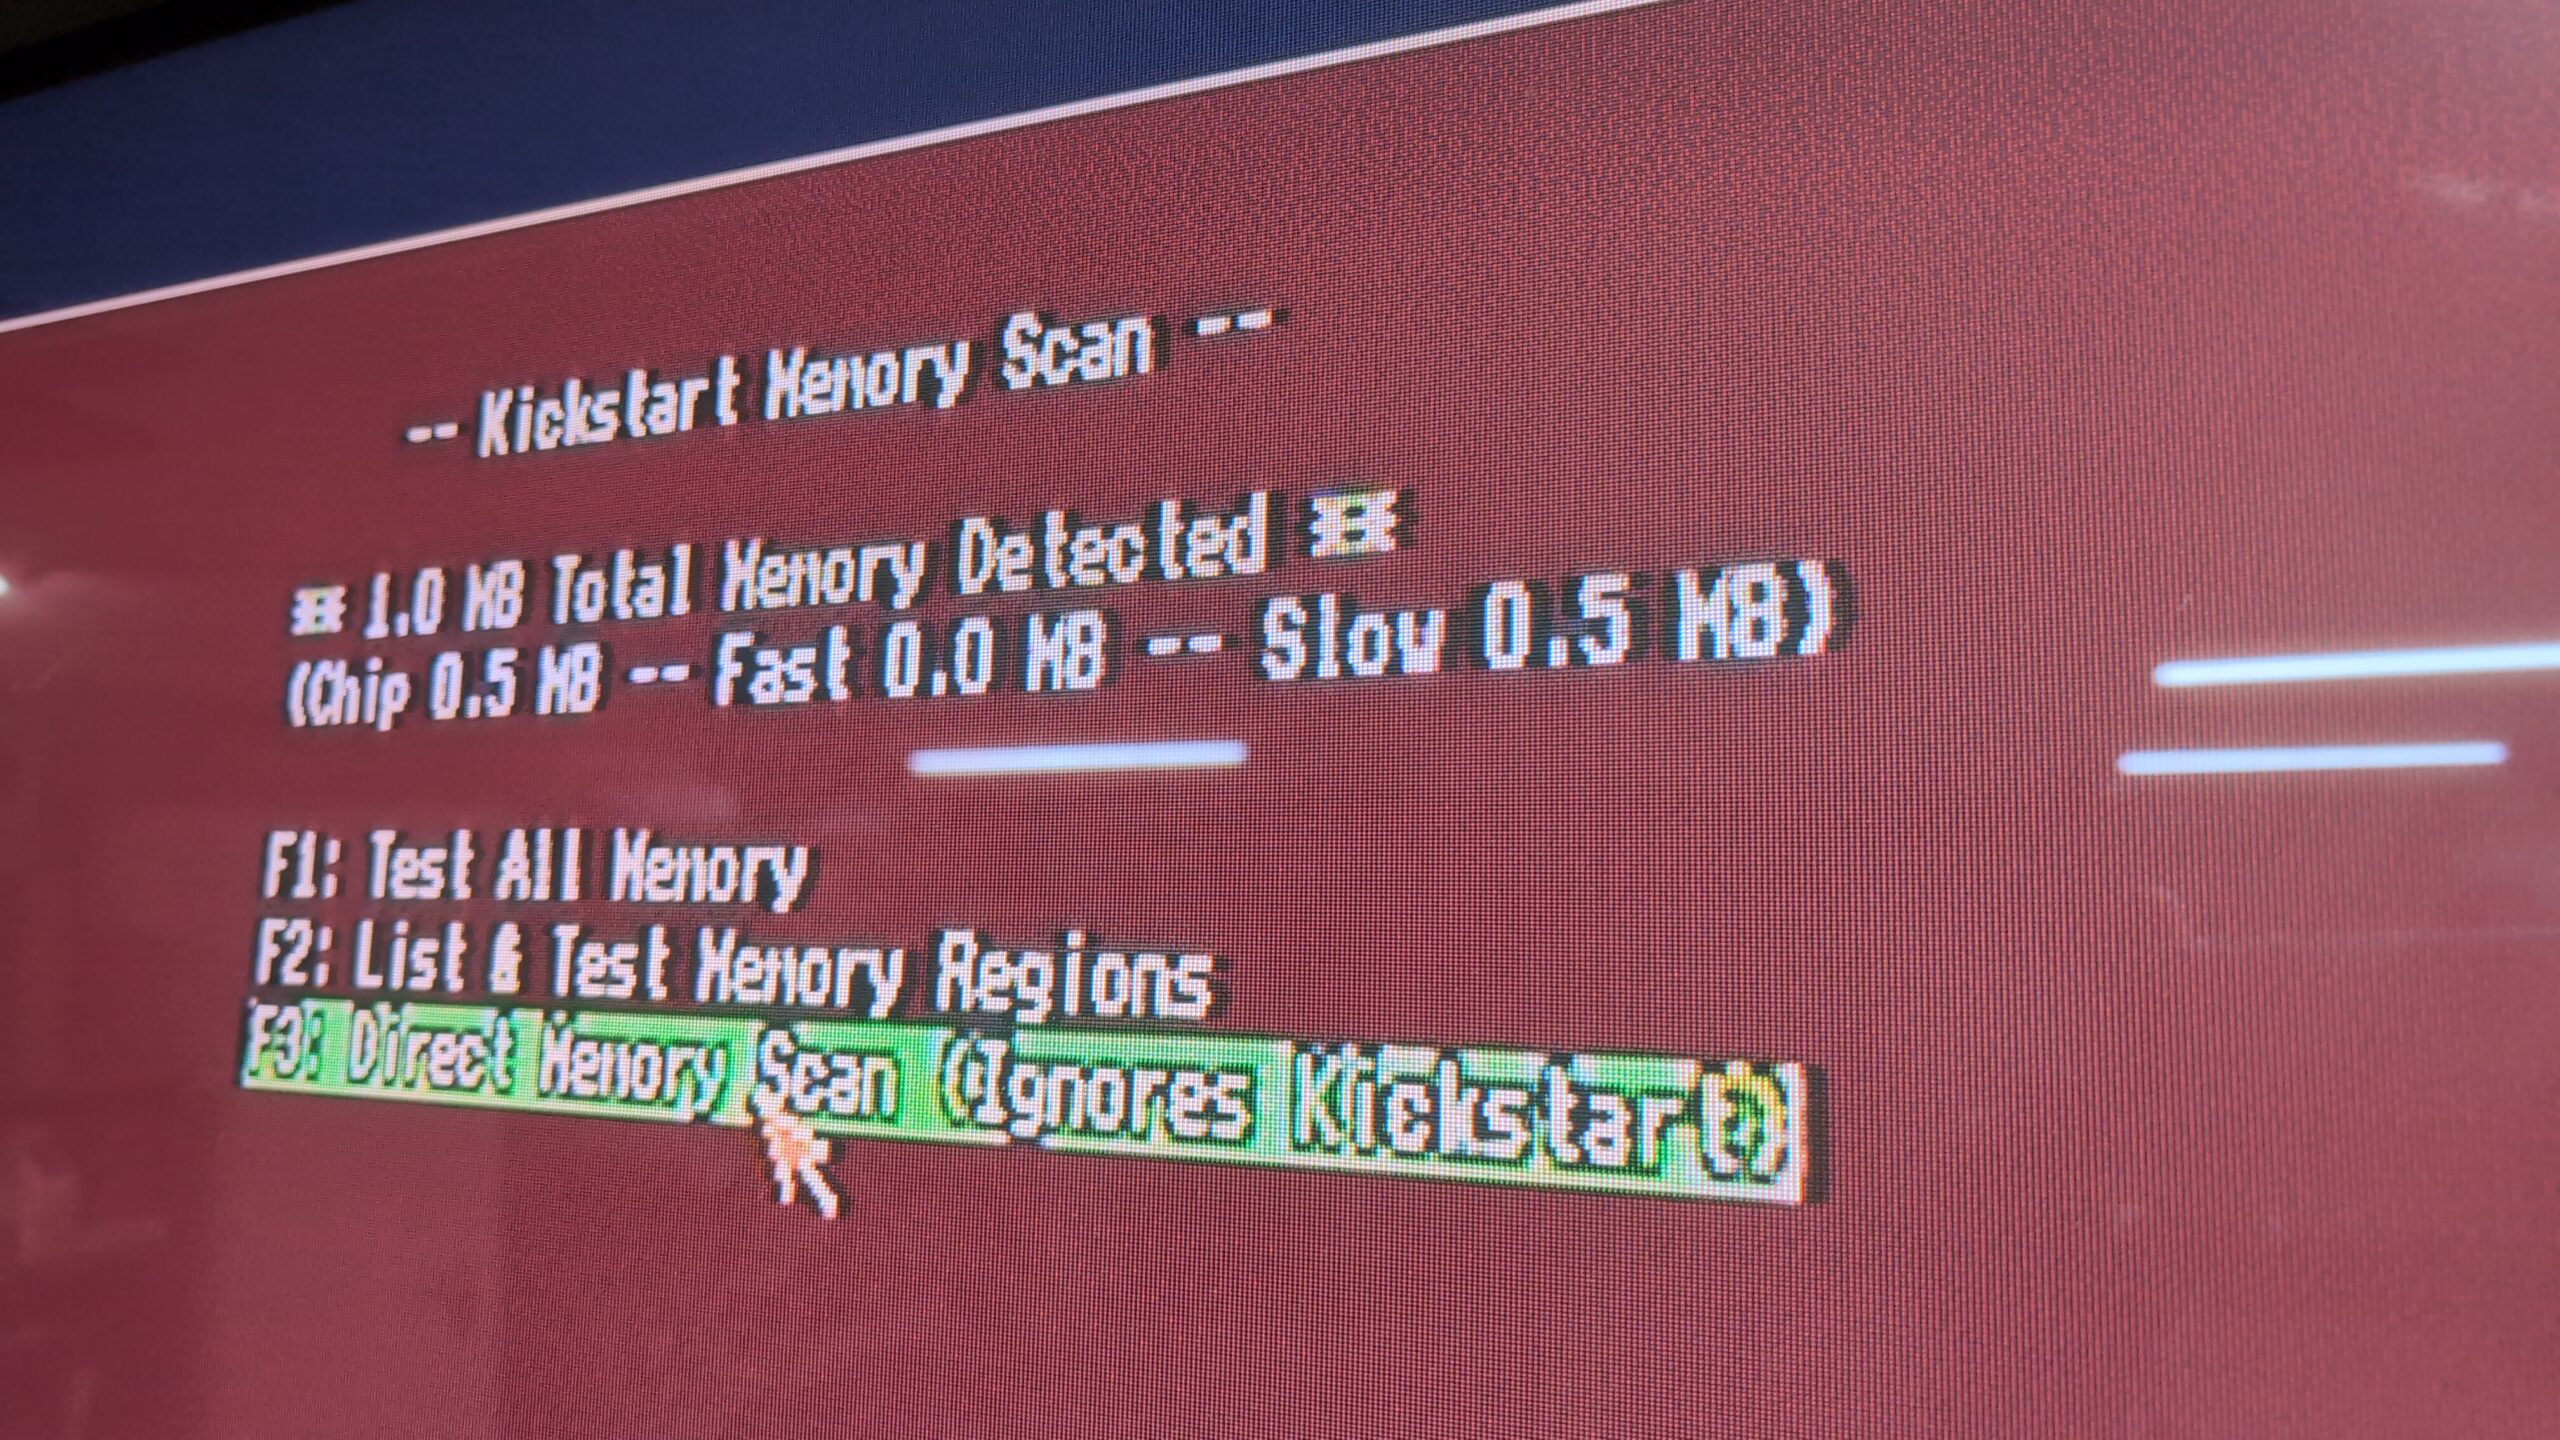
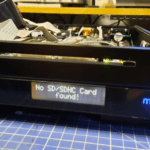
Next, I’ve added a 0.5M trapdoor RAM expansion and run some tests on the machine.
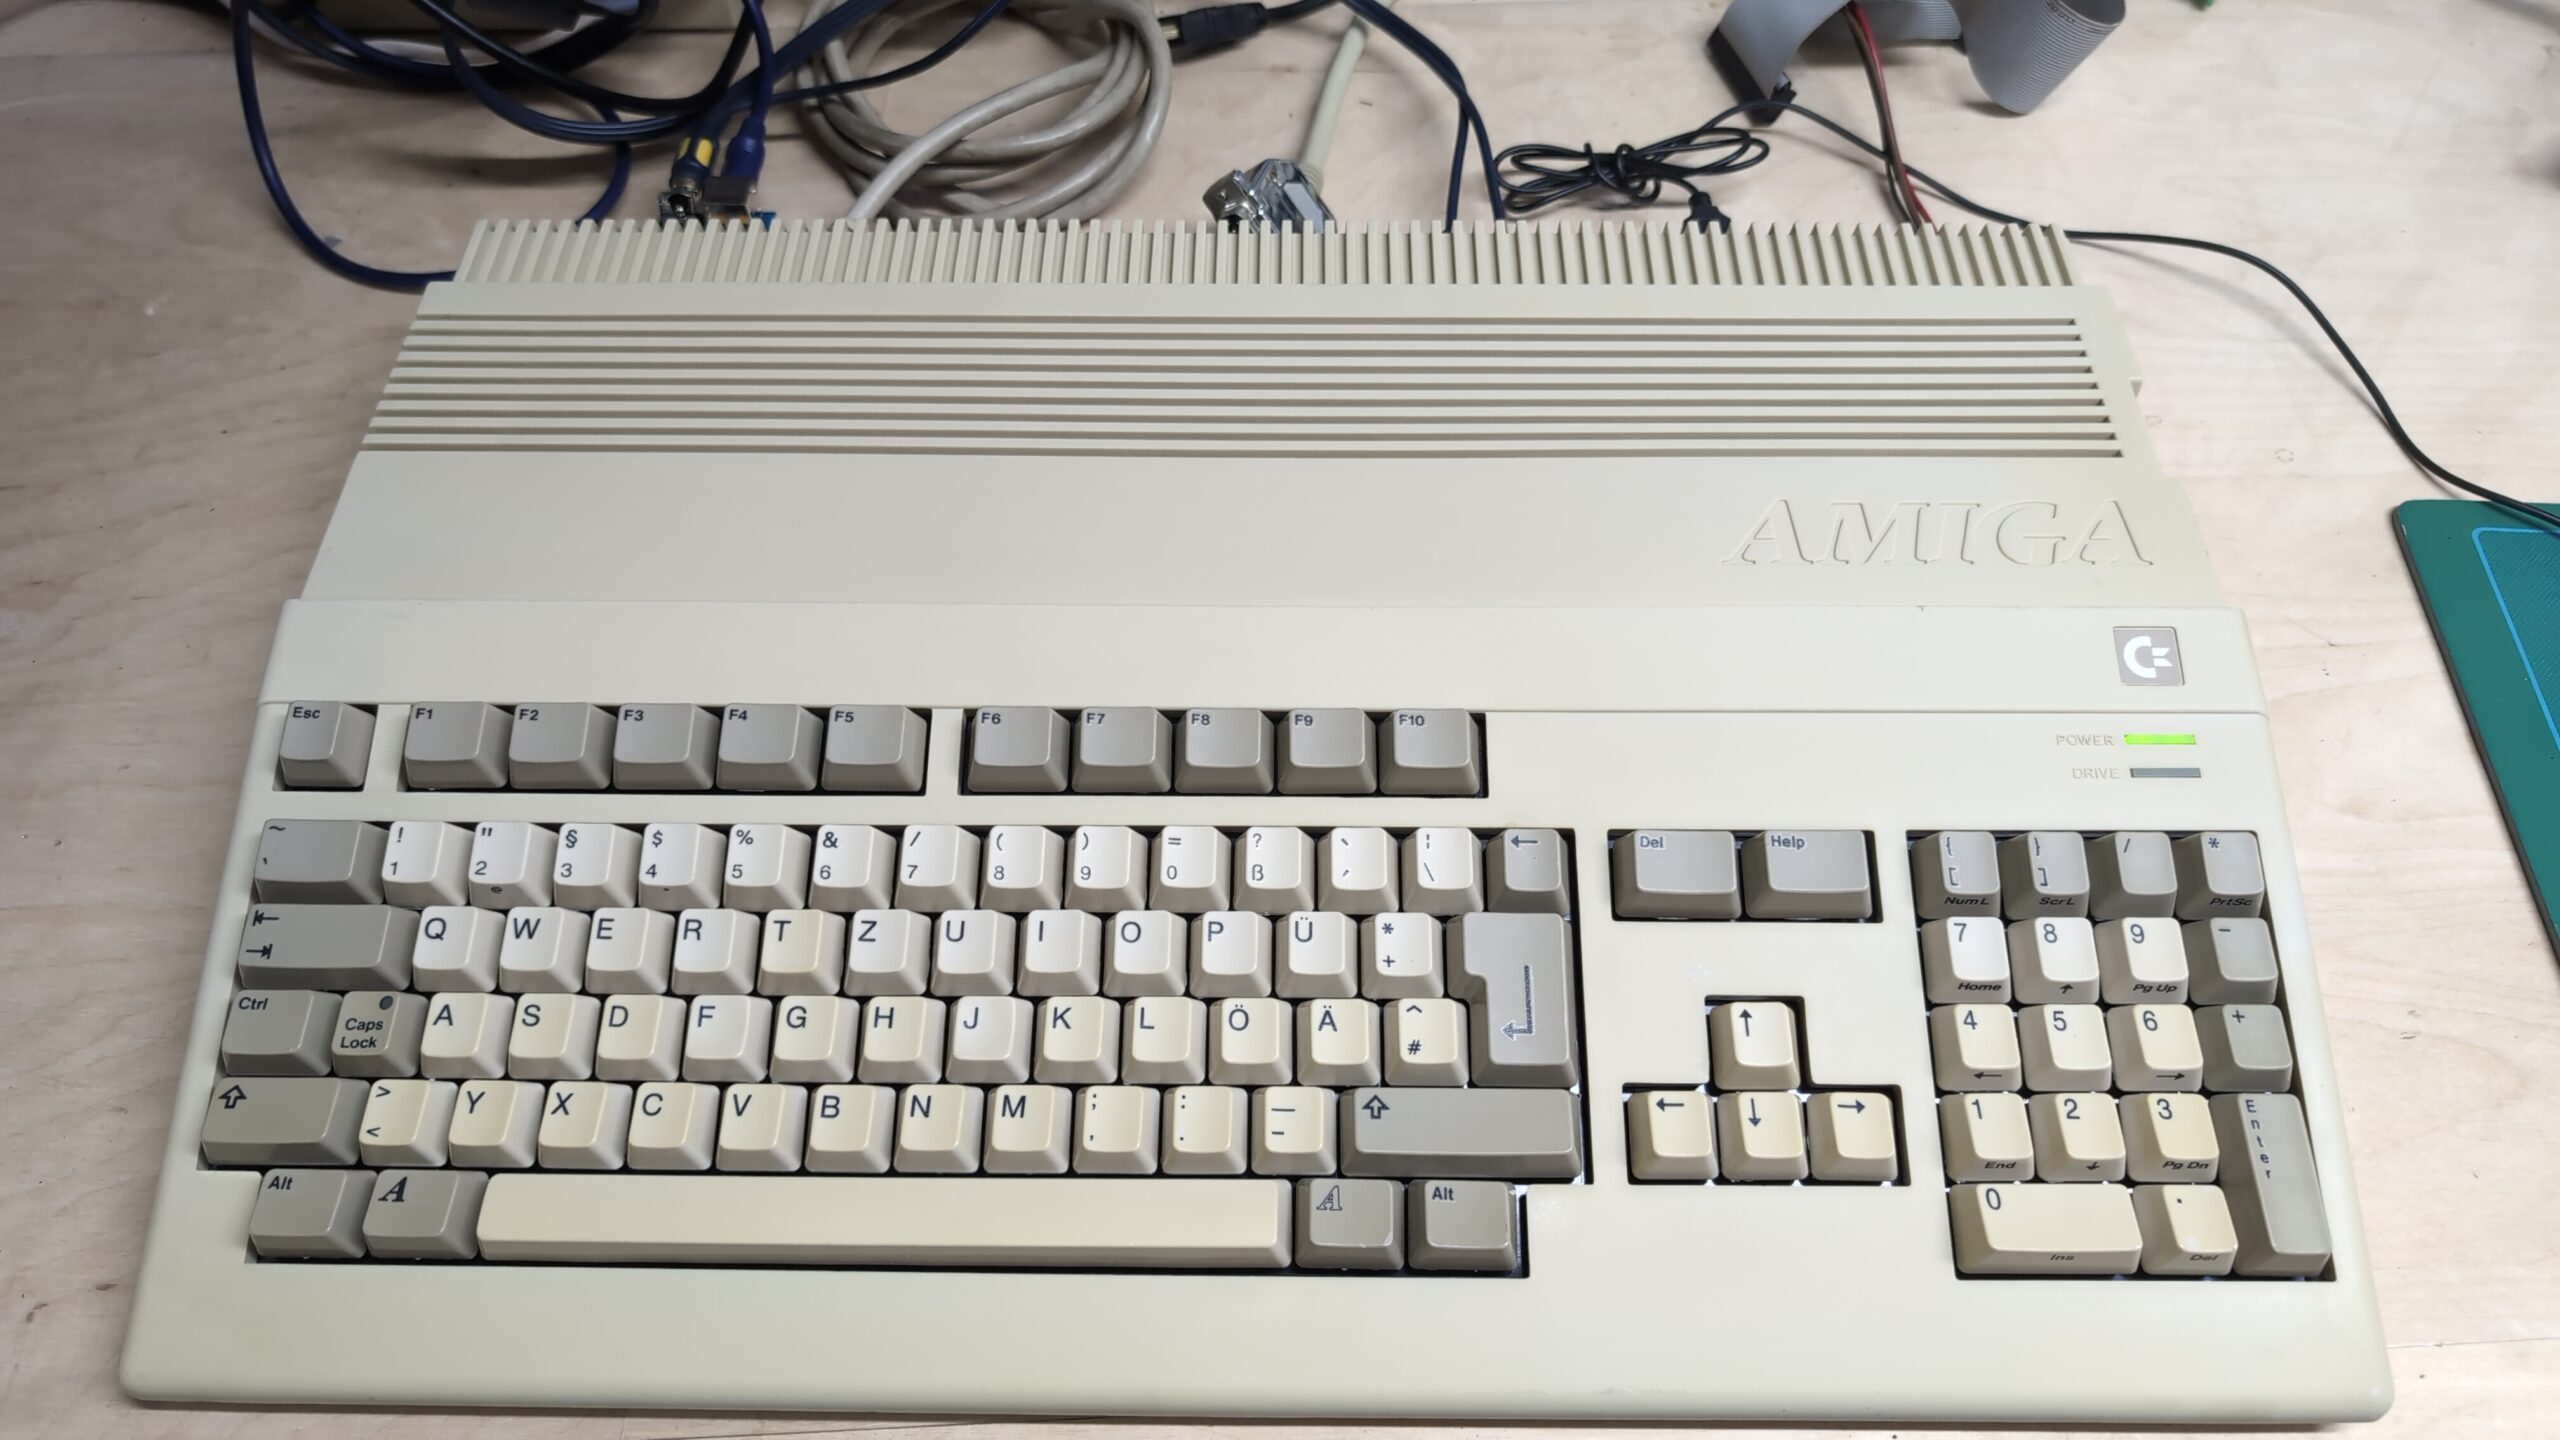
Results
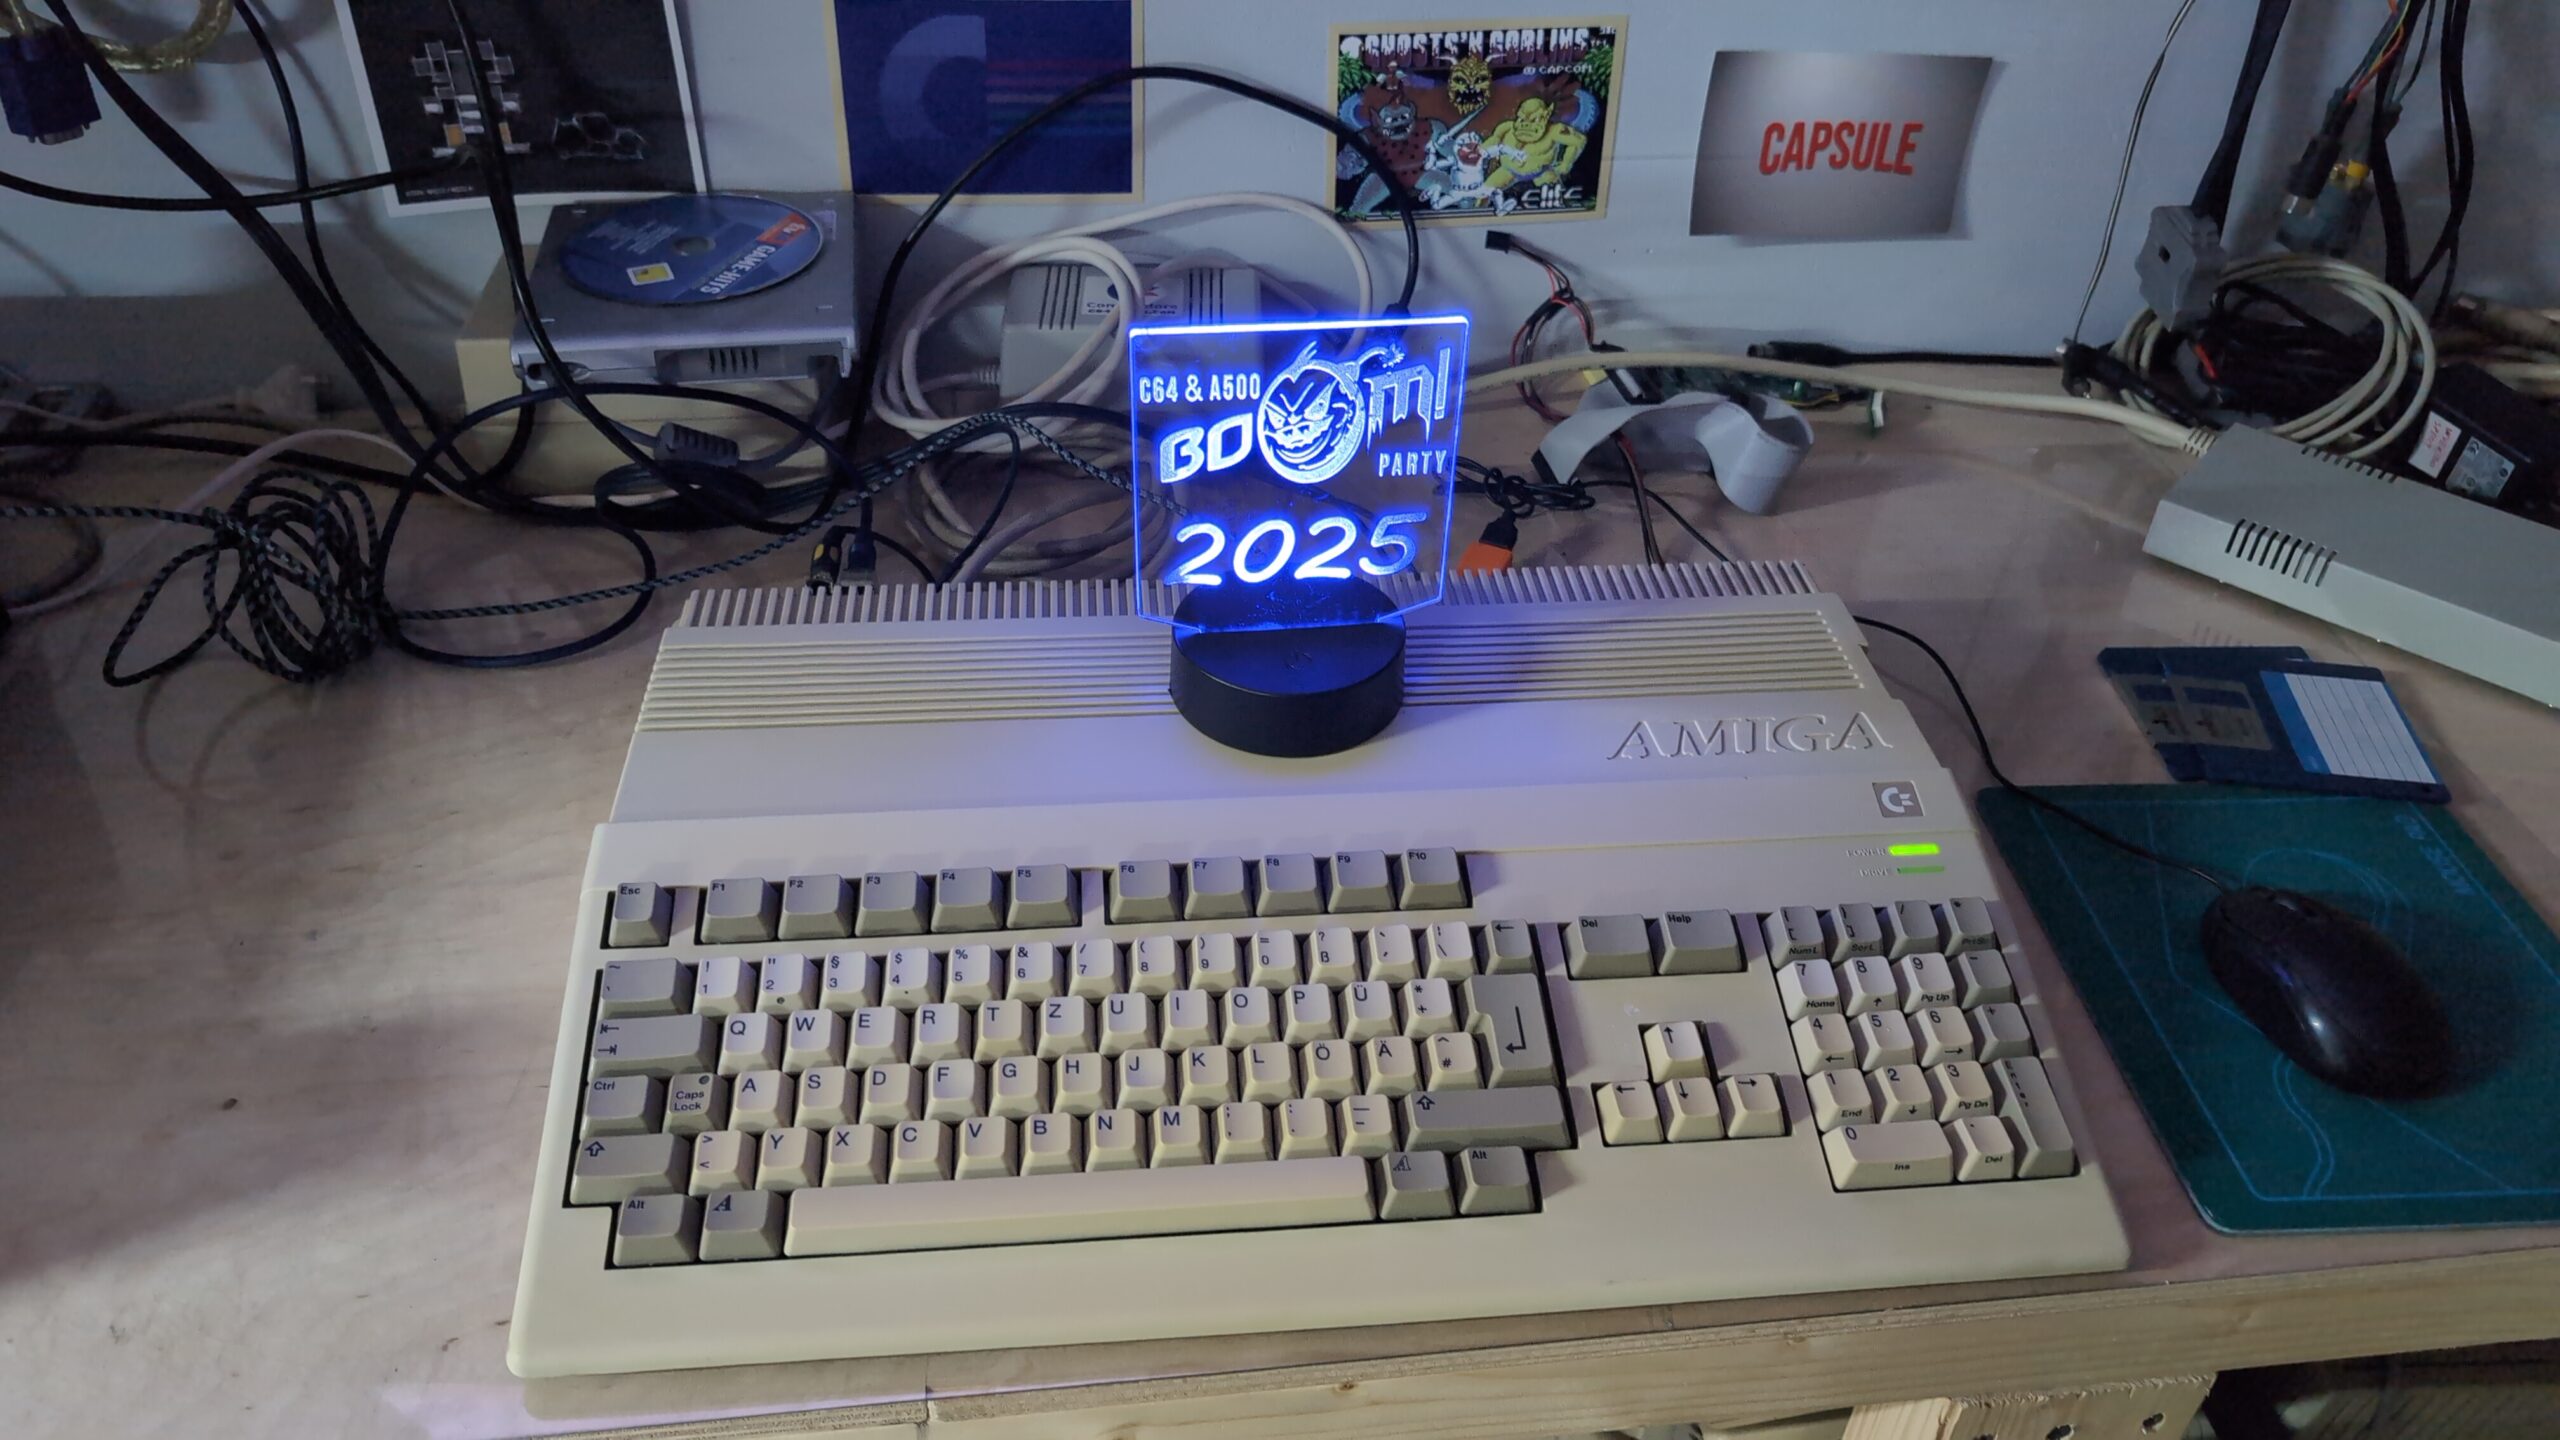
This is it! The Vanilla A500 project for the BooM party is ready!
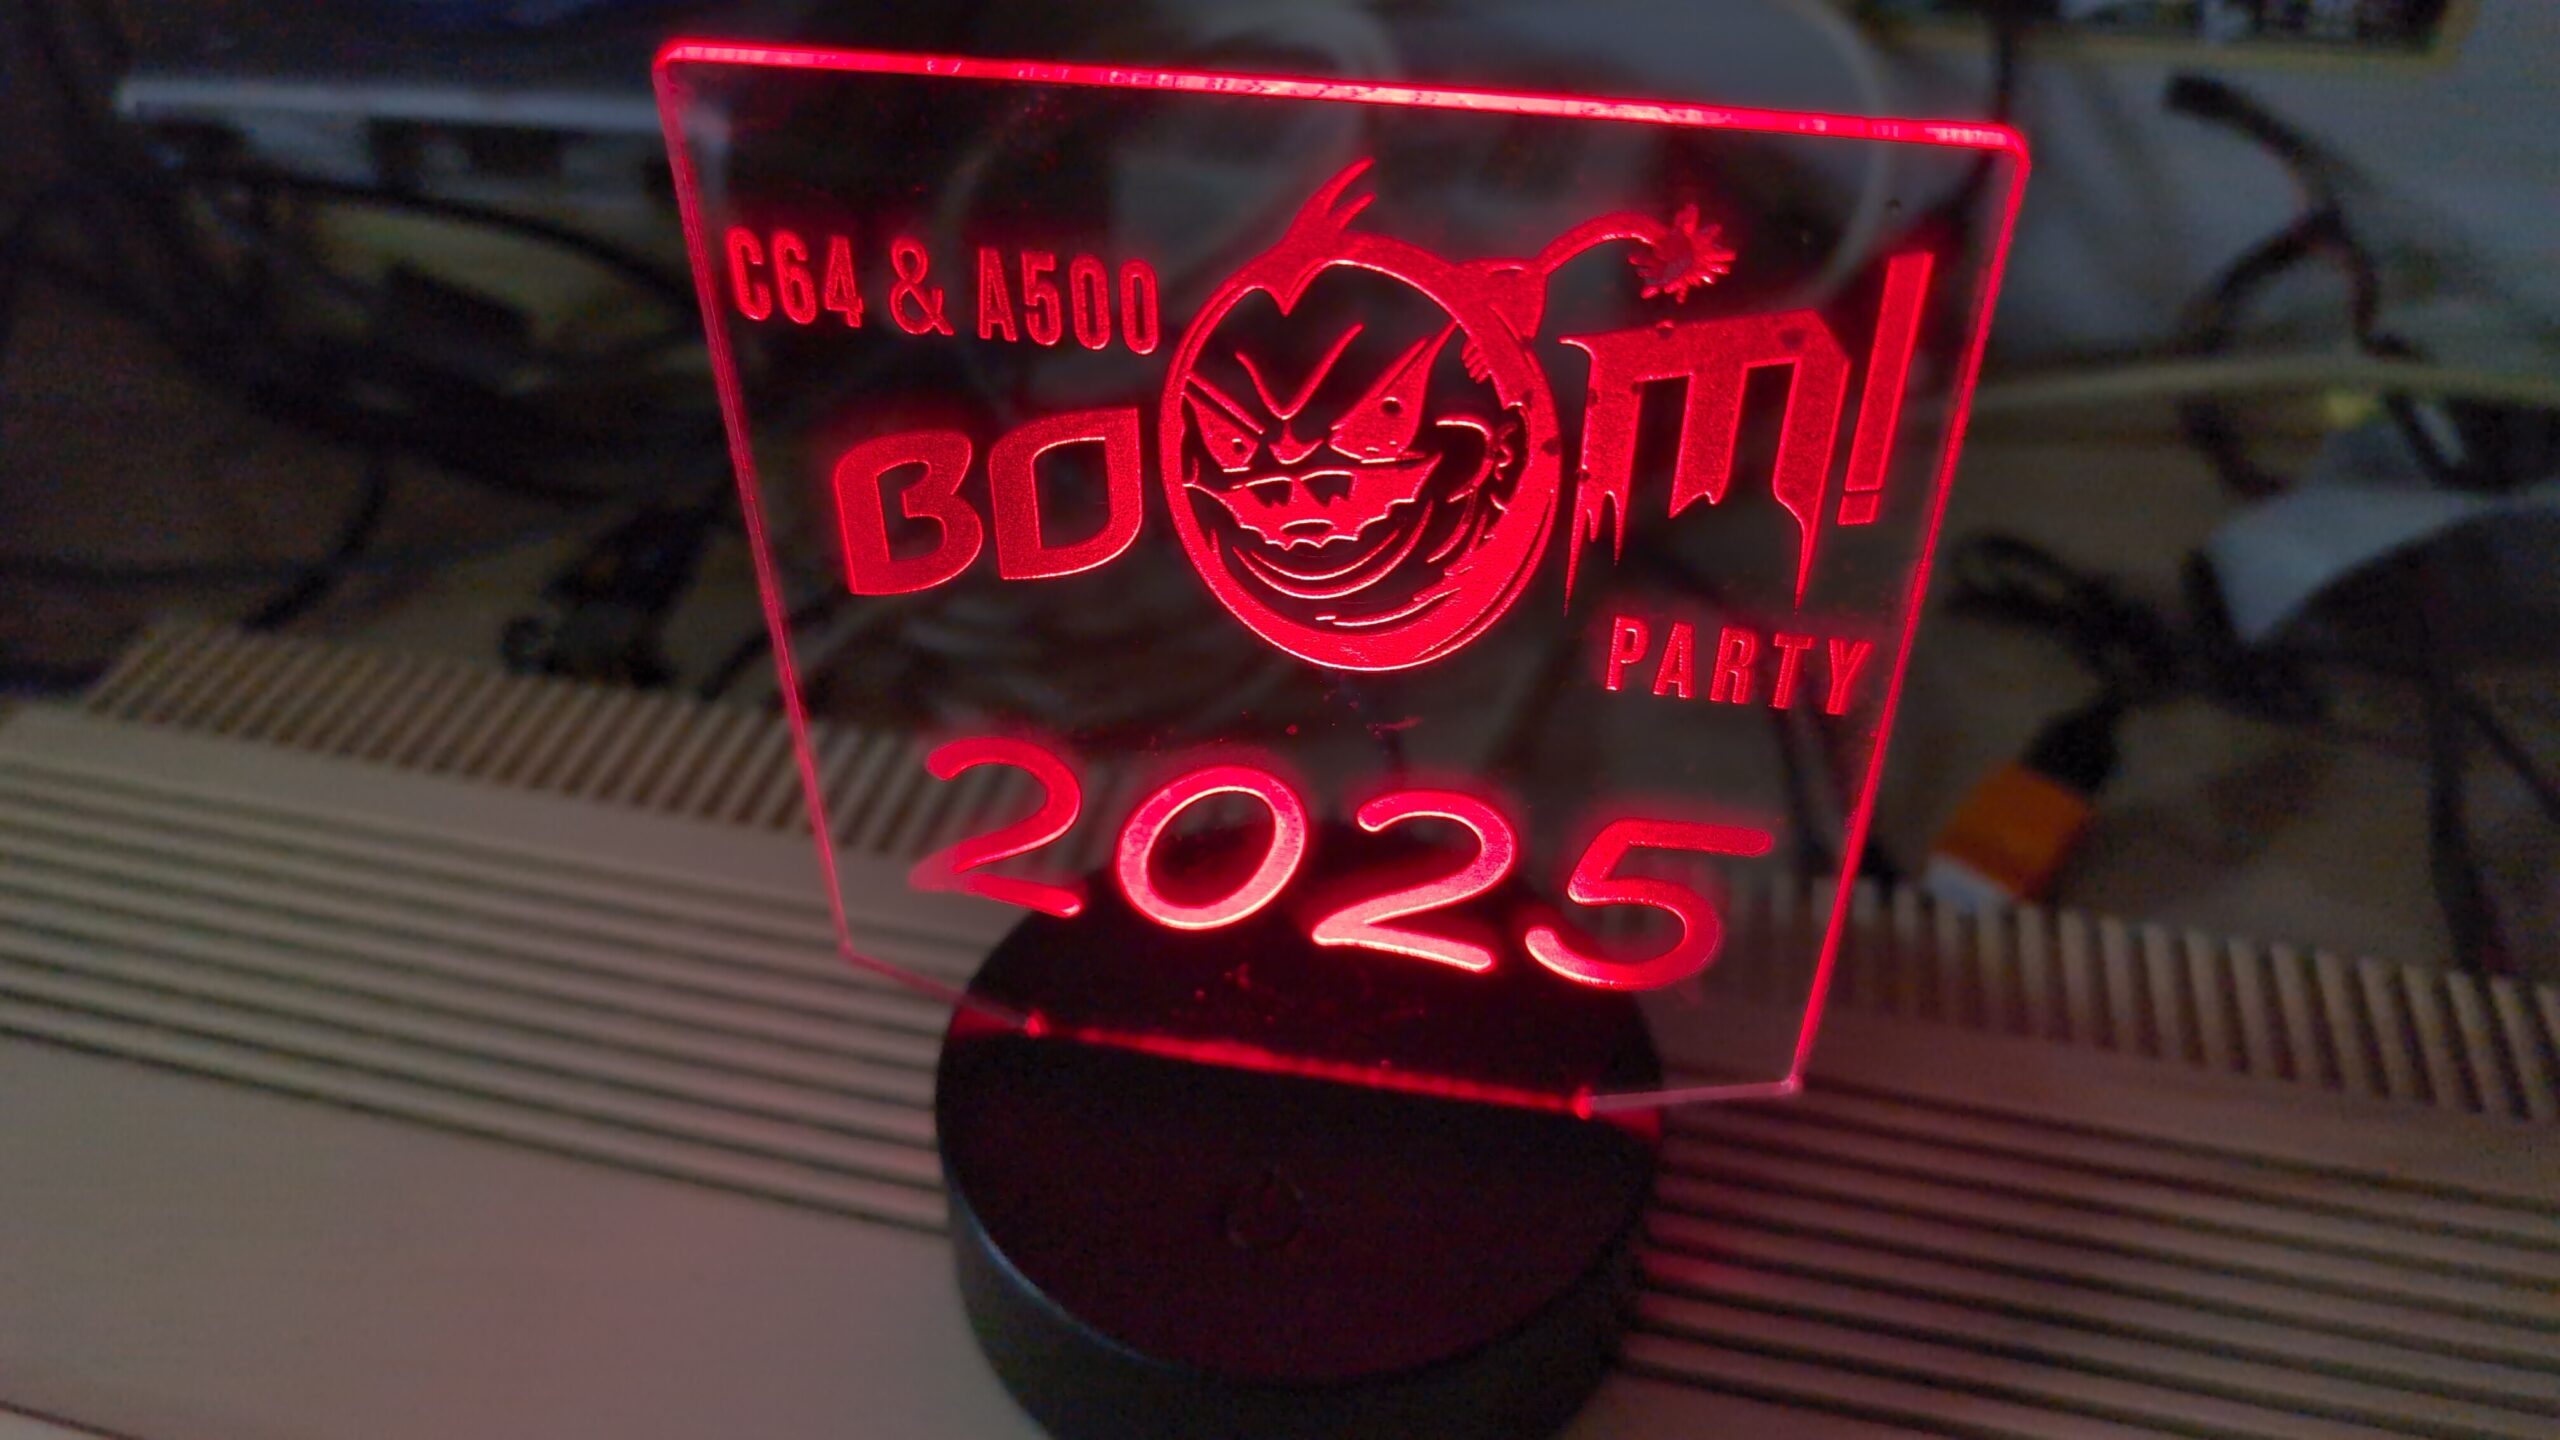
However, there was one more thing missing. A small trophy that I’ve quickly designed and laser cut. It will go to a winner along with the computer.
That’s all in this short post. If you want to get an email notification about fresh blog posts, consider subscribing!!!
See you in the next post and hopefully at the party!
Ps. The 3rd A500 in the Pimp my Ami series is gonna be so flashy… 😀

Hi there,
I hope you’re doing well. I’m reaching out to explore a potential advertising partnership that I believe could be highly beneficial for both of us. I’m interested in placing ads on your website and see strong potential for a productive, mutually valuable collaboration.
I’d welcome the opportunity to discuss possible advertising options and how we can work together to maximize results. Looking forward to connecting.
Best regards,
Jace Arlo
Account Manager
Telegram: @JaceArlo2
What do you use as detergent in your ultrasonic cleaner for PCBs?
Its a dedicated chemistry. I don’t have the original bottle but it was called Sonix.
Thanks. Their website recommends Tickopur, which seems fairly generic.
Real oldsCOOL beauty, great project too! Thank you for this awesome prize for BOOM!PARTY 2025 demo compo 🙂
Awesome. Look is perfect! Gratz!
Thank you sir!