… or just another post about some minor mods
<intro>
This time, I present to you Various Hax – part seven. Yeah, I didn’t write for a while again. This is due to several projects/jobs and life changes in general.
First of all, finally, I did refurbish my workspace and garage! It took around 5-6 weeks. Second, family members’ health issues, and third, recent projects are quite complicated and I am losing a lot of time on them. Looks like 2020 isn’t the best year ever and I guess not only for me :/
Anyway, another set (some are old) of various hax that I did over the past months.
</intro>
Amiga 500/600/2000 Diagnostic ROM
While fixing past Amiga 500 (around 94 machines) units (and 600s) I stumbled across this marvelous piece of software – Diagram by John “Chucky” Hertell. This is an amazing and very handy piece of kit but obviously, has to be burned on an EPROM or even a flashrom (more on this later)
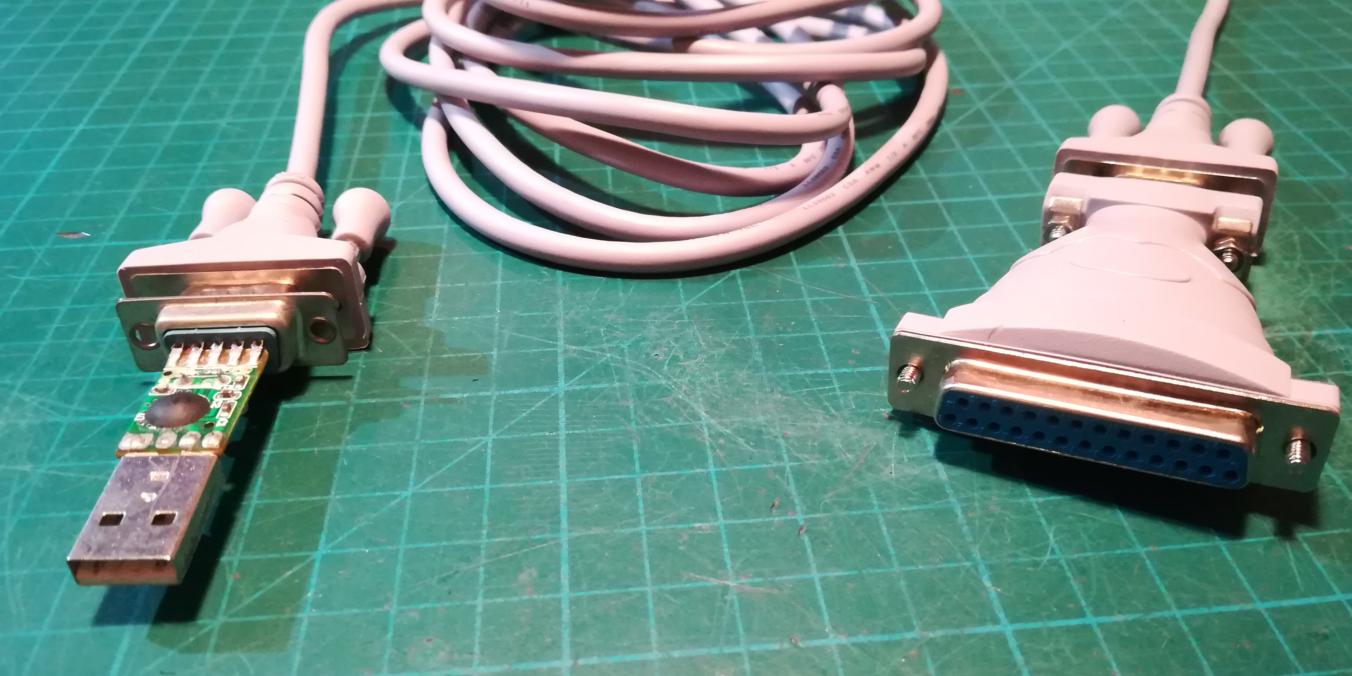
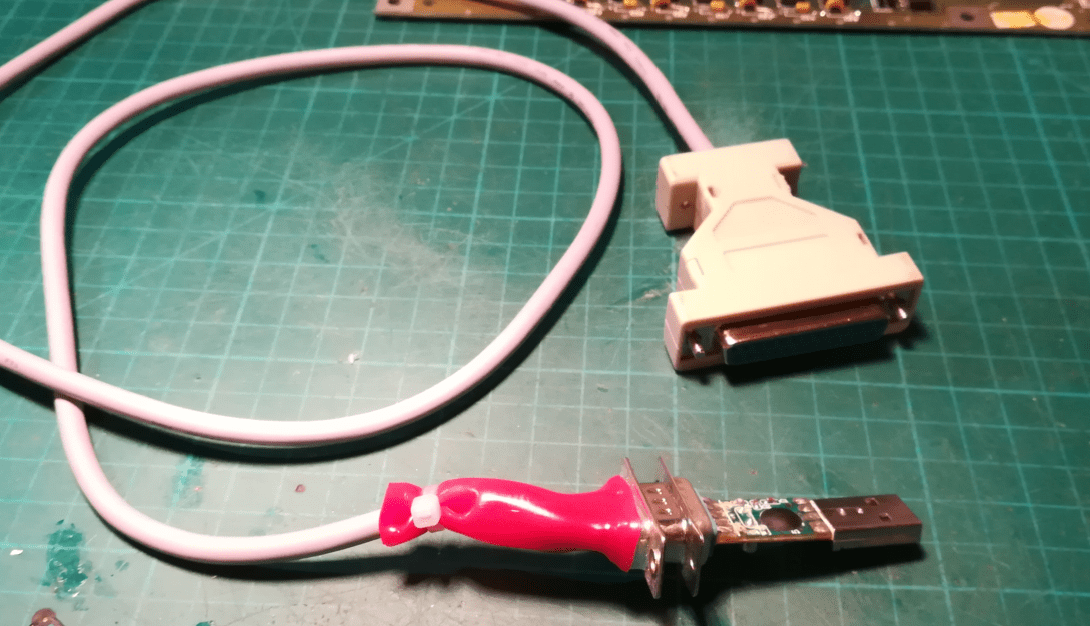
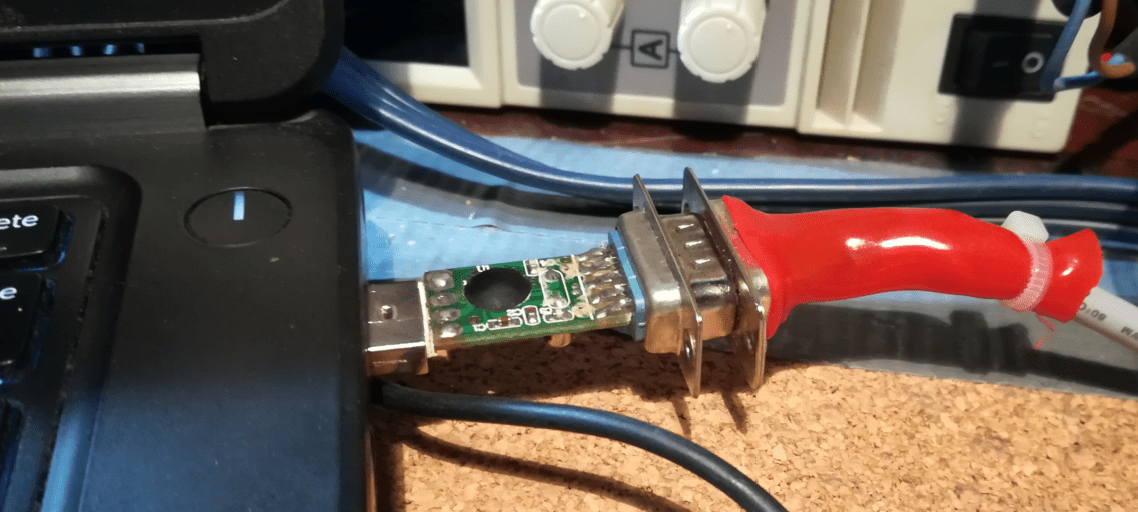
NULL modem lead and USB2SERIAL converter are desired too, especially, when all you are getting is a “black screen”. This is because debug info can be outputted from Amiga to the serial port. This is then picked up and converted to USB and displayed in a serial console on a modern x86 machine. Super handy!
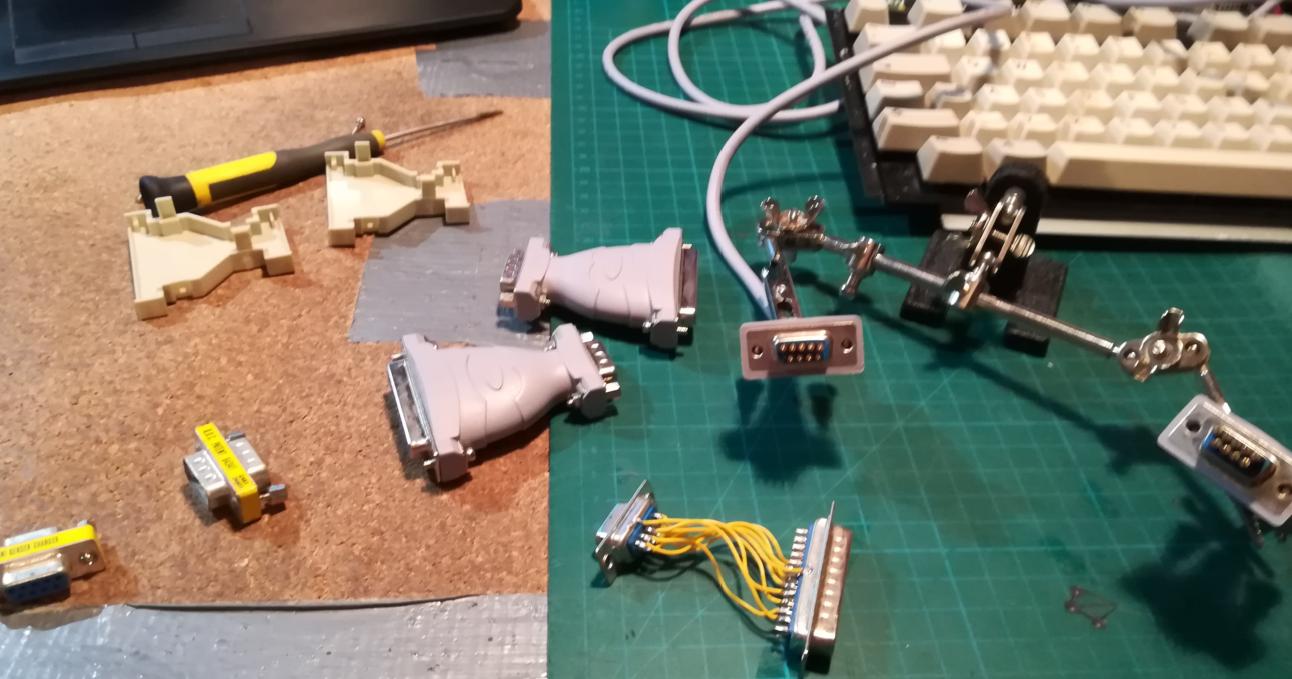
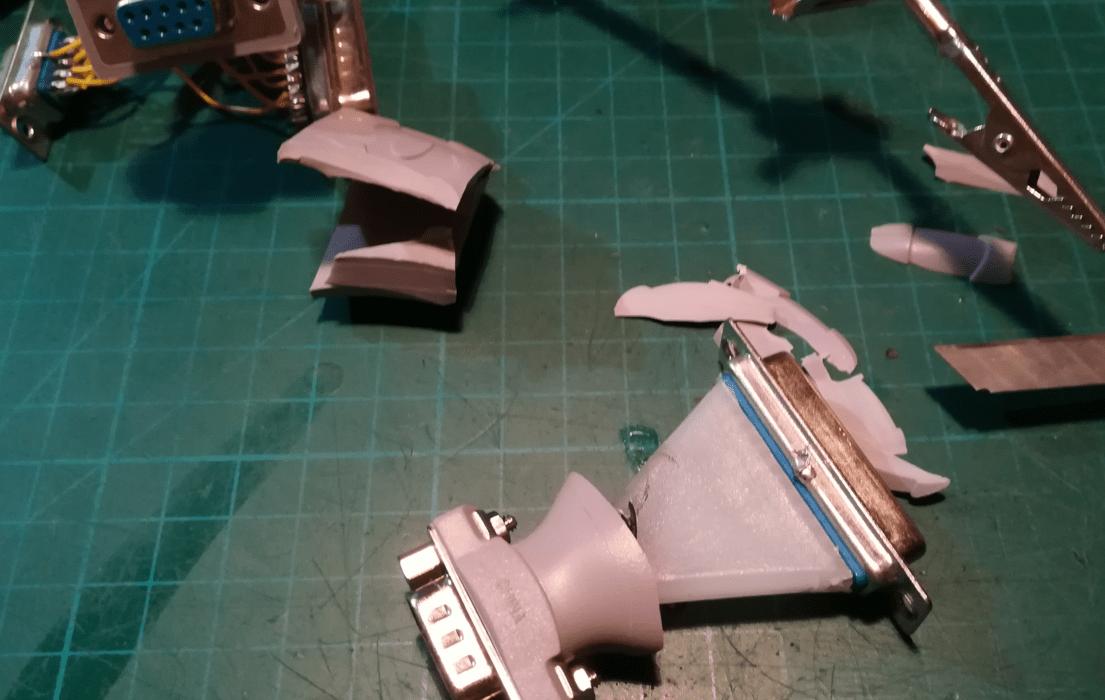
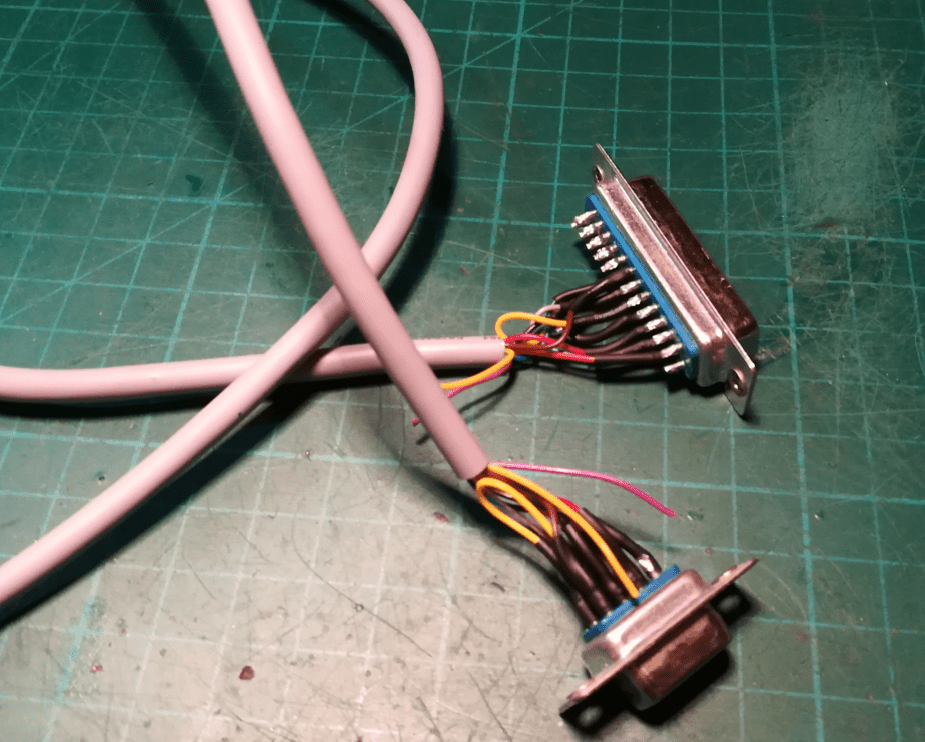
Nowadays, getting a real NULL-Modem cable is a serious challenge. I’ve bought several such pseudo leads and it turned out that the majority of needed lines are missing. I’ve finally got a proper lead but it came in with a DB25 to DB9 adapter. I had to run some tweaks on it. Some pics are below.
Testing it
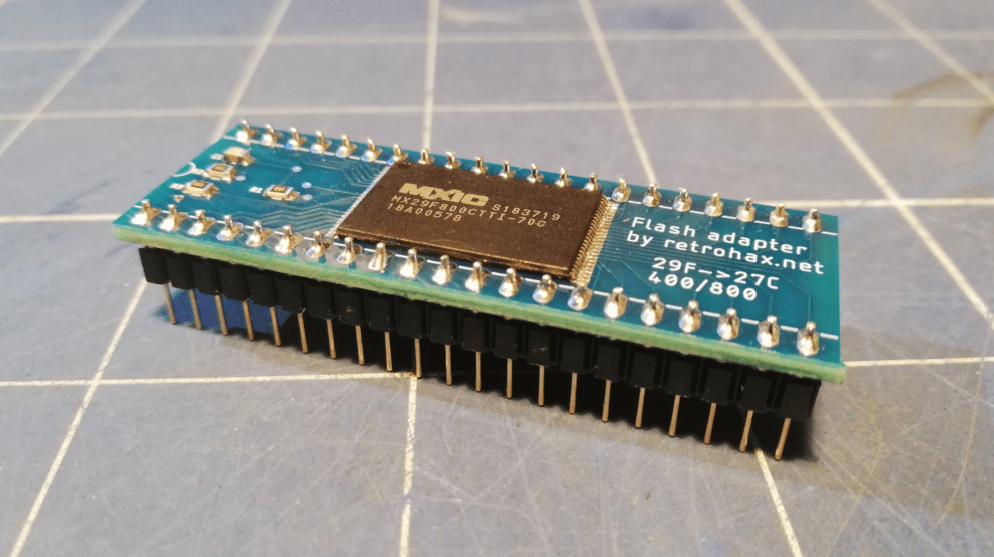
The USB2SERIAL converter is a story for another post that I will write someday. A lot of modern serial to USB converters vary heavily and are also missing some crucial data lines. I am currently working on a KIT that will utilize my freshly made Flash adapter. This will result in a perfect DiagRom hardware setup.
However, in this post, I am using old school 27c800 chip with a BIG “FK all” resistor for bank selection lol 😉
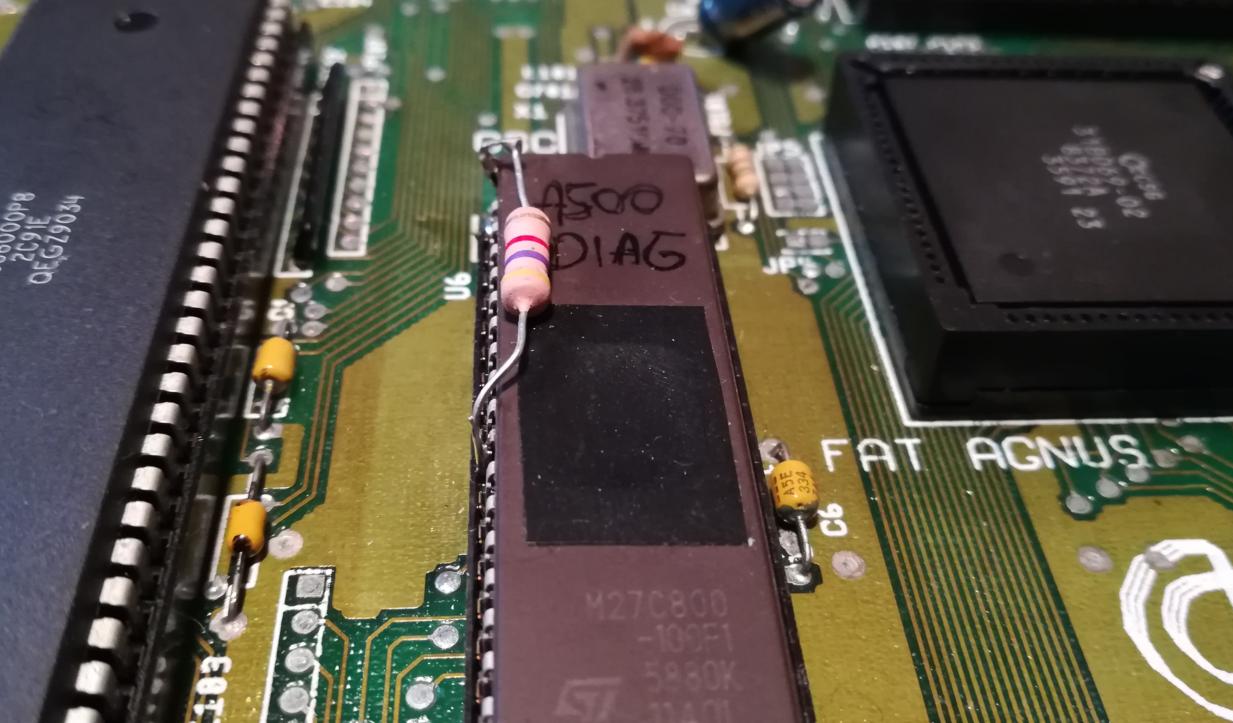
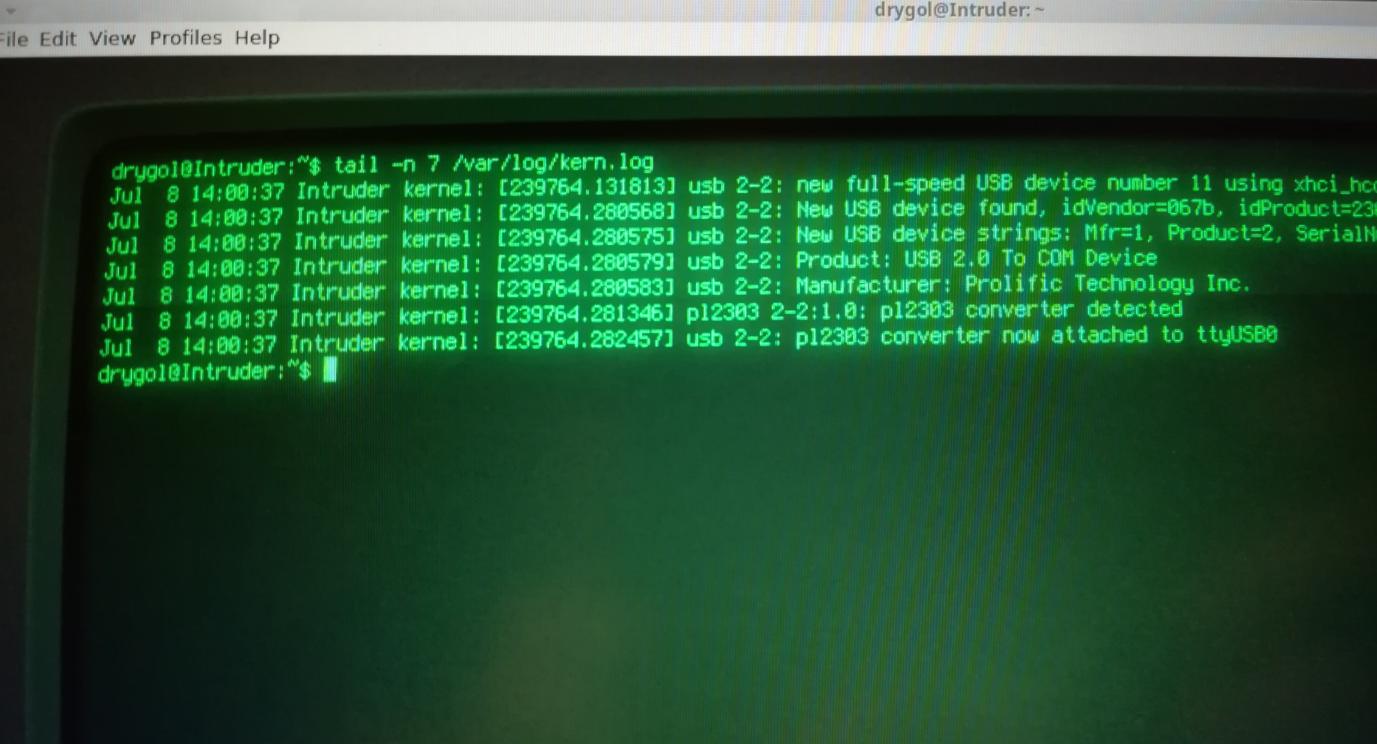
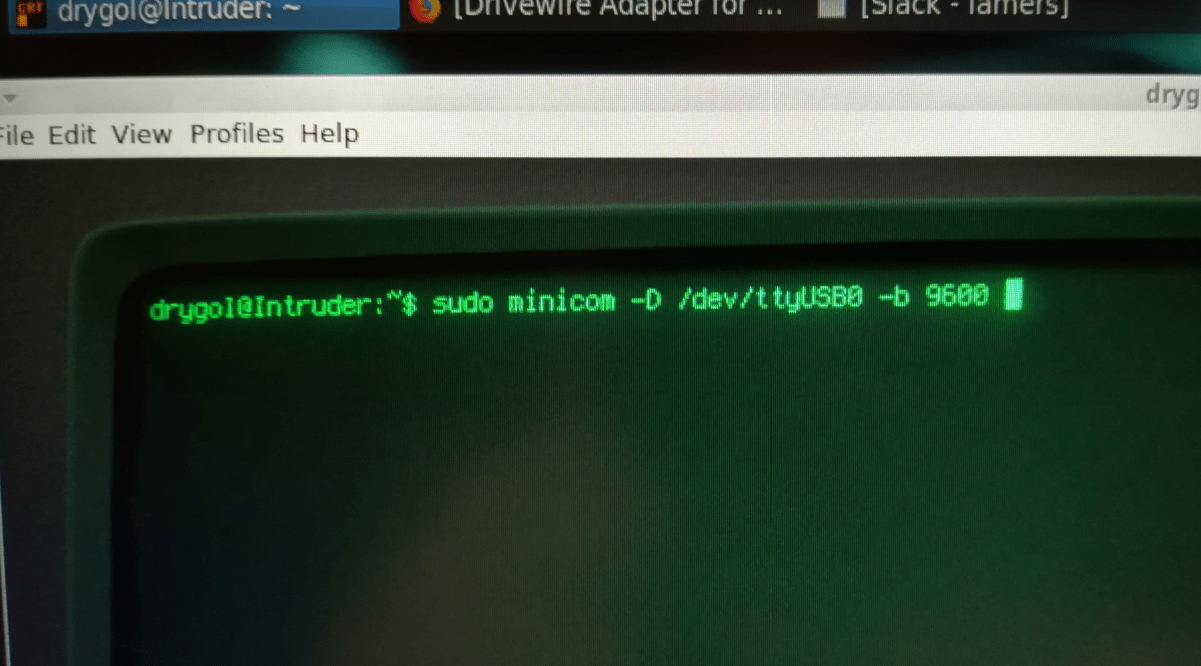
With DiagROM binary burned onto an EPROM and fitted in an A500 all I need to do is to connect it to a PC and turn the power on to start getting debug info and eventually full control of a DiagROM from a PC.
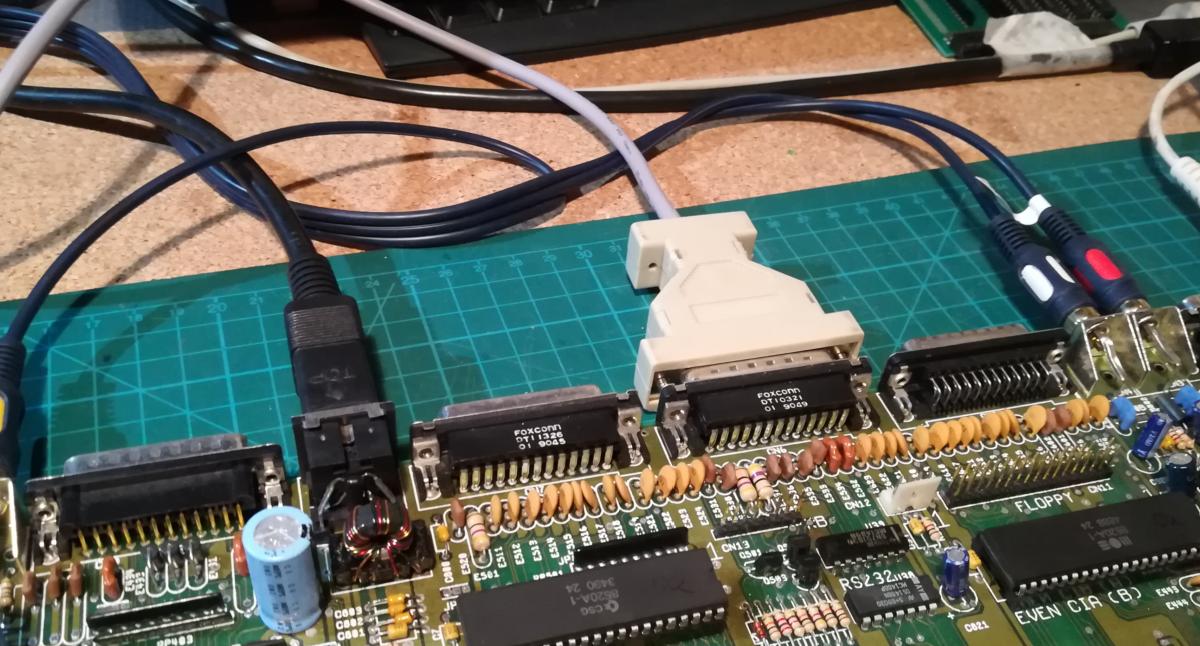
Here is how it looks under Linux.
A diagnosed problem in a randomly picked mobo.

Chucky is doing an excellent job with this project and big thanks go to him for making it public! Please, support his work!
Hopefully, I’ll soon manage to finish my DiagKIT and will make it available via retrohax.net
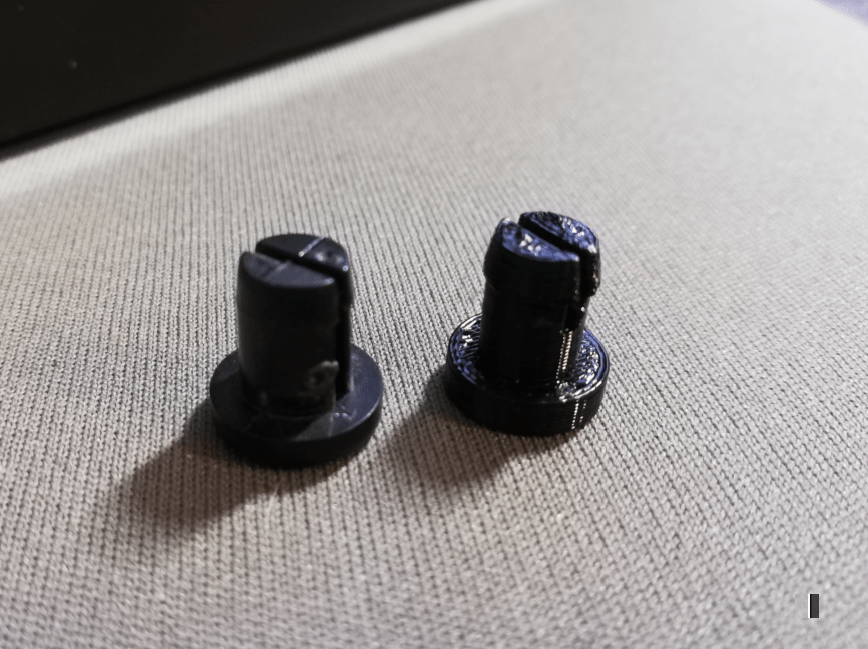
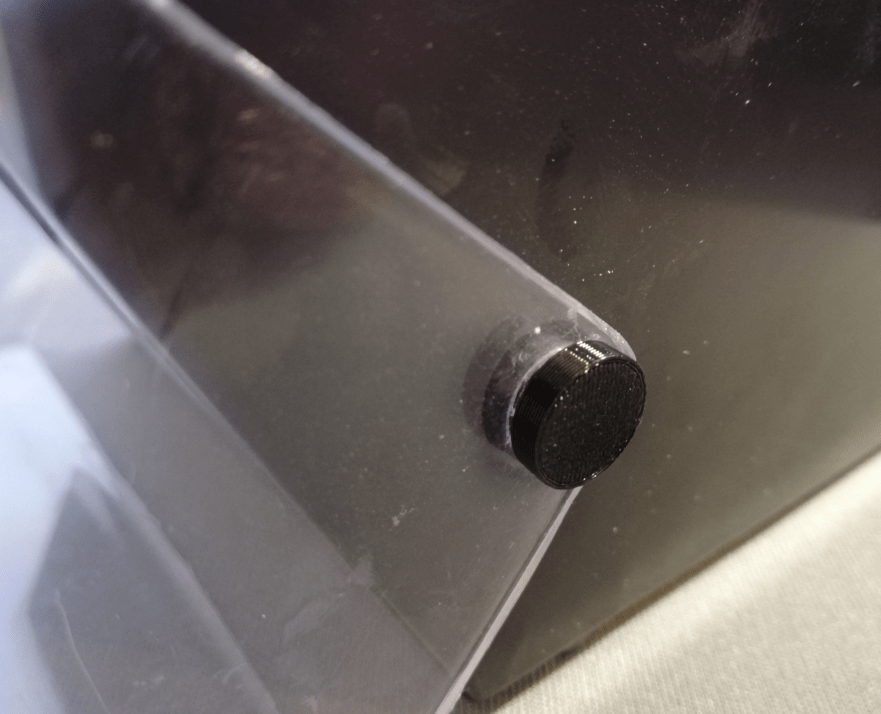
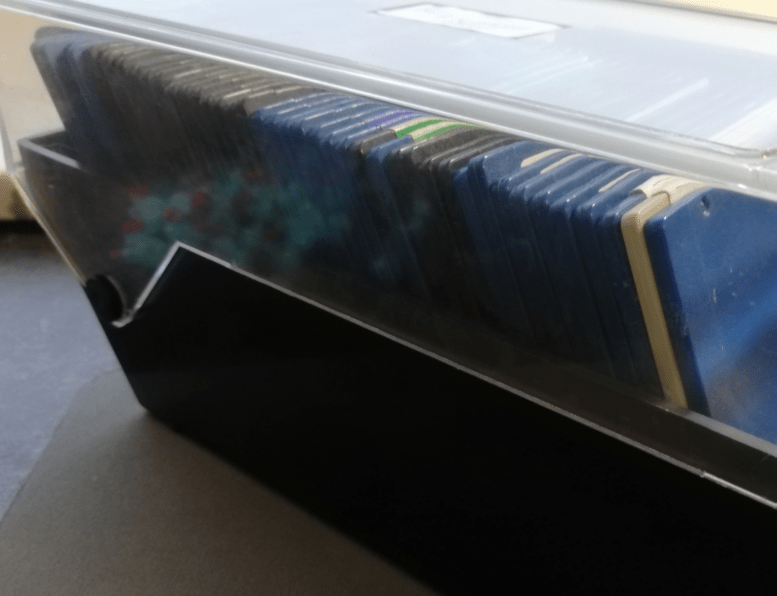
3D printed floppy box pegs
Some long time ago, GEPARD/LAMERS asked me to 3D print some replacement floppy box pegs. He’d told me that these often break. I’ve quickly created a model and 3D printed some pegs 🙂
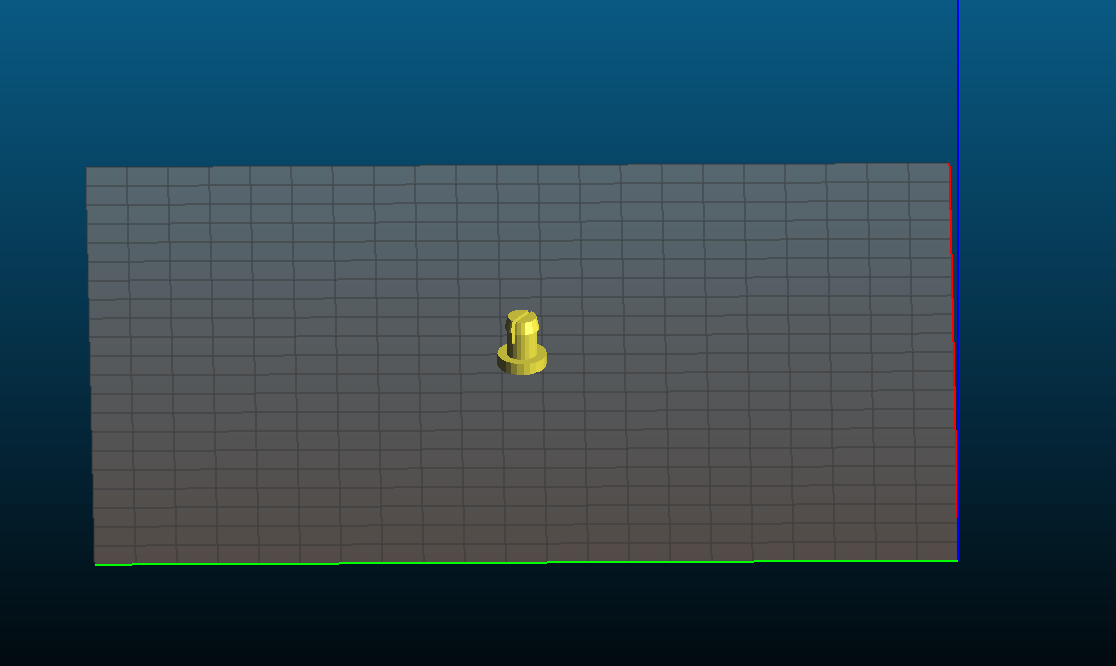
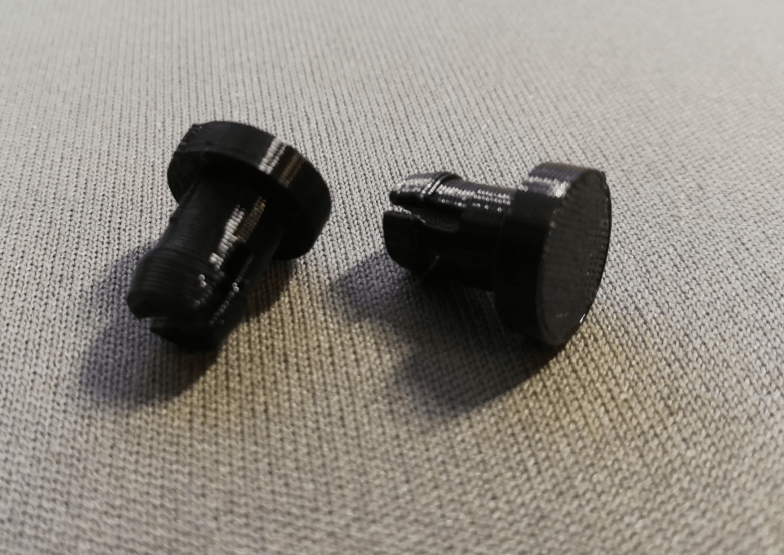
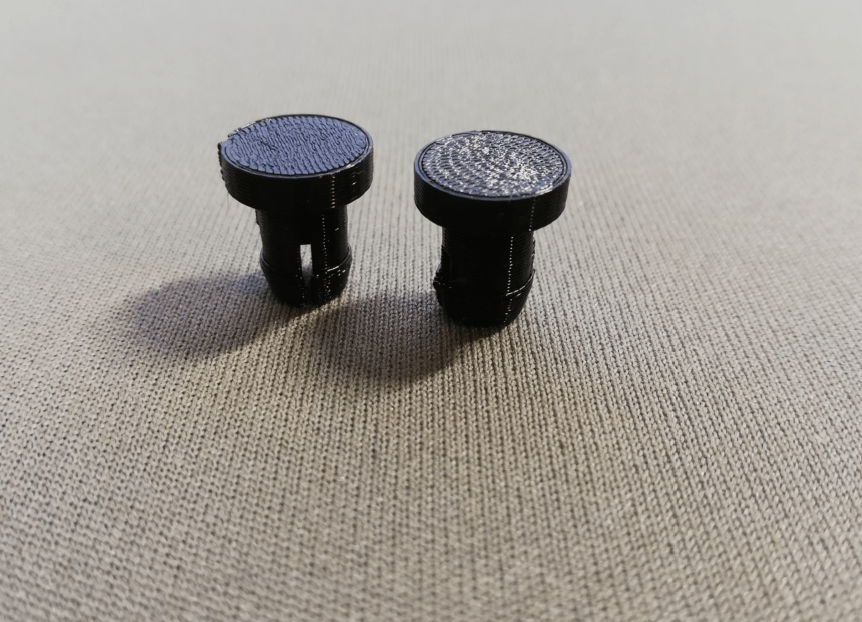
Original vs. 3D printed
Here is an STL file for all you folks out there who wanna 3D print it 🙂
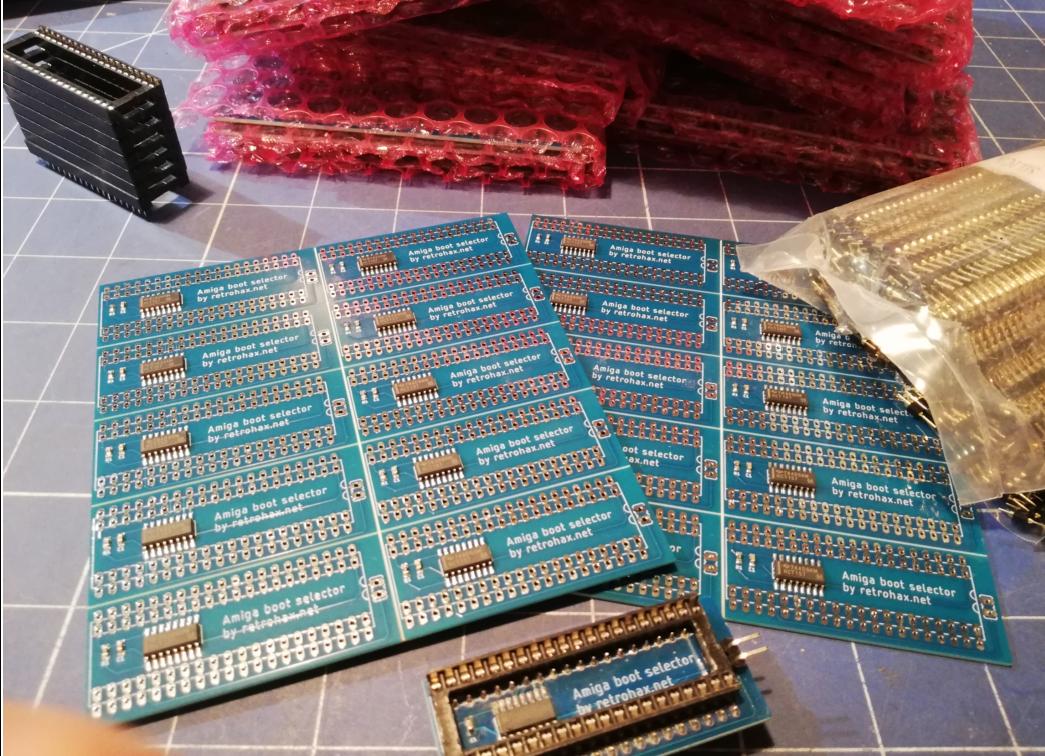
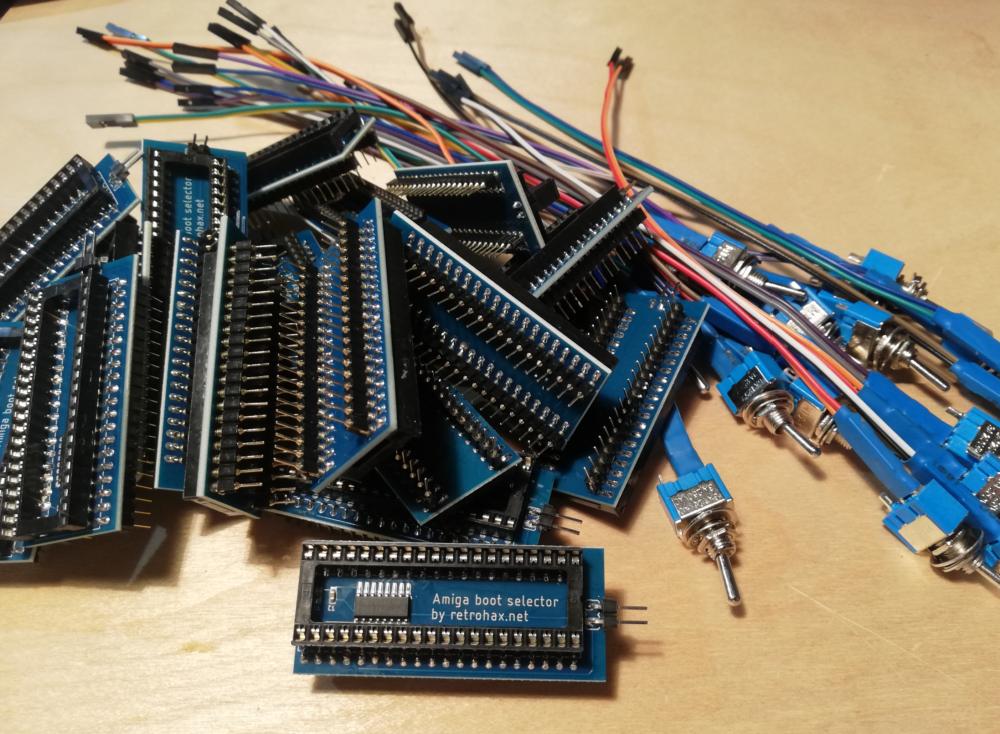
Amiga 500/2000 boot selector
I’ve committed to a small project some time ago – Boot selector for Amiga 500/2000.
It is based on a boot-selector by Mq and uses a bit different PCB layout than usually available on the market today.
Let me quote a description from a store:
It uses a multiplexer to swap proper signals. This solution is therefore not prone to errors that can cause instabilities due to signals going from Even CIA to a switch and back to Even CIA which is commonly seen in other solutions offered on the market. It basically grounds a signal going to a multiplexer instead of Even CIA.
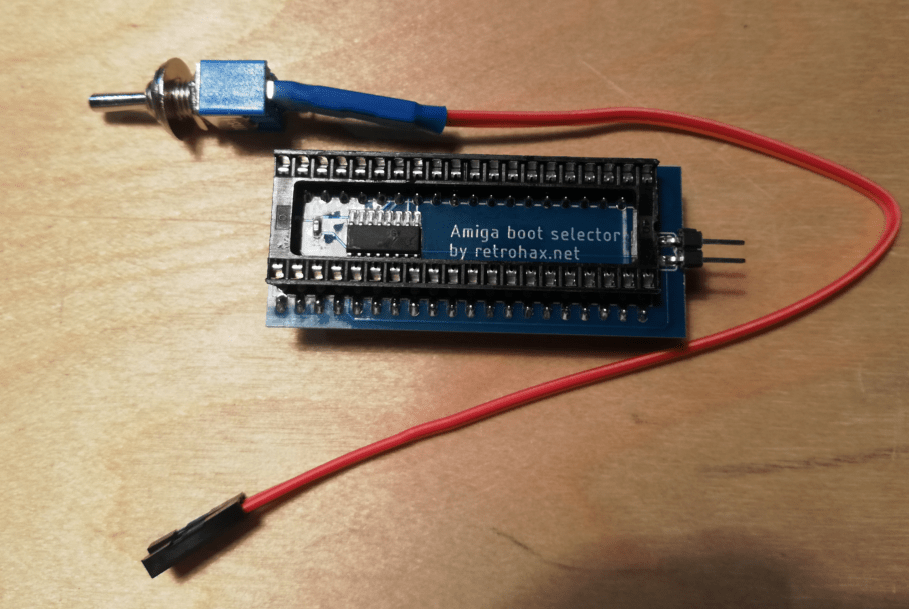
I have this BootSelector in my store if you wanna grab one.
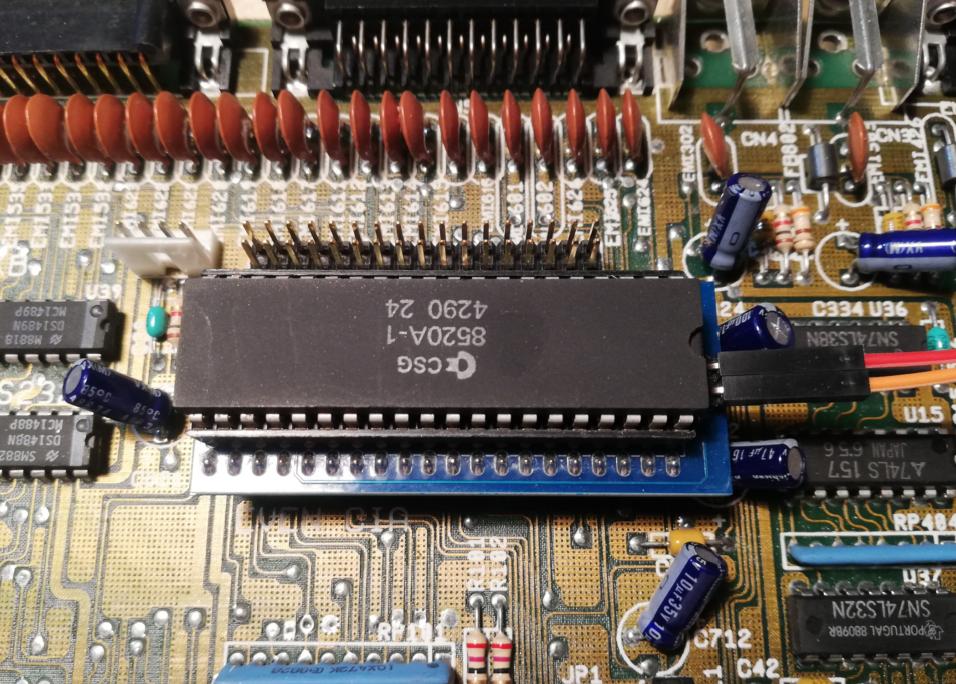
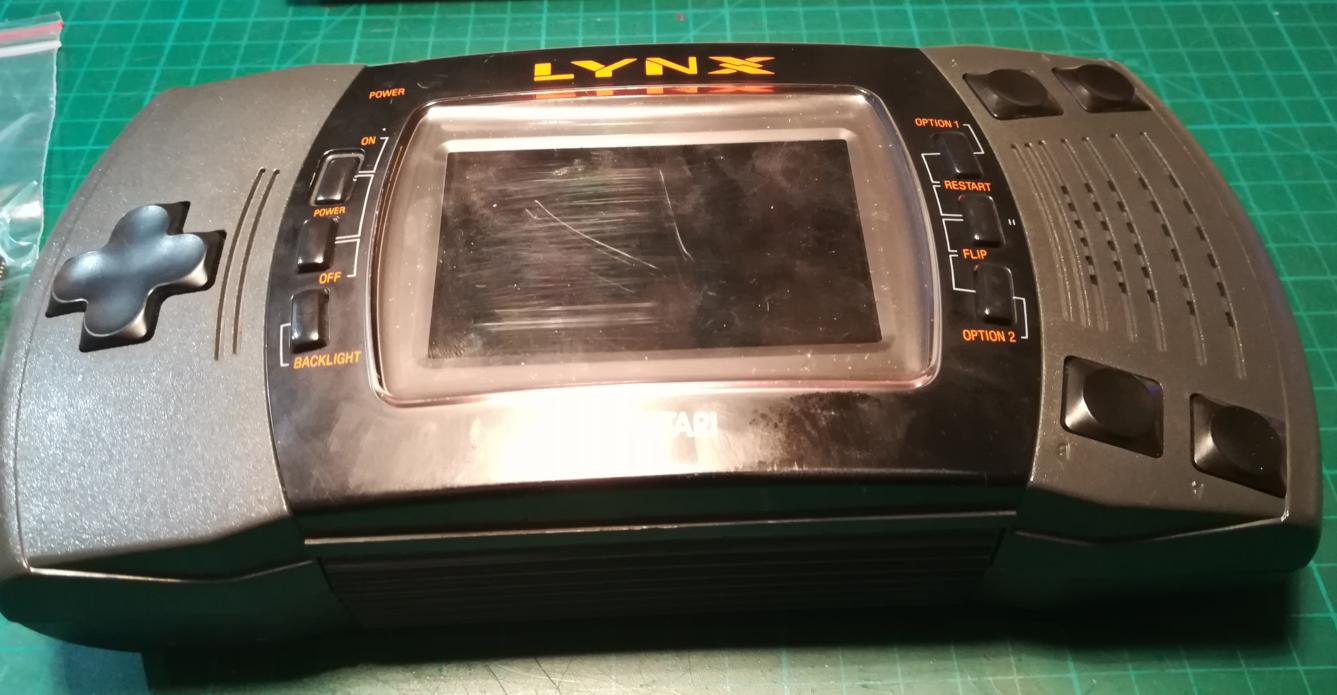
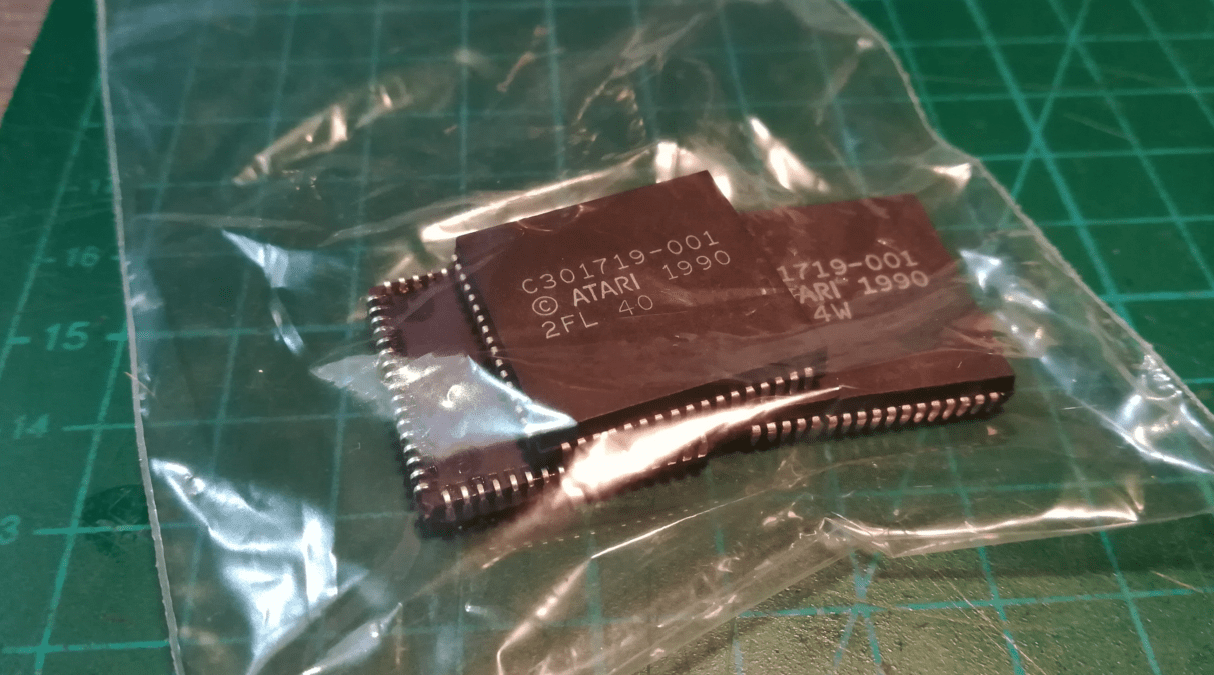
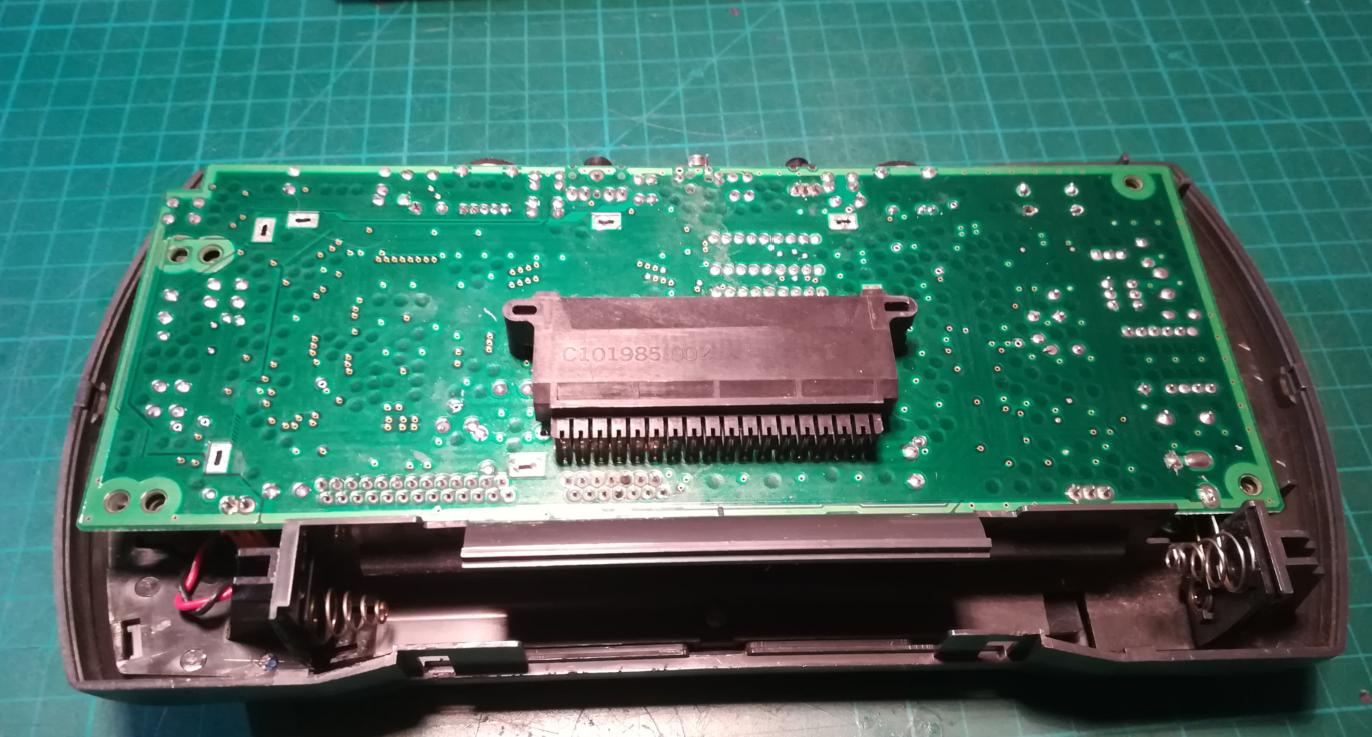
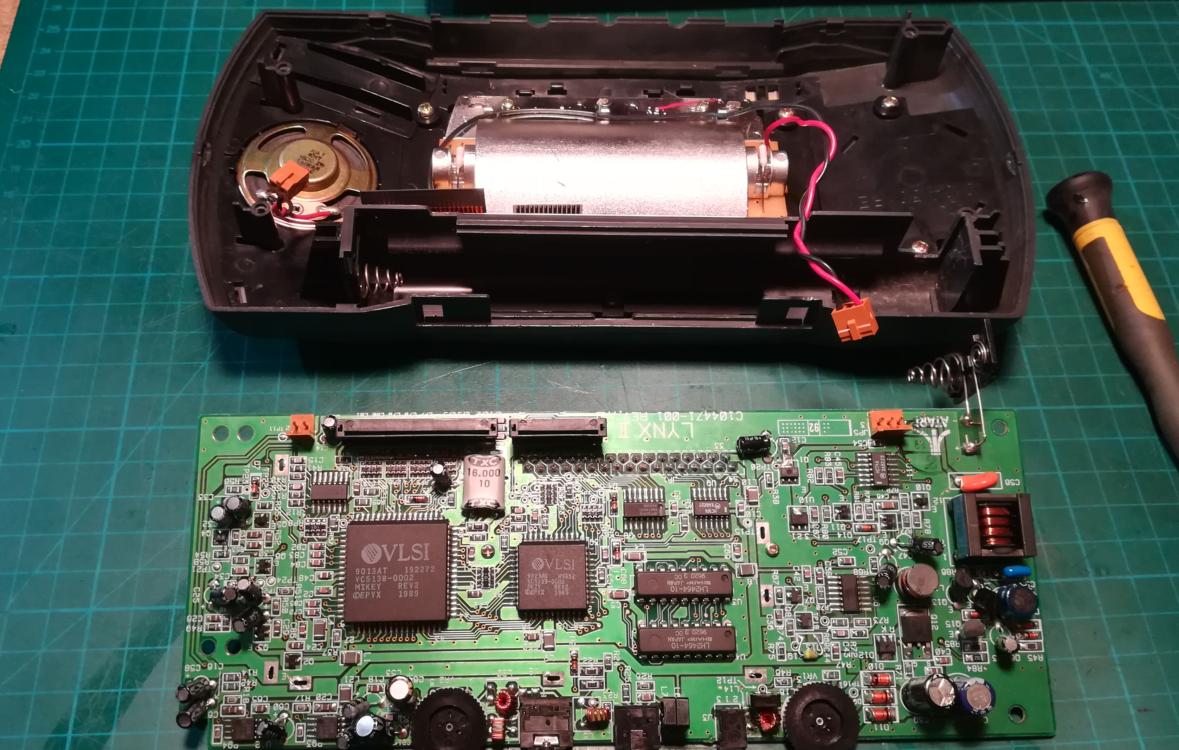
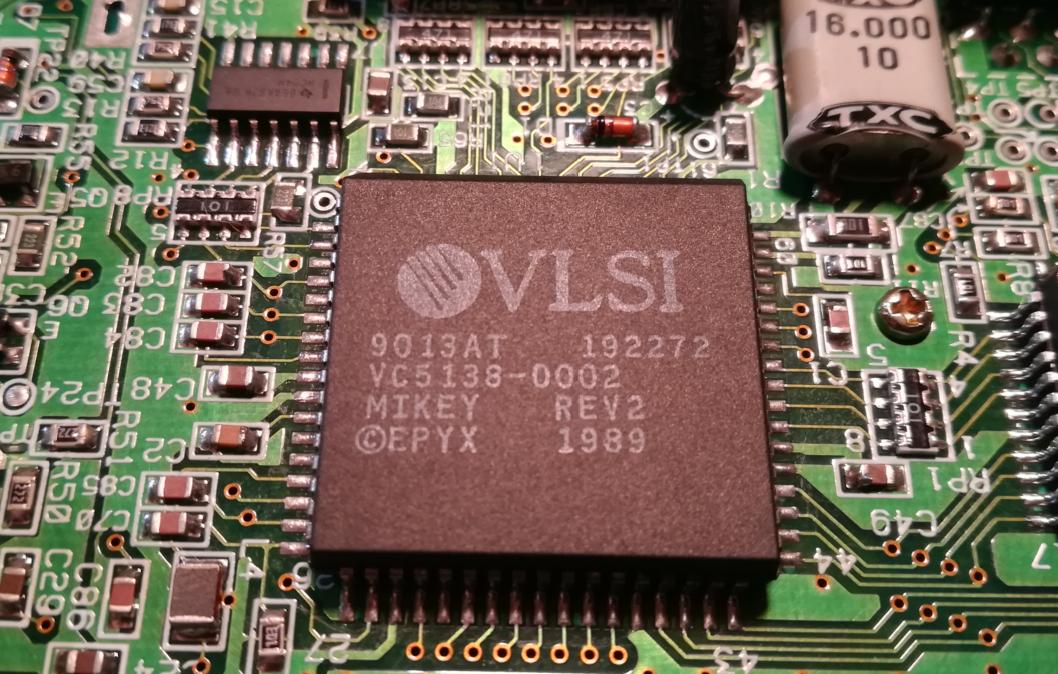
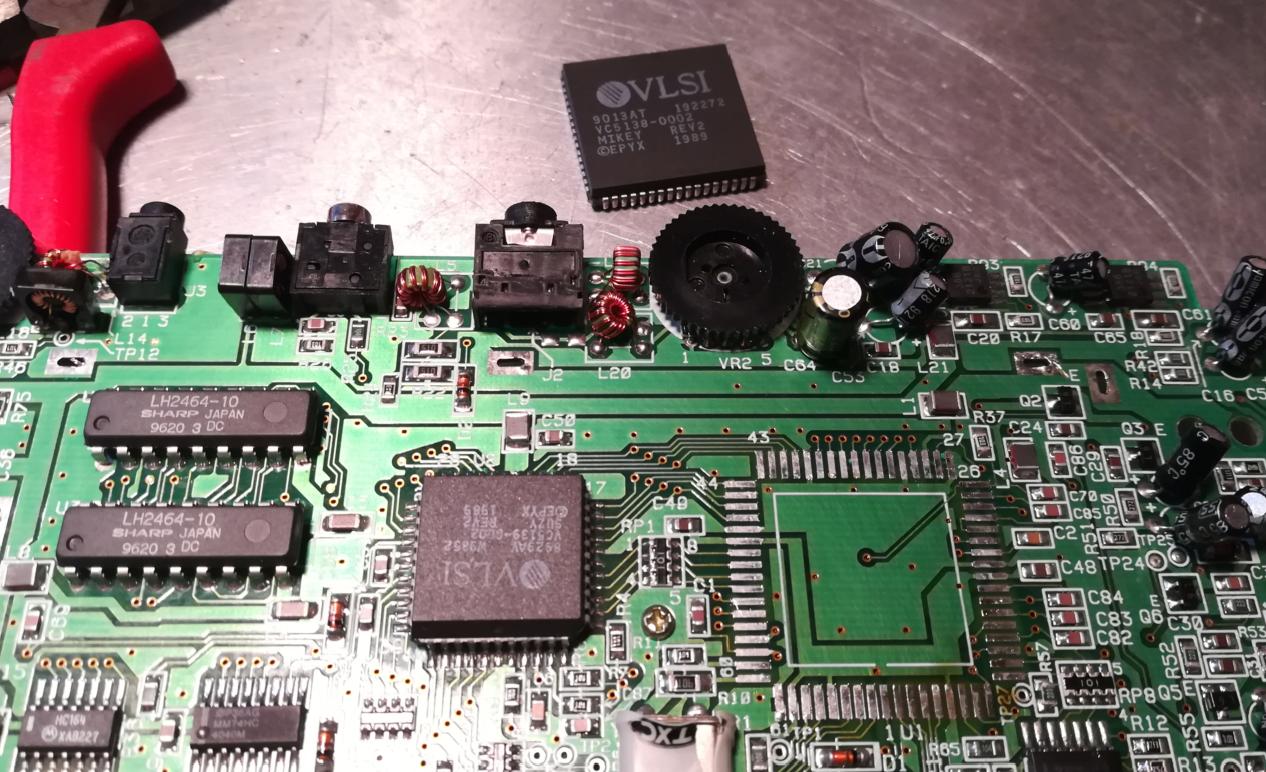
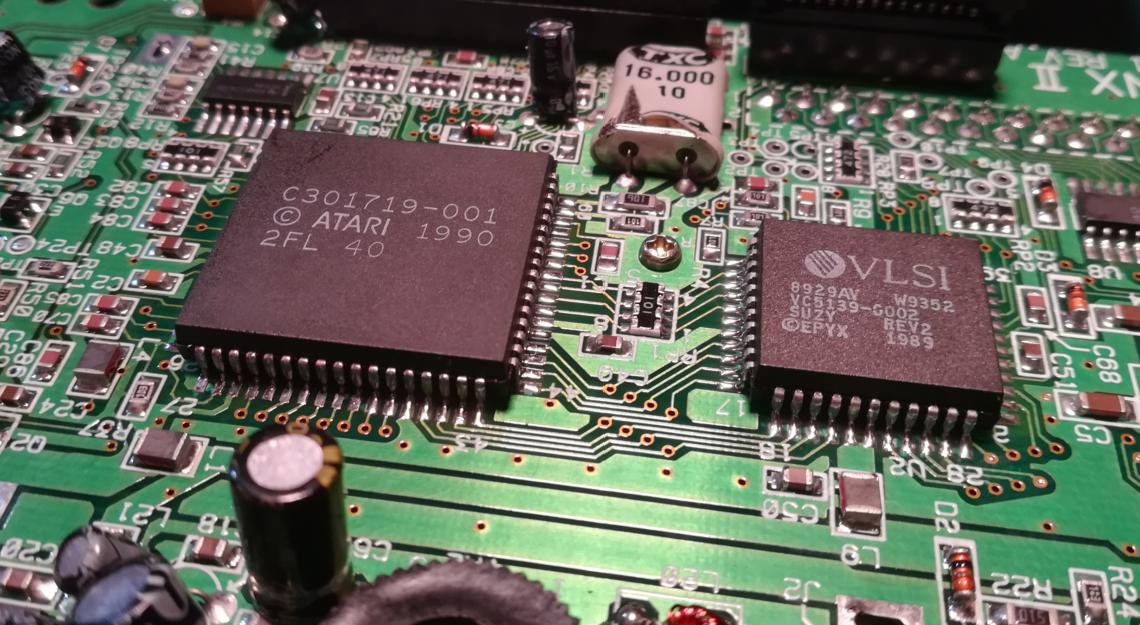
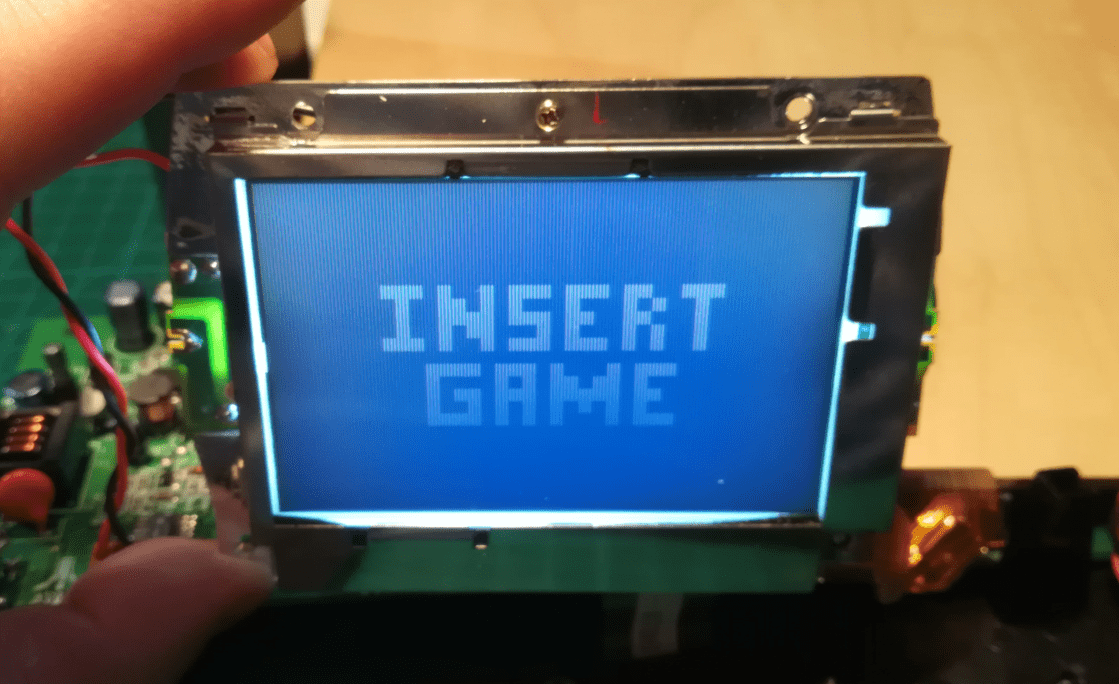
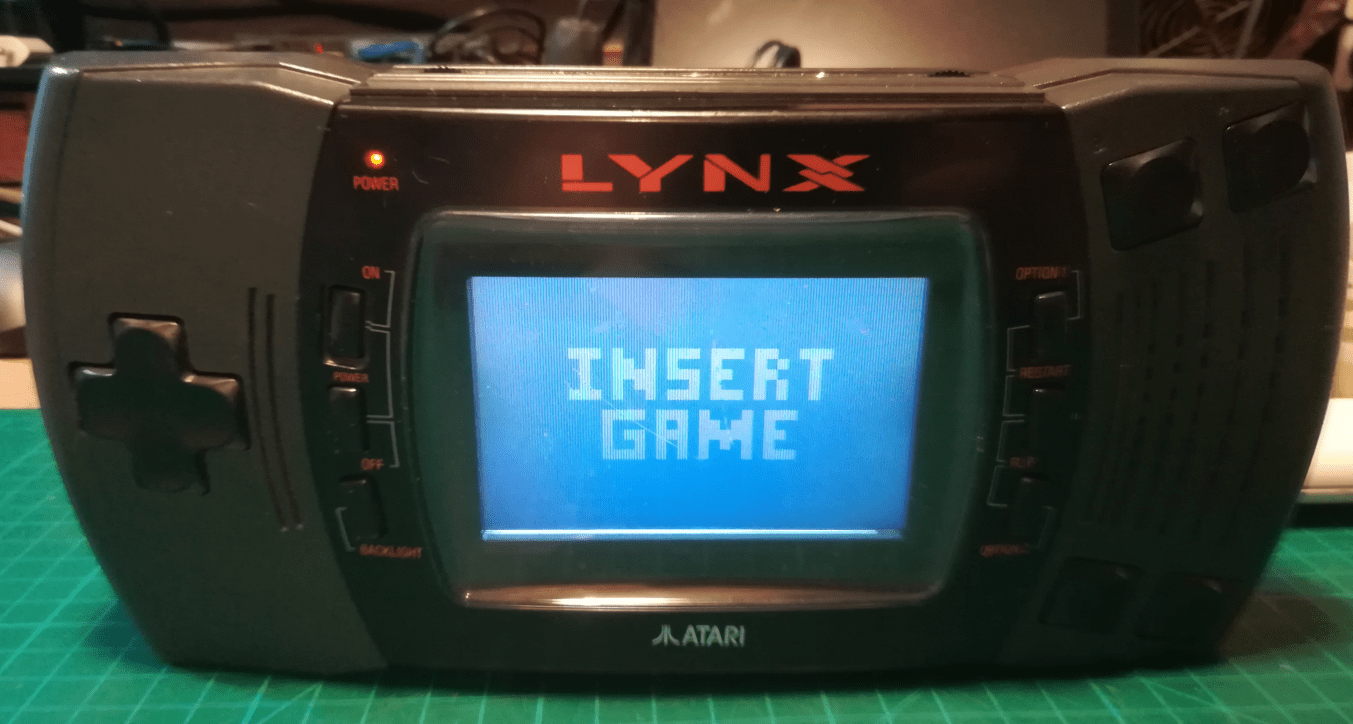
Atari Lynx CPU replacement
Some time ago, my friend Jesionen asked me to replace a CPU in his Atari LYNX console as he didn’t have the proper hardware to fix it at that time. Since Jesionen is a super cool guy, I was more than happy to help him 🙂
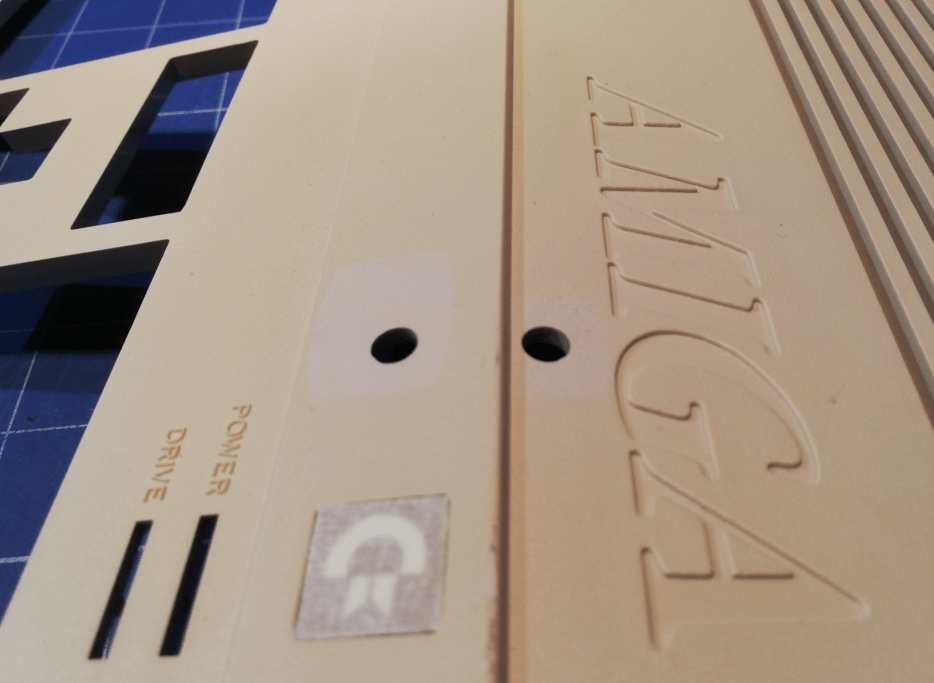
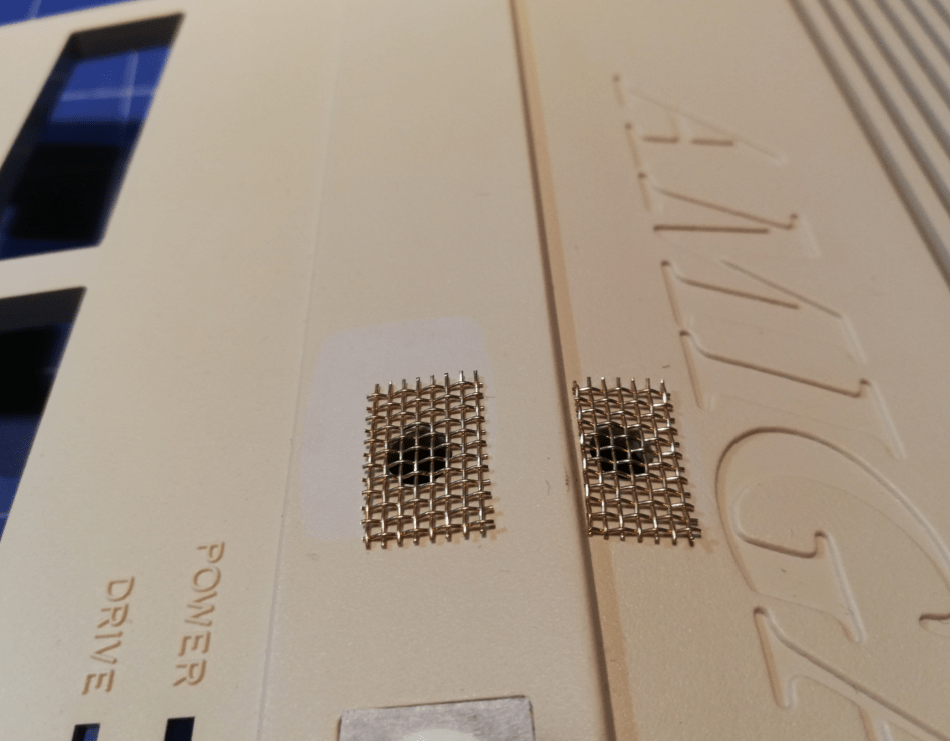
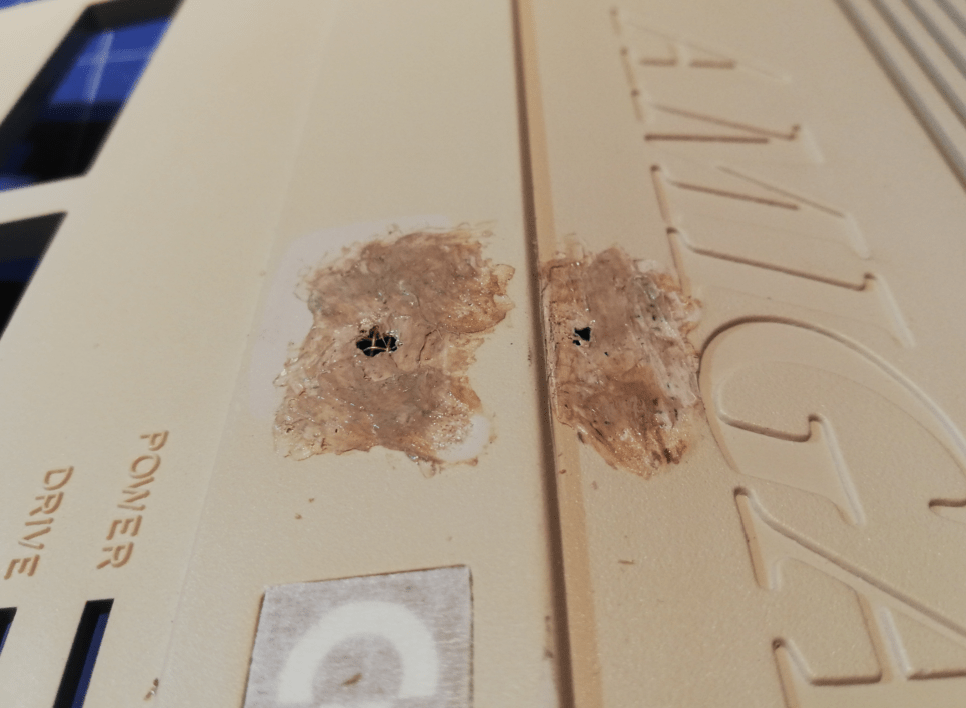
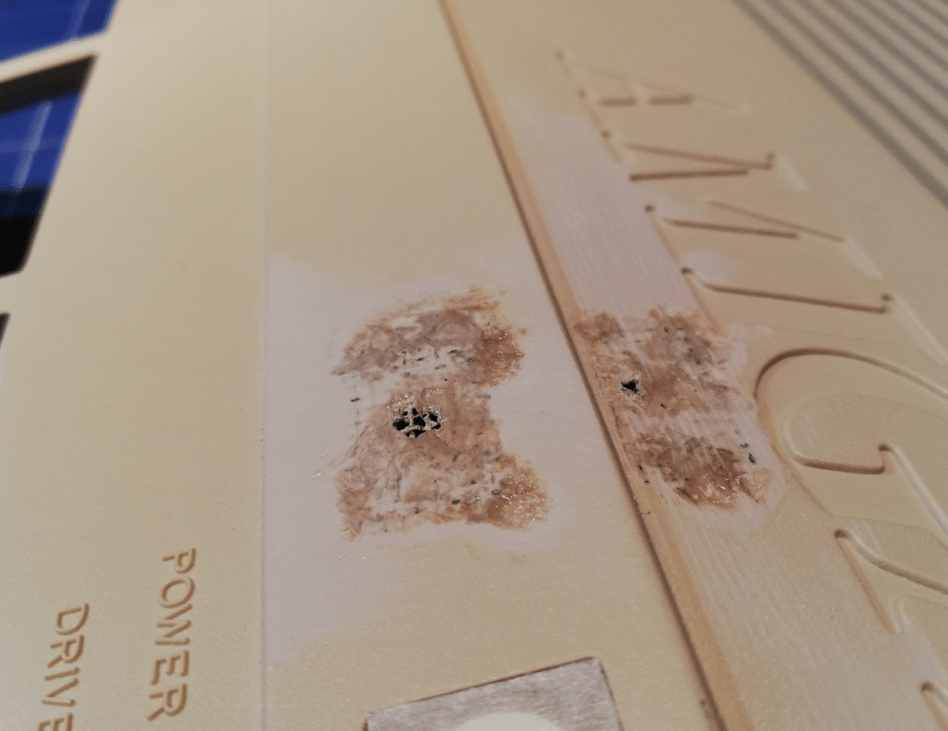
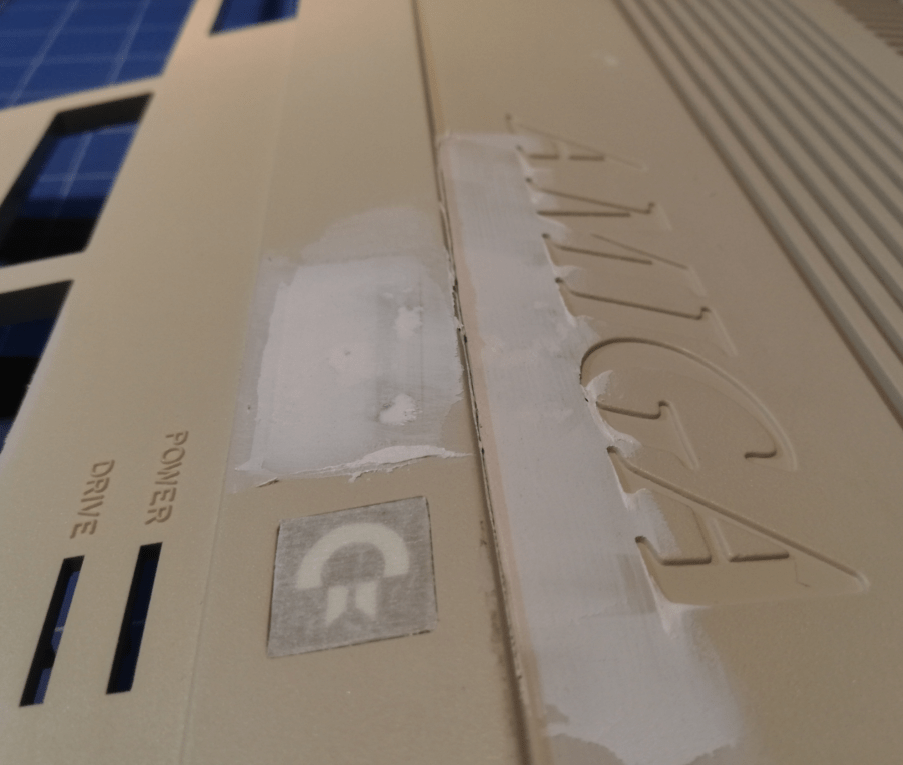
Fixing holes in cases
Super short pictorial guide on how to fix a hole in a case.
- Melt in a brass mesh with a soldering iron
- Use sandpaper to even surfaces
- Use putty to fill the remaining holes and mask it
- Spray paint the whole thing – pic missing
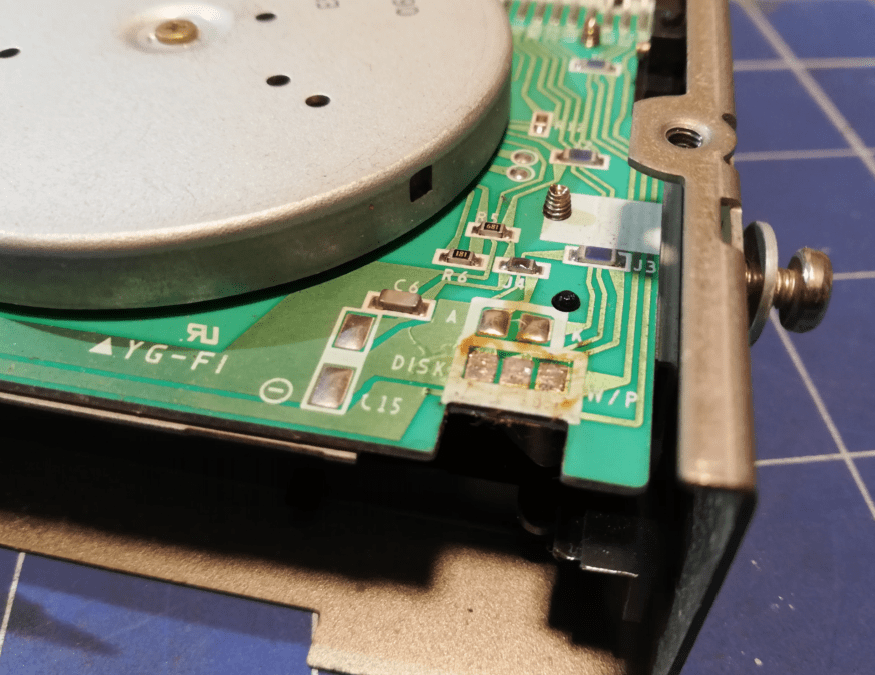
Amiga floppy drive quick fix
Over the years I’ve discovered that very often floppy drives fail on detecting that a diskette is inserted.
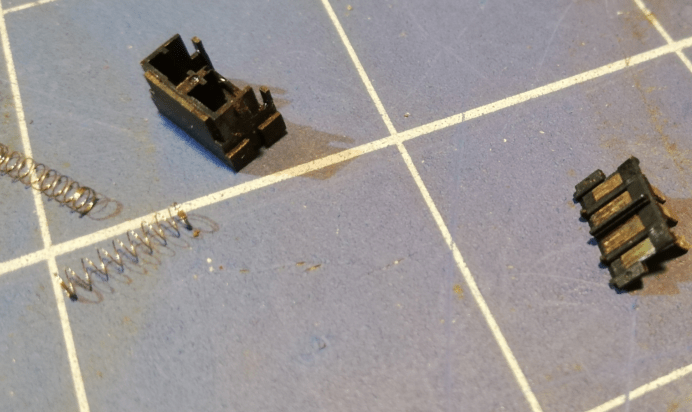
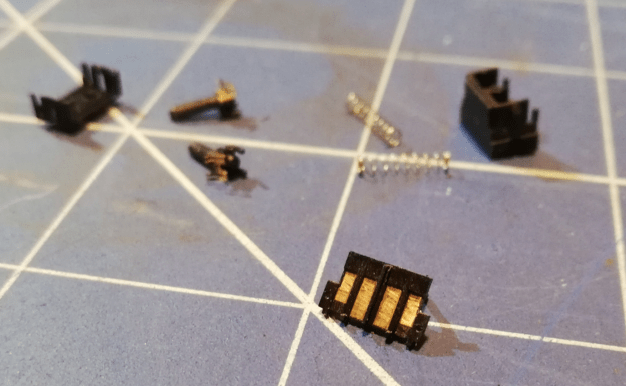
Very often it is caused by tarnished parts of the detection switch. This can be nicely resolved by simply desoldering such a switch and cleaning it. However, be careful with springs as these tend to disappear quickly 😉
The steps are super easy:
- Desolder a momentary switch
- Disassemble the switch
- Clean tarnished contacts
- Assemble and solder the switch back to a PCB

That’s it for now. See you in Various hax – part eight 🙂
OUTRO
If any of my readers know any solutions, hints, or knows where I did mistakes, then please leave a comment here or on my FB and Twitter pages.
If you want to get retro gear or hardware modules, please visit our shop -> https://retrohax.net/shop/
Please support our work by commenting here and on our Facebook and Twitter pages.
If you want to donate or repair a dead computer then drop me an email. Extreme cases are welcome 🙂
One thought on “Various Hax – part seven”