… or the first step to getting yourself into the great world of endless DIY crap
Intro
In 2012, I was attending a demoscene party in my hometown.
Besides typical demoscene party activities …

… I also had an opportunity to see various software and hardware creations made by other attendants.
At that time, I didn’t know much about 3D printers. The world was quite silent about this topic too. When I entered a party place I instantly spotted a weird looking machine on a table but I didn’t know what it is.

The owner of this machine wasn’t around so I had to wait for a while.
Once he came back I started shooting questions like a badger on drugs.
I was like “I want one! please! please !11oneone!eleven”

Jakub Husak, owner and builder of that RepRap politely explained all details with great patience.
I needed 3D Printer for my other project which I described in one of my previous posts, so a few days after the party ended I wrote an email to Jakub so he could point me in the right direction and print for me the first set of parts for my own machine.
The build
I must admit that I was super impatient and I did a lot of mistakes, so I strongly advise to anyone planning to build own machine to think through and explore this topic in-depth as much a possible. You’ll avoid building another two or three 3D printers ;P
As always, I’ve started to order parts like crazy.
Since I don’t have any photos from that period I will not cover building process in details, instead, I’ll just write about parts that I’ve used.
First of all, I needed to get nuts, bolts, threaded rods, bearings, etc. That was quite an easy task but I must say that getting a straight threaded rod in nearby stores is a difficult task ….. but doable.
Jakub already sent me 3D-printed plastic parts, so that was sorted.
Electronics
Next thing was to get stepper motors, belts, and electronics. I chose to run a machine on a Sanguinololu 1.3b board.
That was easy to get and very popular board at that time.
Not exactly the best choice but hey! I was learning, remember? 🙂
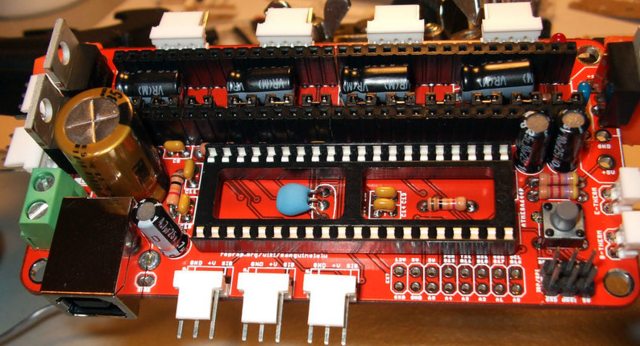
Cables, connectors, and end-stops – that was not a problem, I had plenty of that junk lying around but I also needed so-called StepSticks. I’ve got these from Jakub since he started to manufacture it on a larger scale.
You still can get it here for a reasonable price https://stepstick.pl/?sLang=en. These beauties work in my machines till today. So far the best step sticks that I’ve ever used.

Motors turned out to be a cheap and easy buy. There are a lot of NEMA17 cased motors on the second-hand market.
To complete a puzzle I also needed a power supply and a properly heated bed and a hotend.
I had Dell PSU laying around which could supply 16 Amps over 12 Volts, so power problems solved!
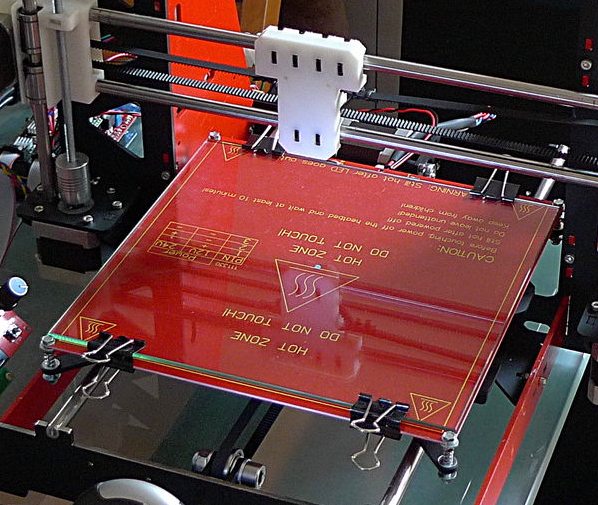
To hold the plastic in place during printing, you need a heated bed that is capable of keeping constant 110 C. My choice at that time was a simple MK2A board. Also, like on a photo below, I needed a boro-silicate glass – thankfully that wasn’t hard to find.
HotEnd – That is an element that heats up the plastic filament to the desired temperature and in pair with extruder spits it through a 0.5 mm nozzle. To be honest I don’t recall exact seller of it but I’ve bought typical (at that time) head made out of brass elements and PEEK with a J-Head mount.
Assembly and calibration
That was an easy and fun part. Simply screwing it all together.
Calibration, however, is a completely different story. Every 3D Printing freak will tell you that hardware makes only 50% of success. The other part consists of skill and calibration.
In order to get good results you always have to calibrate and tune printing parameters. It is a never-ending story. Like, NEVER ENDING!
Results
As I said, unfortunately, I do not have many photos from that period.
However, when finished, it looked like this
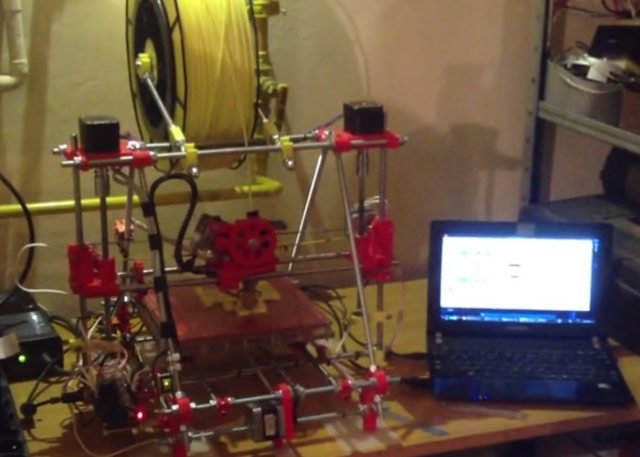
After calibration and a few mods it worked like this:
Printer 1.0 from pit on Vimeo.
Here is another video of the same printer with different firmware uploaded.
This one was shot after a few weeks when it already had a better extruder, LCD, etc.
Printer 1.0 – Marlin firmware testing from pit on Vimeo.
Printing
The problem that I had at that time was that I couldn’t create my own models. I simply had to learn that. …. that took quite a while.
However, I could download and print everything I wanted from http://thingiverse.com
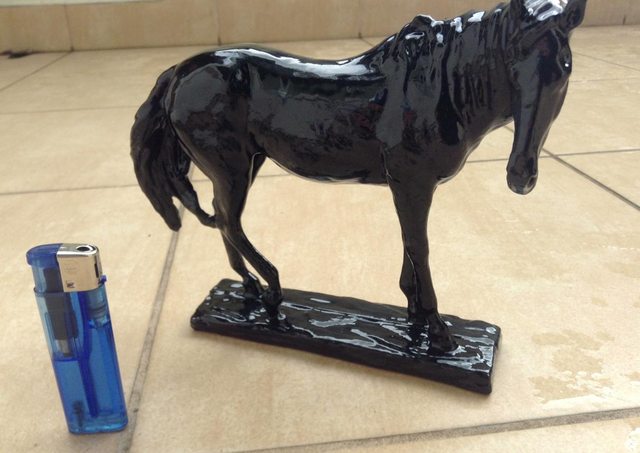
For example these useless print-outs:
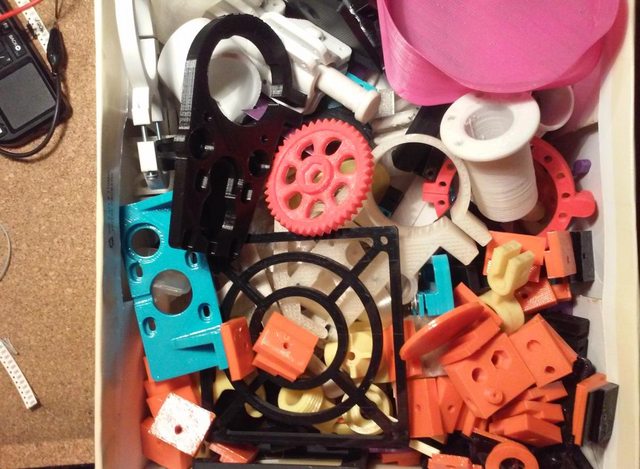
but useful could be printed too:
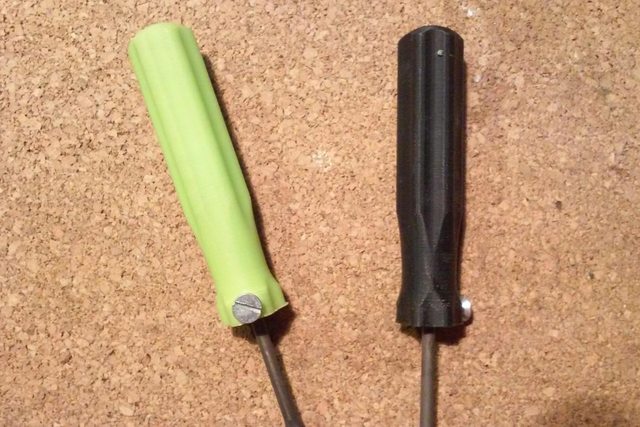
and a nice looking as well 😉
NOT the end
Yup, that part was finished but as it turned out that was only the beginning.
Stay tuned for future posts 😉
GREETZ
I also want to add big hugs to the RepRap community.
Especially to guys who originally created old mojreprap.pl forum and now is active on fabrykator.pl held by Krysztof Dymianiuk.
Without you guys, I wouldn’t be able to continue my journey.
YOU FOLKS SIMPLY ROCK !!!
OUTRO
If you want to get retro gear or hardware modules, please visit our shop
New products are being added every month.
Also, please support our work by spreading info about it.
Without your support, we simply cannot grow and we have a lot of new cool retro hardware (and more) products to come 
One thought on “3D Printing – The beginning”